
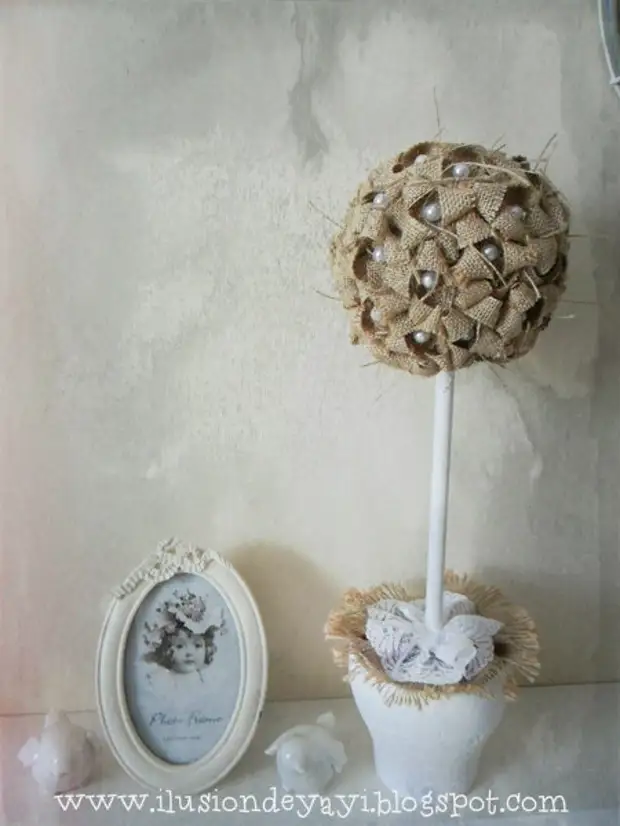
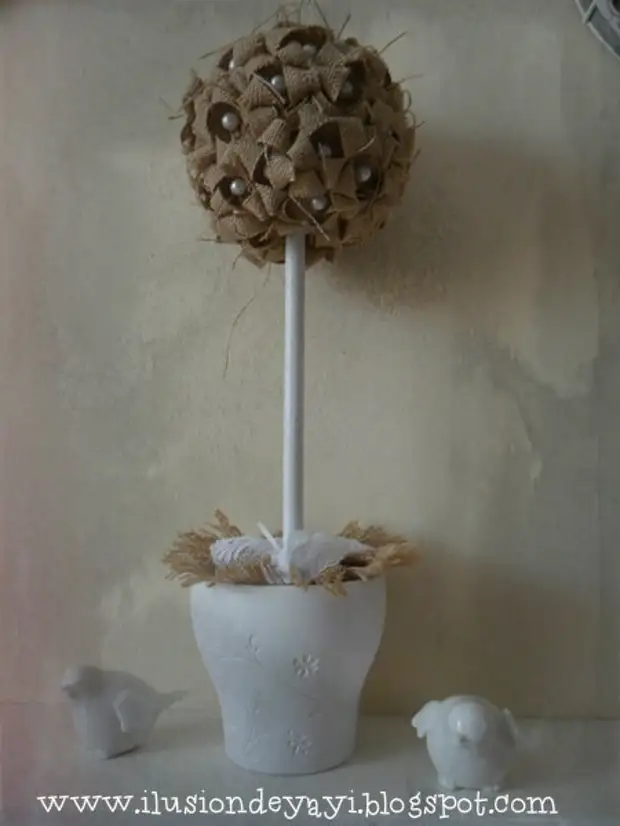
Favorite, just teased by me the topic) All that is connected with the burlap makes me get on the chair. Itself more than once dealt with burlap and was always amazed by an amazing combination of this coarse and nondescript tissue with gentle lace. Crafts from burlap are able to fit into any interior, can decorate any corner of the room ... And if you also give preference to the vintage style in the design of the interior, then without burlap it is easy to do) I suggest you make your own topiary, stylish and very original, using Pearls and lace
To work, we will need:
- sackcloth,
- Hot glue (thermopystole with silicone sticks),
- Flower pot,
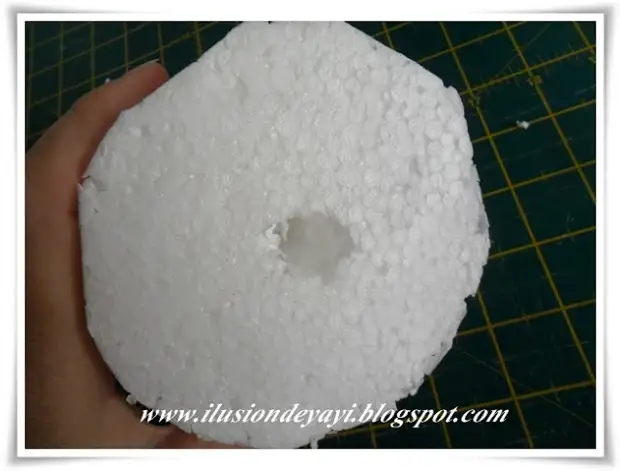
- Foam ball (the basis for Topiary can be replaced with a plastic children's ball, make a ball from newspapers and so on),
- Polyfoam for the pot (can be used gypsum),
- Pearl beads
- Threads with needle
- White acrylic paint (if the pot is not white)
- wand
A stick for Topiaria, if not finding it in the house (I always have a problem with them), when used as a basis for topiary of the foam ball, you can replace the power wire to the cable, which is in any house after repair. The base for Topiaria is made of foam, the ball light and cable can easily cope with the task. If you are going to change the wiring in the house, I recommend paying attention to this type of cable, this power wire does not support combustion and is designed to voltage up to 1000V! You can find all the details of the technical characteristics and operational parameters of the WGNG cable on the website of the online store electrotovari-plus.ru/kabelnaya-produkciya/kabel-vvgng.
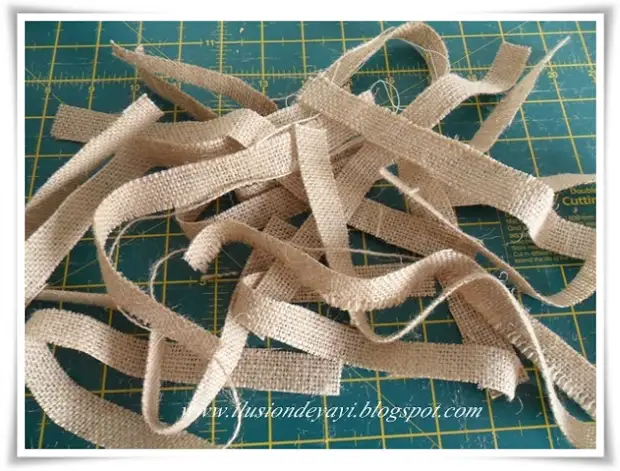
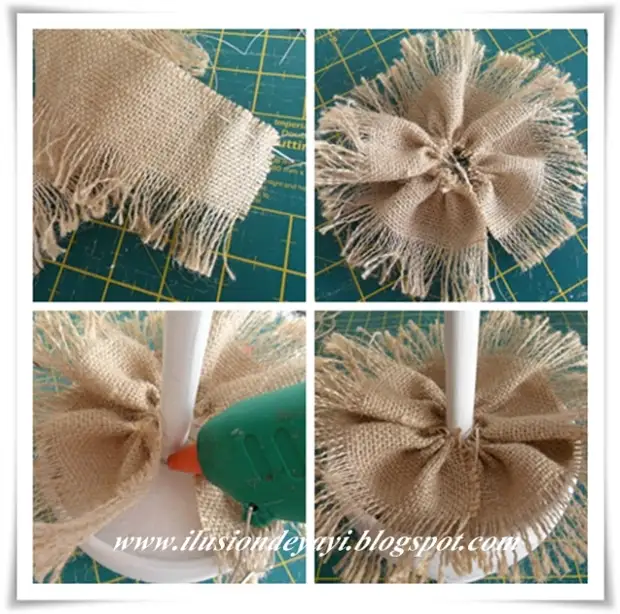
So, cut the burlap on the strips, 2 cm wide
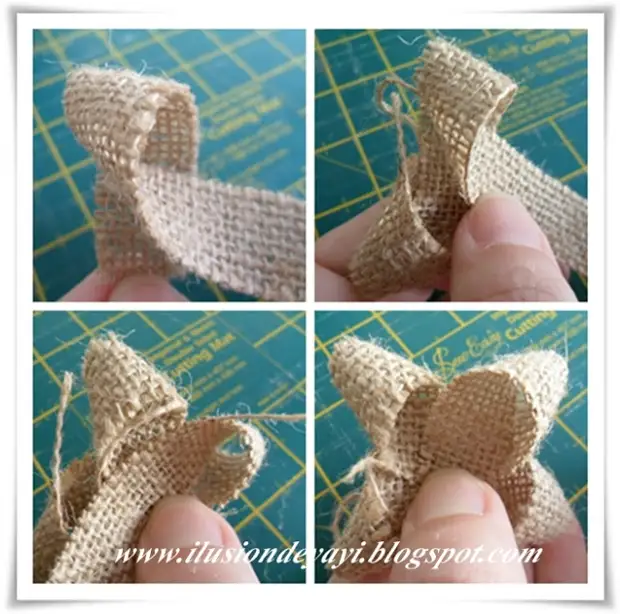
From the strips we put bows, as shown in the photo below:
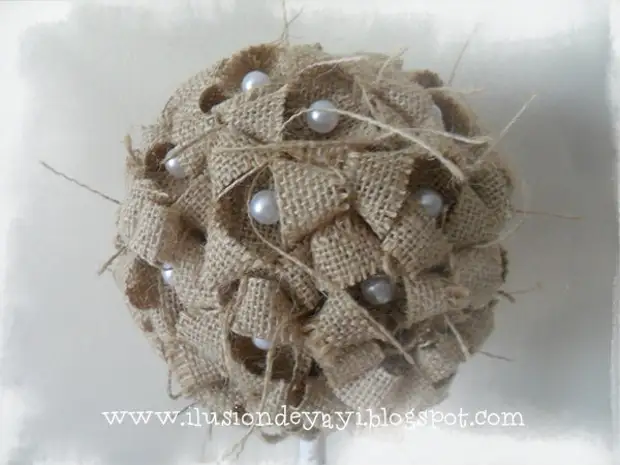
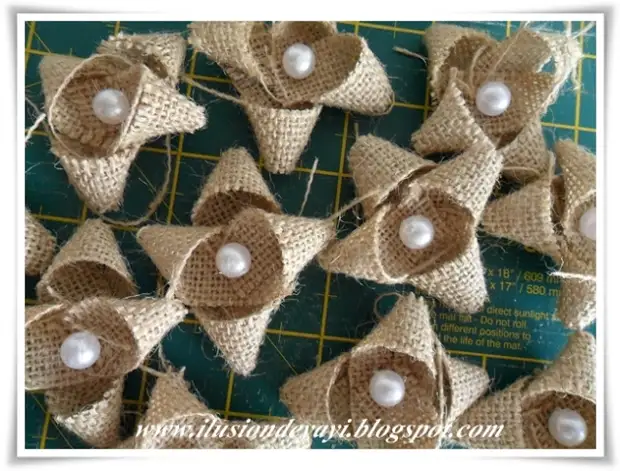
In the center of the bunch, sew a pearl bead
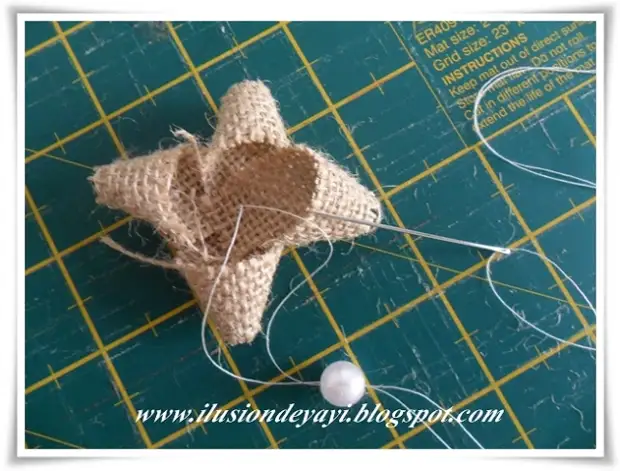
We prepare several bows (quantity depends on the basics for Topiaria)
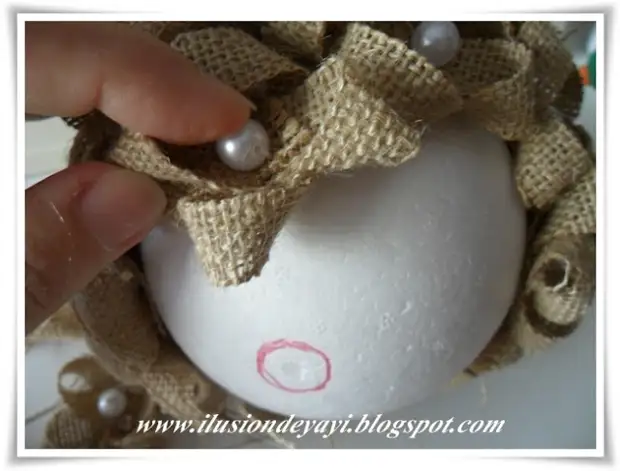
Hot glue glue bows to foam ball
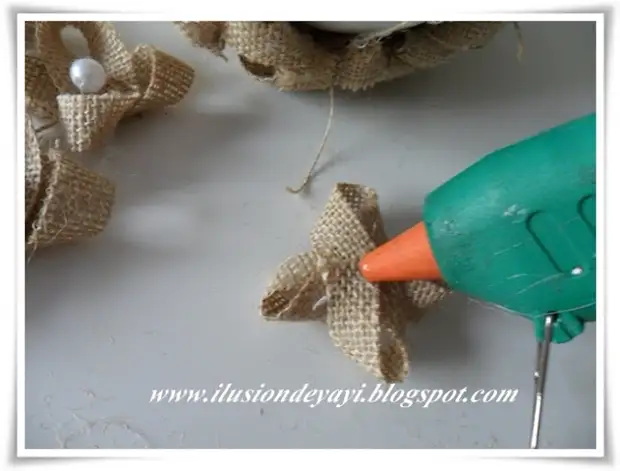
We glue the bows close to each other so that the round basis does not shine
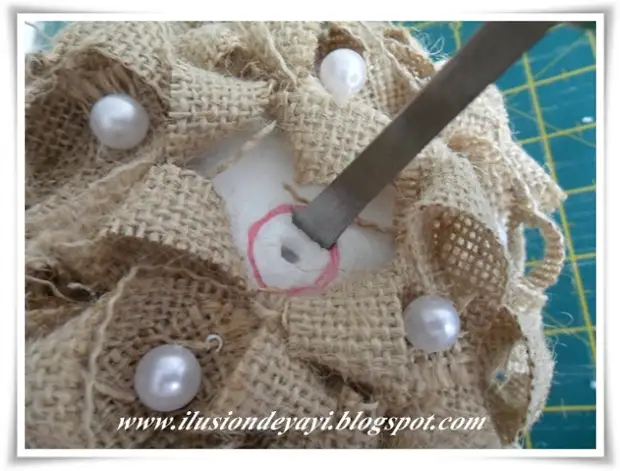
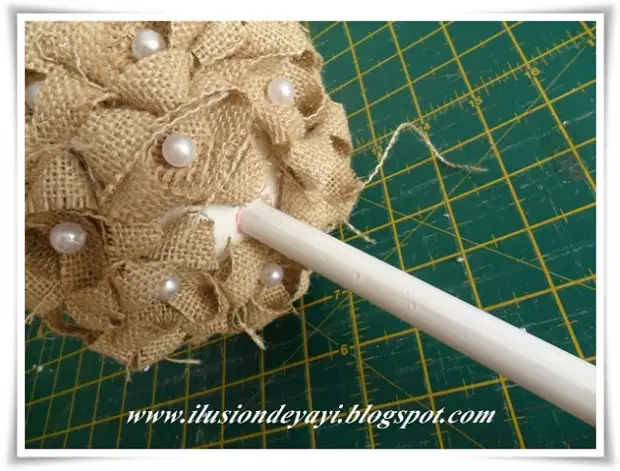
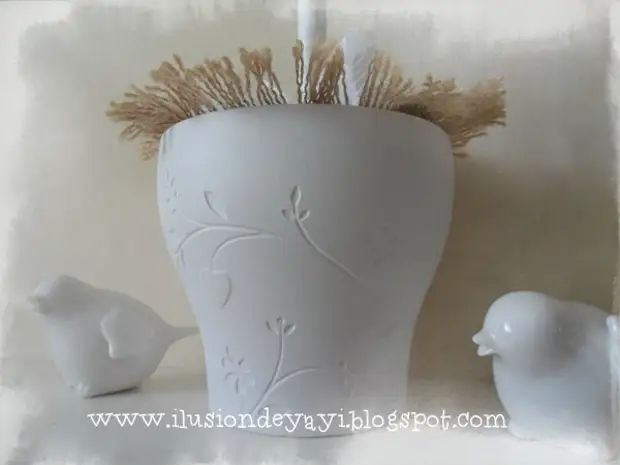
Cut through the hole and glue in her wand
From the foam cutting the insert for the pot (you can use gypsum)
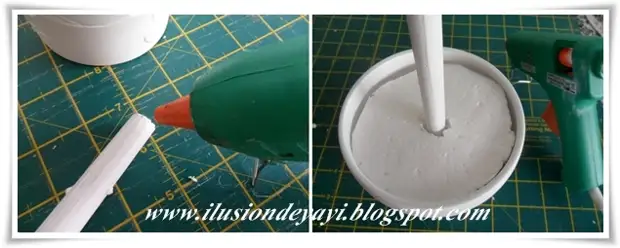
From a wide burlap strips Making a rolver for a pot
Decorating lace
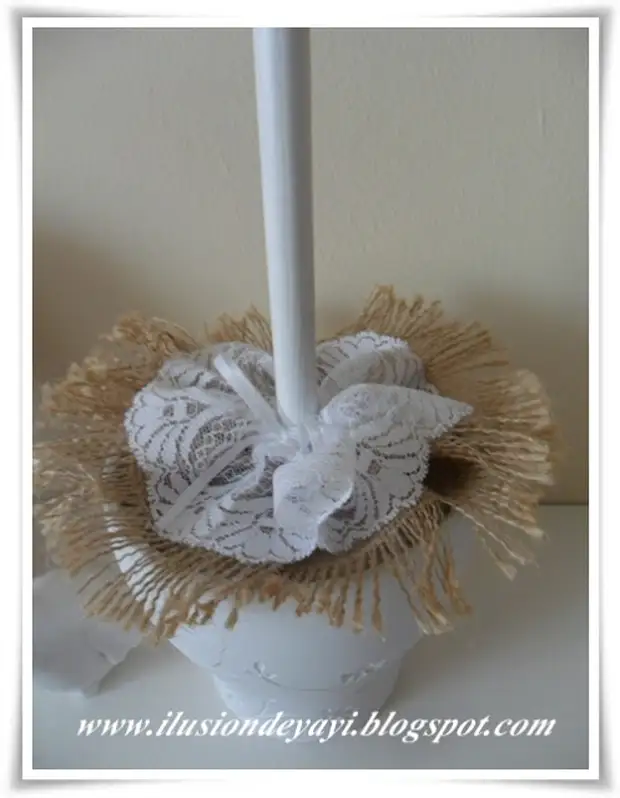
That's all) Please note: the pot and wand should be exactly white

Inspiration Marreytty