Earrings Versailles with an embroidery pearl and beads

Anonim

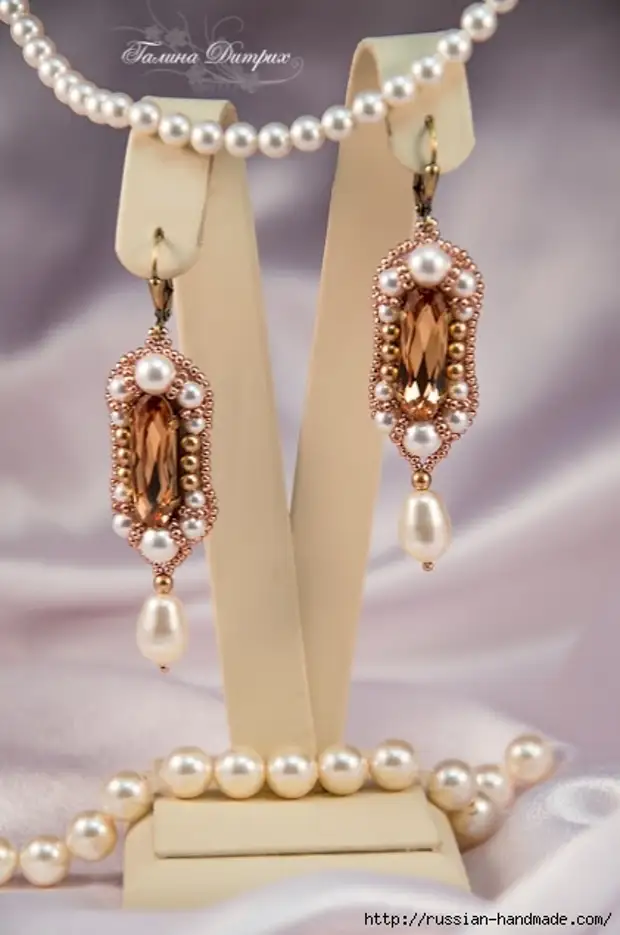
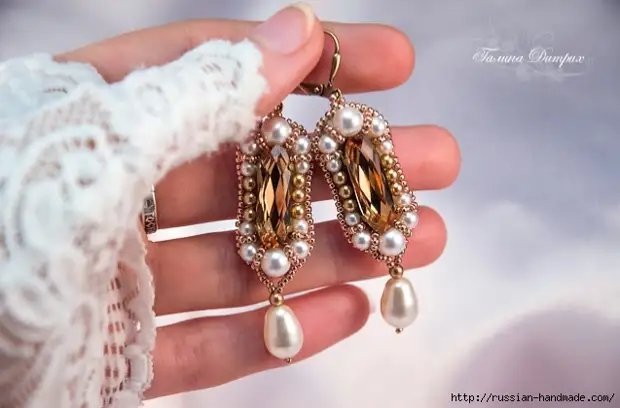
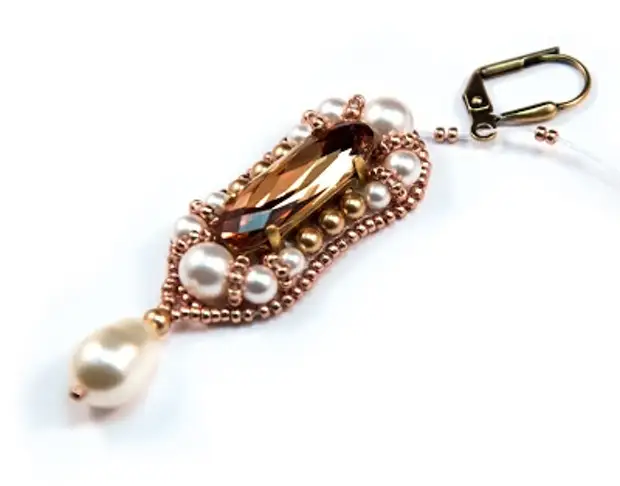
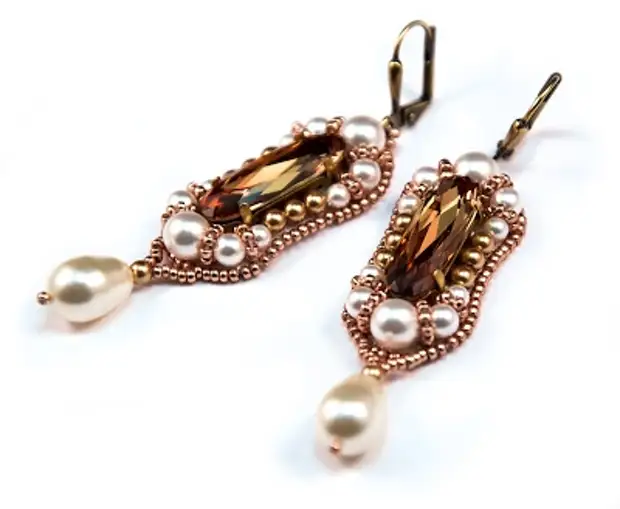
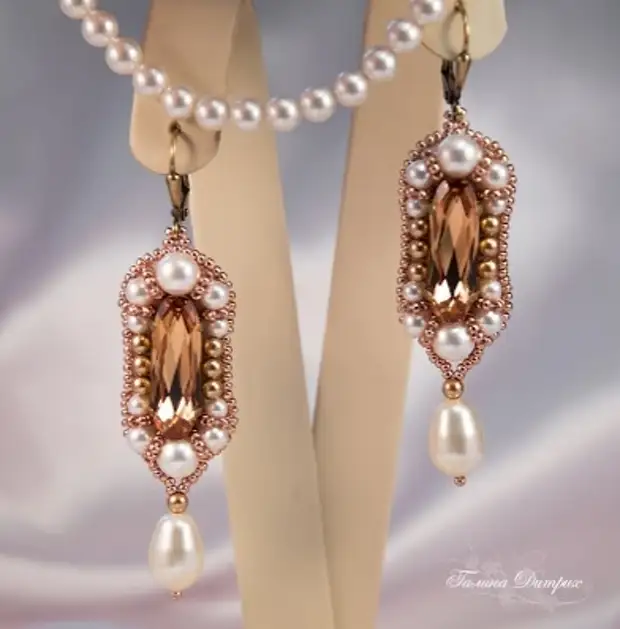
Introducing the master class Galina Dietrich to create earrings Versailles.

Decoration with your own hands (2) (421x635, 121kb)
Decoration with your own hands (3) (637x420, 138kb)

Materials and tools:

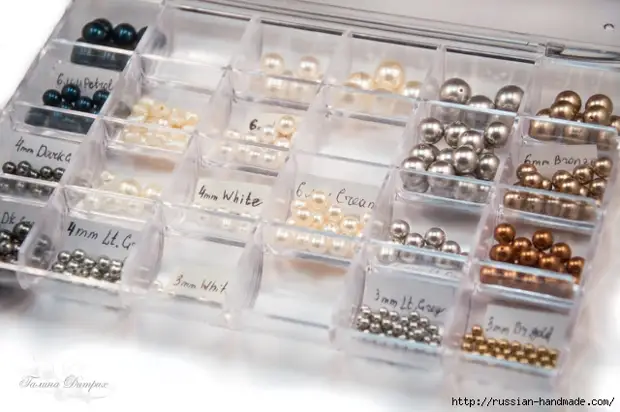
  • Beads Round Miyuki 15/0.
  • Thread: Kapron, lavsan, polyester or fireline.
  • Felt or adhesive fliesline.
  • Leather or suede, genuine or artificial.
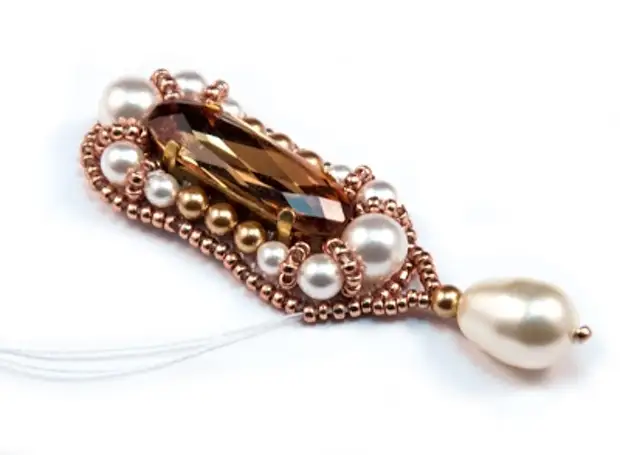
  • Pearl Swarovski, 3, 4mm, 6mm and "Pear" forms.
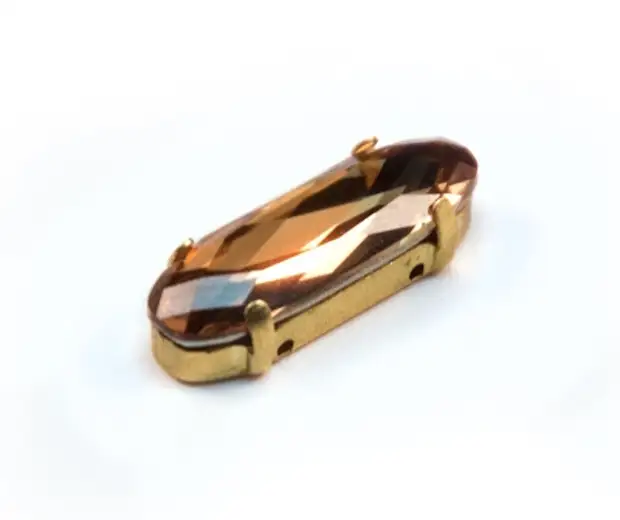
  • Swarovski Long Oval 21x7mm crystals.
  • Schweatsi Antique Gold.

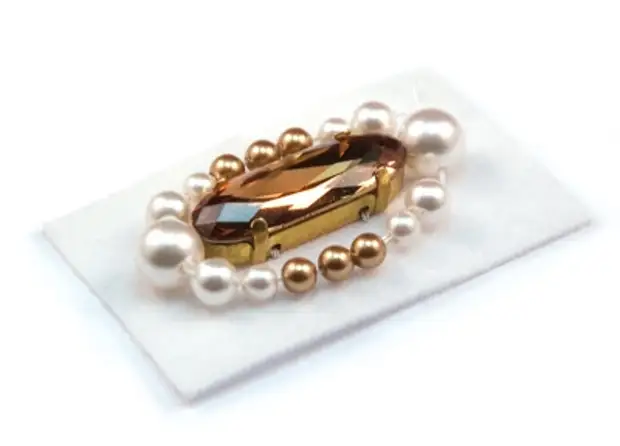
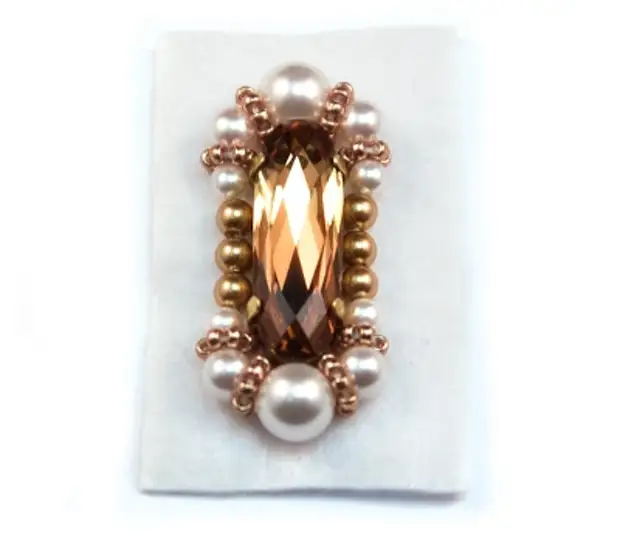
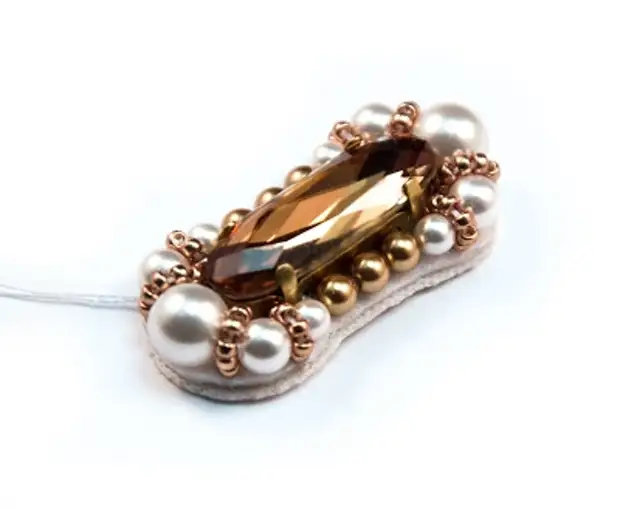
1. We take Crystal Swarovski Long Oval Colors Light Colorado Topaz and Rims to them, size of 21x7mm crystals.

Embroidery beads Earrings Versailles. Master Class (1) (400x185, 40kb)

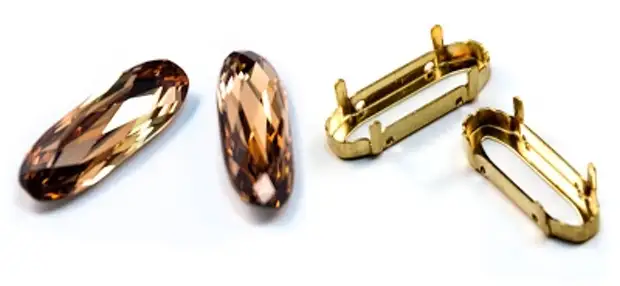
Fix in conventional tweezers.

Embroidery beads Earrings Versailles. Master Class (4) (400x330, 45Kb)
Embroidery beads Earrings Versailles. Master Class (3) (400x336, 32Kb)

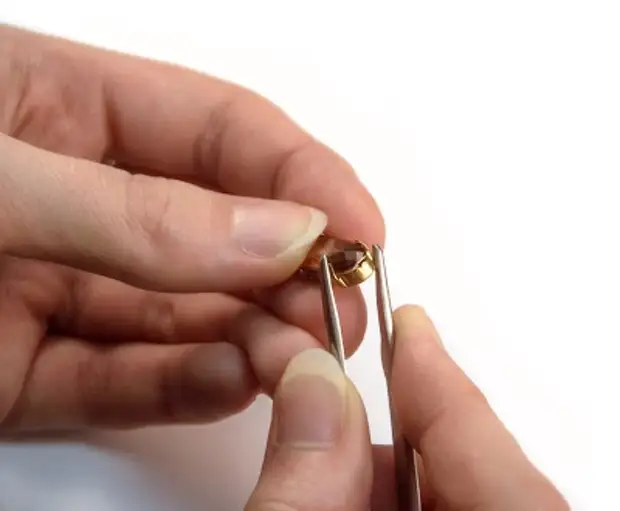
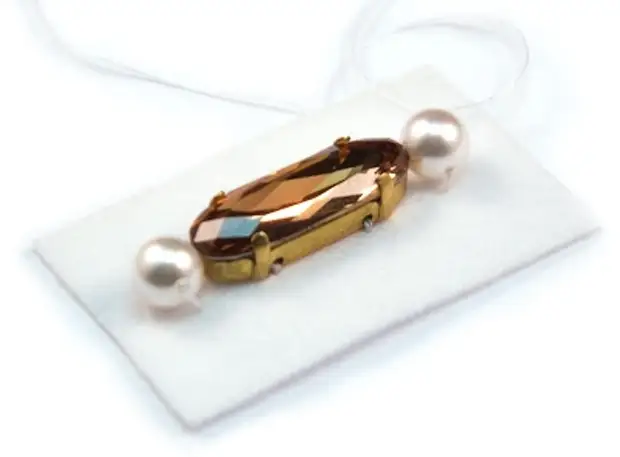
We take a piece of white felt and sew the rim to it. We pass the thread several times. By the way, about the thread - I have 100% polyester (Amann Group Mettler, Poly Sheen, # 40)

Embroidery beads Earrings Versailles. Master Class (5) (400x300, 27Kb)

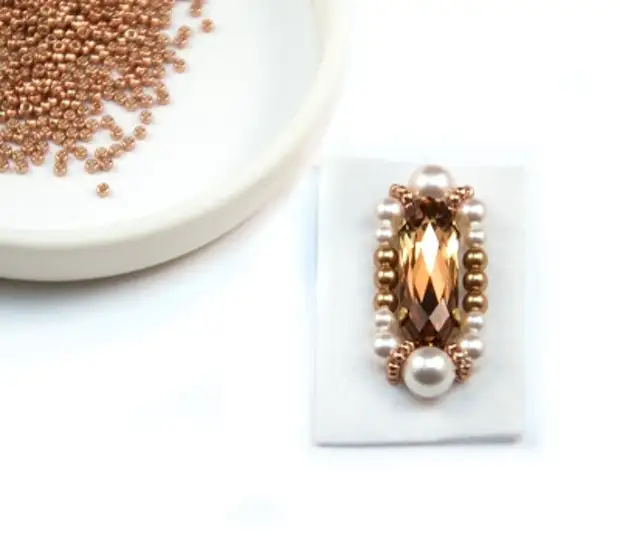
We take pearls: 3, 4 and 6 mm White, 3mm Bright Gold.

Embroidery beads Earrings Versailles. Master Class (2) (640x426, 171KB)

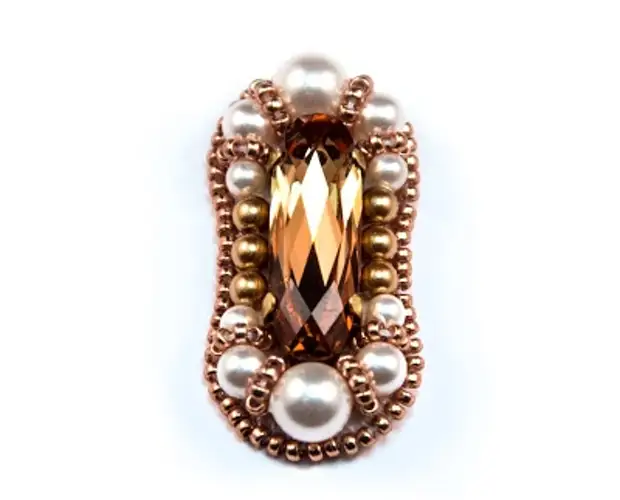
On top and bottom of the crystal, we sew two pearls of size 6 mm. We type 4mm White, 3mm White sequentially, then 3 3mm Bright Gold and 3mm and 4mm White again, and make a bridge, connecting two large pearls.

Embroidery beads Earrings Versailles. Master Class (6) (400x295, 34Kb)
Embroidery beads Earrings Versailles. Master Class (7) (400x286, 32Kb)

The same bridge on the other hand. Notice, pearls have not yet been fixed, just hangs on the threads between big pearls. We recruit Miyuki's beads 15/0 and make small bridges between pearls 4mm and 6mm. I chose the color "Golden Champagne", a super-fast coverage of Duracoal.

Embroidery beads Earrings Versailles. Master Class (8) (400x288, 34Kb)
Embroidery beads Earrings Versailles. Master Class (9) (400x296, 37Kb)

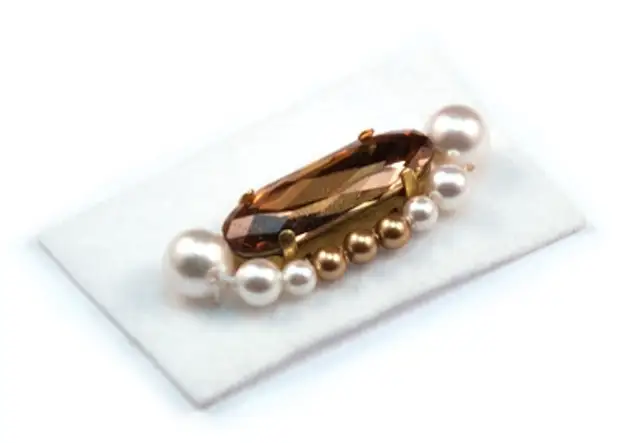
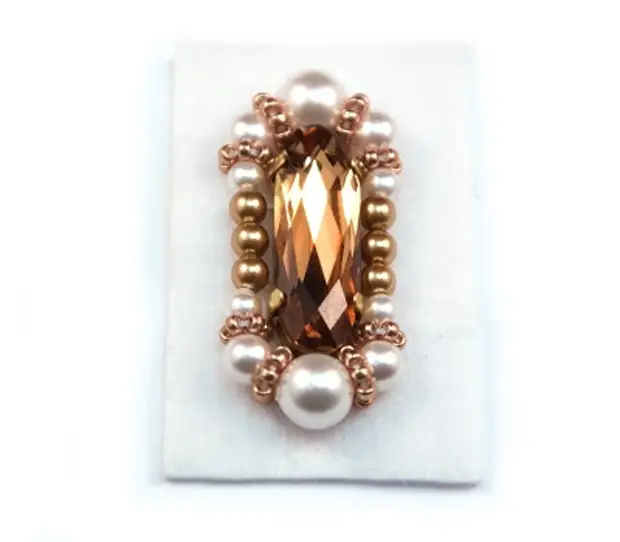
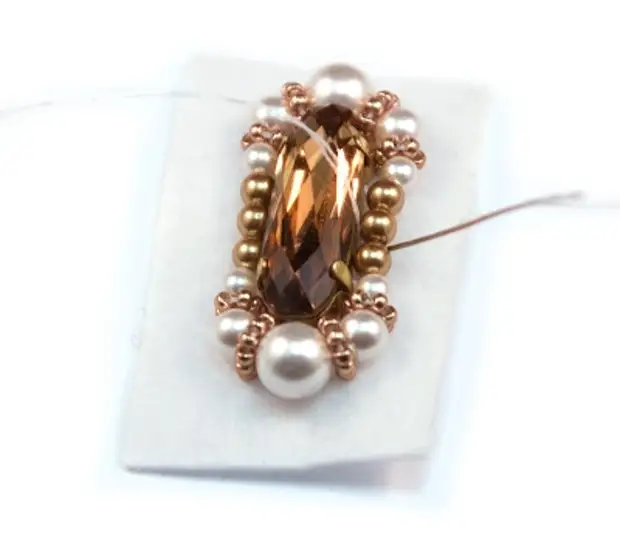
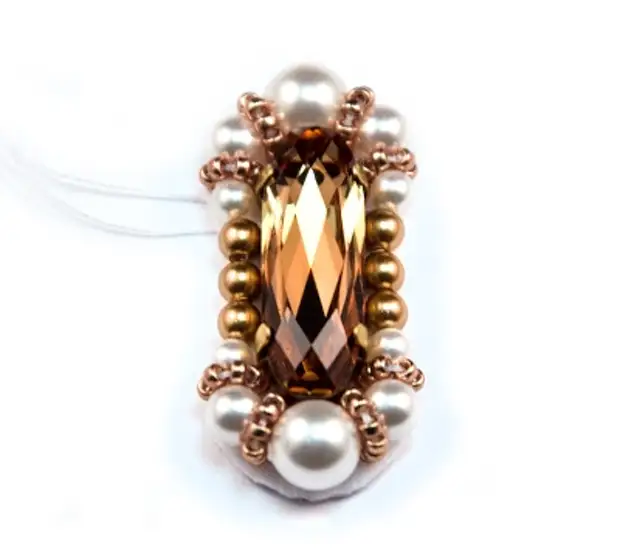
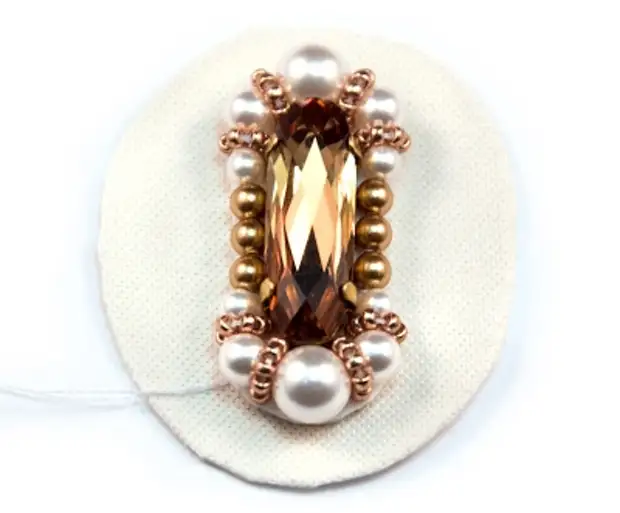
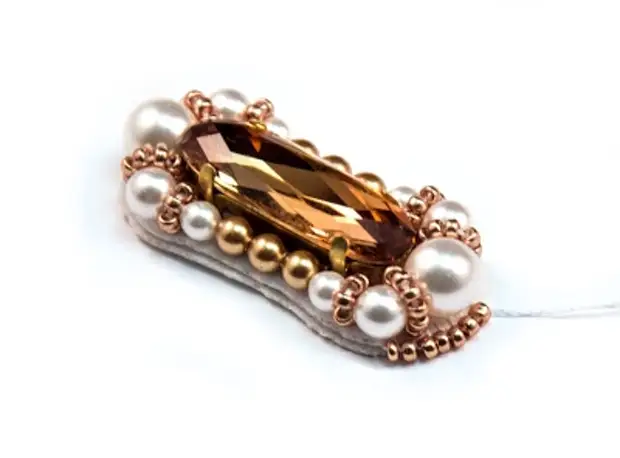
We repeat symmetrically, we get such a result. Now beaded bridges between pearls 4mm and 3mm.

Embroidery beads Earrings Versailles. Master Class (10) (400x360, 50kb)
Embroidery beads Earrings Versailles. Master Class (11) (400x350, 45Kb)
The rest of the pearls are fixing the same bridges only without beads, exclusively thread. Attach them as close as possible to the crystal, thereby "damaging" our feminine forms of future earrings :) We get the result. Nothing should hang out if needed to go a thread several times. Why we immediately did not attach each pearl, but let her move freely on the threads - because it is immediately unknown, where it is a place, since their bridges are noticeably shifted. If the drawing requires that the bridges do not shift anything, then, on the contrary, you need to fix each pearl right away.

Embroidery beads Earrings Versailles. Master Class (12) (400x345, 44Kb)
Embroidery beads Earrings Versailles. Master Class (13) (400x346, 46Kb)

Go to the most necessarily part of any embroidery: iznance and edge processing. First, cut the felt with manicure scissors as close to the edge, repeating the forms. We leave no more than 1mm. Delayed on dense paper (cardboard) embroidery shape, and cut out the retreating pair of millimeters from the edge. We glue the paper to the feta. I use the glue of the crystal.

Embroidery beads Earrings Versailles. Master Class (14) (400x358, 48Kb)
Embroidery beads Earrings Versailles. Master Class (15) (400x319, 28kb)

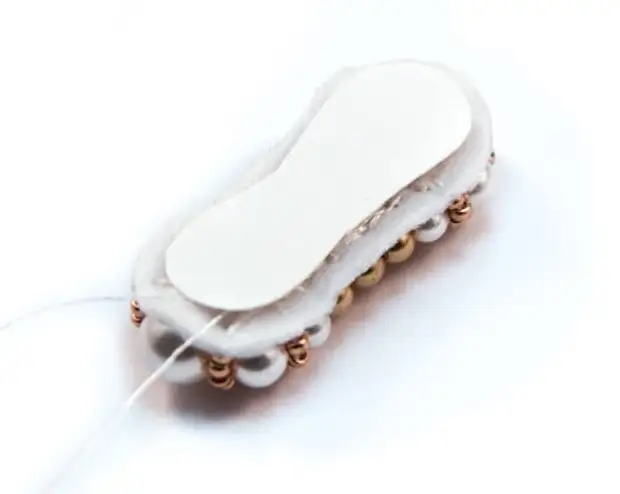
Now take the skin. I use good soft artificial skin for raincoats and bags. Printe. Gently cut the skin, leaving 1mm relative to the fetra.

Embroidery beads Earrings Versailles. Master Class (16) (400x331, 65Kb)
Embroidery beads Earrings Versailles. Master Class (17) (400x329, 44Kb)

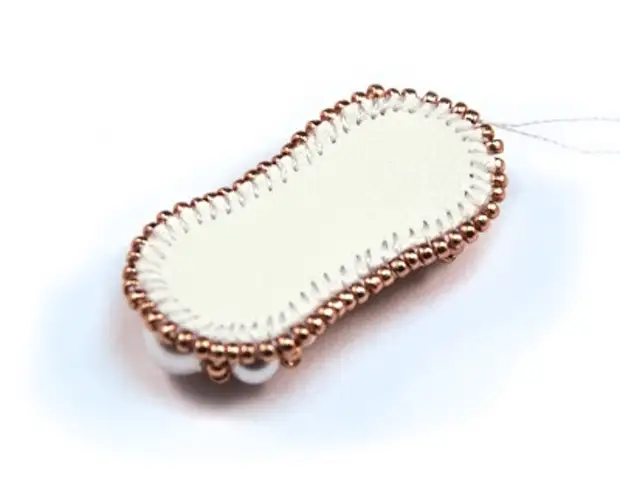
The thread is already between the felt and the skin, if it was not accidentally cropped :) If it was, add it again and remove between the felt and the skin. Go to the edge processing: Carefully look at the drawing, the movement of the thread and explanation. We recruit one bisery of the 15th size, we enter the needle in the skin at a distance of about 2-3mm from the edge, and leave the needle from the front of the felt. In the resulting loop we spend a needle with a thread and tighten to the left of the bead:

Embroidery beads Earrings Versailles. Master Class (18) (400x363, 84Kb)
Embroidery beads Earrings Versailles. Master Class (19) (400x296, 42KB)

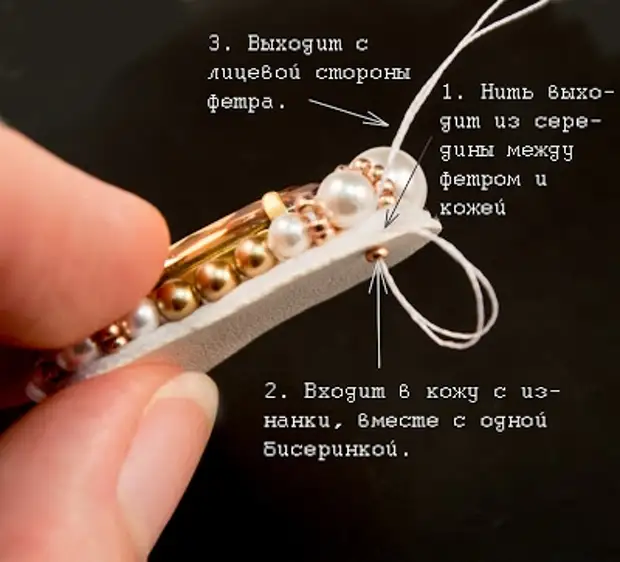
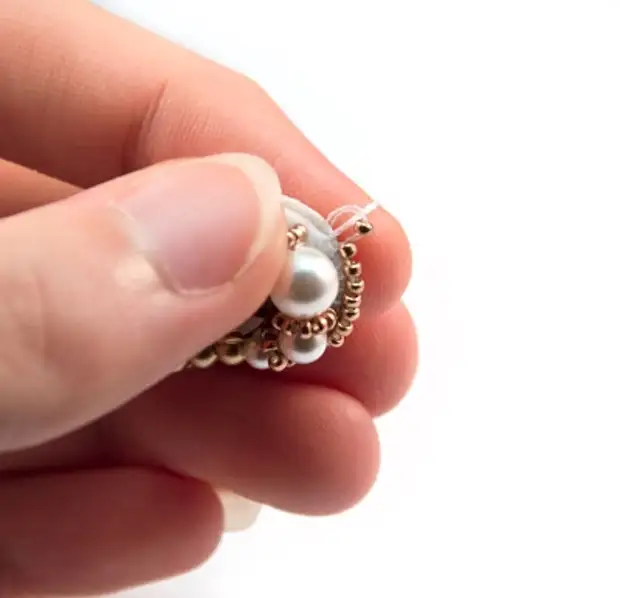
And so every beerink around the perimeter:

Embroidery beads Earrings Versailles. Master Class (20) (400x386, 45Kb)
Embroidery beads Earrings Versailles. Master Class (21) (400x323, 52Kb)

Own:

Embroidery beads Earrings Versailles. Master Class (22) (400x322, 40Kb)
Embroidery beads Earrings Versailles. Master Class (23) (400x314, 41kb)
We bring the thread into the future lower part of the earrings and form a suspension, for this I gained bispers, one gold pearl and pearl Swarovski form "Pear". We pass throughout the suspension at least twice.

Embroidery beads Earrings Versailles. Master Class (24) (400x294, 46Kb)

25. Led the thread up through the beads of the edge. At the top central bead, we attach Schwenza: We recruit two beads, Swenza, two more bispers, and form a loop that fix several times.

Embroidery beads Earrings Versailles. Master Class (25) (400x314, 43kb)
Embroidery beads Earrings Versailles. Master Class (27) (400x329, 57Kb)

Decoration with your own hands (1) (392x398, 73kb)

Source: galadietrih.blogspot.com/2013/08/master-klass-po-vyshivke-biserom-sergi-versal.html

Read more