
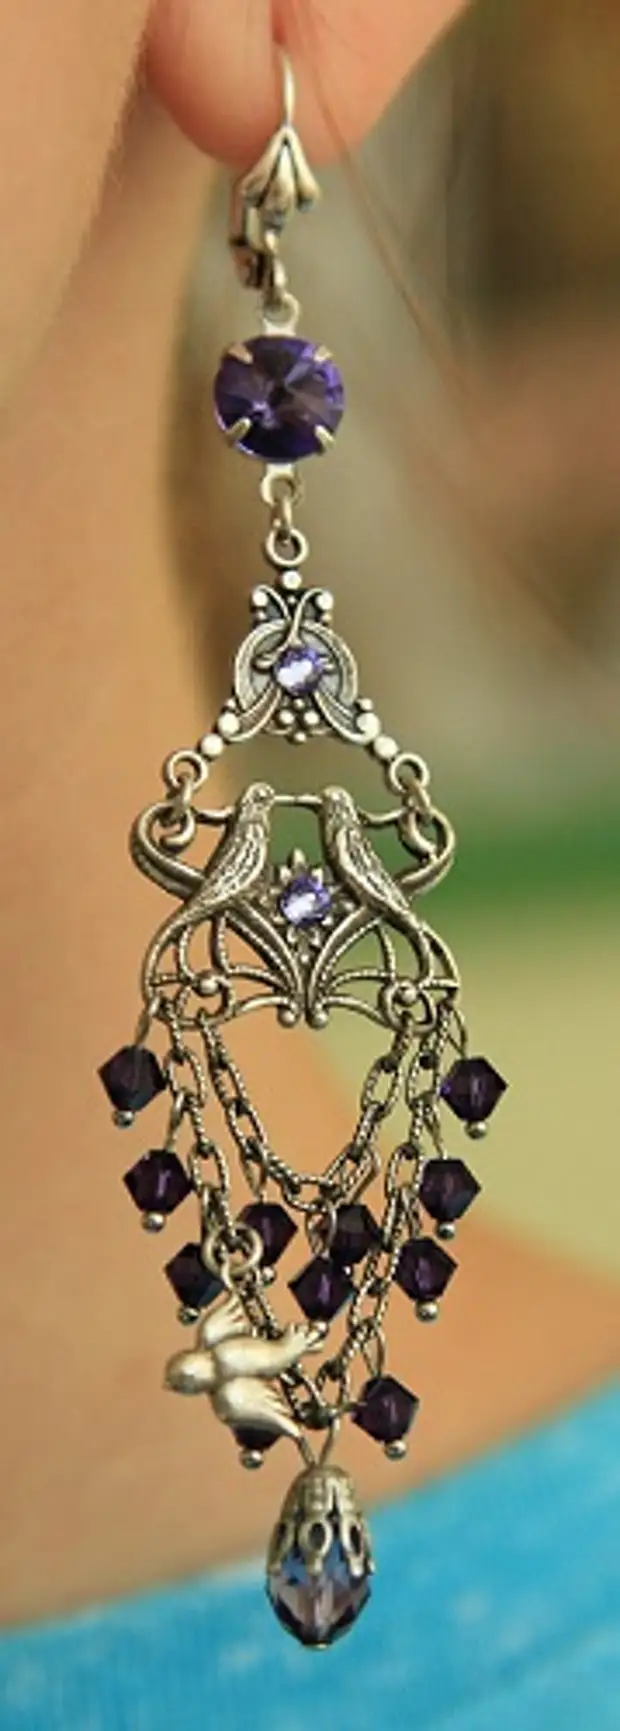
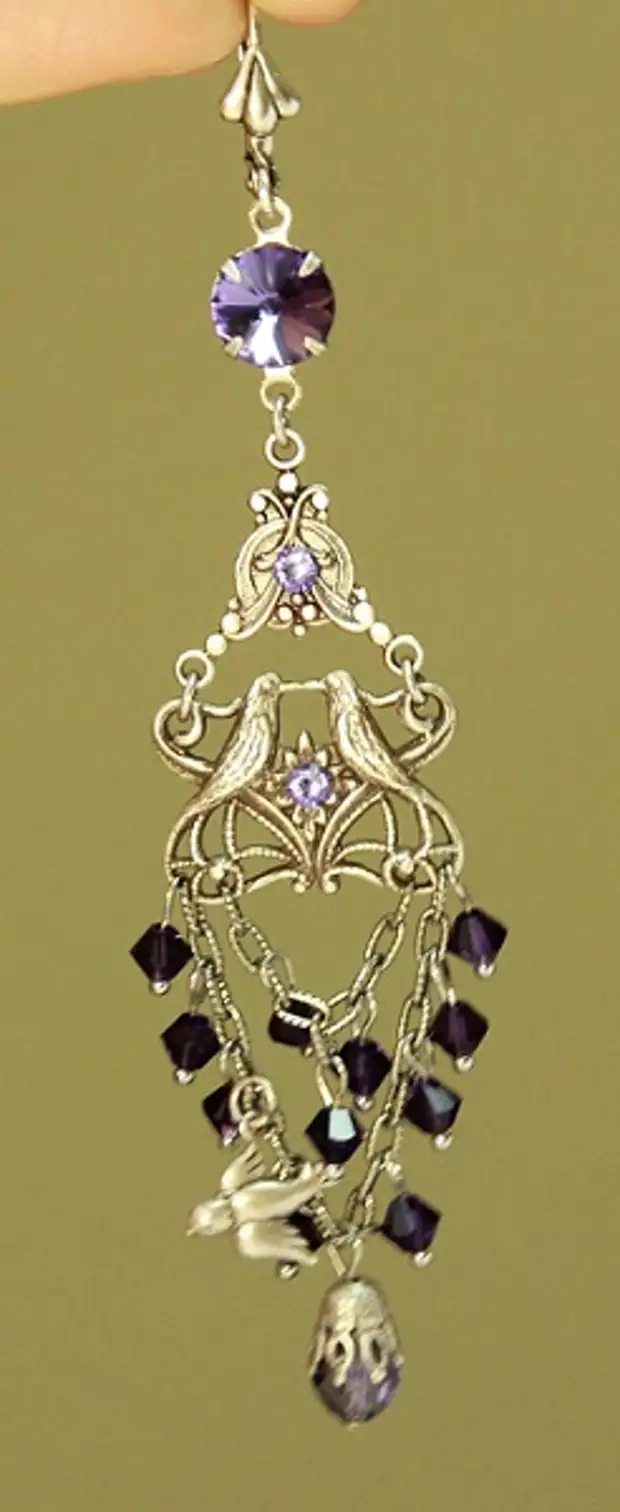
Good afternoon! At work very often, especially now, in the summer, I hear the birds trill, so I wanted to create a truly summer earrings with birds that I called "bird comfort."
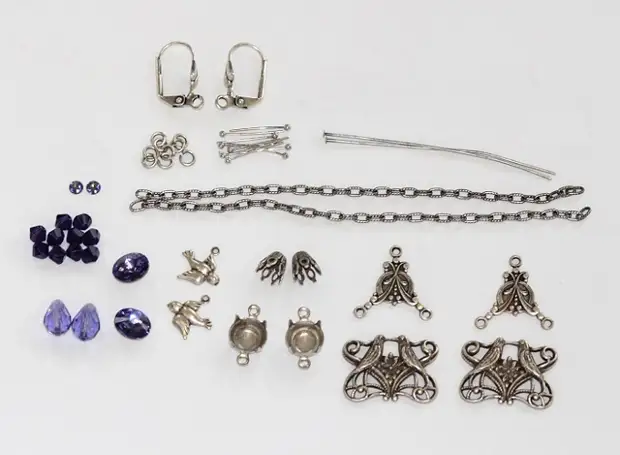
So what Materials for this we need:
- Basics for servo cheek;
- Vintage connectors (2 pcs.);
- Vintage Bird Connectors (2 pcs.);
- Setting for rhinestones 8 mm (2 pcs.);
- Caps for beads (2 pcs.);
- Vintage pendants "birds" (2 pcs.);
- Beads-drops Swarovski Tanzanite 9x6 mm (2 pcs.);
- Beads Books Purplevelvet Swarovski 4 mm (22 pcs.);
- Rivoli Tanzanite 8 mm (2 pcs.);
- Rhinestones with flat base 3.2-3.3 mm (4 things.);
- Vintage chain (20cm);
- Pins with ball (22 pcs.);
- Pina-cloves (2 pcs.);
- Rings (6 pcs.).
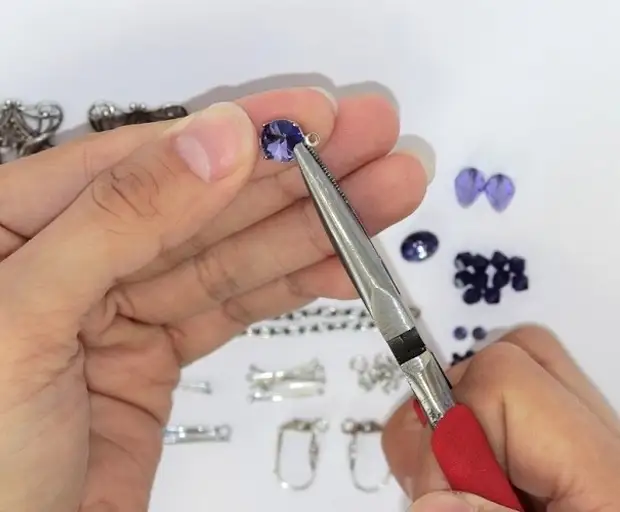
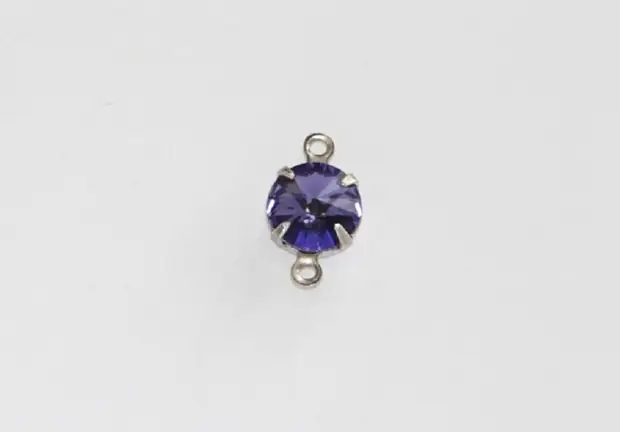
1. Insert to the setting for rivol rivol 8 mm.
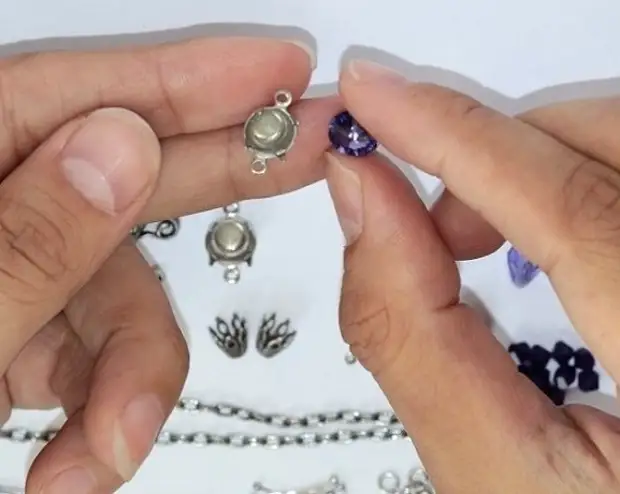
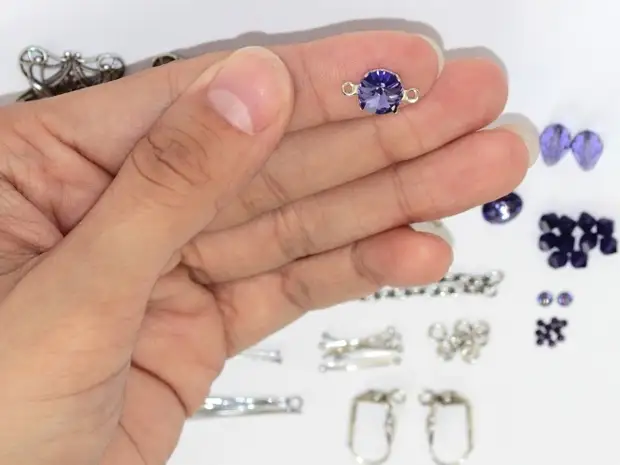
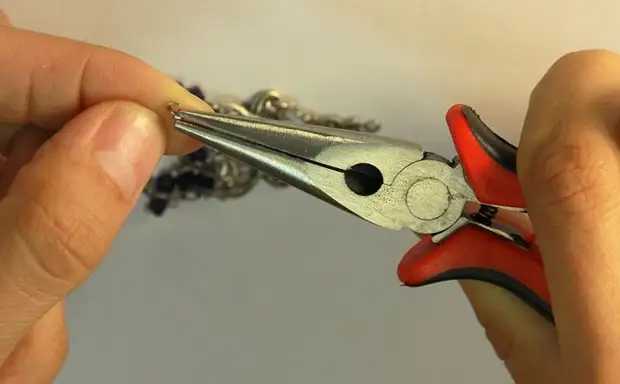
Carefully run the netting paws using pliers.
2. Take the Vintage Bird Connector and connect another vintage connector to it using 2 rings.
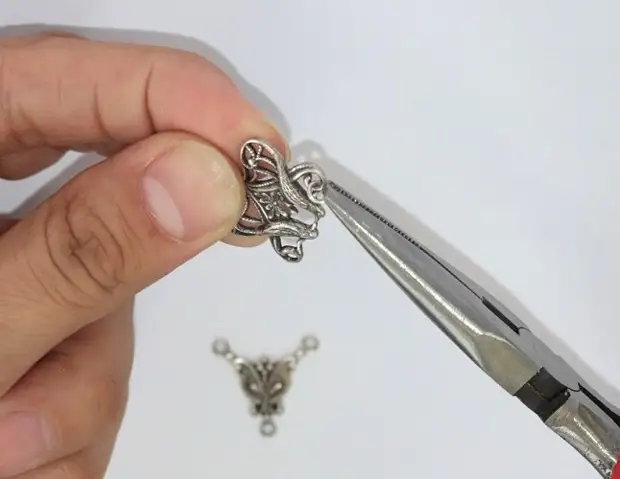
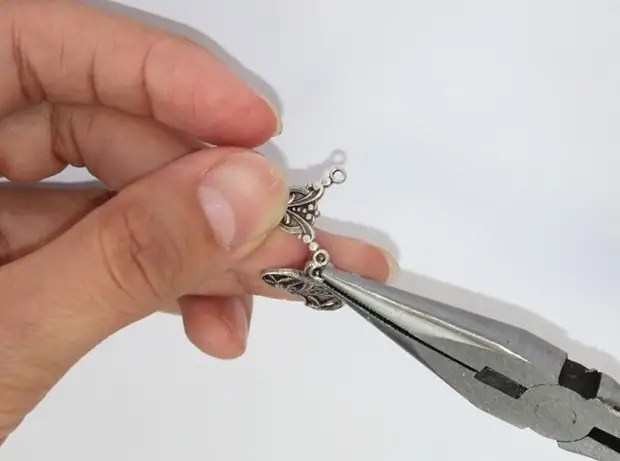
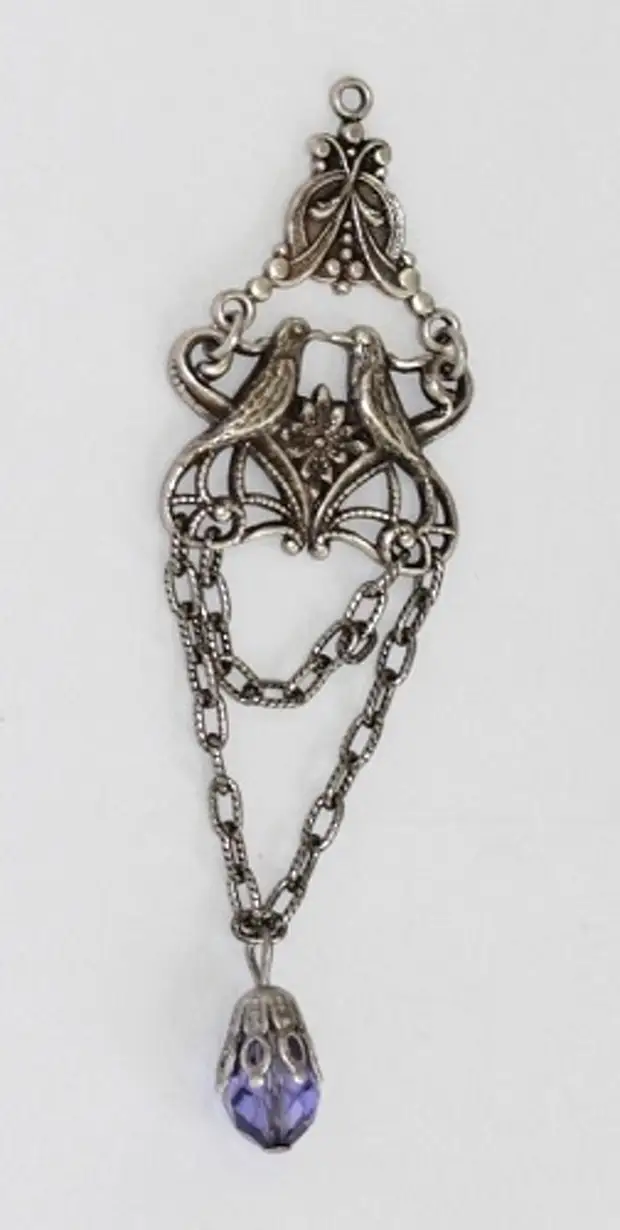
In the same way, we attach the 2nd parts of the connectors and it turns out such a design.
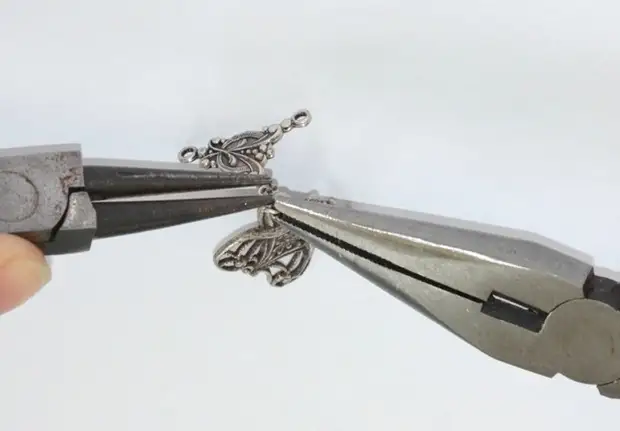
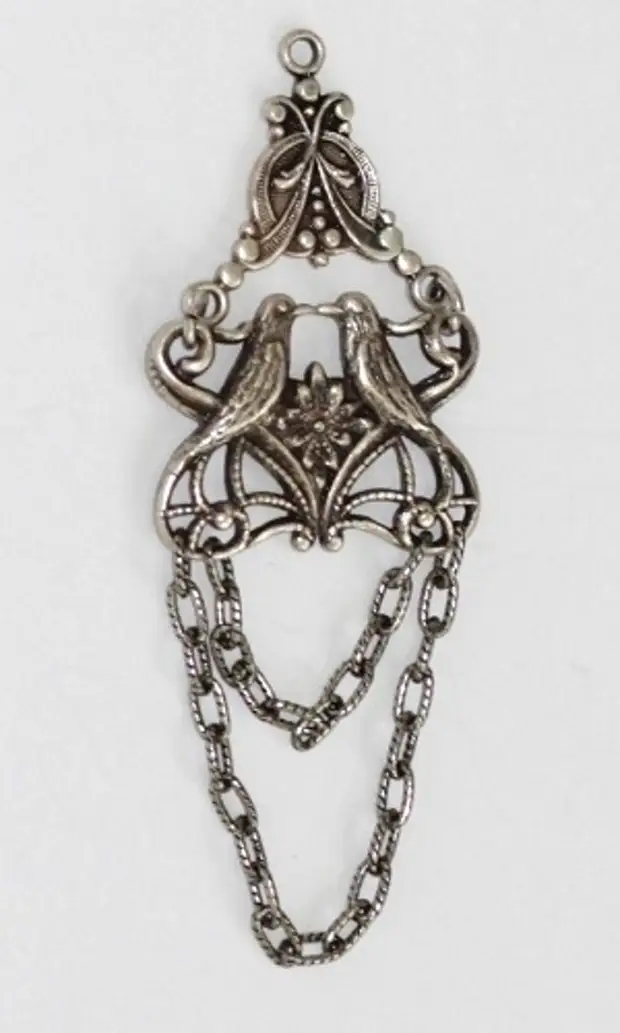
3. Now join the connector with birds 2 chains of different lengths.

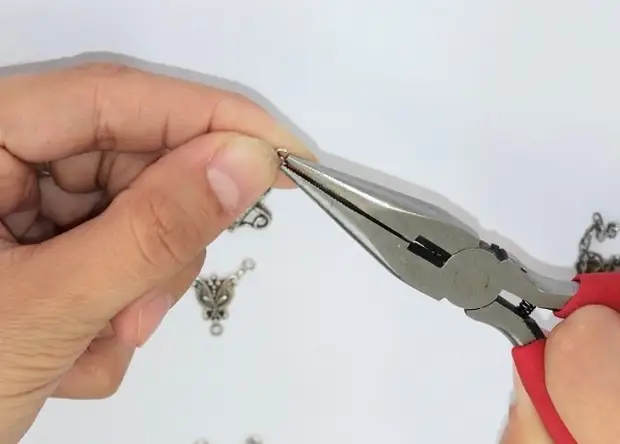
First, the short chain closes, to do this, separate one of the chain links, we sell it through the hole in the connector and connect it back.
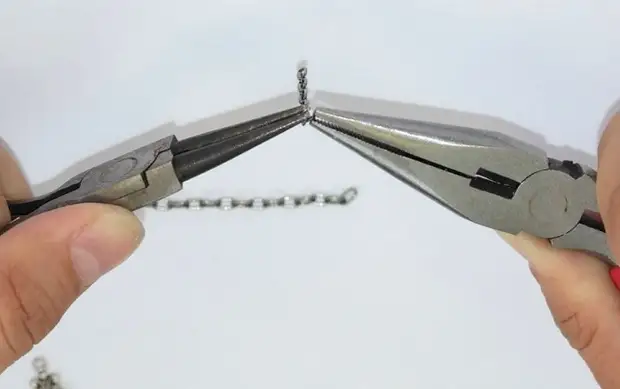
We do the same on the other side.
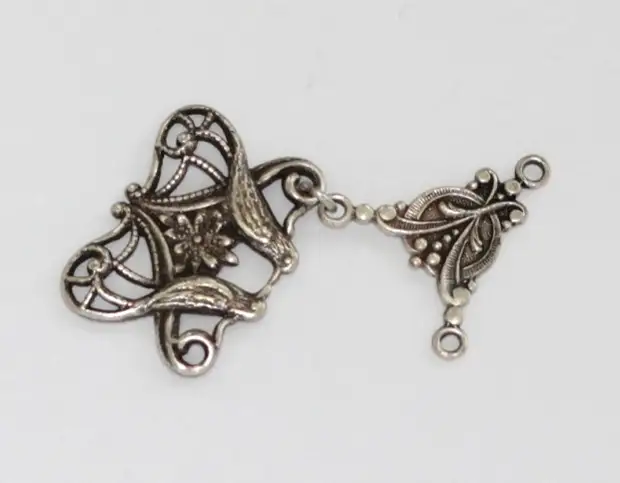
That's what happens.
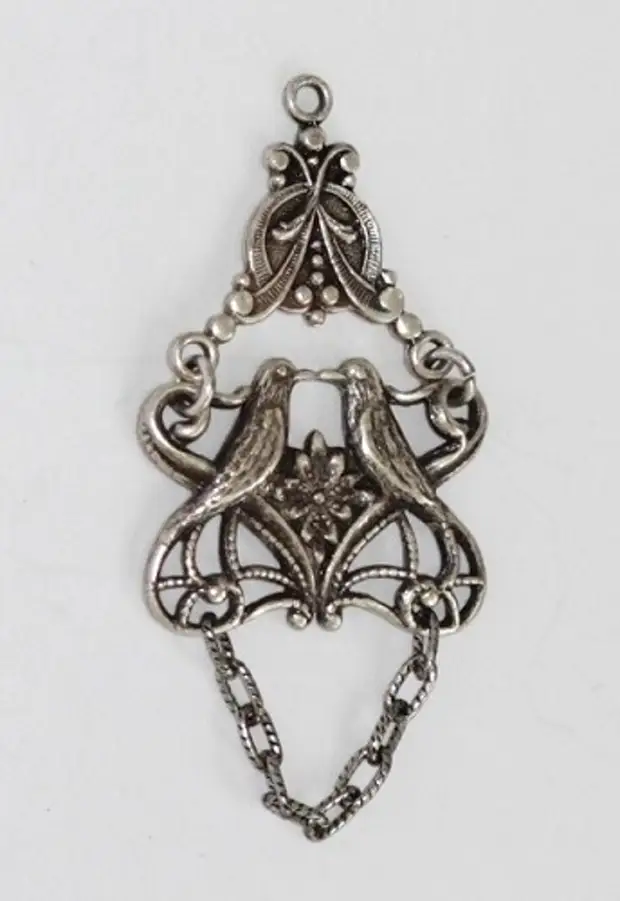
In the same way, connect the long chain to the connector and as a result we will get such a workpiece under the serge.
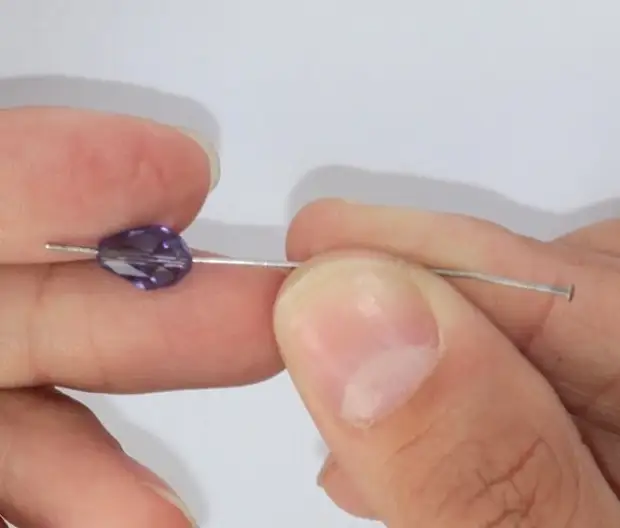
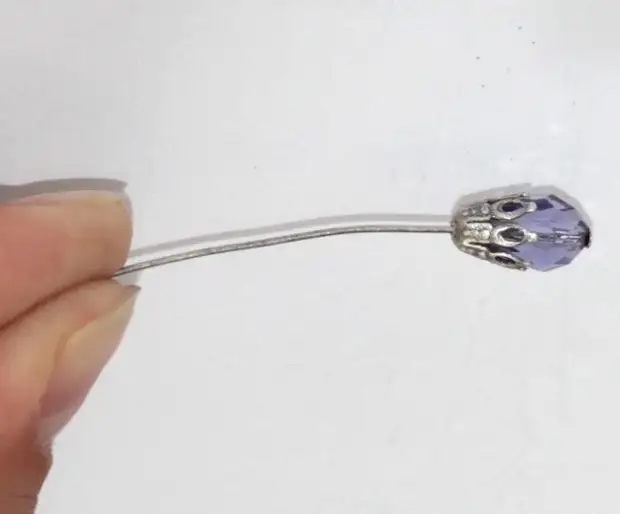
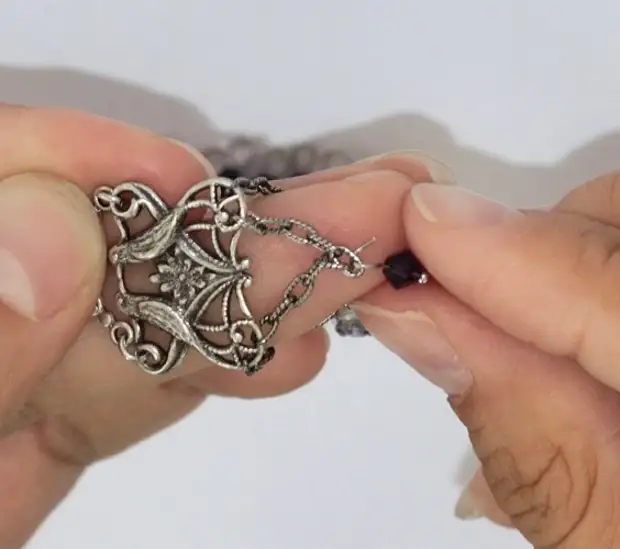
4. Now prepare beads in order to hang them on these chains.
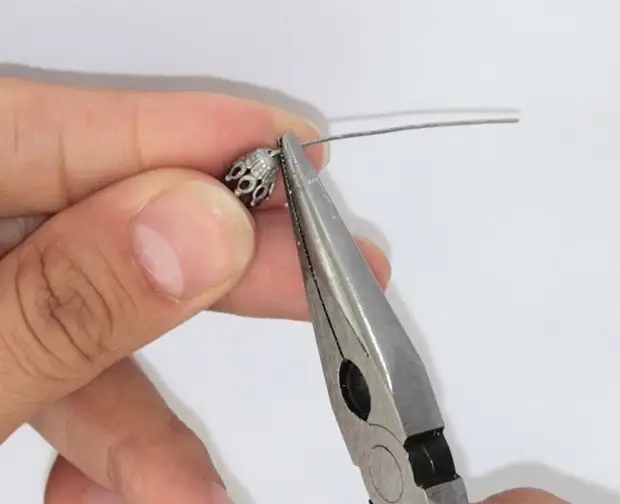
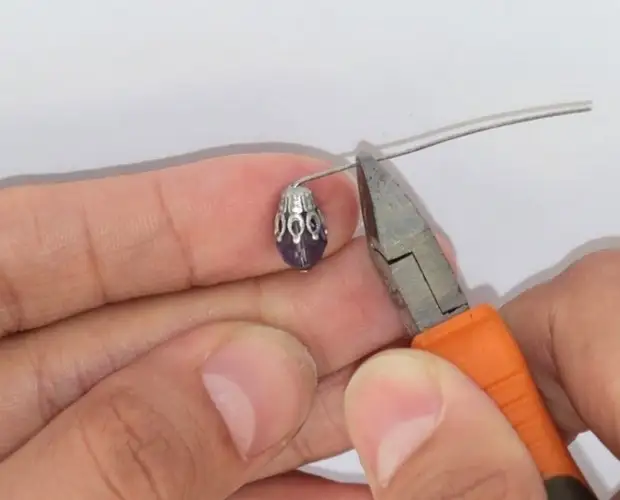
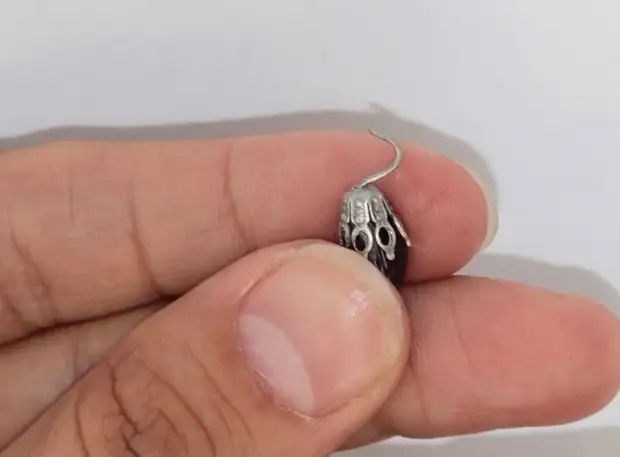
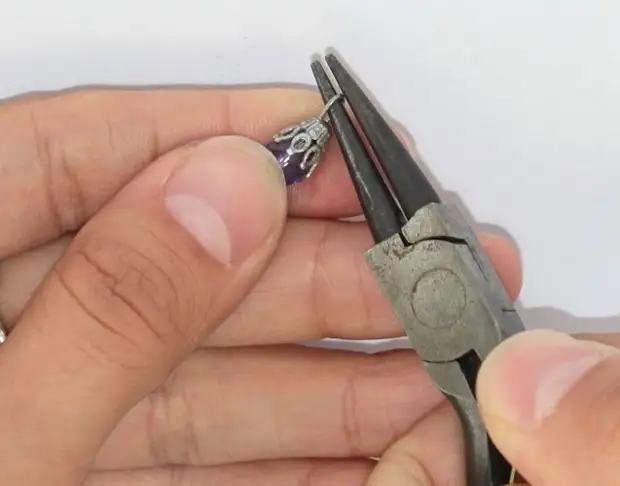
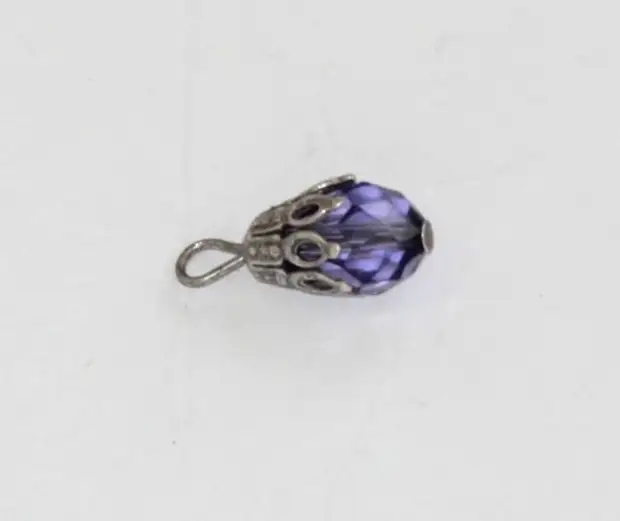
Take a pin-carnation and sell it through the bead-drop. From above decorate a bead with a cap.
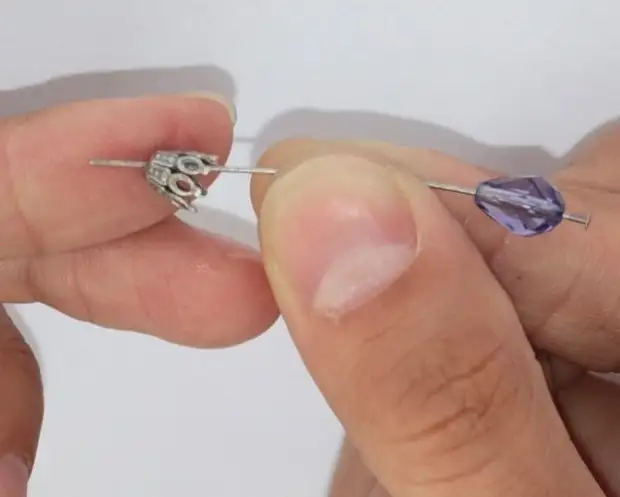
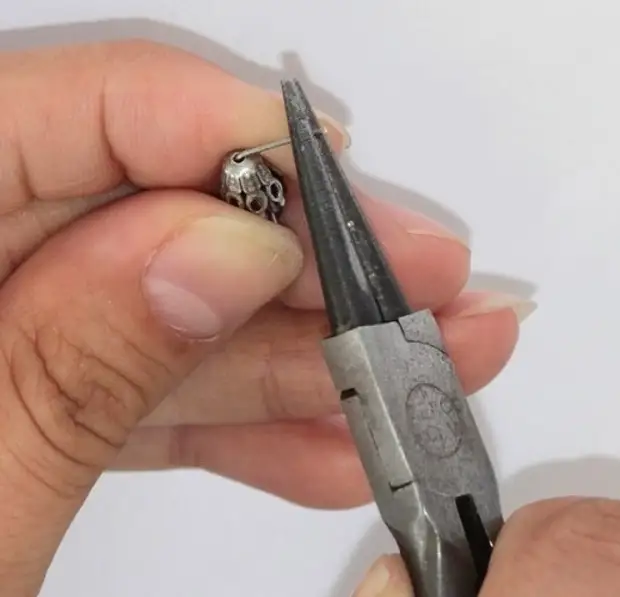
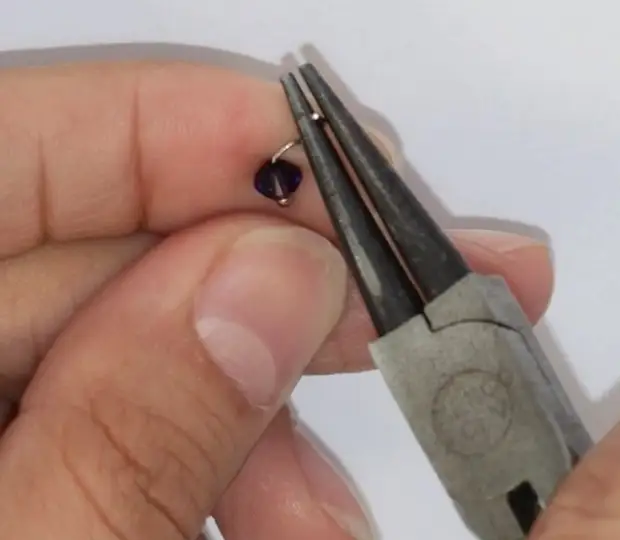
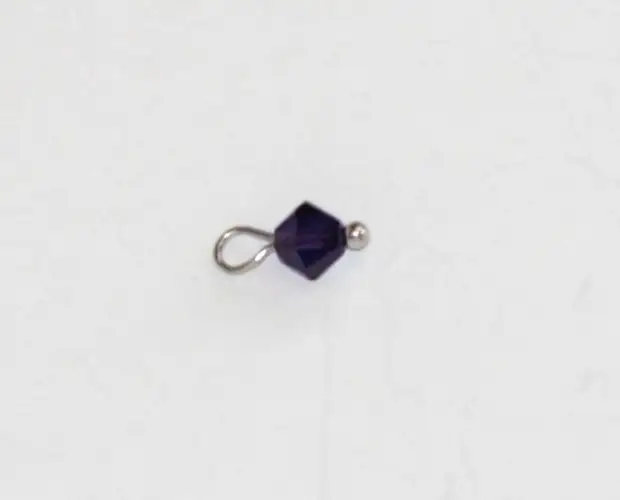
We make a loop at the end of Pina. To do this, we run the tip of the pine at an angle of 90 degrees with the help of pliers, cut off the extra piece and make a loop of the rounds.
Now prepare beads-bikonuses. We do the same surgery as with a droplet, only instead of Pina-carnation take pins with a ball.
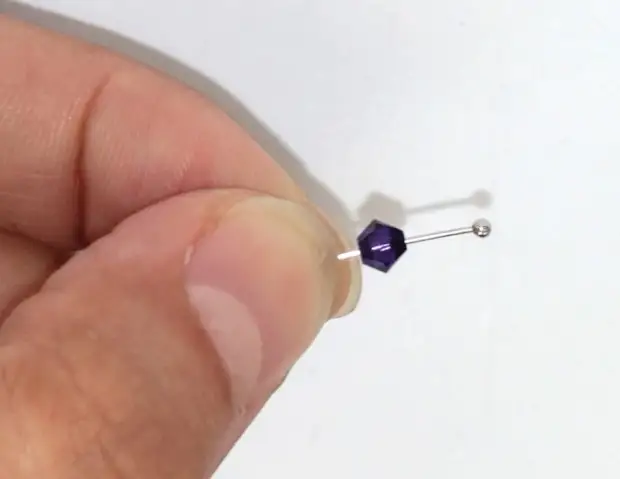
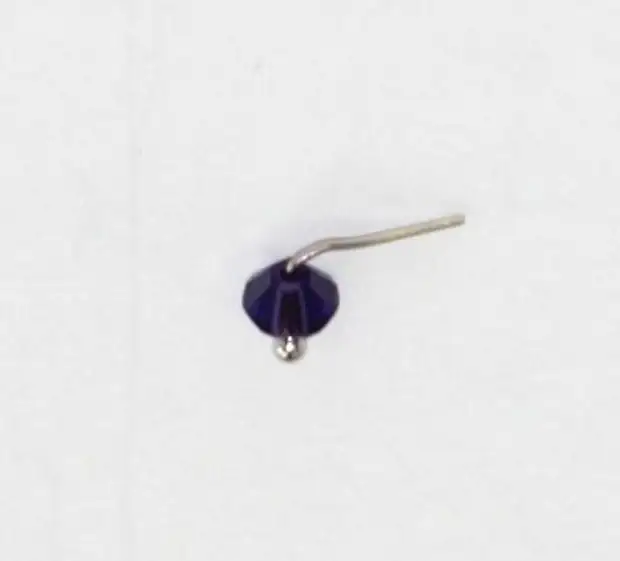
For the 1st seelings, we make 11 such biccuses such.
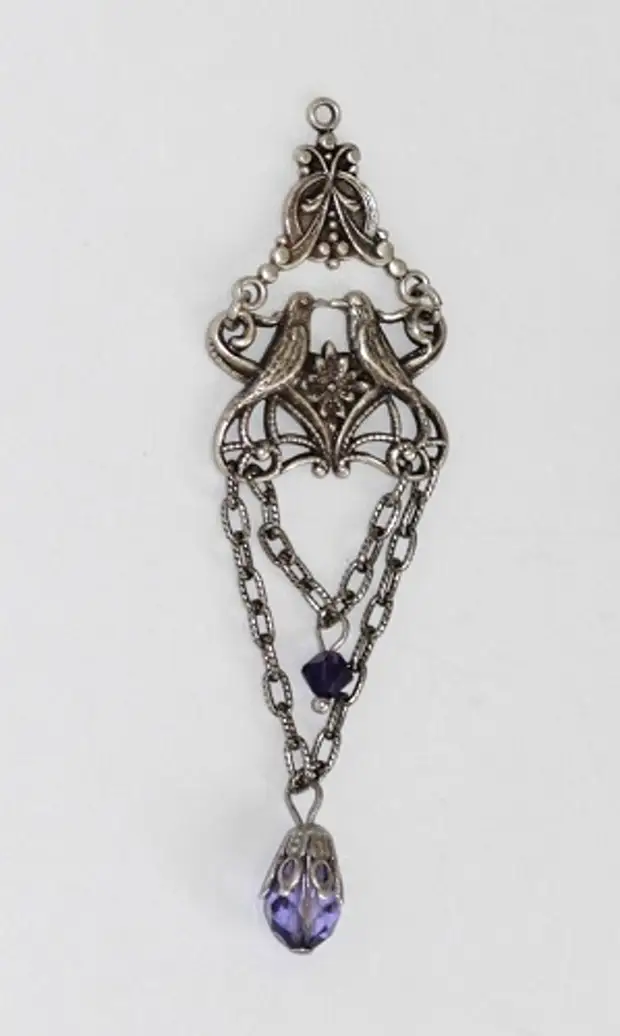
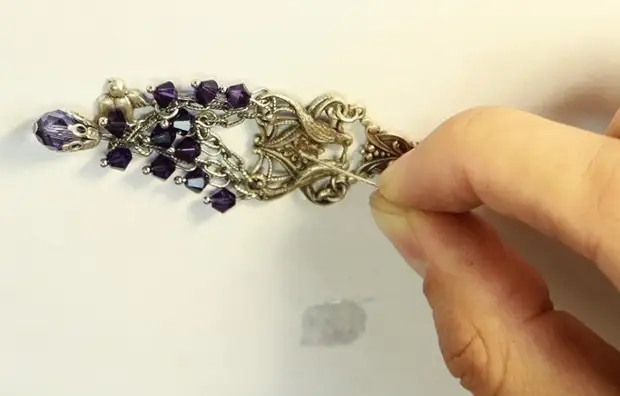
5. Now join all the resulting hanging chains.
Bead-droplet hang on the middle of the long chain.
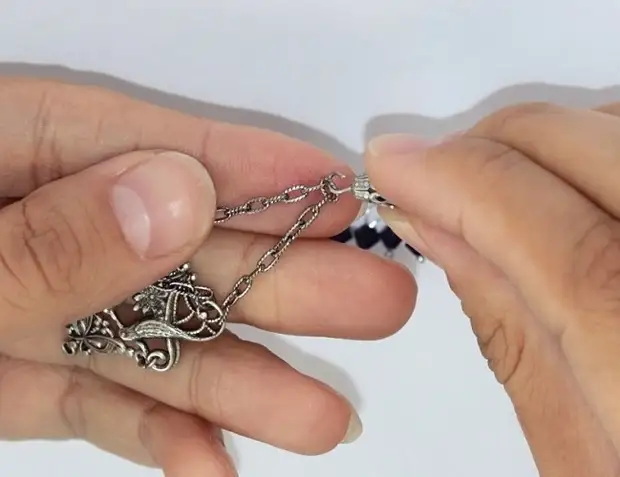
In the same way, connect the beads-bikonas to the long and short chains.
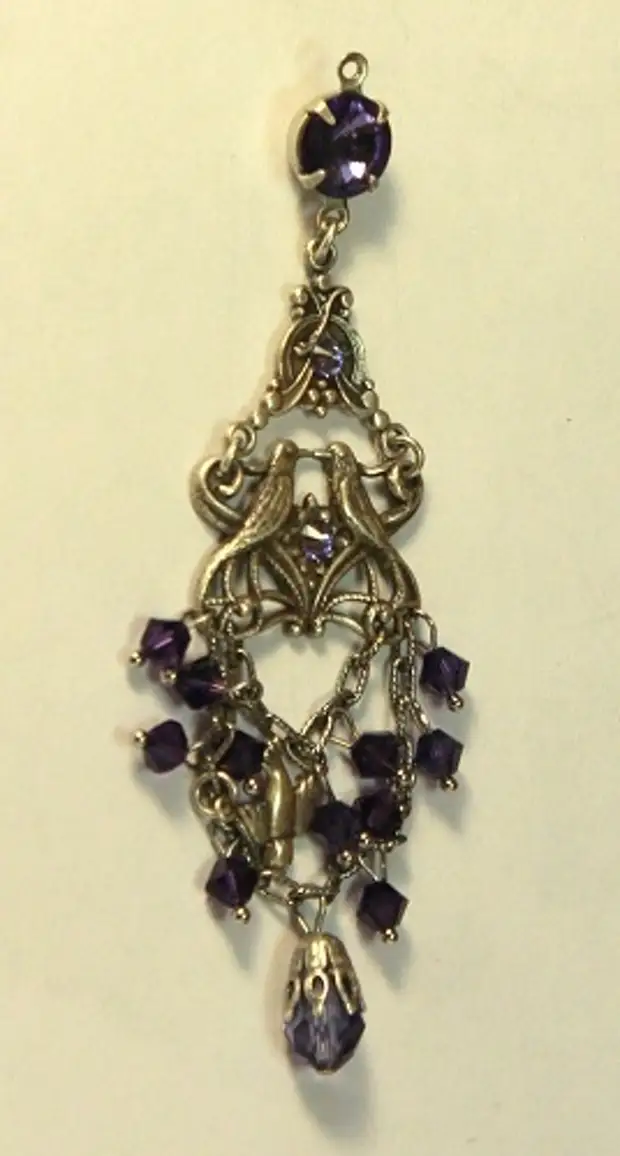
And here is the result:
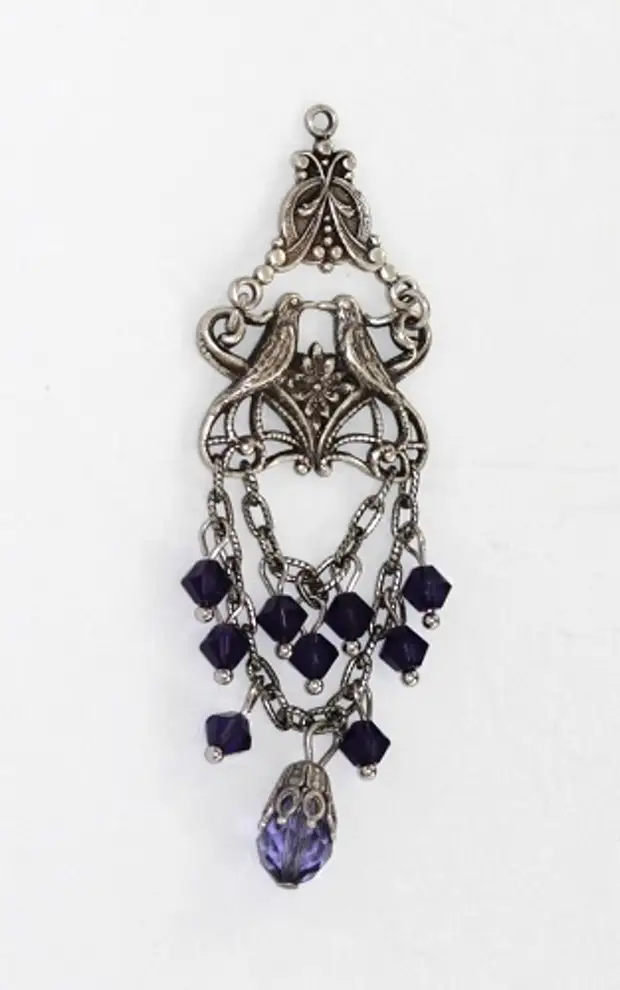
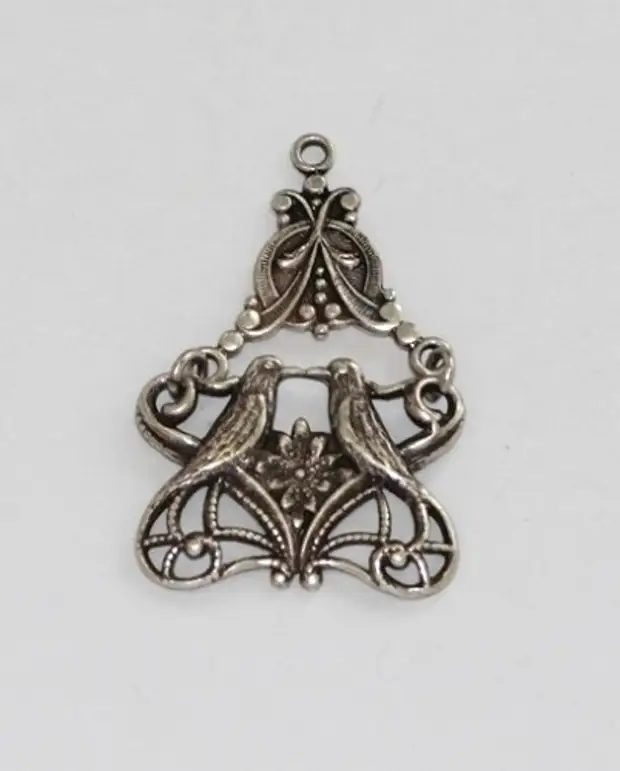
6. Attach the suspension to the long chain in the form of a bird with a ring.
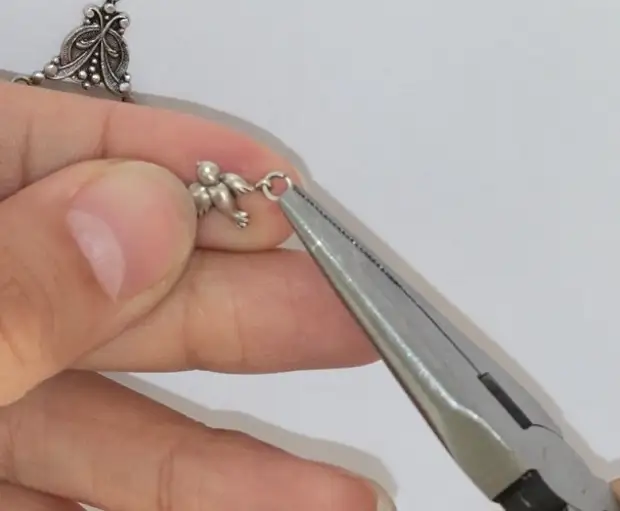
As a result, we get:
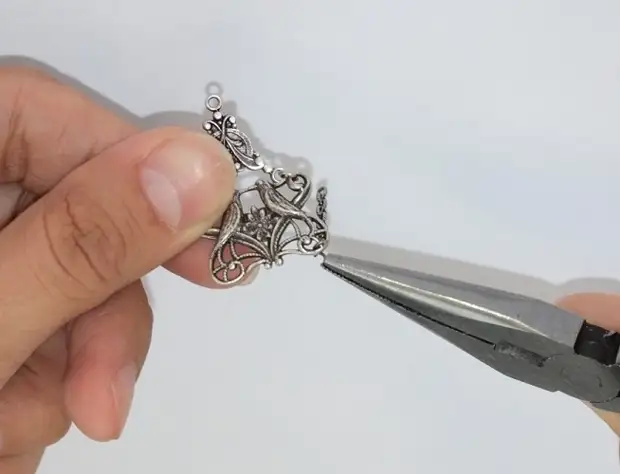
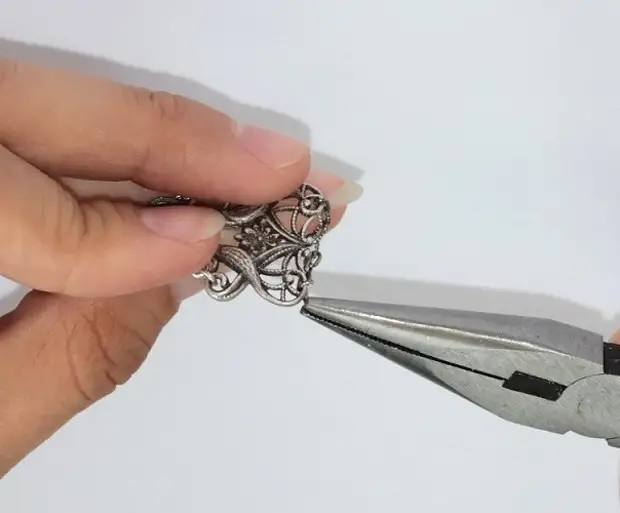
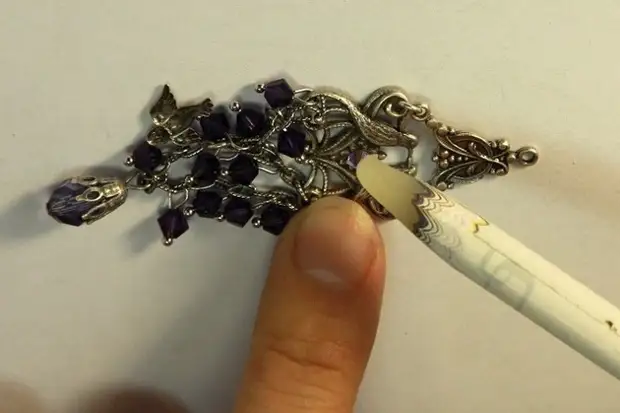
7. We glue rhinestones to the 2nd connectors using the "moment" glue. You can apply glue to the surface with a tip of Pina.
Print rhinestones are very convenient with a wax pencil that easily clings rhinestones.

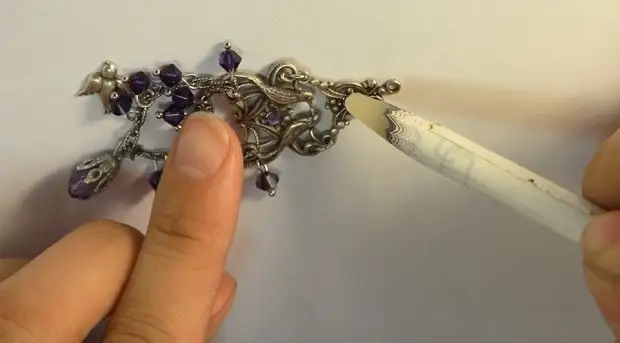
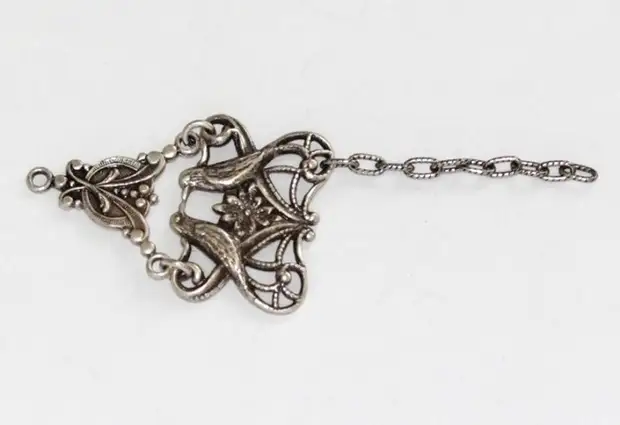
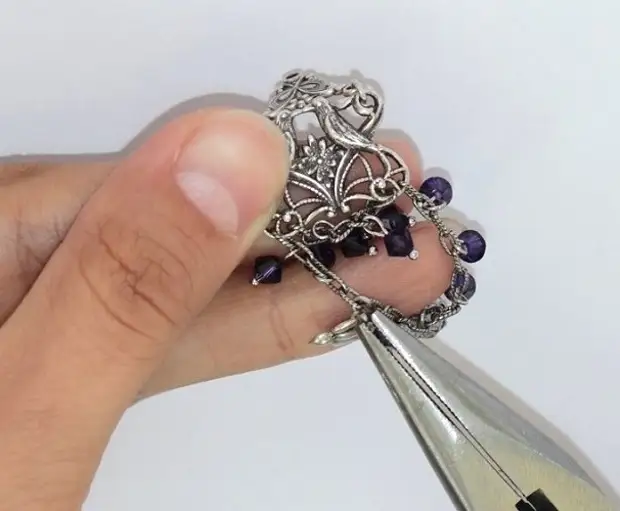
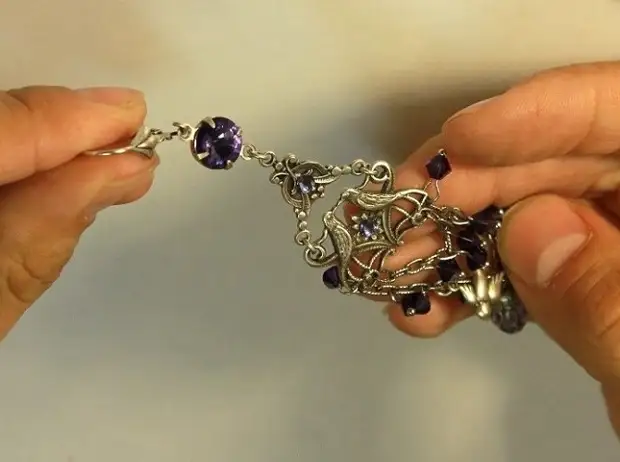
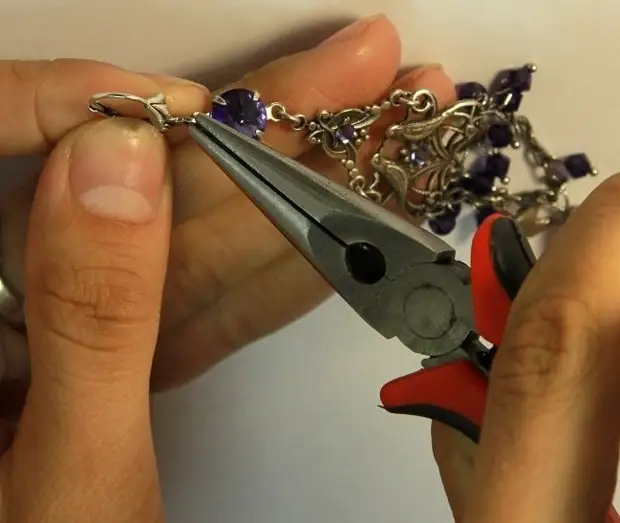
8. Attach to the resulting design setting with rivol with a ring.

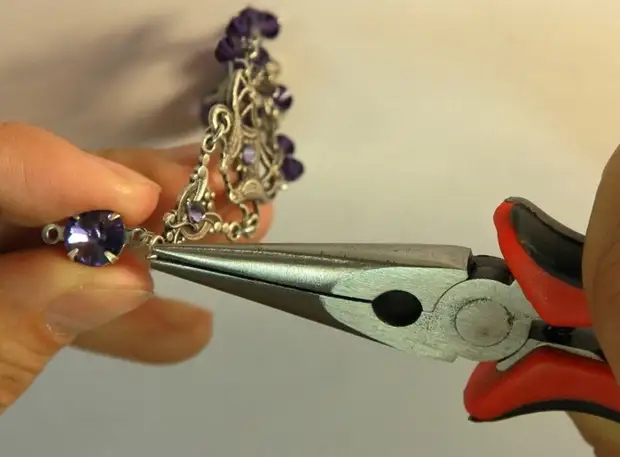
It turns out such a beauty.
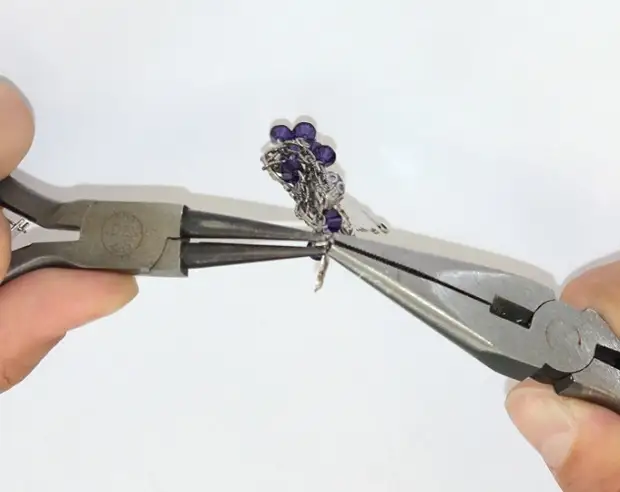
9. The last step remains - to attach the basis for serving. We will open the loop based on and sell our creation through it.

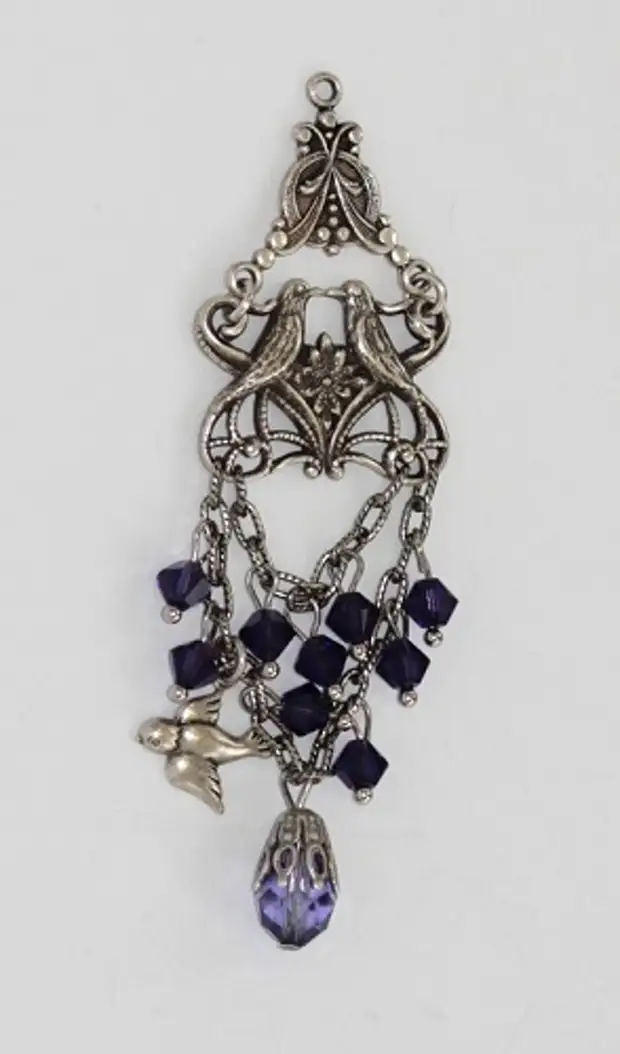
And finally our finished serving!
You can purchase all necessary materials in Online store Lucita - Stones and accessories for jewelry.
Ksenia