
Introducing the work of Rubin Tatiana. Below you can view the master class from the author to create a hedgehog in dry felting technique.

The height of the filicle is 14.5 cm.
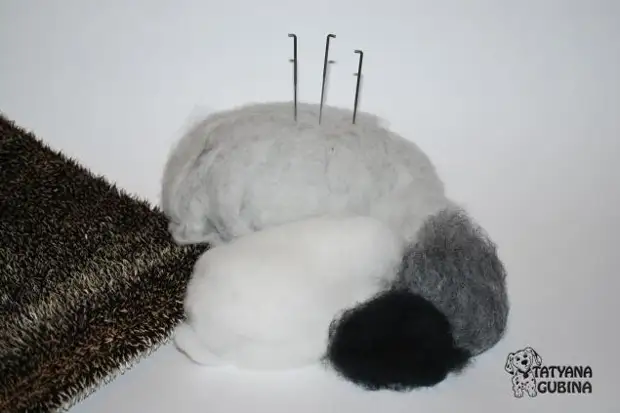
So, to create our hedgehog, we will need the following materials and tools:
- Cardhessa wool light gray, gray, black and white colors.
- needles for felting: rude number 36, thin No. 38-star, needle inverse number 40.
- Mate for felting.
- Flat synthetic brush.
- Plastic black.
- Glue "moment-crystal".
- Cilia.
- Hedgehog Mohacher.
- Lesk (thin).
- Needle.
- Threads.
- glossy varnish.
- Art pastel black, brown, pink colors.
So, take a good mood with you and proceed to work :)
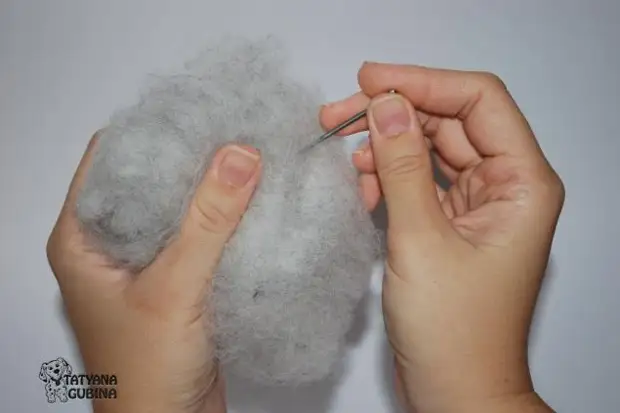
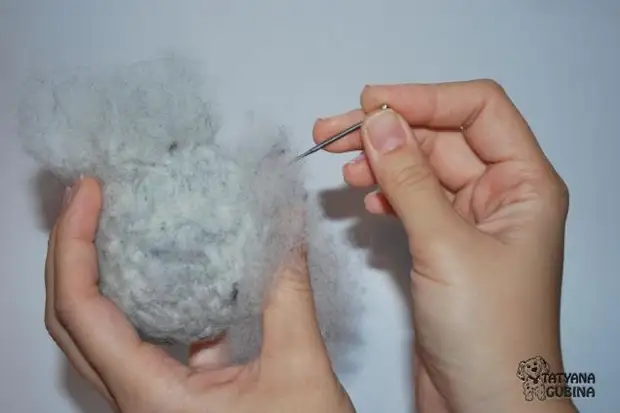
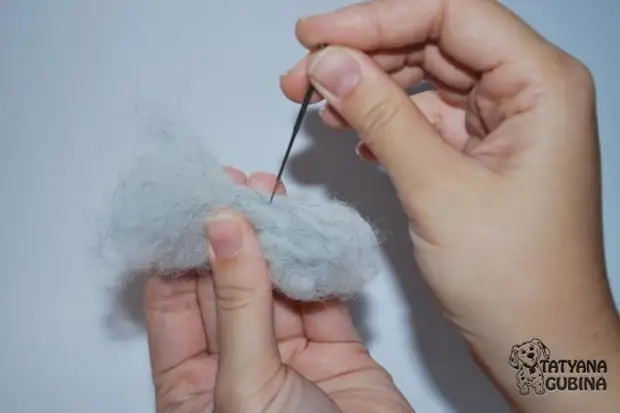
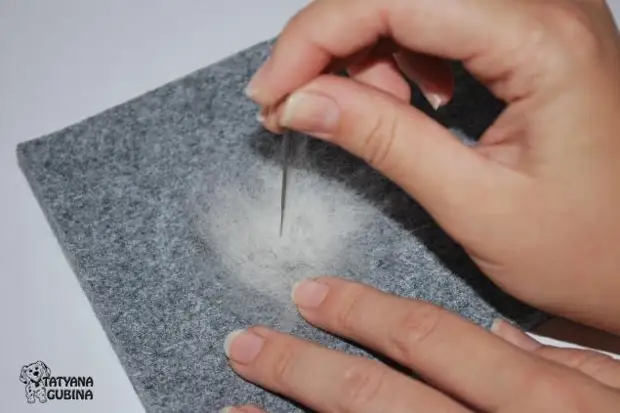
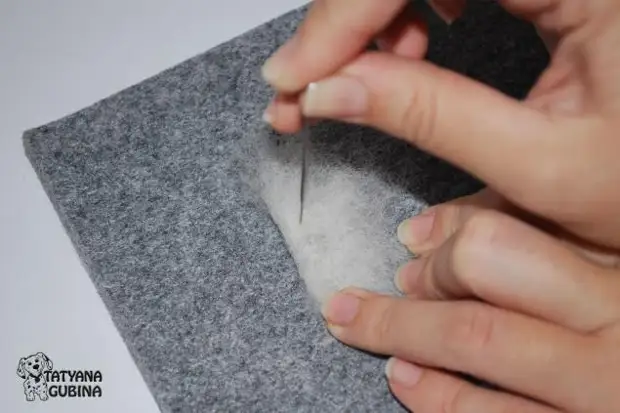
To get started, we need to flip light-gray wool. We begin the dumping of a rough needle number 36. It is necessary that the wool is poured inside the workpiece, and the surface remains loose. To do this, the needle needs to be introduced as deeply as possible.
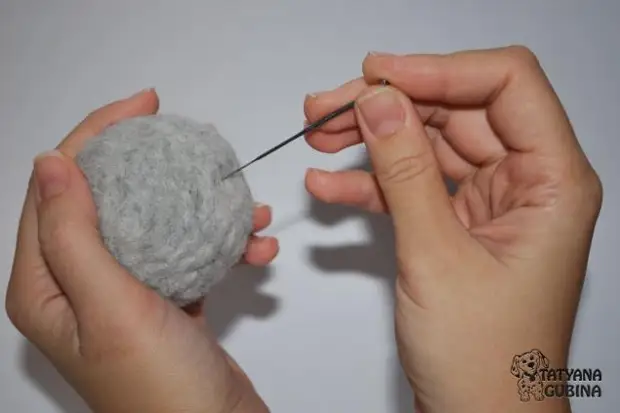
We continue to dumping, forming a blank in the form of a ball (this is the head of our hedgehog). As needed to add wool, achieving the desired volume.
By the same principle, we throw an egg-shaped blank for the body. On the one hand, the wool is left in a free state for further attachment of the body and the head. We account for the proportions and size of the toy. Compare with your head blank.
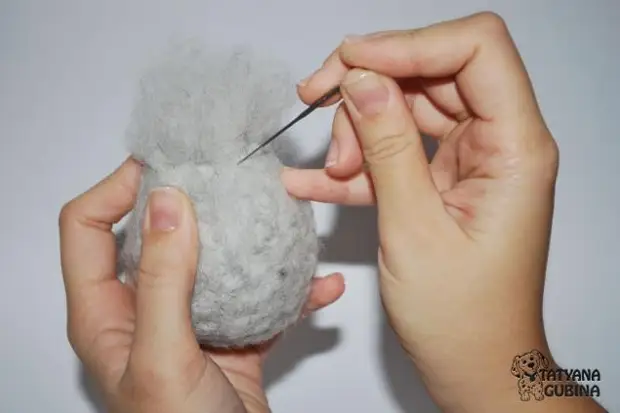
Add a wool to the place of the intended rush. The needle sticks deeply. Compact material, keeping the form.
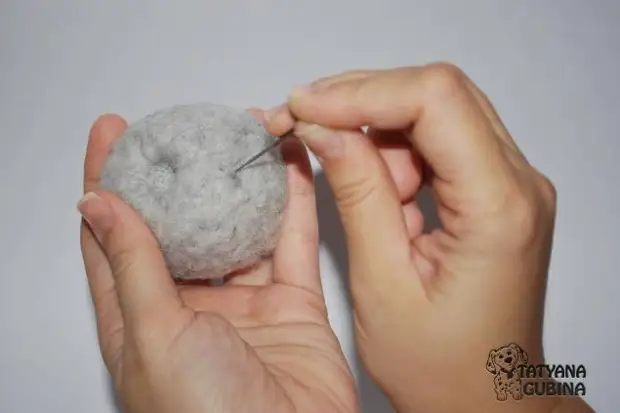
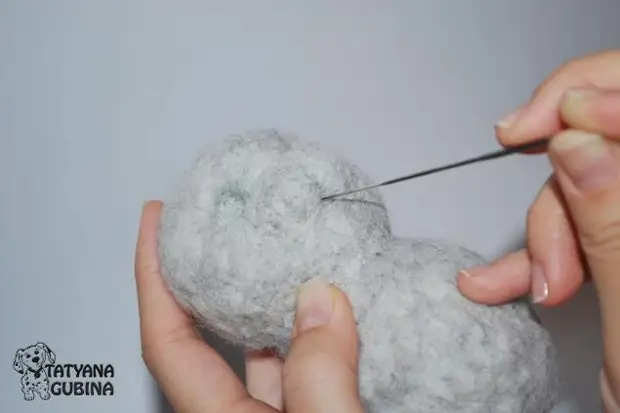
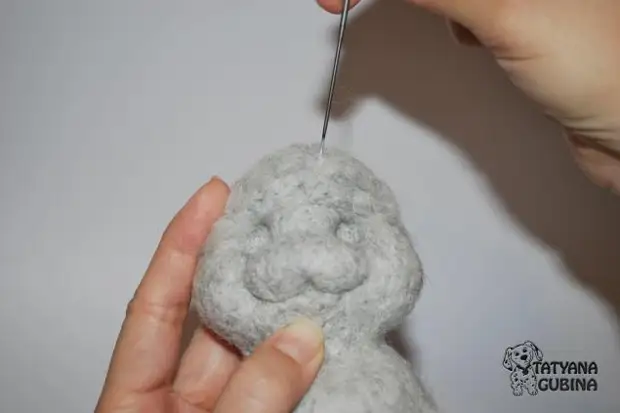
While the surface of the workpiece is loose, form the orphanage, repeatedly and deeply stick the needle. Consider the shape and size of future eyes. Save symmetry.
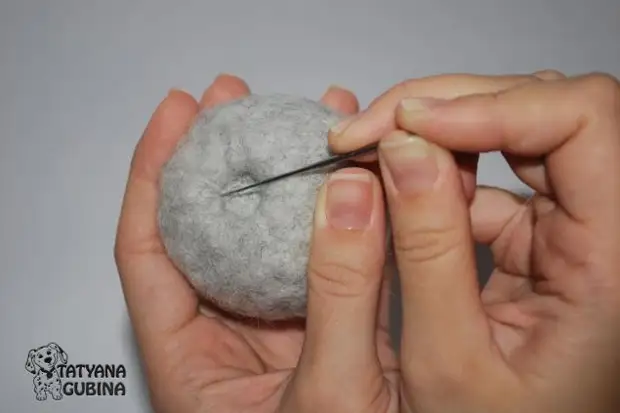
Expand the socket, working as a needle in its inner edge. The needle directed a sob.
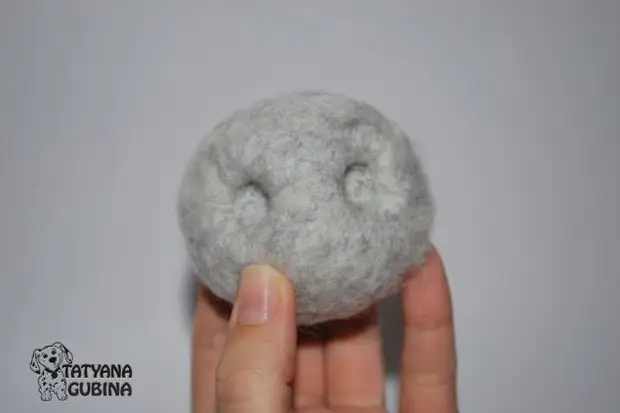
Here are such a soccer with us
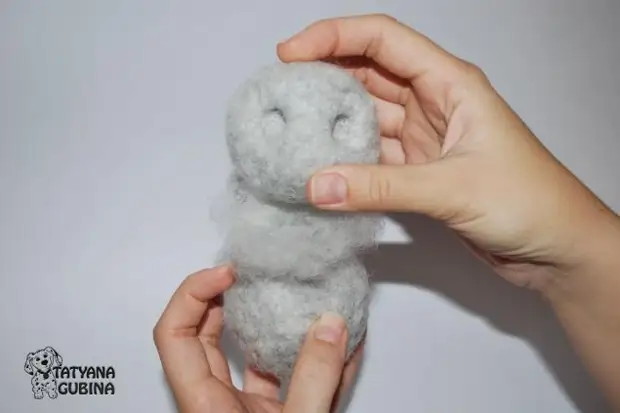
Insert the workpiece of the heads left by us the freezer's billet.

We connect both billets, pour your head to the body with the help of a wool left in the free state. A needle introduce the most deeply to the central part of the head blank. Helping the fingers, pressing, give the head the desired slope, fix it using a needle.
Add flushing wool to the location of the details. Carefully pass on a needle at the place of connection by filling out the cavity between the head and the torsoity of the wool. The connection must be strong.
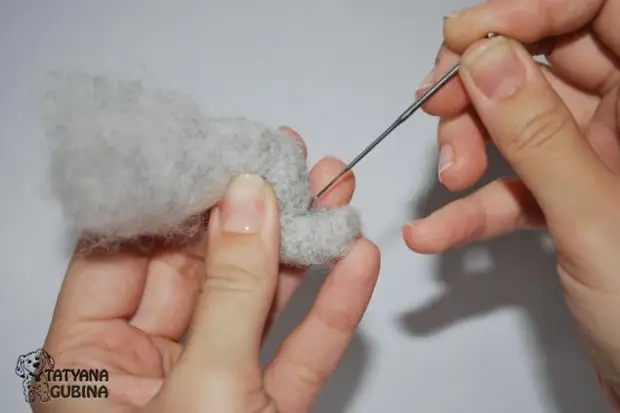
We take a small amount of fur for frills. I dump a little, the billet should turn out loose.
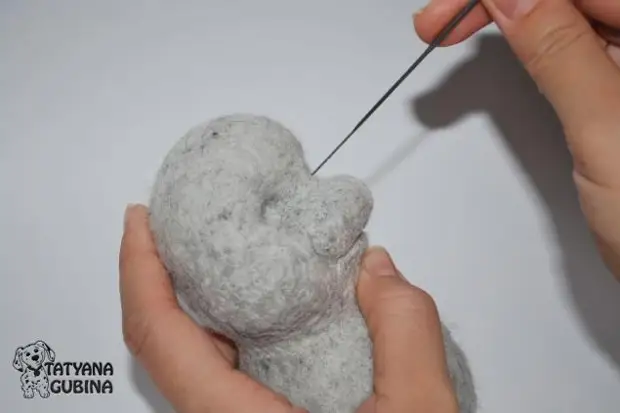
Take the face to the head. The needle sticks deeply. We pass through the needle along the whole face. Compact.
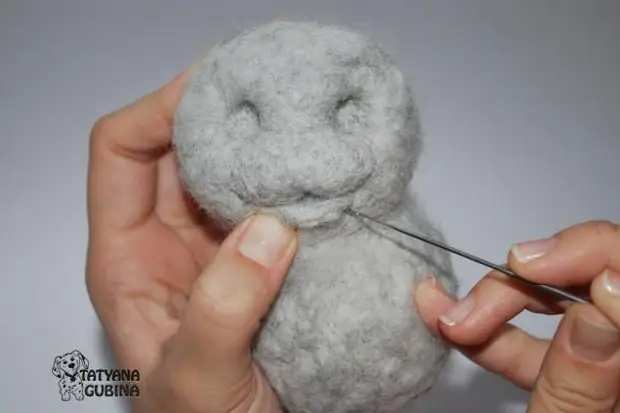
We make a separation line. For this, we repeatedly pass the needle at the place of separation.

We pass by a needle at the place of the future smile (on the bottom contour of the face), we plan it.
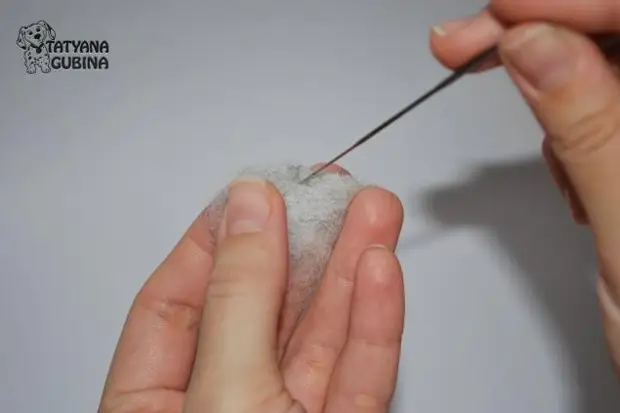
Now we need to make a sponge to our hedgehog. We take a small piece of wool and suck it between the needle's fingers. On the one hand, the wool leave unsuccessful, it will come in handy for further fastening the part.
We hold the sponge under the muzzle, we work a rough needle make a small bend, leaving the mouth with a rotted.
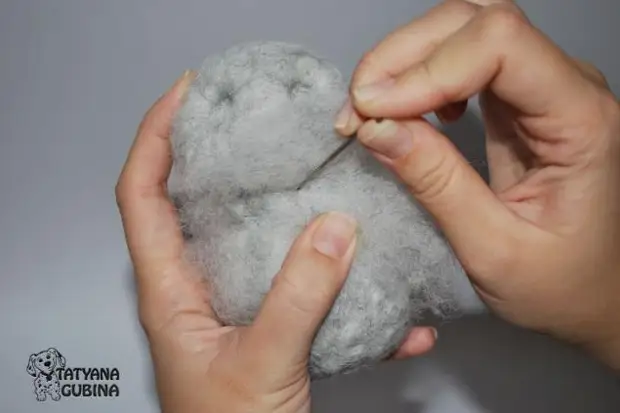
We increase the brushes by adding wool. We continue to work with a rough needle number 36.
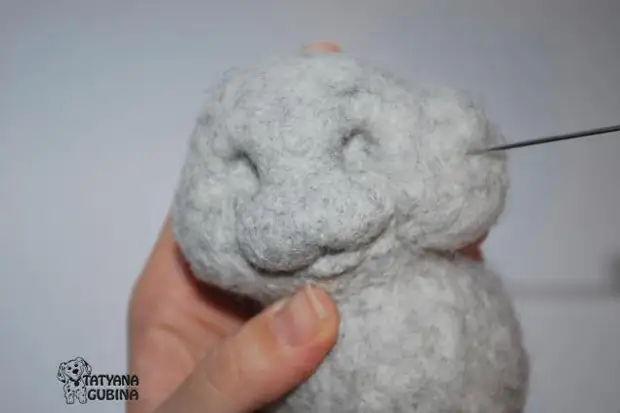
Add a wool, increasing the forehead.
Sealing the nose, it turns out bending.
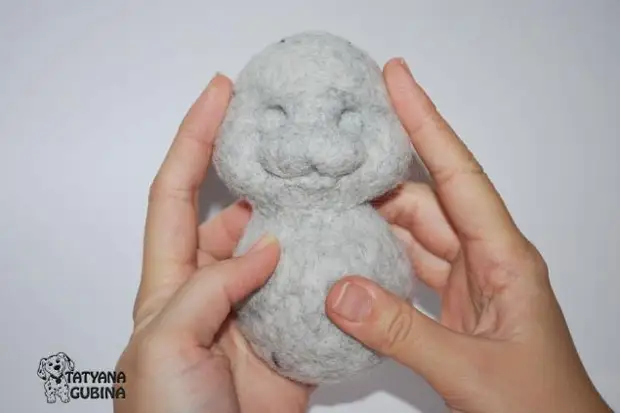
We check our workpiece on the symmetry of parts from different sides, in front.
Checking the cheeks, a little fruit on top.
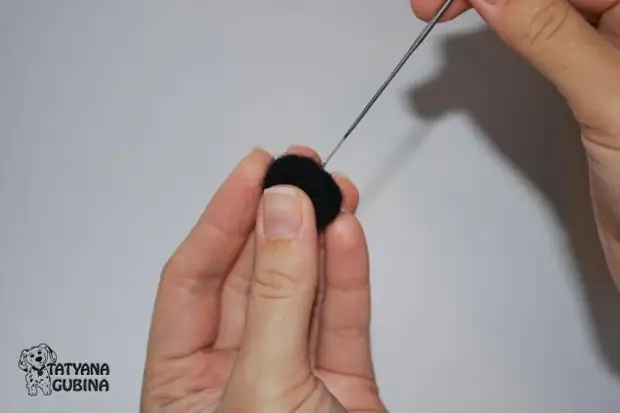
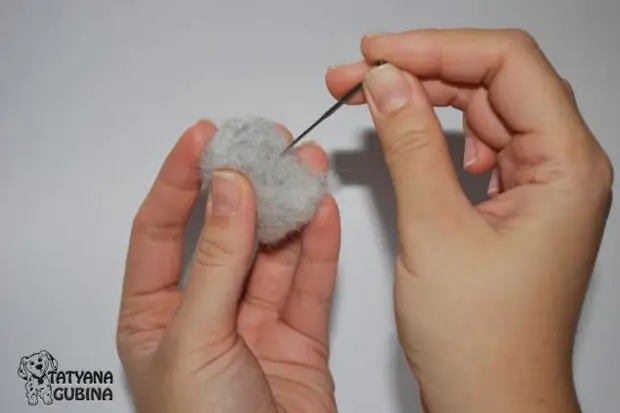
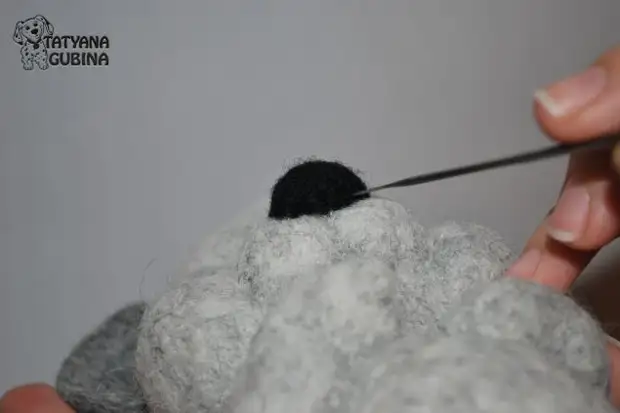
We take a small amount of black wool. It will be nose. I dump it a little bit of a thin needle between your fingers, leaving the billet loose.
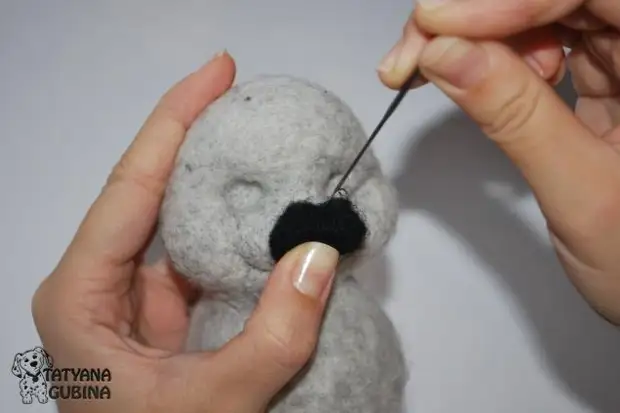
Take the nose to the muzzle. Use the needle number 36 (rude), the needle sticks deeply. Nose must hold onto the nose.
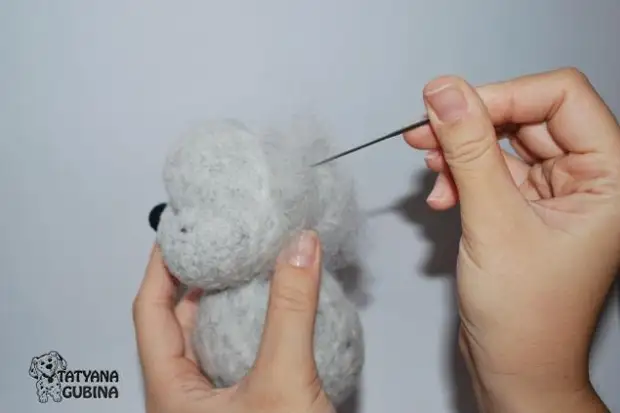
Add volume on the back of the head. Take a well-rolled fluff. And compact.
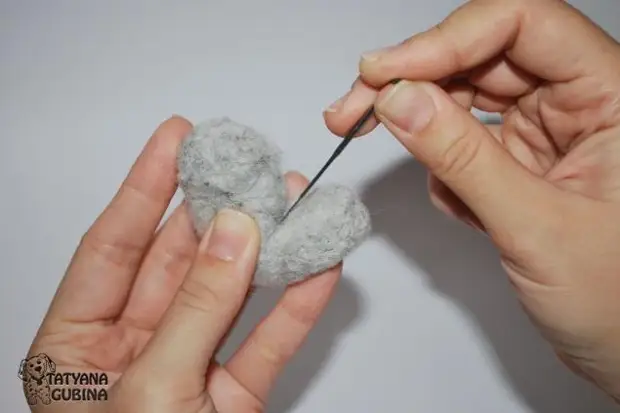
Further our paws. We take two identical pieces of wool for the front paws. The needle sticks deeply so that the wool falls inside. At the base, wool leave unsuccessful.
While the harvesting for the foot is in a loose state, we specify the necessary bending. Clear your fingers and fix with the needle. Compare foots with each other if necessary, add wool. Excess wool at the base can be pleaded.
Page front paws. The needle should stick deep for better detail clutch.
We add well-fledged wool to the attachment of the foot to the body.
We work a rough needle. We apart. We need added wool for better adhesion of parts and build up the desired volume on the shoulder.
According to such a principle, like front paws, we make the rear. We are working for them with two identical pieces of wool, we throw from all sides. While the blanks for the paws are loose, we specify the necessary bends. We help with your fingers, and the bending itself is fixed by a needle, going through it repeatedly, as well as the side of the bend.
Choosing the desired position of the paws, we apart to the body. The needle sticks deeply. Add wool to the location of the parts. All items must be tightly kept, they should not swing or rotate.

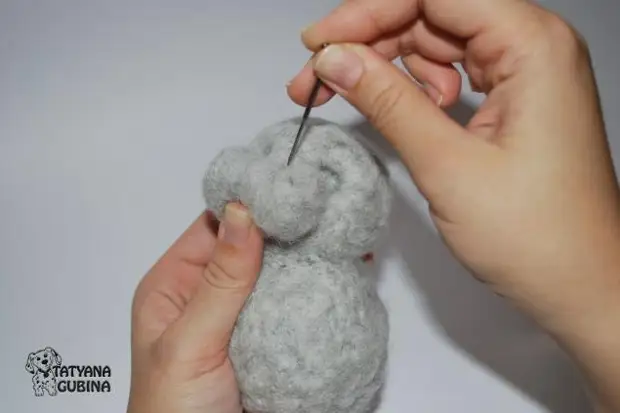
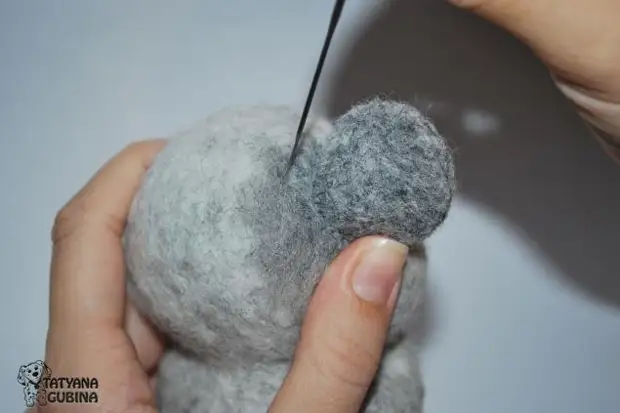
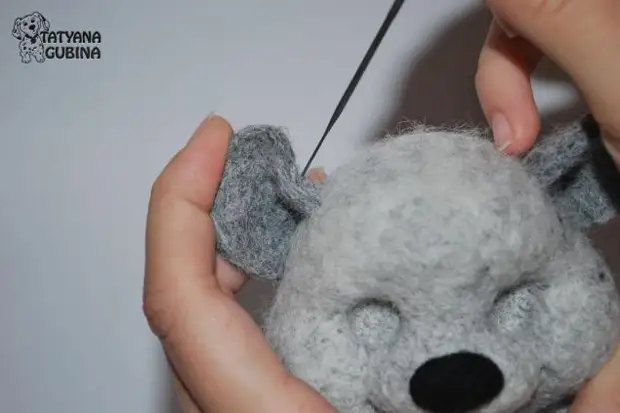
Go to the ears. For the ears lay out on the sponge two identical, well-flue piece of gray wool in the form of a circle.
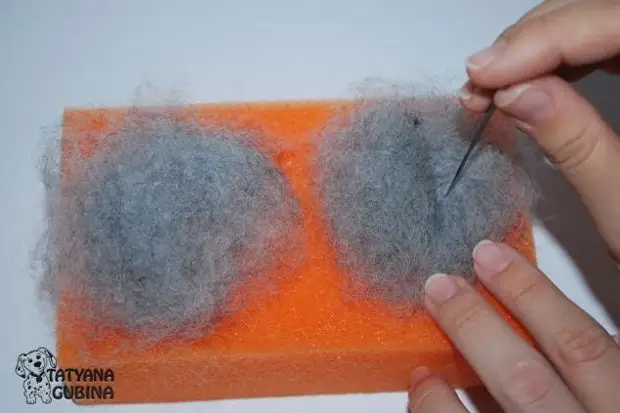
Further over the entire surface of the ears we pass a coarse needle, periodically turning the parts for uniform dumping. As the wool falls, the fur will stop in a sponge. Then we repeat the same work with a thin needle.

Now proceed and level the edges of the ears. Apply the ears to each other by closing between your fingers. Processing the edges, pumped the wool inside, forming bends (in this case, we have semicircular ears), with the needle number 38 STAR. The edges of the ears must coincide. From the side of the attachment of the ears to the head, the wool is left in a free state.
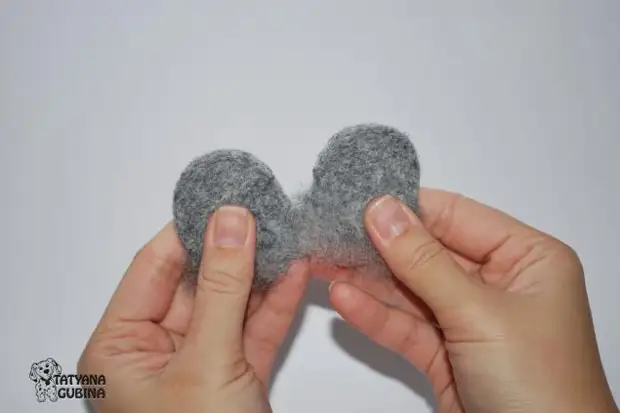
These ears have turned out :) Compare the resulting details, watch the ears are the same in shape, density and size. Pay attention to symmetry.
We choose a place for the ears and symmetrically apart the ears to the head. The needle sticks deeply. By adding wool, strengthen the ears at the base.
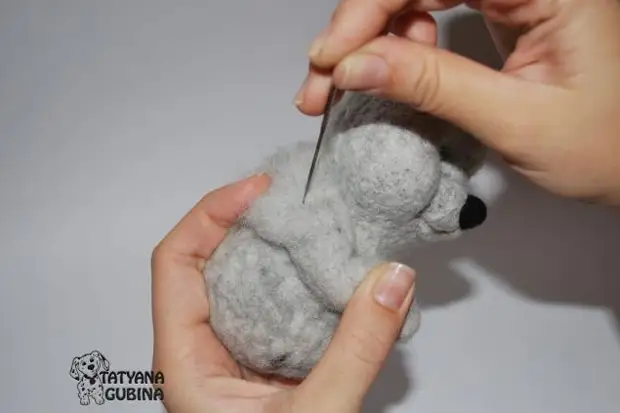
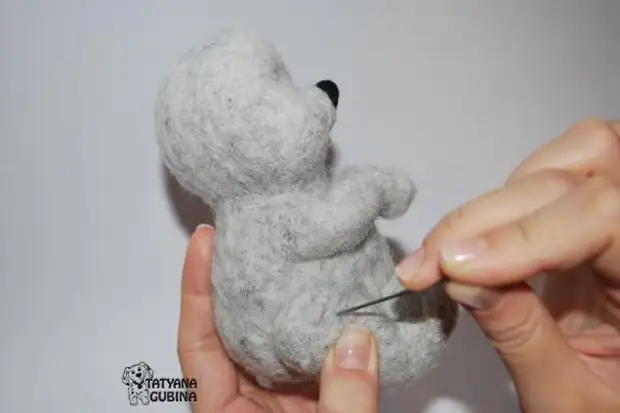
Let's go to the back legs. Slightly bend the top of the paws with your fingers and fix the needle. Further, we will stand your fingers here.
We look at us at the moment. We pay attention to the volumes. Add if necessary.
I decided to add a volume on the hips of our hedgehog.

On the back and on the ass.
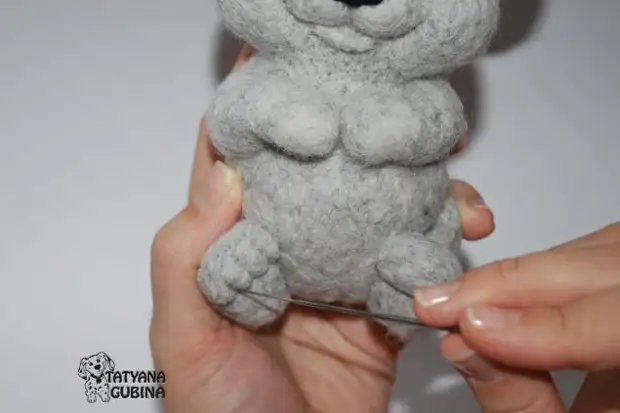
Now we highlight your fingers on my paws. Rough needle We take place according to the expected place to split your fingers.
Align the legs and donyshko so that the hedgehog is good and sustainably sat. For this, the bottoms and legs below should be in the same plane. Add a wool where necessary.
Check the toy for stability. Sits, sits well, smiles already :) We highlight your fingers on the front legs. Rough needle We take place according to the expected place to split your fingers.
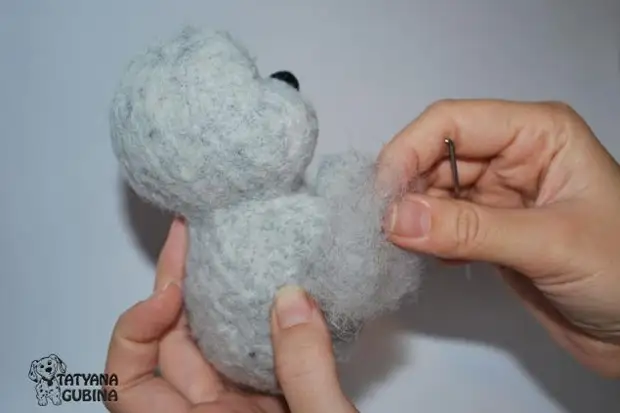
We add light-gray wool on the back of the head, covering the place of attachment of the ears.
Forming bends on the ears and fix their needle. Here you can take a thin needle number 38-star.
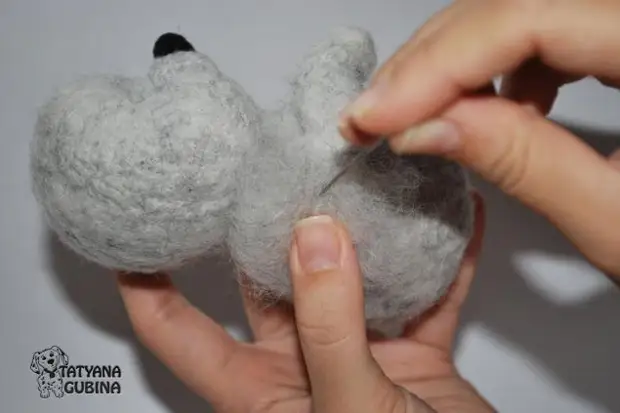
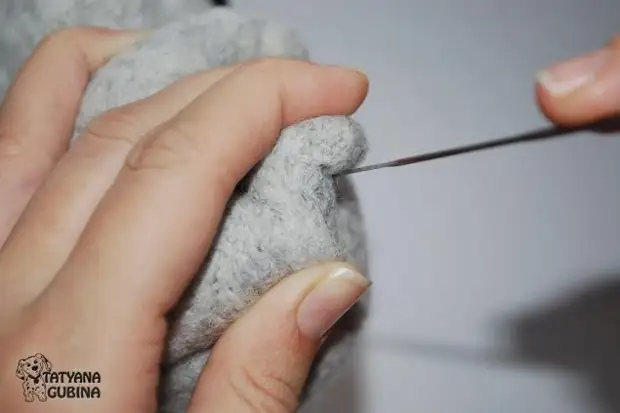
Go to the nose. Select the nostrils and divide the line at the bottom of the nose. Carefully go through the needle for these places. All reliefs we plan on the spout should be distinct.

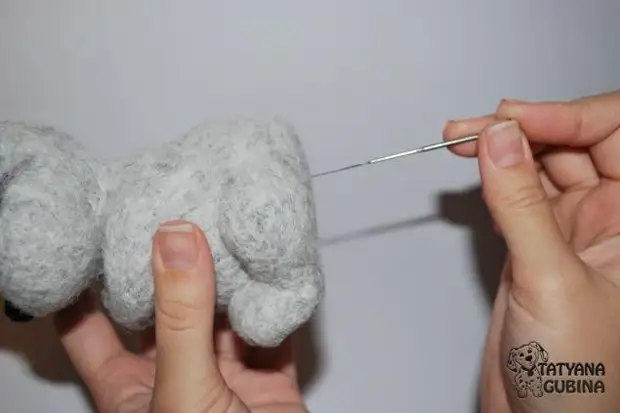
I looked, looked ... and decided to change the position of the right leg :) fixed the needle.
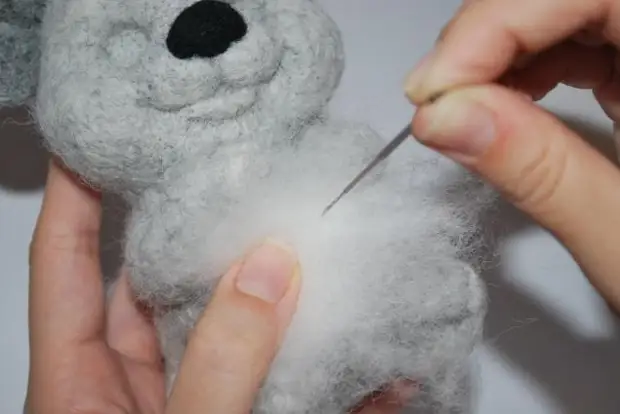
We will add onto the rush and head on top of light gray wool white. When processing this surface with a reverse needle (which pulls the fur, and does not bother), the wool at the hedgehog will become a little lighter.
In the meantime, we take a white wool with a coarse needle (except for the face) and compact. Then you can walk along the surface of a thin needle No. 38-star.
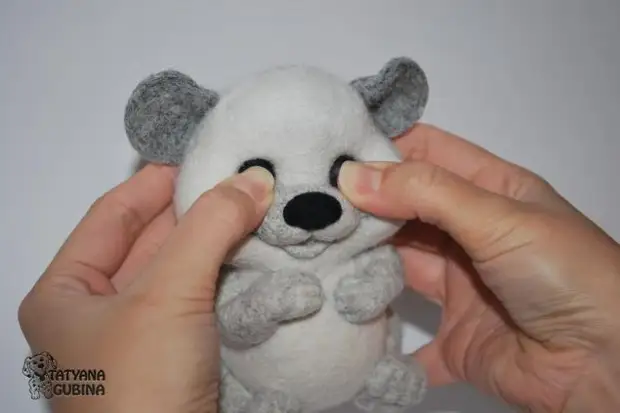
From plastics of black color I sculpt the eyes - 2 balls. We look so that the balls are the same in shape. We drip glue to the bottom of the eyelid and glue the eyes, clinging tightly.
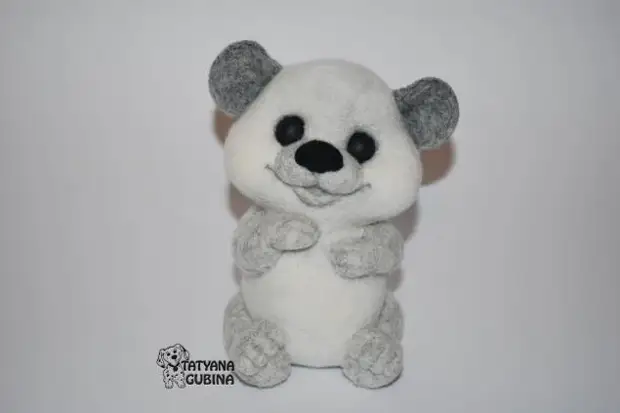
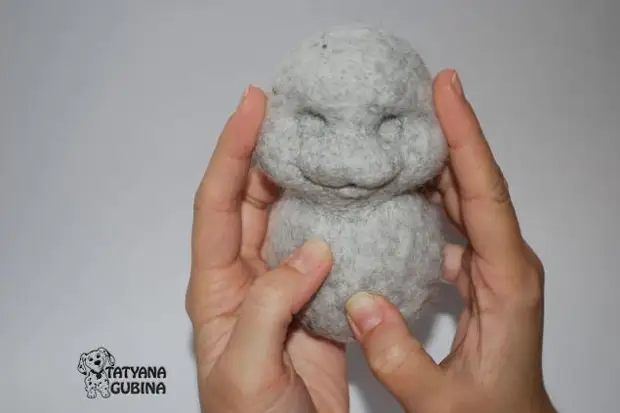
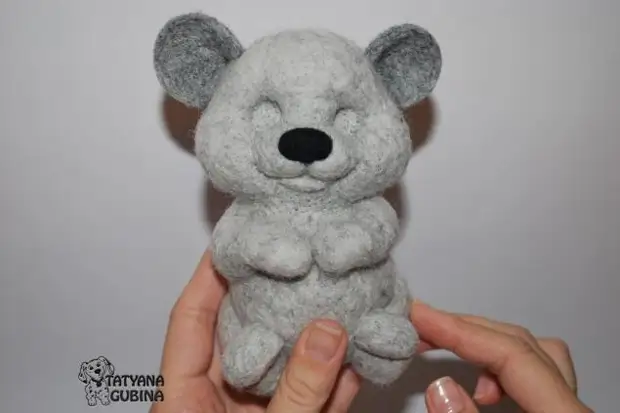
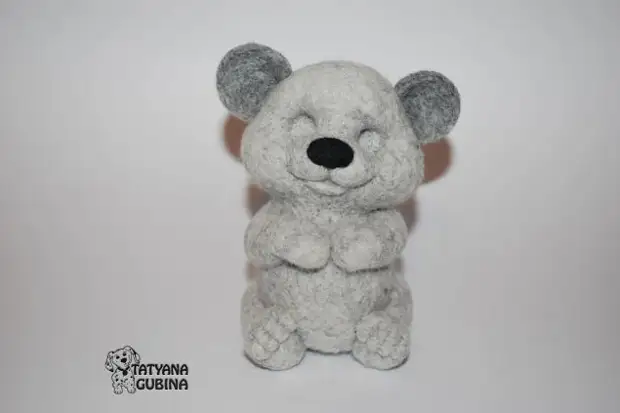
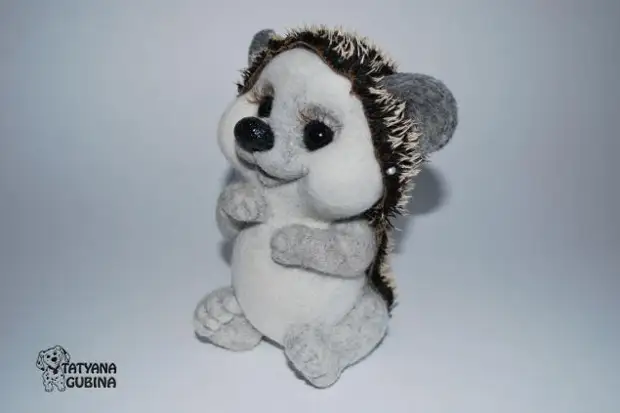
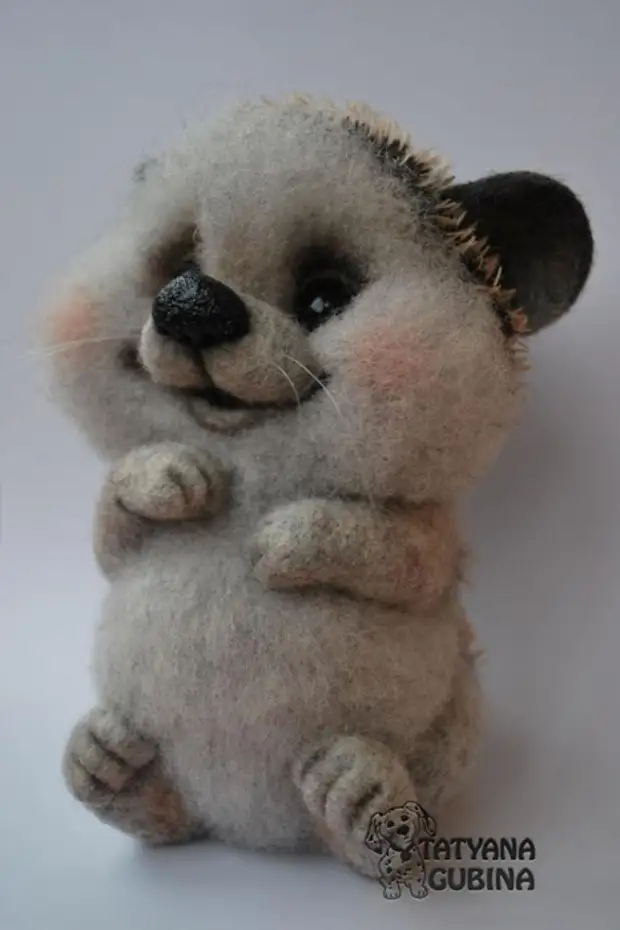
Here is such a beast, we get: sits, listens, looks and smiles :)
Go to the centuries. On a sponge or mate for felting, lay out two identical small pieces of light gray wool. In the center of each detail we pass the needle (No. 38-star), we leave the wool unsuccessful. We turn the detail and repeat the same thing: in the center (the failed small circle is obtained) We pass the needle.
Now we fold a round detail in half and we go through the needle already on the semicircle with one and on the other hand. The edges are left free.
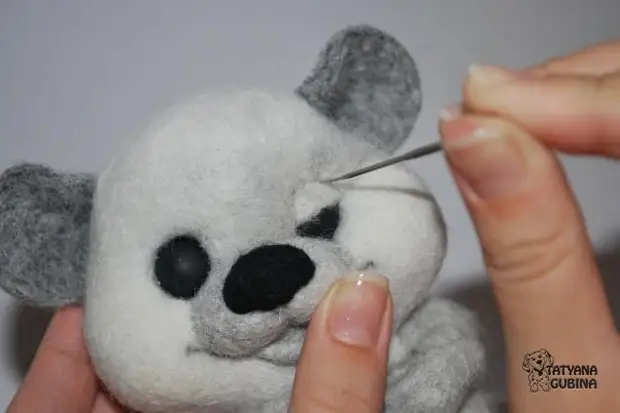
Apply the item to the eye. We admit the eyelid free wool to the head, while the semicircle smoked earlier should cover almost half of the eye. Carefully take place at the top of the century.
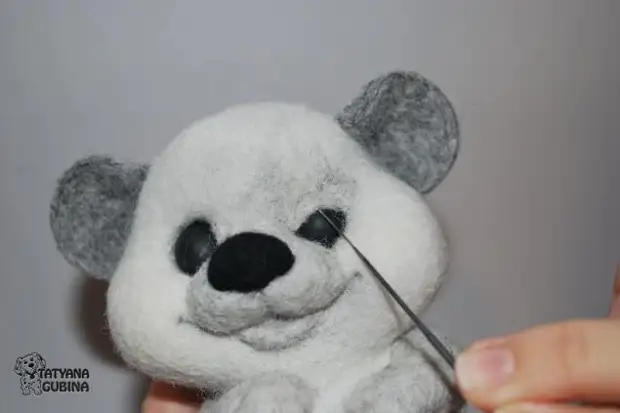
Now, as if we open the eye, with the help of a thin needle (№38-star) move the eyelid to the top. We work on tangential, not to hurt your eyes, do not scratch (it is from plastics).
We pass a thin needle on the line over the century, emphasizing it.
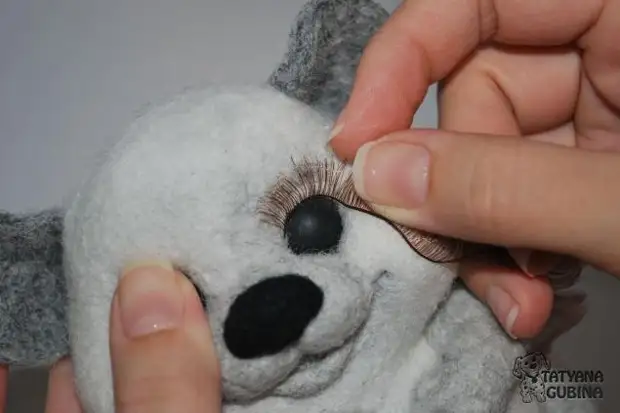
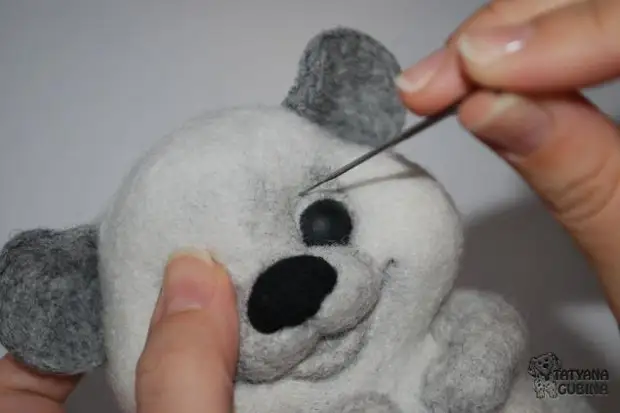
We try to cilia, cut off the length you need.
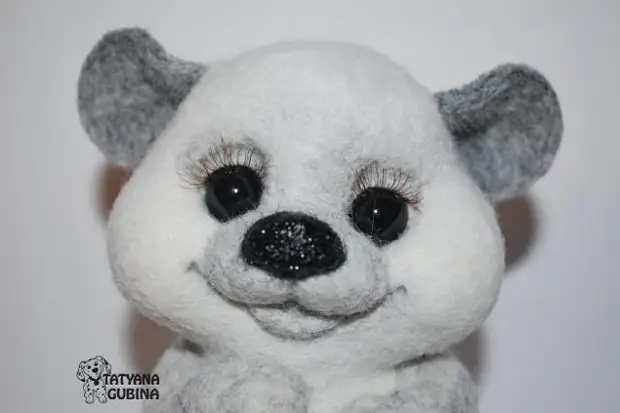
We apply glue to the base of the cilia. Gently move the eyelids and glue cilia under it, tightly pressing to the eye. Covered eyes and nose varnish.

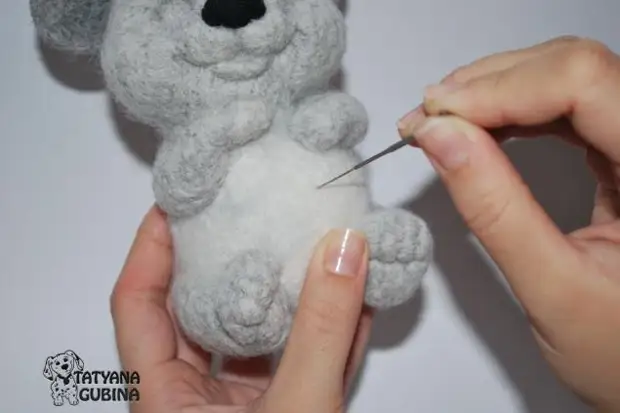
59. It's time to pass the surface that we will not handle the reverse needle. We grind the surface with small, well-fucked pieces of wool. We apply such a piece to the surface and go through it with a needle number 38-star, often, often. Thus, align the surface of the paws and face.
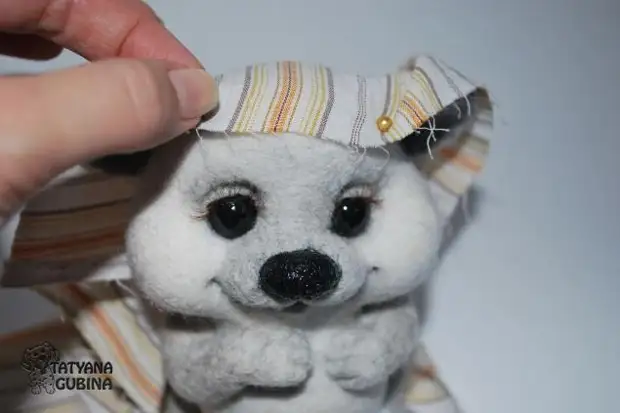
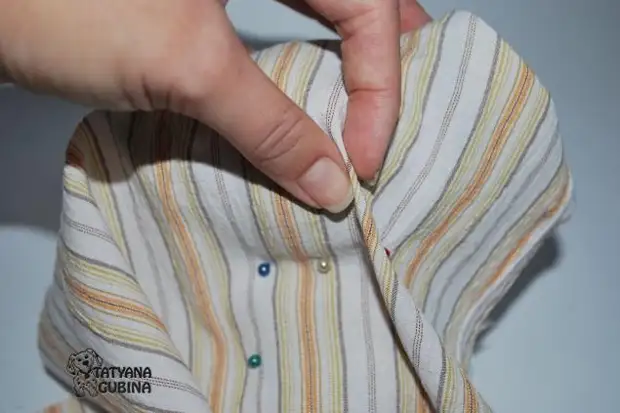
Now it's a fur coat. We need to make a pattern. Fabric wrapping the head and head of the hedgehog. Fix pins.
We look at the molding, slots for the ears and edges of the hedgehogo fur coat.
Here is such a fur coat, it turned out, carved, but not yet sewn.
We try our hedgehog to the fur coat.
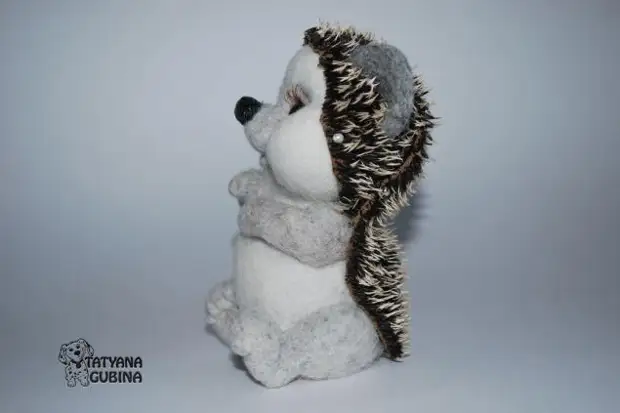
Side view. I squeeze, we flash the outtur. They turned out at the edges of the head.

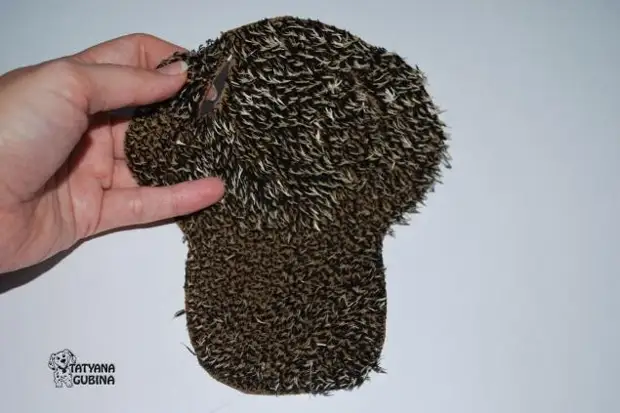
Gently sew the hedgehog mohair around the edge and around the ears.
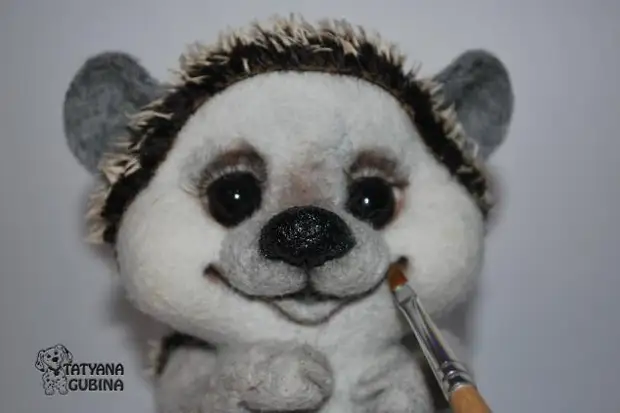
66. It's time to revive our already present :) with needles hedgehog. To do this, we perform tinting using dry pastel. Grinding chalk into powder (we rub it with the blade or sandpaper, for example). Brush applied pastel to the surface in the right places: around the eyes, on the ears, on the nose, around the nose, mouth, legs, heels. We use pastel black and brown. Add the hedgehog on the cheeks of the blush.
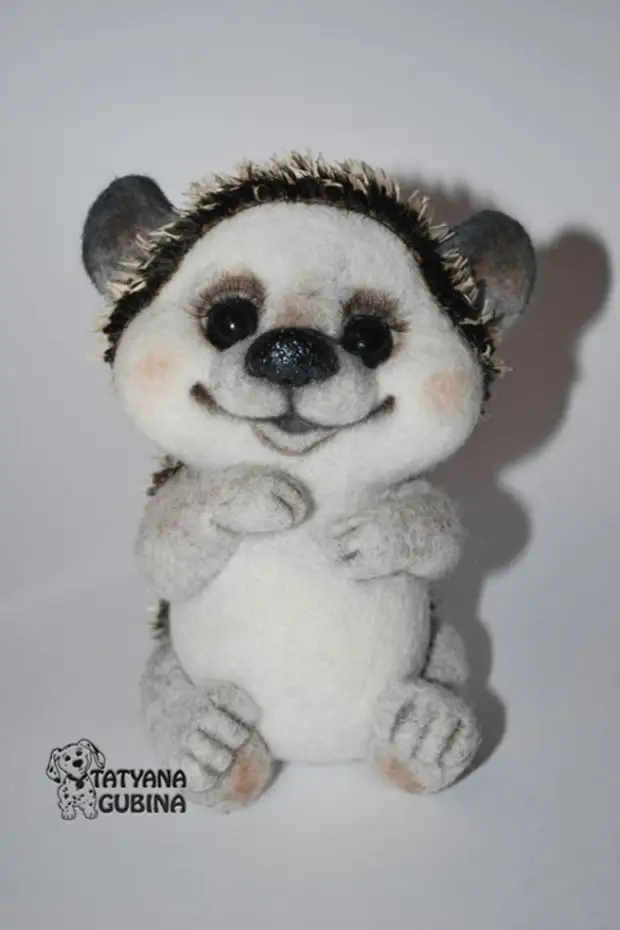
Well, here, preyool :) with needles, cilia, pink cheeks and heels. Everything is ready for the appearance of fluffyness :)
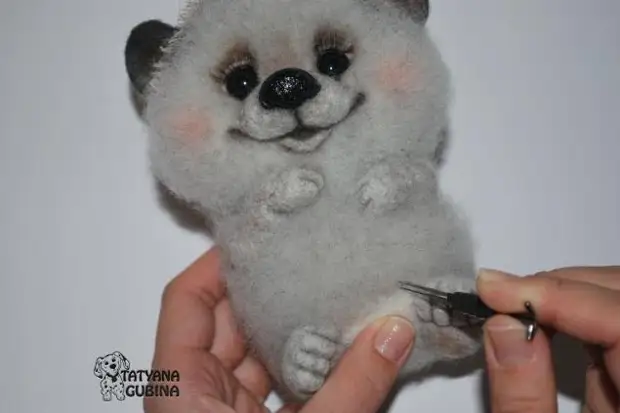
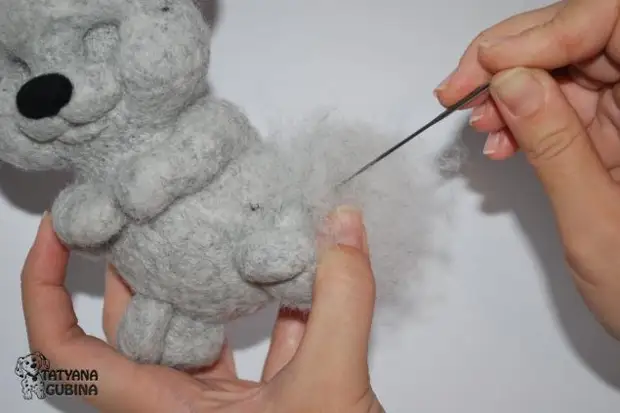
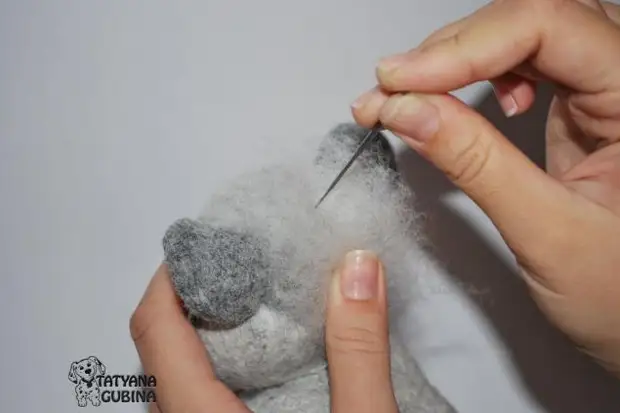
68. With the help of a reverse needle No. 40 (thin), I flick the surface of the head and tummy. I usually combine three needles together to speed up the process. Paws and muzzle do not touch. In order not to be seam to the seam on the site of the junction of the hedgehog coat with a tel, we create fluffiness, we go back the needle. Cut the excess wool. You can take a little bit of our baby, Pumido, cheeks :)
69. Stay remains. We take a thin line (0.15 mm), insert into an ordinary needle. We choose a place on the spout for the mustache. We skip the fishing line through all the nose through. On the other side with which we began to pull the line, we apply a little glue on it and stretch it along with glue inside. The mustache is fixed. We leave the fishing line you need. We also do the rest of the mustache. Here is such a satisfied miracle we turn out: 0)

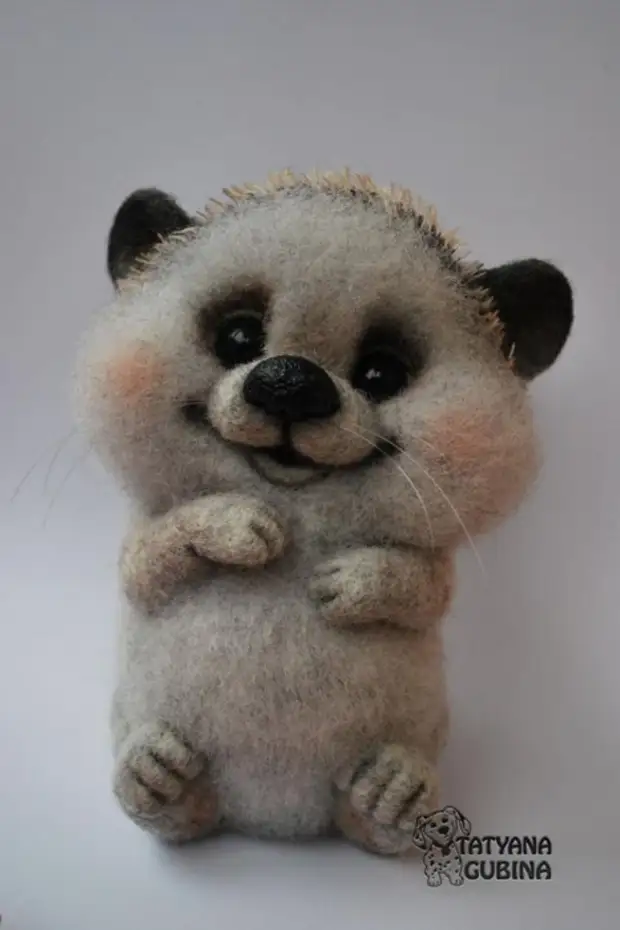
But from the side of our Philippok. Chubby, diluted sweet tooth :)
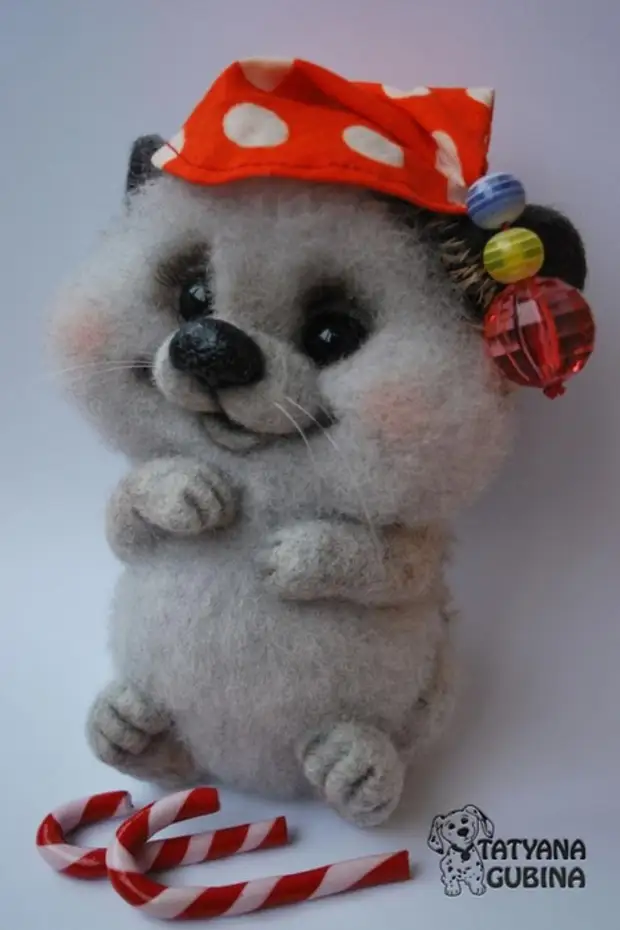
So that mom does not lose it on the forest edge, I sewed him a notable red cap in polka dot :) And so - as he is also a sweet lover, then the New Year's candies with it :)
Source http://www.livemaster.ru/topic/560305-mk-ezhik-filipok.