
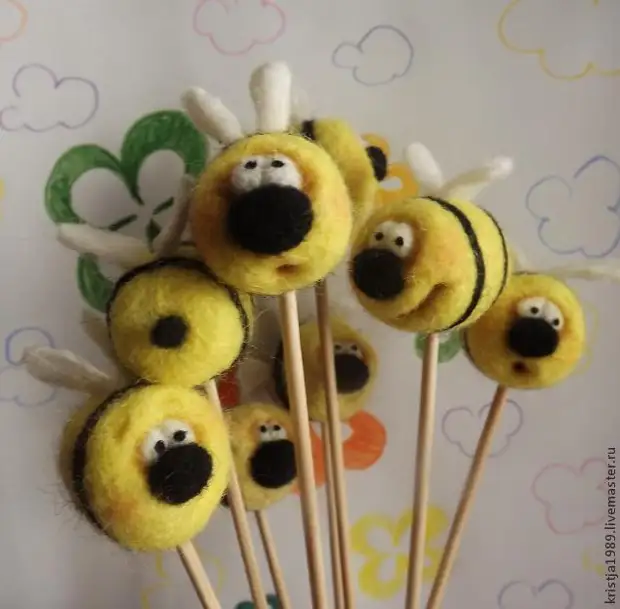
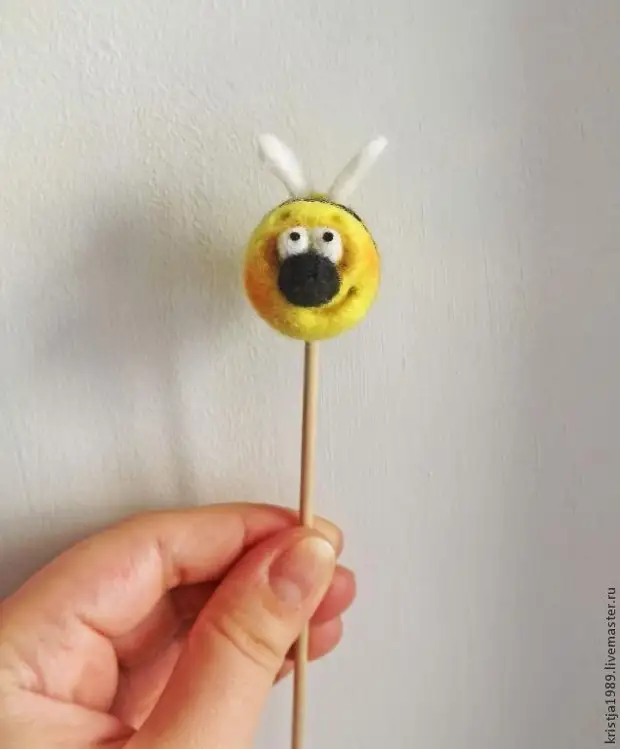
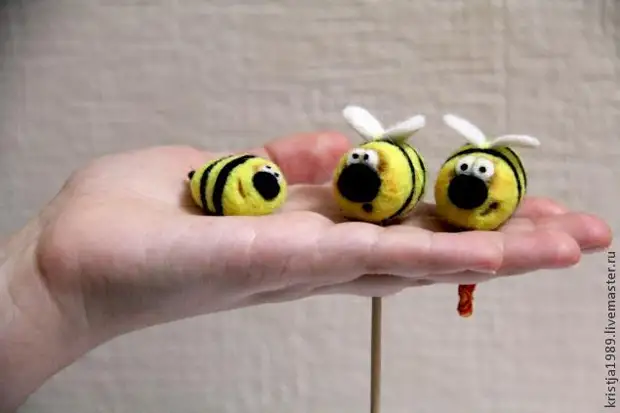
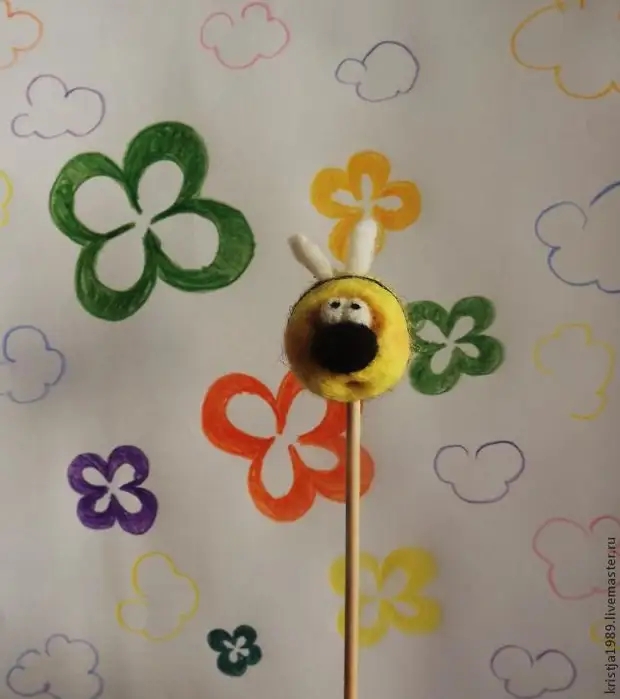
I present to your attention a master class from Christina Majorova. Funny bees are made in dry felting technique. Thanks to the author!
Author text:
I will start with the fact that the bees for me are not just bugs from the picture, but, almost, family members. Love for this mysterious animal in our family is transmitted from generation to generation for almost a hundred years. Now the beekeeping battlefoot (if you can say so) carries my dad, and it diligently invests in the son of the heir (Fuh, I exhale my sister, standing on the sidelines) I prefer to be friends with bees only at a distance and hug exclusively with drutones ( I painfully squeezed). So, you are invited to dad often with honey to local fairs. And all our family is busy - and shops to pull out, and to shake the honey, and cut the honeycombs, and in the jars, everything, and I help, which I can - raise the corporate spirit. I draw a visit to, I think the packaging, the aprons and shine with bees sin. Well, I decided (finally, it was close to our rams of the bees) to make a little inexpensive, but nice little things in the form of bees, so, in fact, the first bee was born on a stick. True, I looked at it a year later, laughed from the soul. She did not seem to me so cute as a year ago. In general, I did work on errors, I changed a little, and the current bees are quite comfortable.
Here, actually, how they are born:
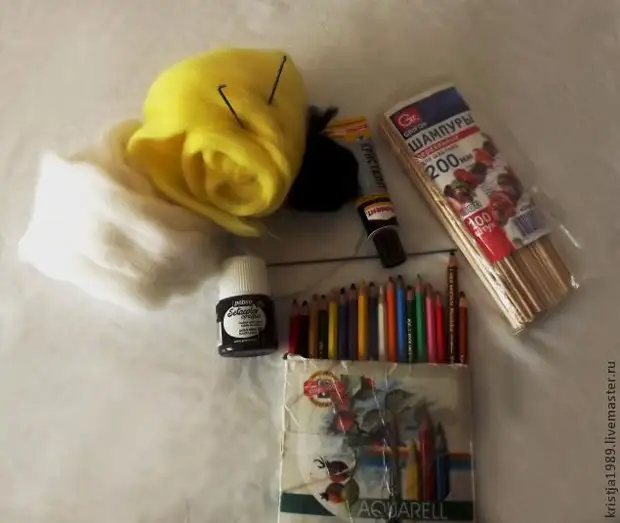
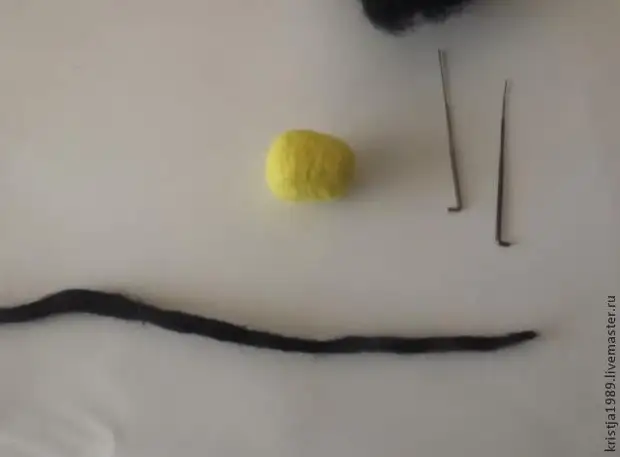
So, we need to work:
- Merino sheep yellow, black and white sheep
whitefoot white color
Wooden-shampuri
- Crystal moment
Sprinkle thin (needle or toothpick)
-Kraska black acrylic tissue
- Captary pencils for tinting (or shadow, dry pastel)
- Fix for felting number 36 (I have a triangular section) and №38 (I have a stars)
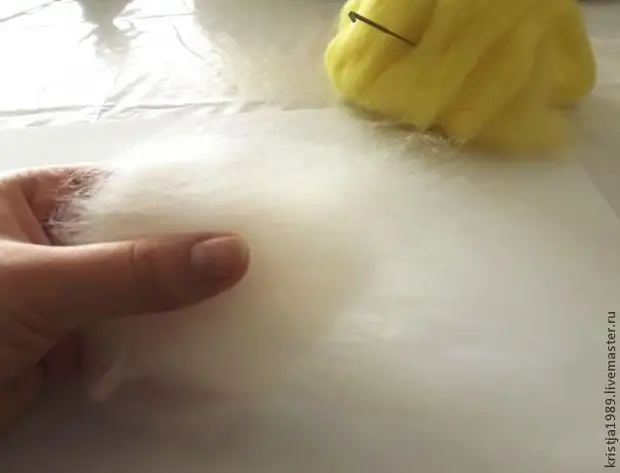
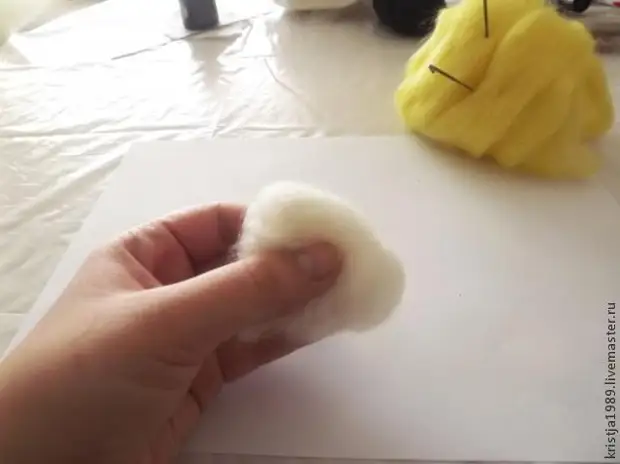
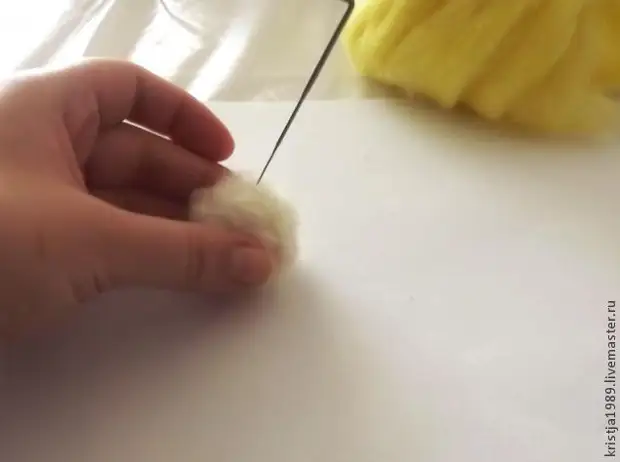
At first I take a little white wool, I snap it slightly, and I need to have a small ball with a tight middle and loose surface, you can not do it, and immediately fill the wool of yellow color, thereby reducing time. But so it happened that the yellow wool remained not enough, and White in excess, so I decided to go this way, this, of course, does not need it the process, but significantly saves the wool of the main color. In the manufacture of a large batch of bees, you can use a slurry (lower quality wool) at this stage) and thereby reduce costs.
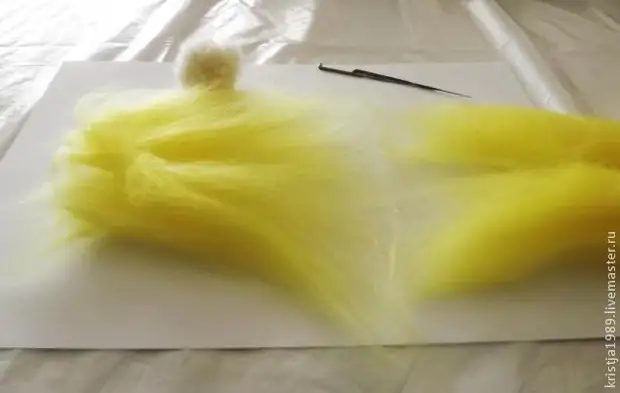
Now take yellow wool, thoroughly tear it and confuse.
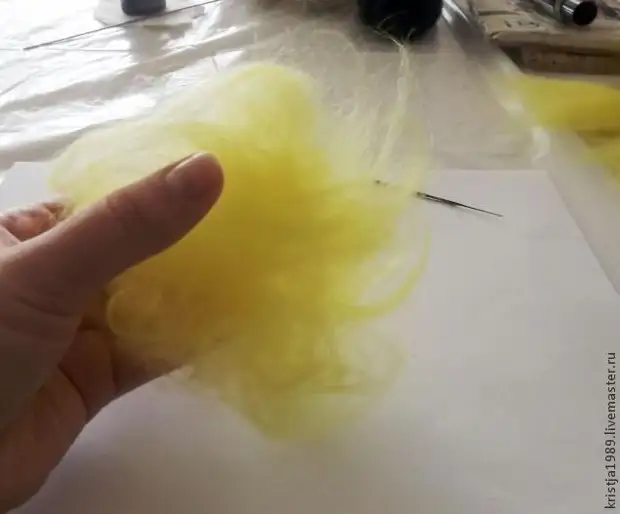
I comply with our white hearter into it, and we adopt the outer yellow layer to the inner white needle No. 36.
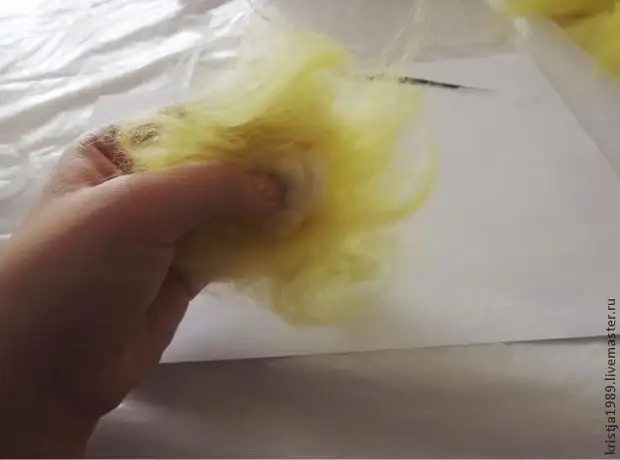
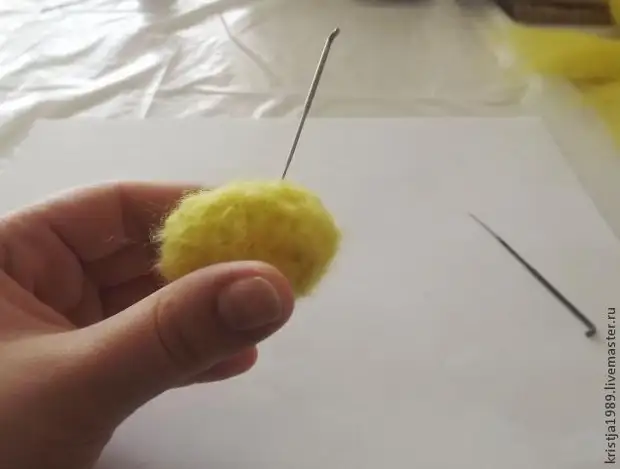
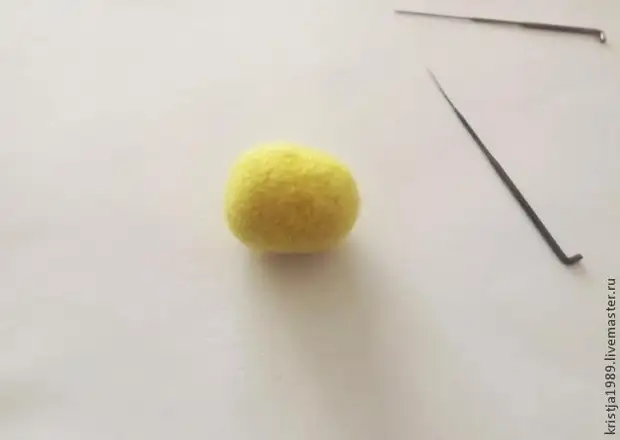
Now we take a thin needle number 38, and we go through the entire surface, we make punctures with a needle close-close to each other, we remove all the lochmas and tubercles. At this stage, I still give the future bee the wrong shape, I like it when the ass (sorry) is gaining, and the cheeks are sewn, but also a smooth oval bee looks no worse, there is a matter of taste.
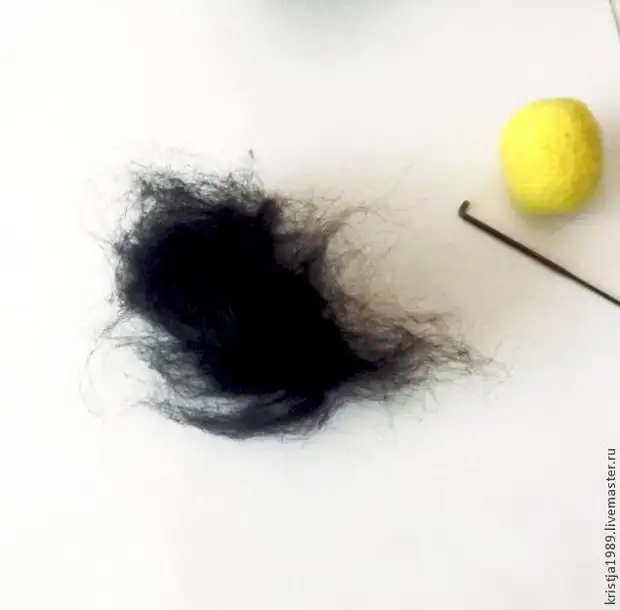
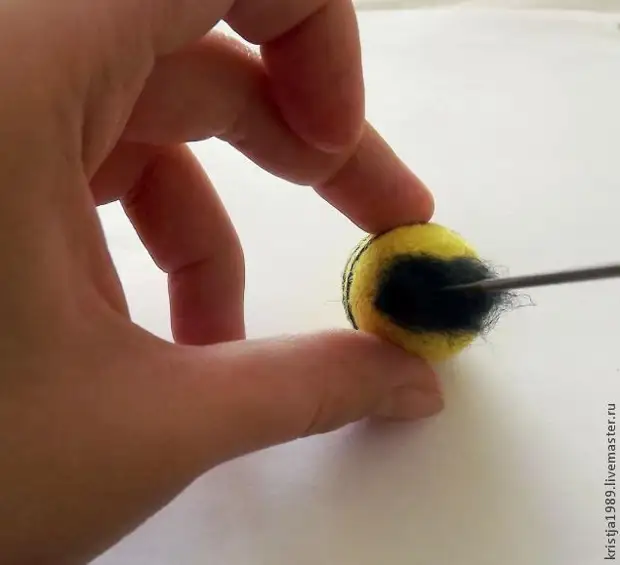
Take a bit of black wool, a good tend, the smallest, the better, and carefully confuse the fibers.
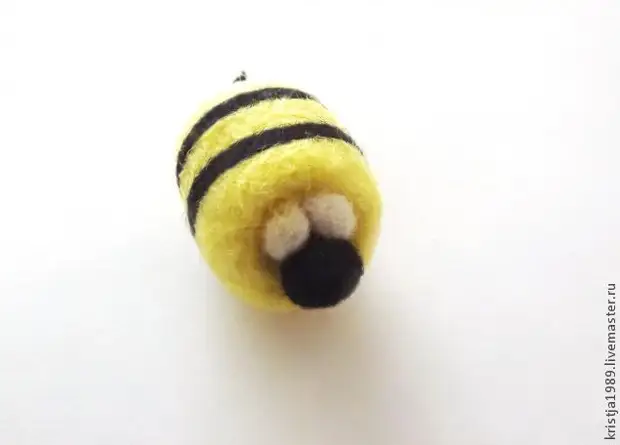
We decide the wool in a strip, approximately equal thickness over the entire length
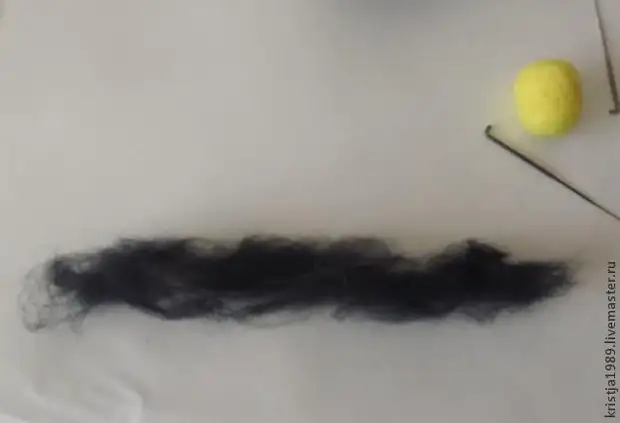
And in dry palms rolling the sausage, it is necessary that the fur not sticking in different directions, and it was easier to reveal strips (tear and navigate wool for strips, do not adopt separated from the crest ribbon straight wool, fibers will ugly go to bed that It will prevent further grinding and spoil the appearance).
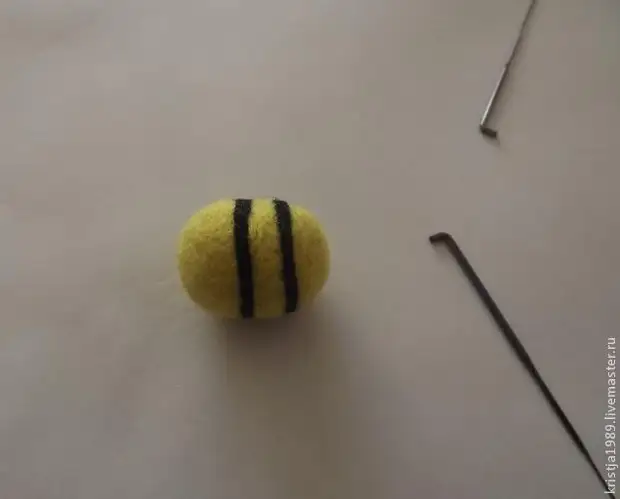
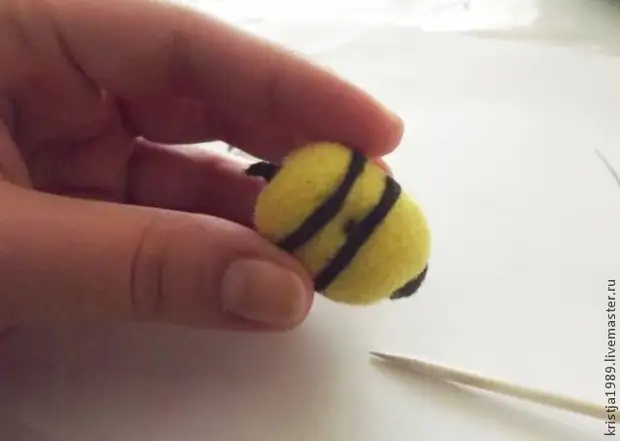
Needle №38 We start to reveal the first strip, tightening and tightening, aligning its width.
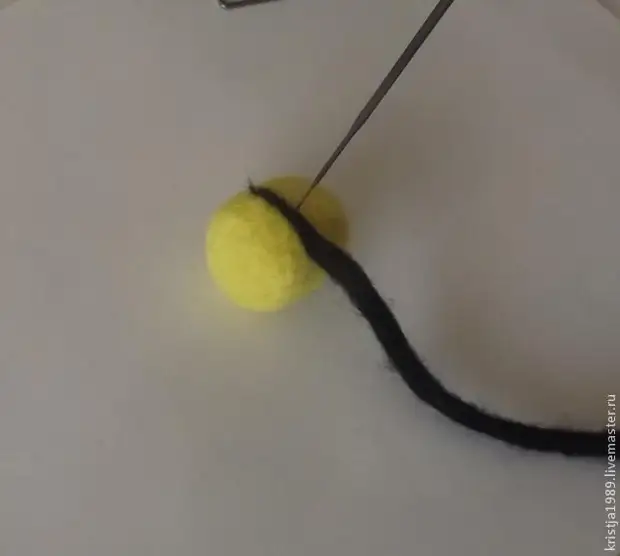
We go around in a circle, closing the ring, tear down too much.
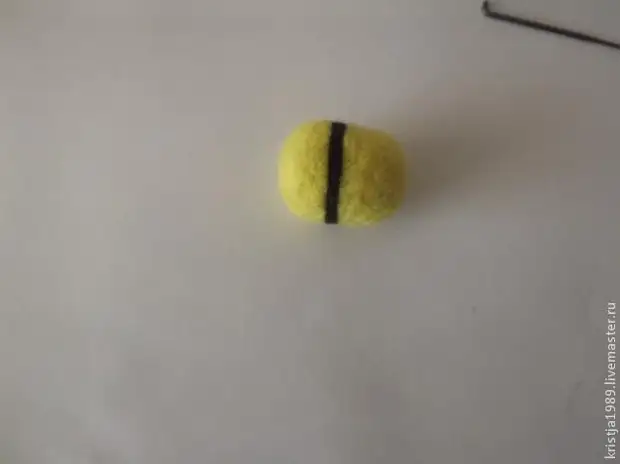
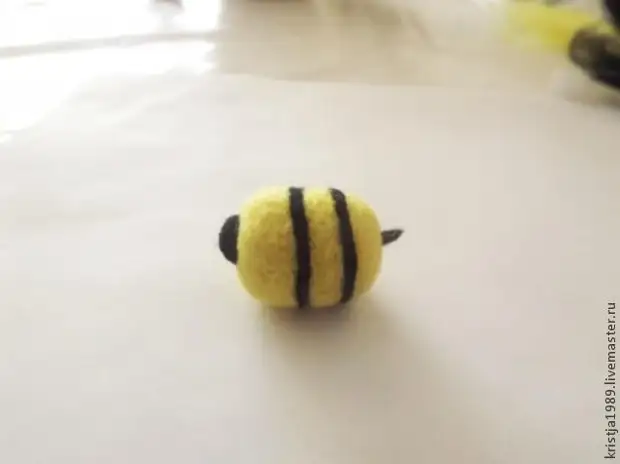
In the same way we make the second strip.
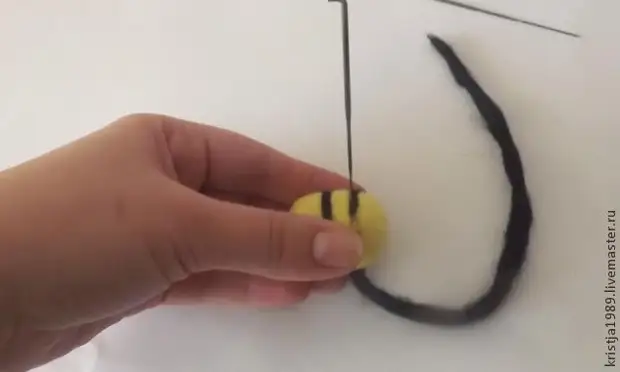
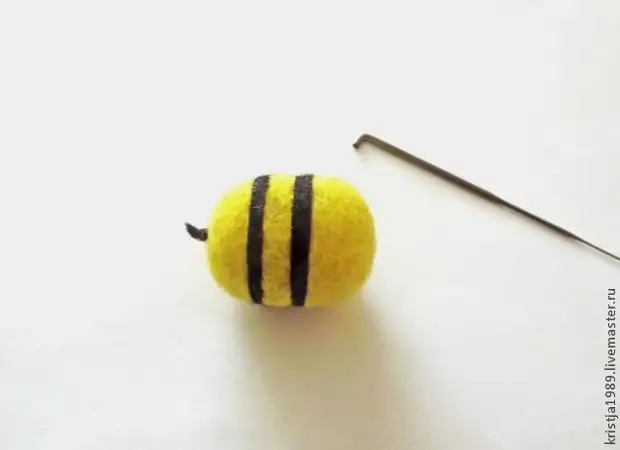
Once again, we twist our billers in the hands, if necessary, we go through a thin needle again
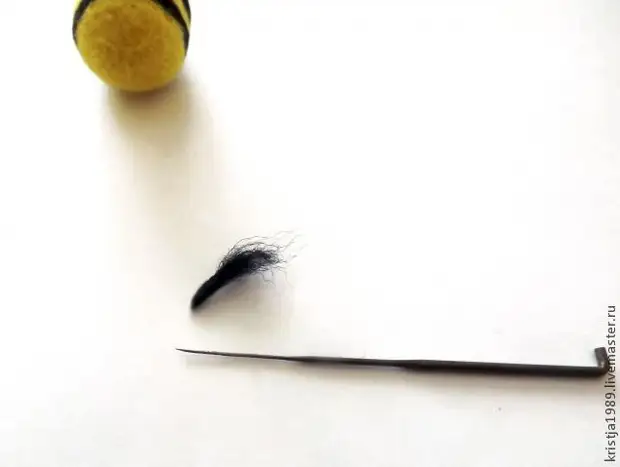
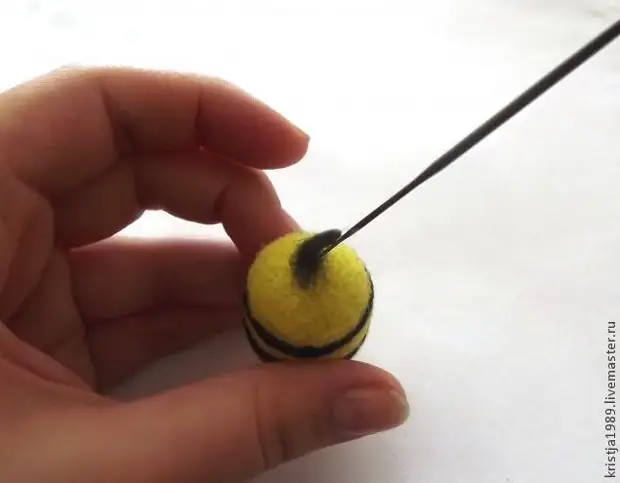
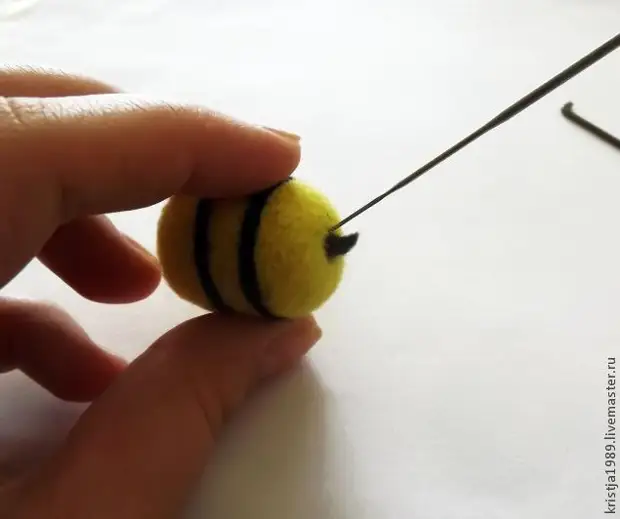
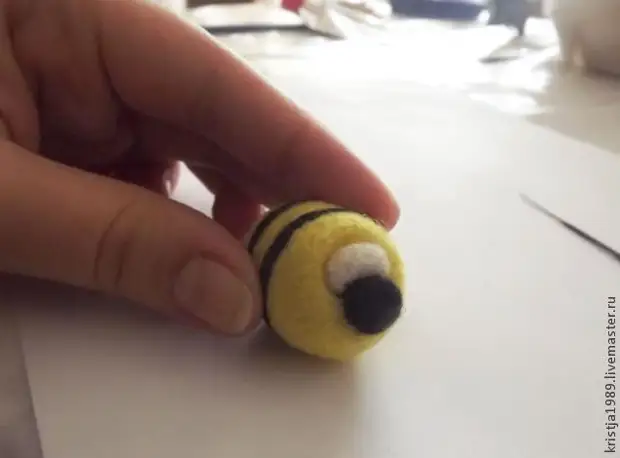
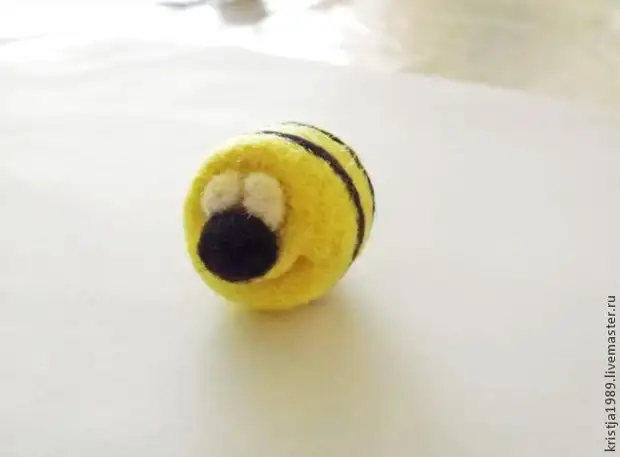
The most important thing in the bees - the sting))) We turn to him) We take a tiny piece of black wool, and everything for a spent scheme - Rwe and a sword, more precisely, Rwe and confuse.
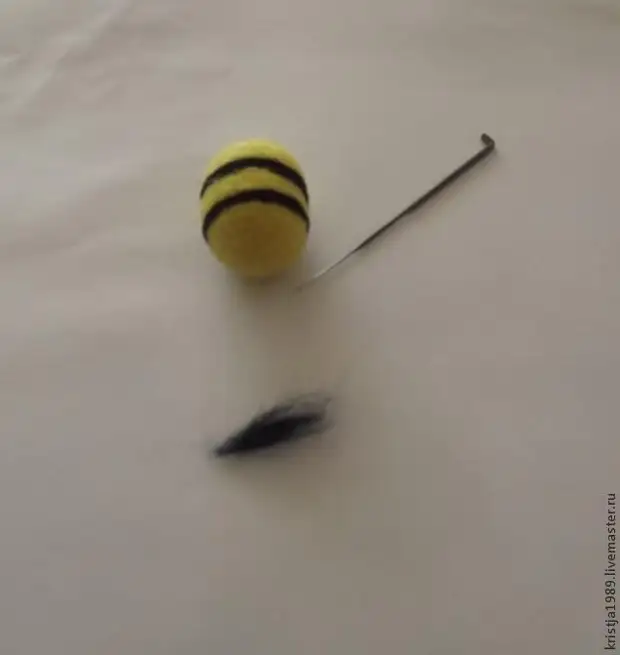
I dump a thin needle a little sorry between your fingers. Do not hurry, with feeling, with a sense, with the arrangement, very, very neat. Do not forget to leave the bottom of the base for further admission.
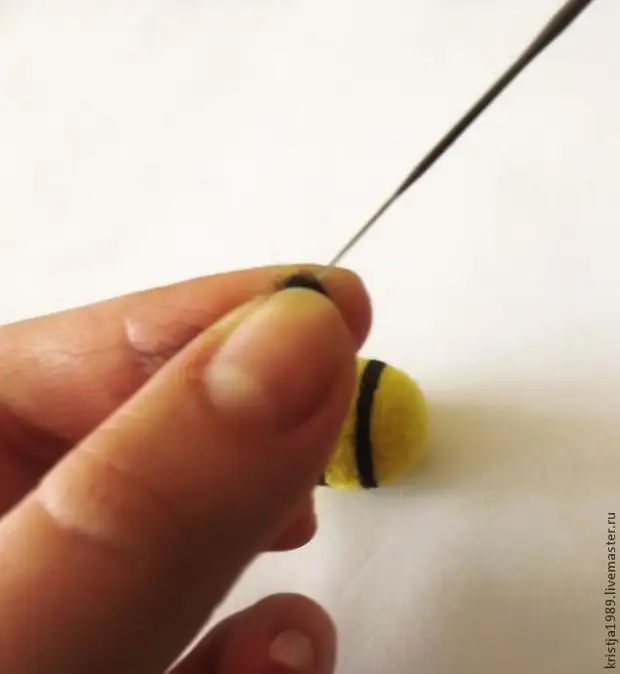
We define the position of the position, and carefully do the sting to the bee.
Now it is possible to do the nose, take some confused wool (if left, if not, then we are river and confuse again.
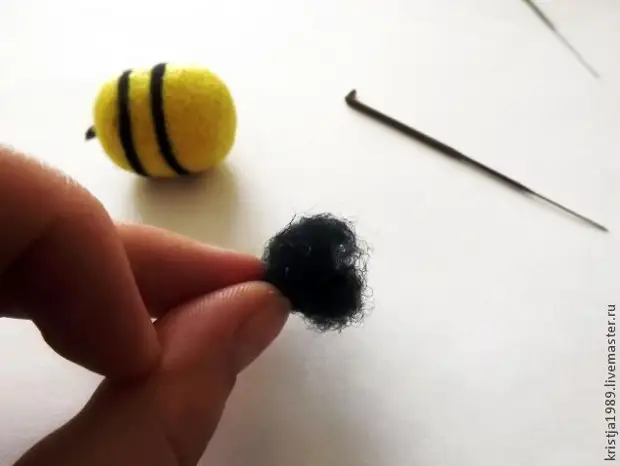
And we apart the muzzle to the center, at the same time forming the shape of the nose.

For the eyes we will need a little white wool.

Take it above the nose.
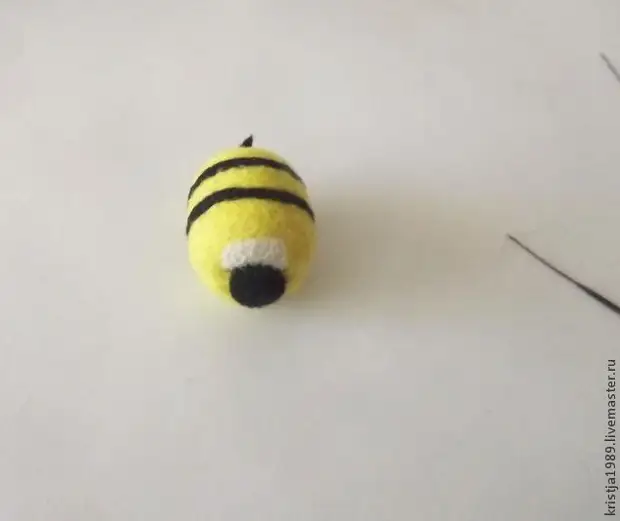
We take a needle №36 and carefully and not very deeply go through the perimeter of the eye area.
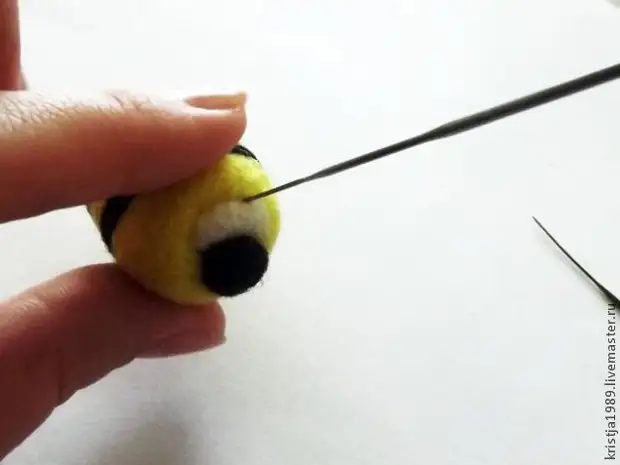
We share the monorage on two.
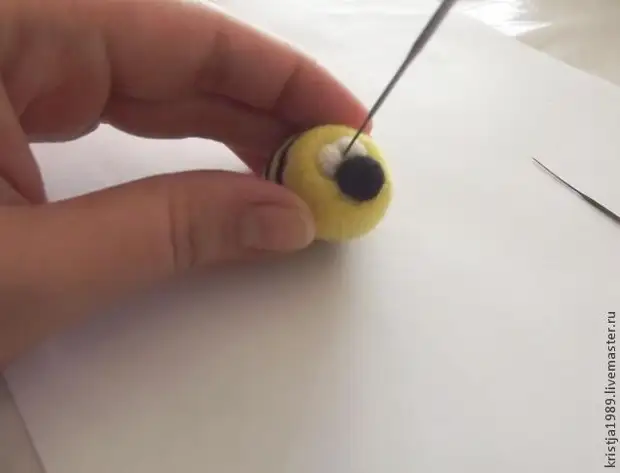
The same thick needle smile our bee.
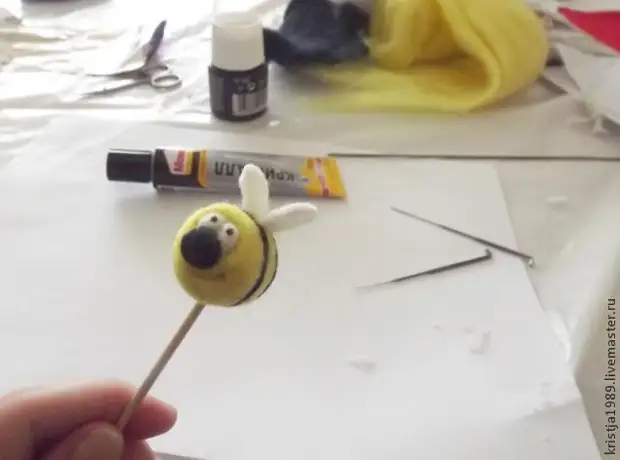
From a white felt, we cut the wings (I had a swirping of white wool in advance, but I like felt wings more, and easier).
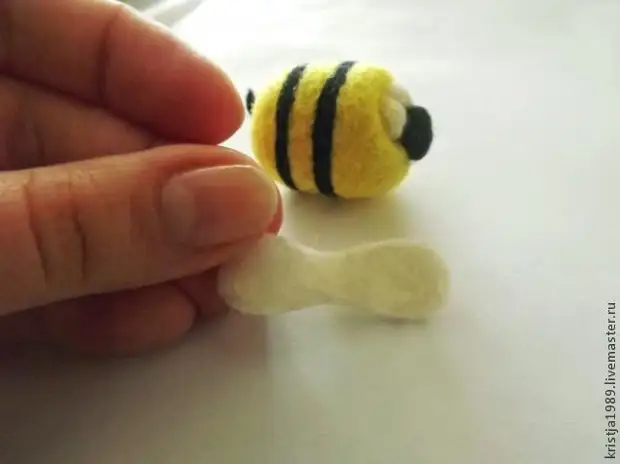
Take the wings to the back.
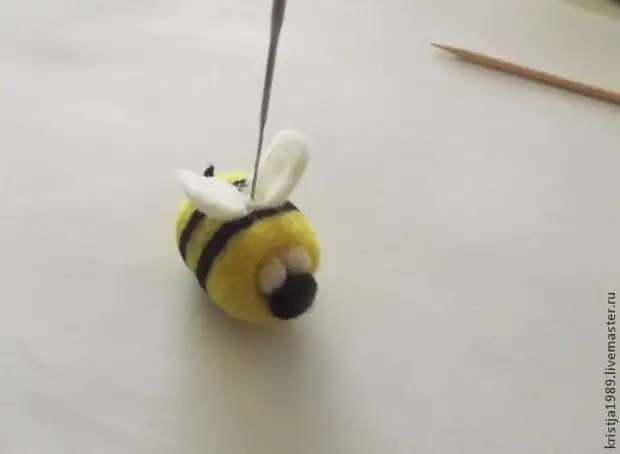
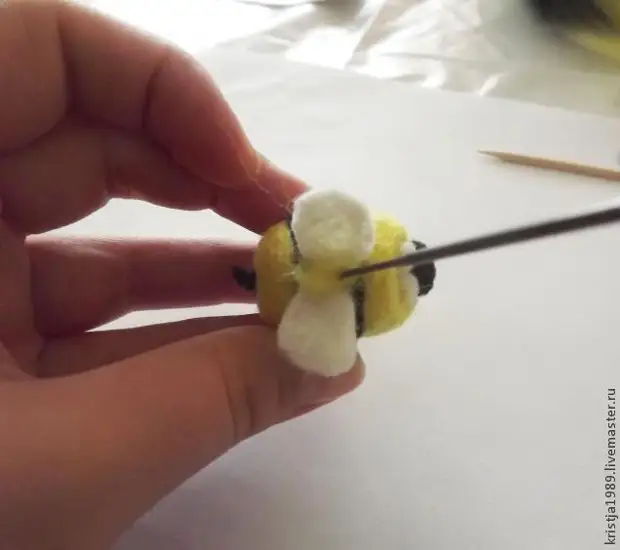
Fix their yellow wool. Pretty apart, grind.
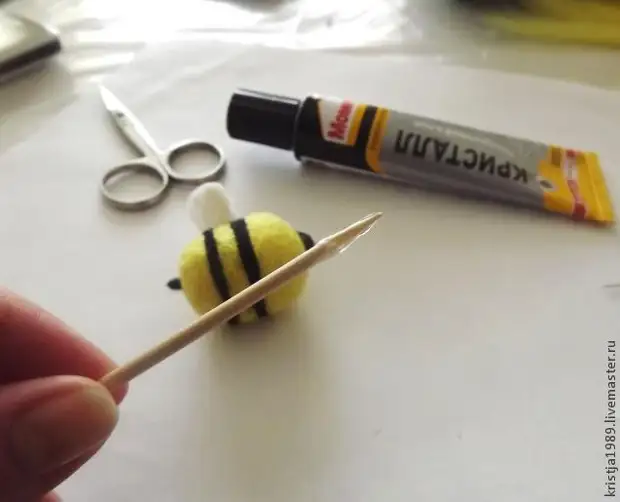
As it may be brutally, we make a hole in the punch in a bumbling of the bee.
With smear glue, we ride the bee kebab on the SHAPUR.

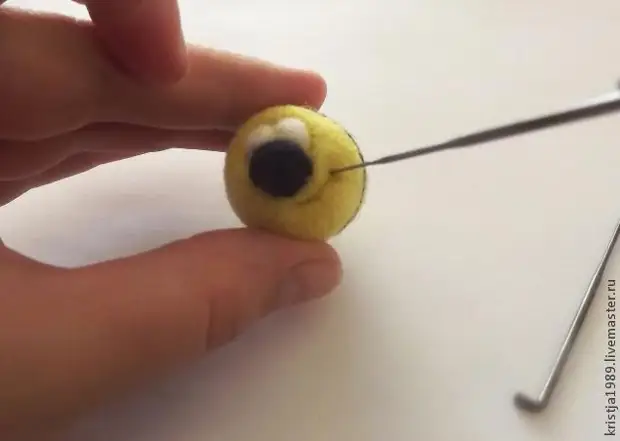
Macham a thin knitting needle (or a thick needle, or toothpick, which is more convenient) into acrylic paint and draw two points in the eye area, the character of the bee will depend on the location of the pupils, experiment.
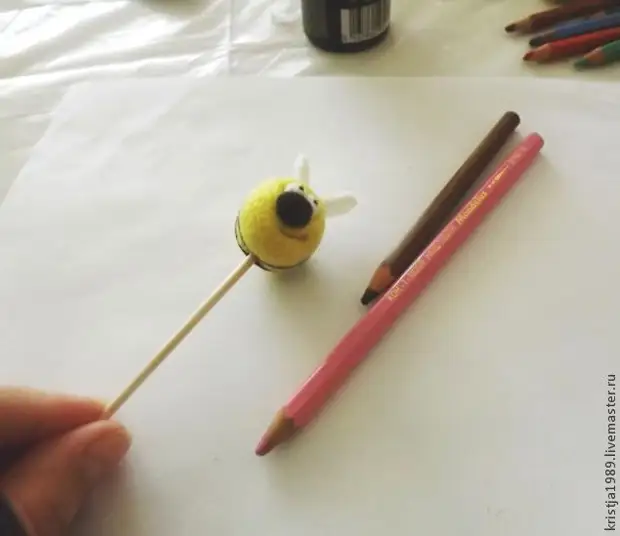
For toning, you can use dry pastel or eye shadow, and apply them, rubbing with natural fibers with a brush. I use watercolor pencils, they are sharply sharpened, rubbing well and keep, the palette is wide, in general, convenient. The depressures around the eyes and a smile toning dark brown color, and pink or red cheeks.
In the same way, magnets and key chains can be made, and hair gums.

Source: http: //www.livemaster.ru/topic/619157-master-klass-nepraviln ...