Communication quote English-Handmade
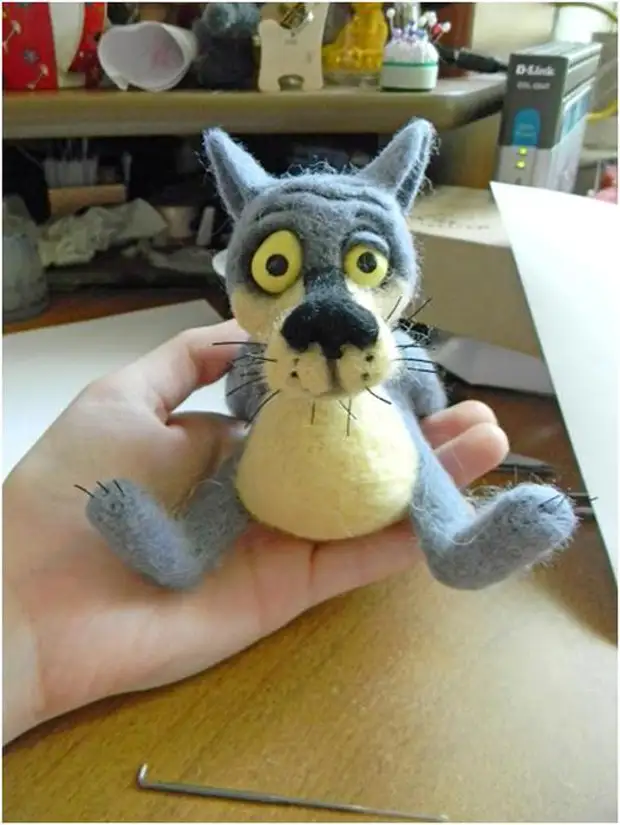
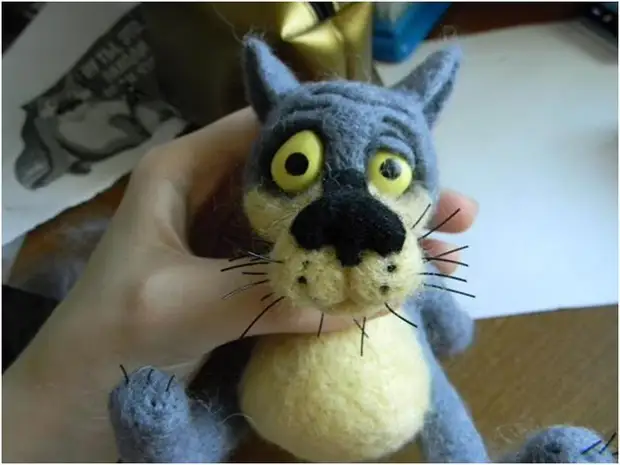
A wonderful cartoon wolf lived was the dog made in a dry felting technique. Work and master class by elchy
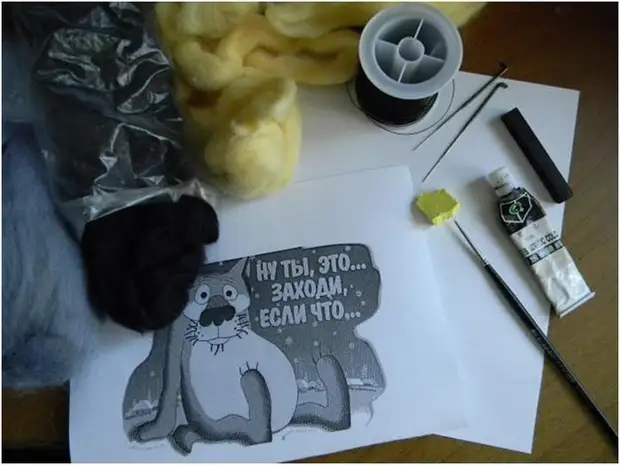
For the manufacture of a wolf we will need:
1. Wool. Supporting the domestic producer, I make from our Semenov wool. The necessary colors "steel", "champagne" and some black.
2. Needles rude No. 36 and thin (№38 / 40)
3. Plastic or any selfless clay (for eye) + 2 drops of glue
4. Acrylic paint (black) + brushes
5. Dry pastel / Hood.Maslo or cosmetics for tinting
6. Black Wire
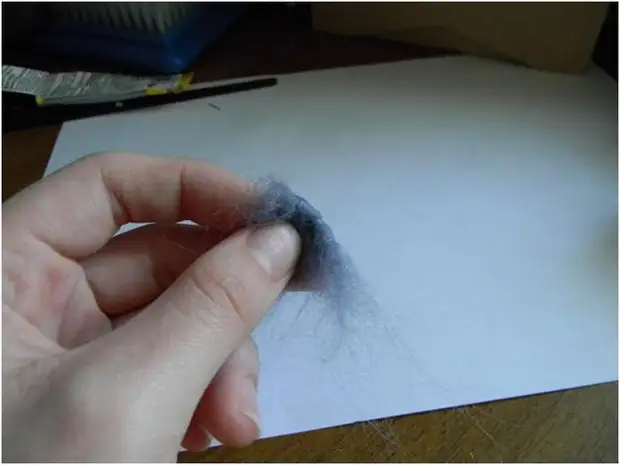
For convenience, you can print the drawing of the wolf. You can even make one to one to try on and check the proportions. We take the Semenov "Steel" and are wicked by a gunpowder (or run away) wool for the head. To roughly define the final size, our shreds of wool can be very tightly collapsed.
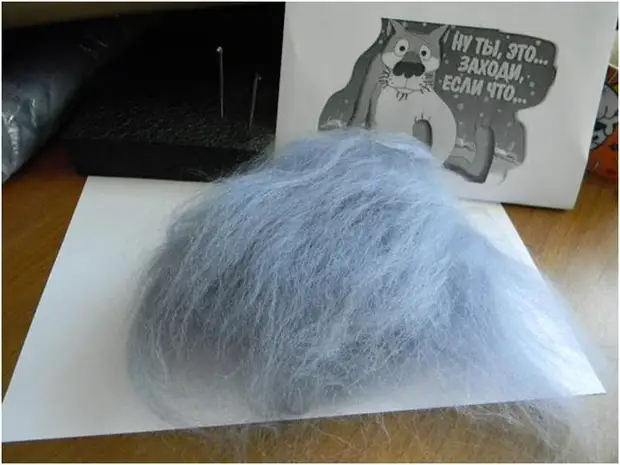
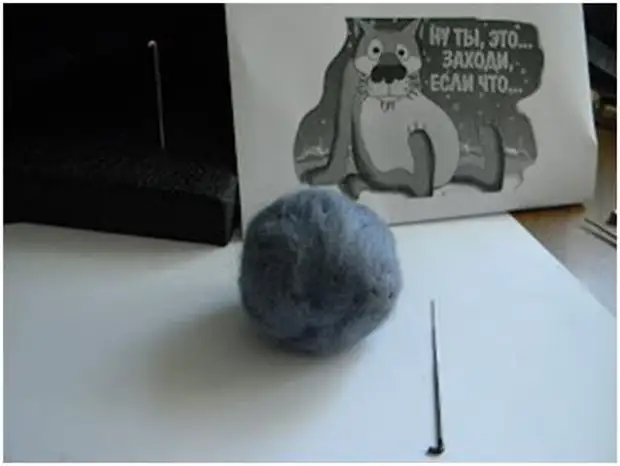
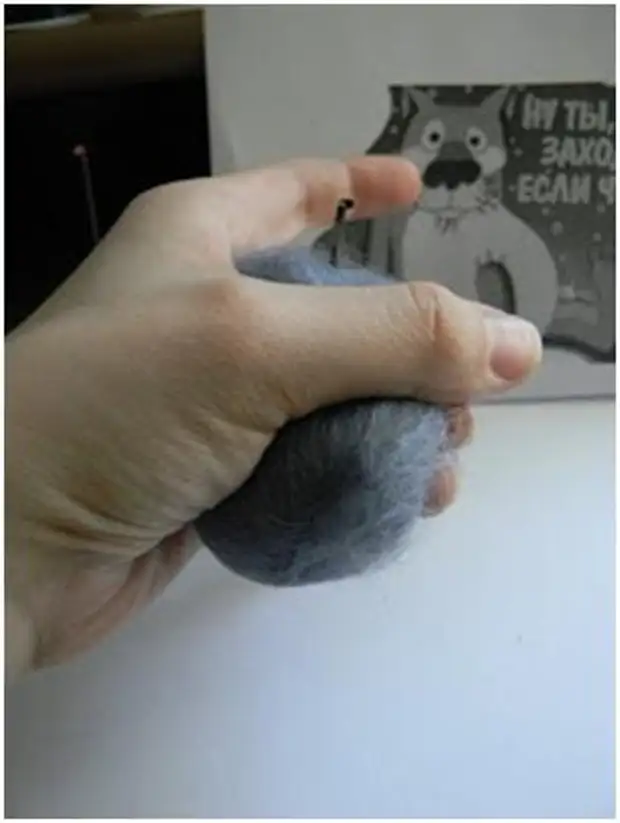
All the work on the assembly of toys is conducted by a coarse needle. We turn our loaf and start to carry her needle. It must be deep enough, because the main thing is that the toy falls inside. This is exactly what will determine its durability. Already soon we get such a ball. It remains even loose enough. This will allow you to connect our head with a wolf spout without any problems.
I combate the Semenov "champagne" on the nose.
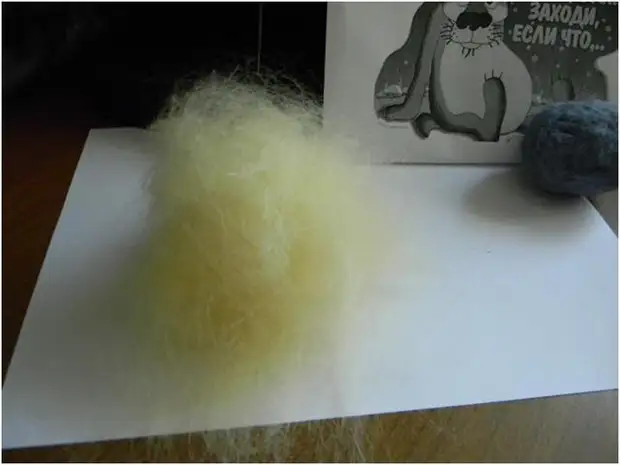
We turn it out with a tube and dump a rude needle. One end of our nose is left shaggy. These moss willow wolf peels. Immediately it will be possible to outline the break (the strip that shares the right and left half of the jaw). For this, the needle repeatedly spend a vertical strip.
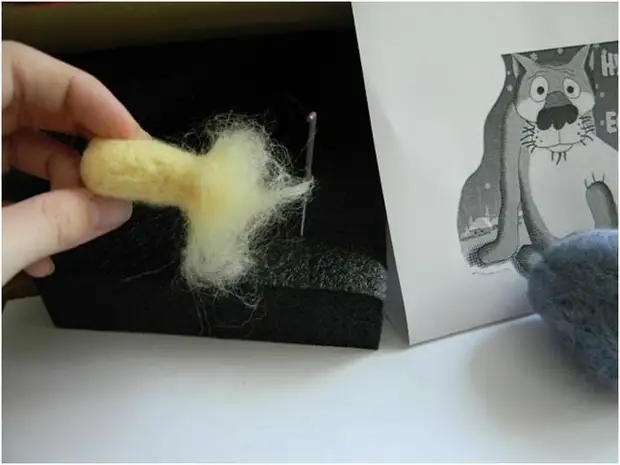
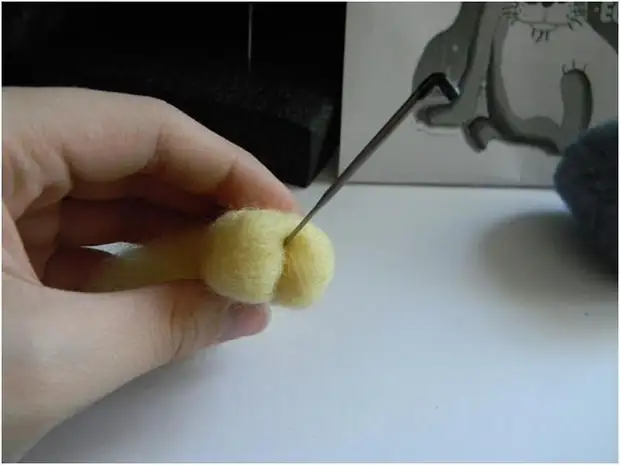
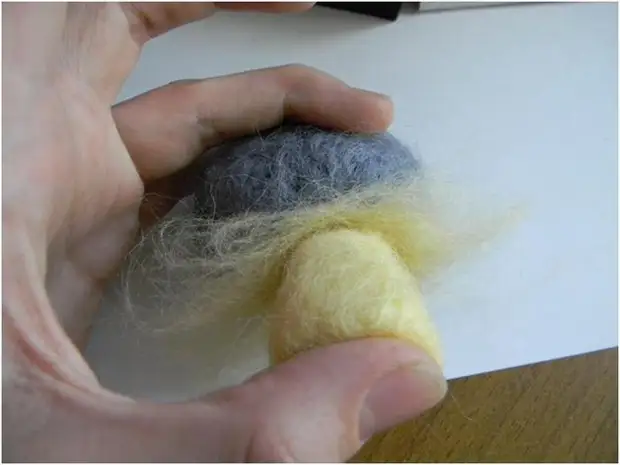
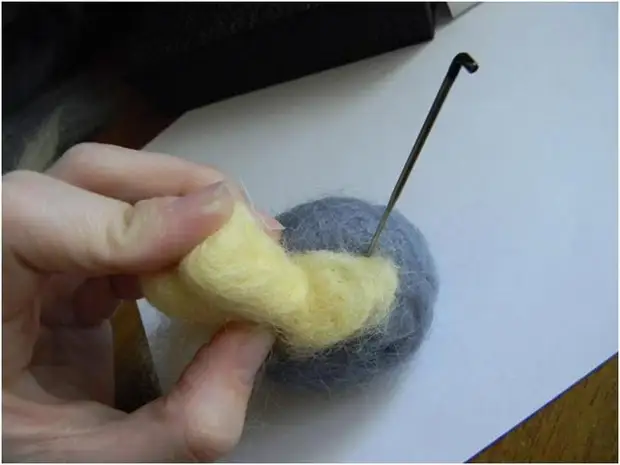
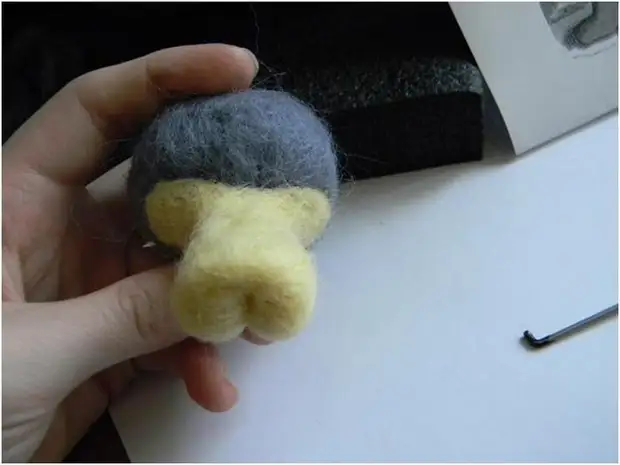
Now we will attach our nose to the head. Lochmatushki get into the sides and carefully make semicircular cheeks. Please note that the end of the nose is flat enough. Therefore, cute chubby cheeks are not our option. Make the pad =)
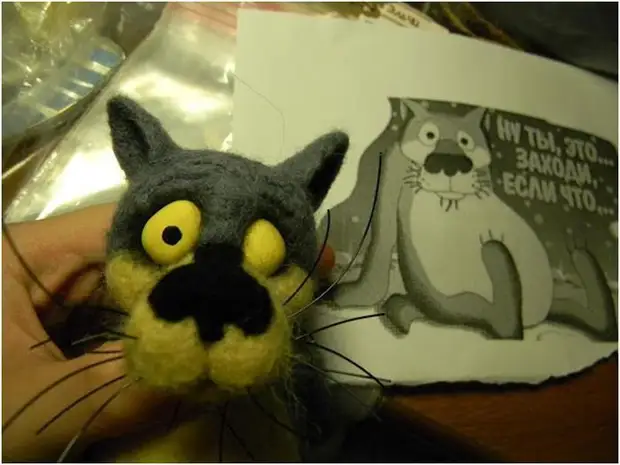
Now let's start making eyes. Note that our original glazing is not round, and the elongated and slightly cryptic =) the sockets do the same.
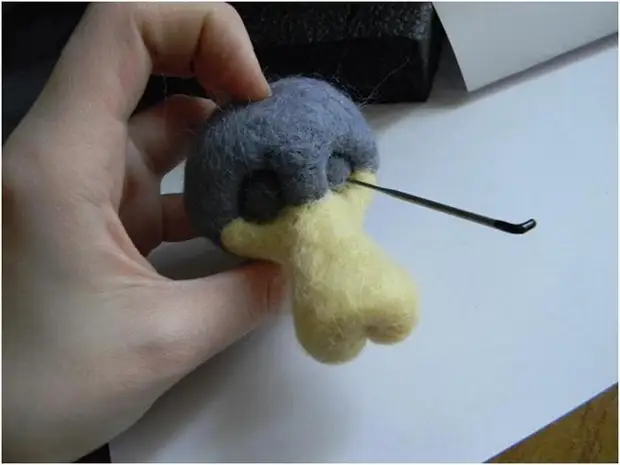
Fake nose. Take a black fur. We look at the photo and make the same, slightly crying and with large nostrils.
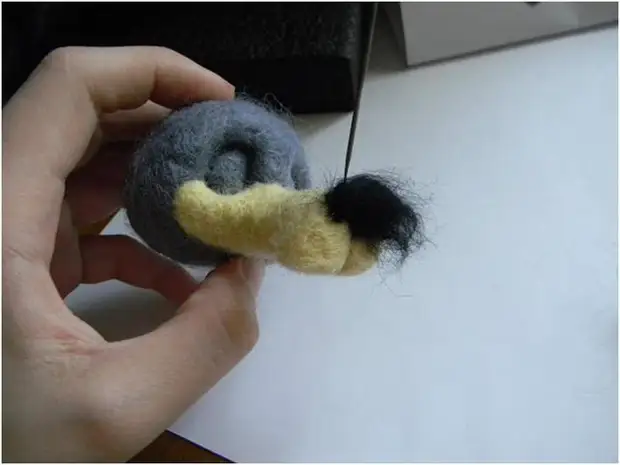
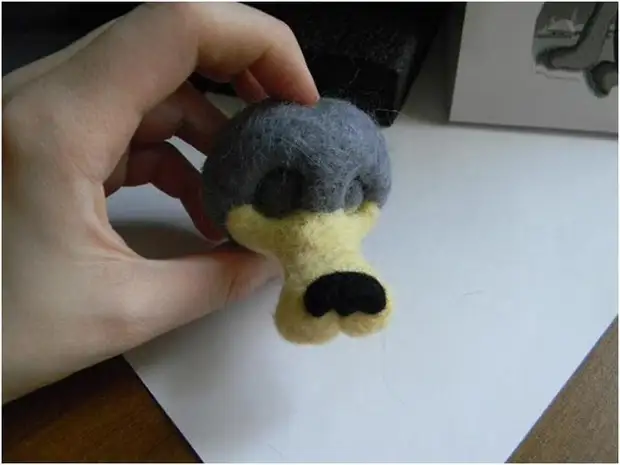
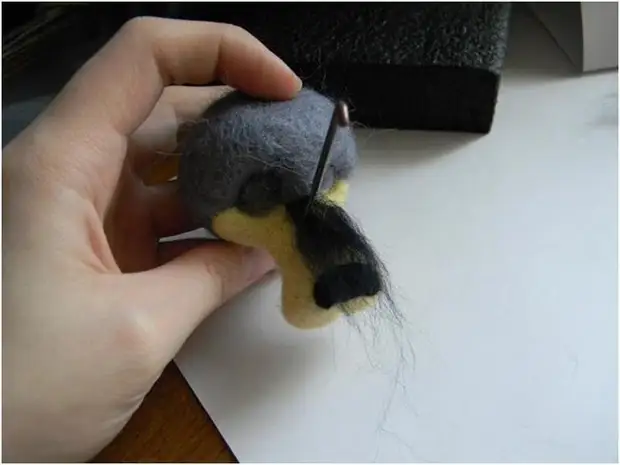
It is worth noting that the wolf from the nose to the head there is a black strip. It should also not be forgotten to do =) you can postpone our head
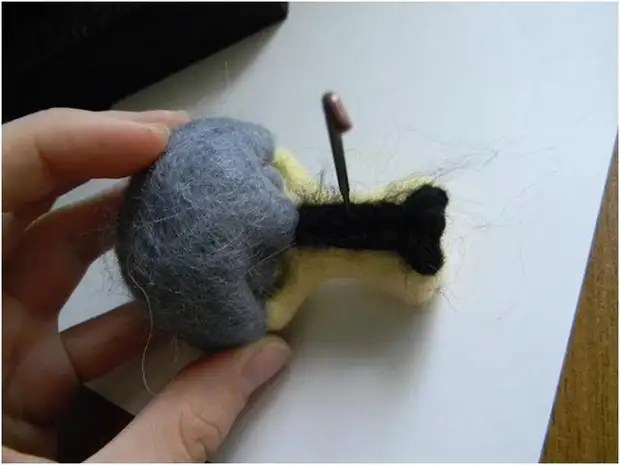
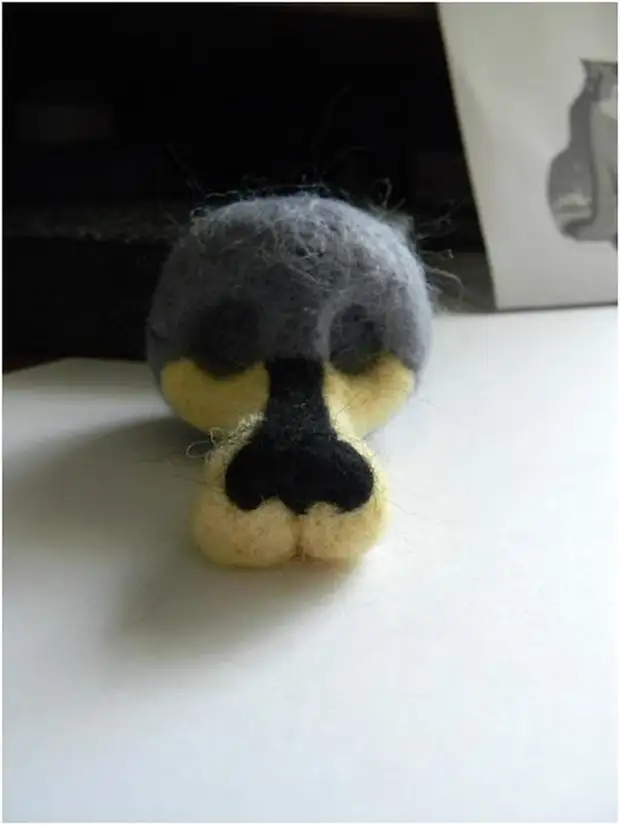
Let's start doing the body. I wonder again gray wool. And make a ball from it. On the one hand, we leave our body to fluff. I have 36 needle. Well dump inside =) The body is obtained by the "middle taste" =)
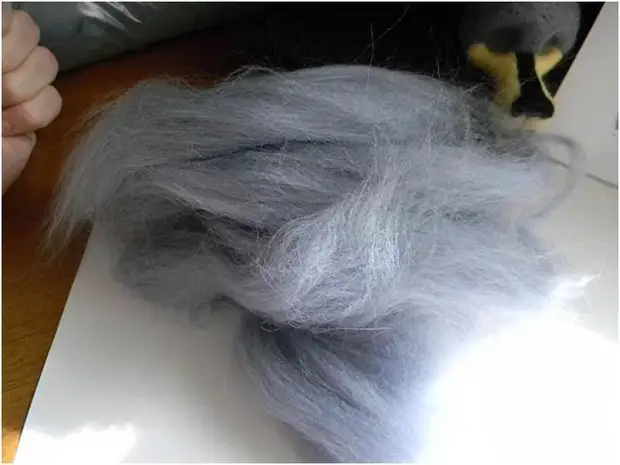
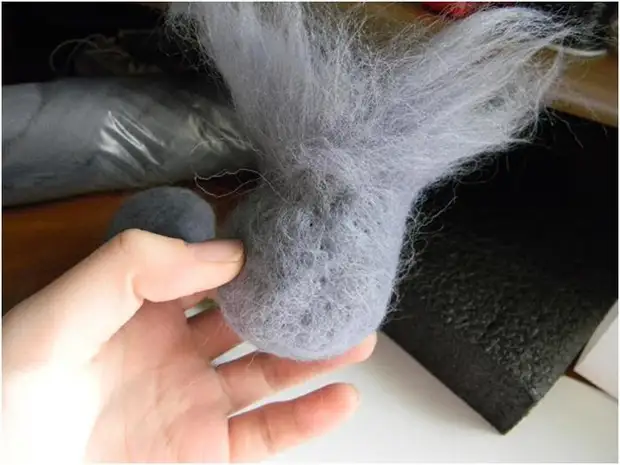
Take the head (horror, as it sounds) we apply it to the bodily shaggy. We dump our two details
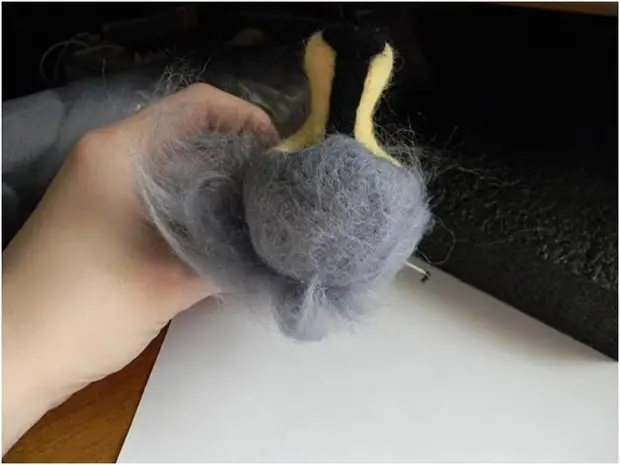
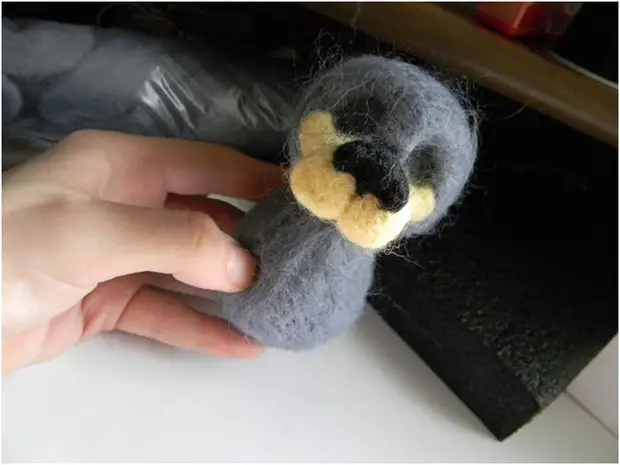
Now our body must be revealed with a yellow rush. We take our woolly champagne and apart to the body. Immediately form the boundaries of our rush. Make smoothly and beautiful. All inserts then bold yellow clouds of yellow wool.
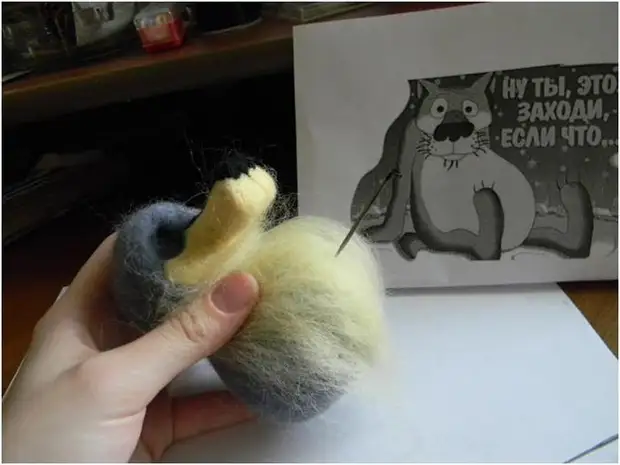
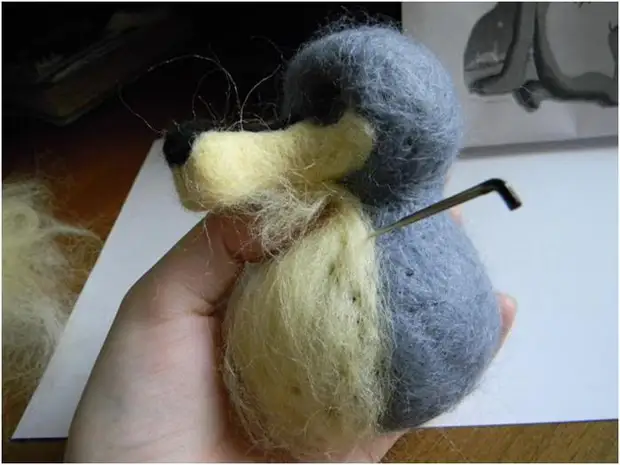
Immediately yellow wool can rush to the desired size. I have summer on my mind, everything is thin and the wolf turned out, too, not very fat =) Getting ready for the beach season
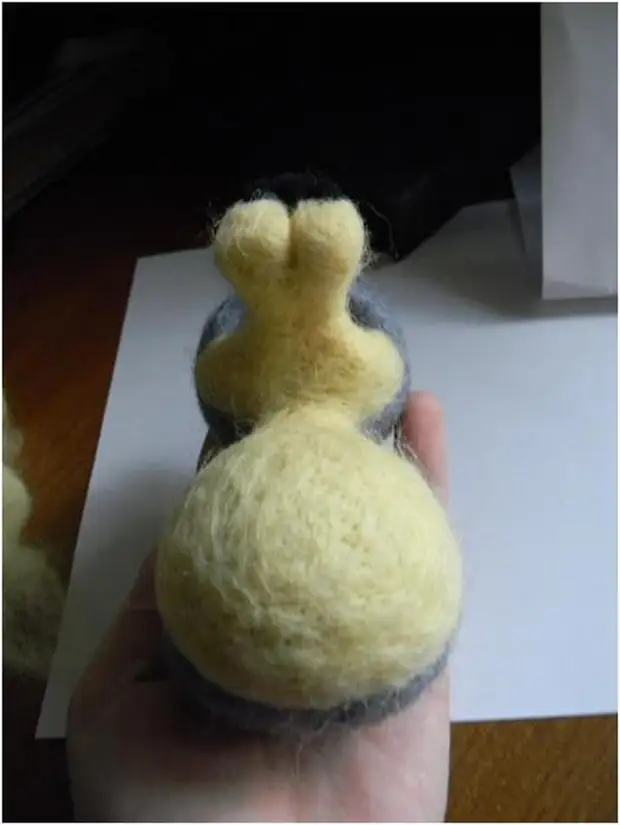
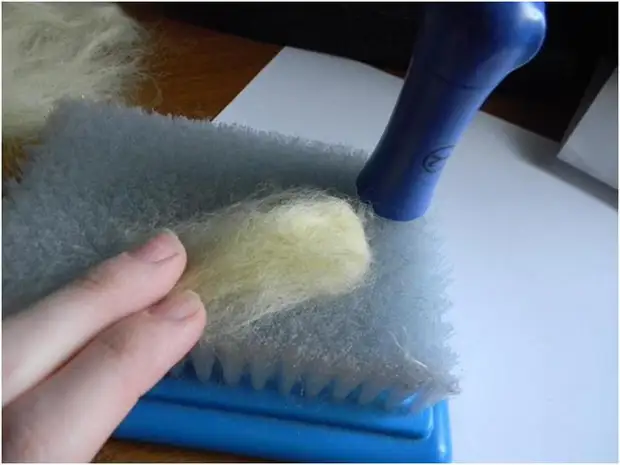
Now we will make our lip wolf. We take a small piece of wool and throw it on a mate / sponge / brush.
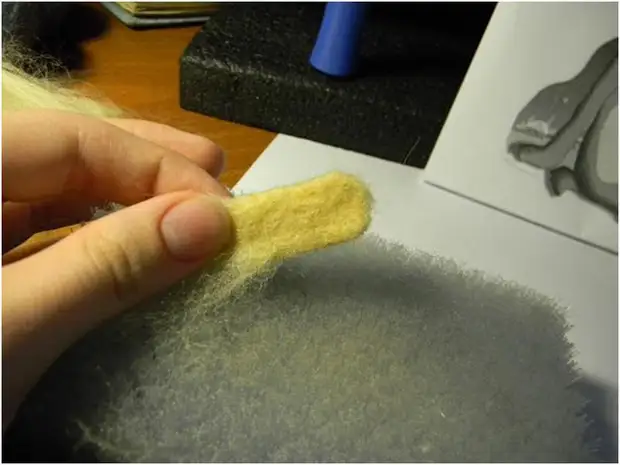
Get your lip to our wolf's head
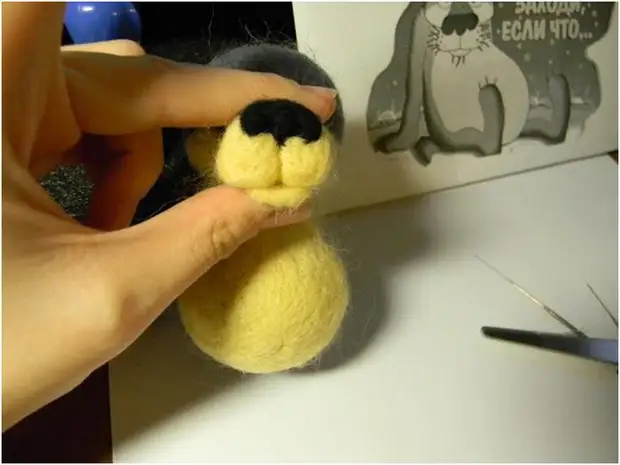
As long as we assume the body from the head side, we will make his paws. To do this, we make gray "tubes" on the likeness of how nose did. One end is fluffy, the other is not. For convenience, you can use a frame (wire or a tuber cleaning). I do without a frame. Our tubes must keep the shape and not to be too hard - we can still bend them.
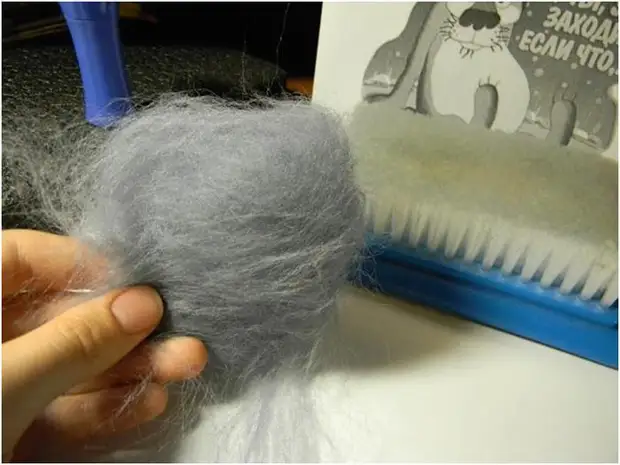
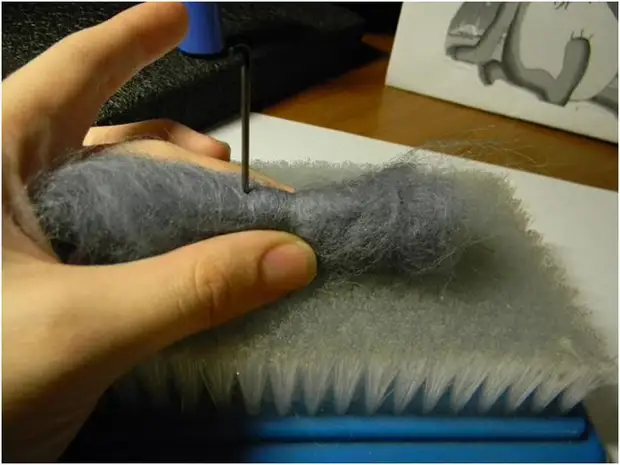
We applied to the body, see where about our limb should bend. We form your hands the desired angle and fail this place with a needle. The technology is the same and for the handles and for the legs. Do not forget to compare so that the legs and handles are the same (or at least resemble). If you use a frame, then dump carefully. When the needle is hit in a wire, it can be brought or break (especially, Gammov)
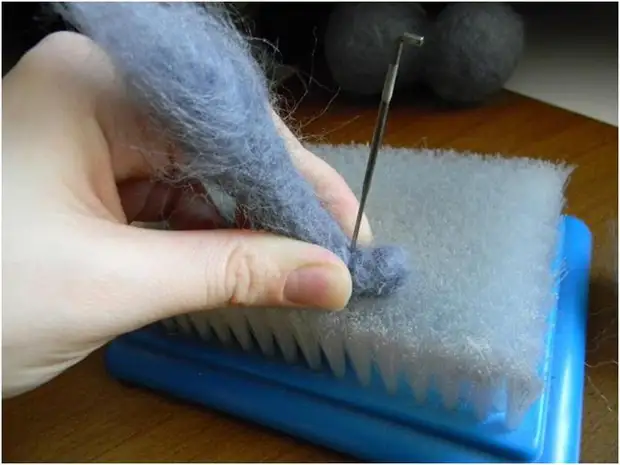
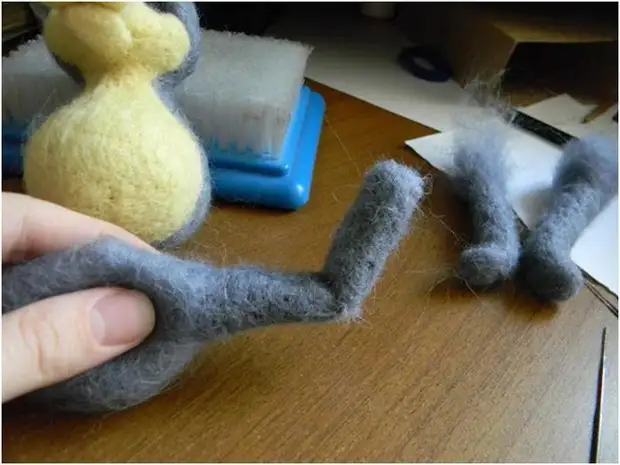
When all 4 paws are ready to make them to the body. Technology is still the same. Puffy apply and apart. Pay attention to the shoulders of the wolf. They are a bit crawled up
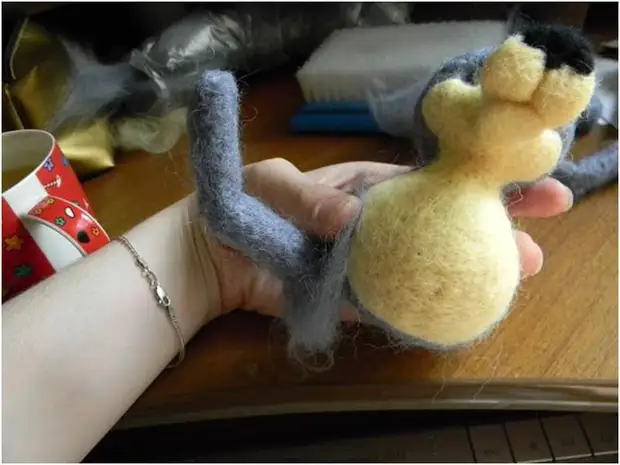
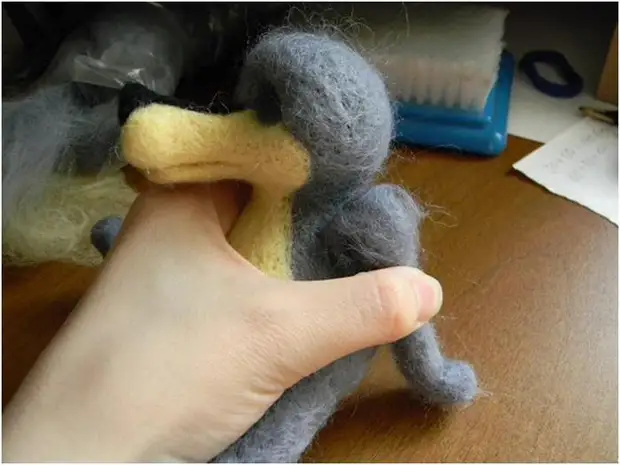
Do not forget about the tail =) it is done like both the paws, only on one side thin =) it is swept in the same way as the paws. Bent fingers to the right shape and failed
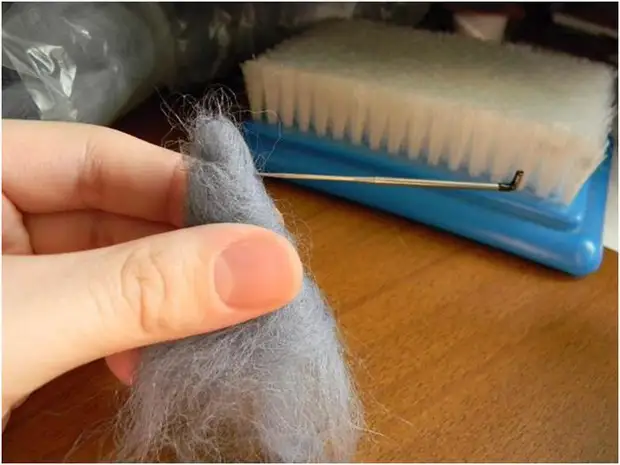
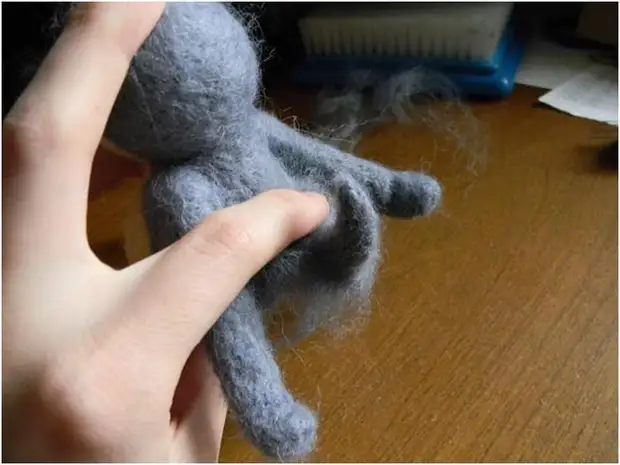
Don't you think that we completely forgot about ears? The technology is similar to how they did the lip, only this time we do triangles. To simplify the process you can cut the "blank" of paper and make ears on it. I usually do one ear, and then, by applying, I do the second. Usko can be slightly failing in the middle, as if beating it. You can do it and immediately on your head.
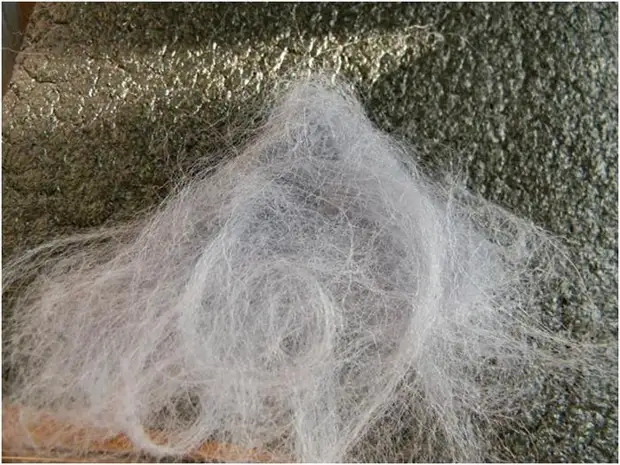
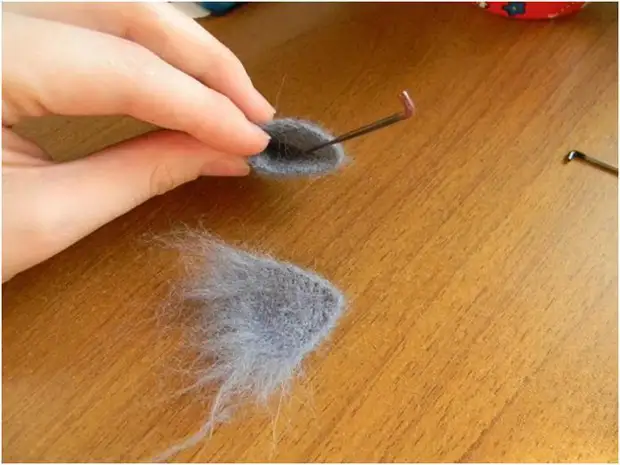
Apply the ear of the shag naughty to the head and exercise.
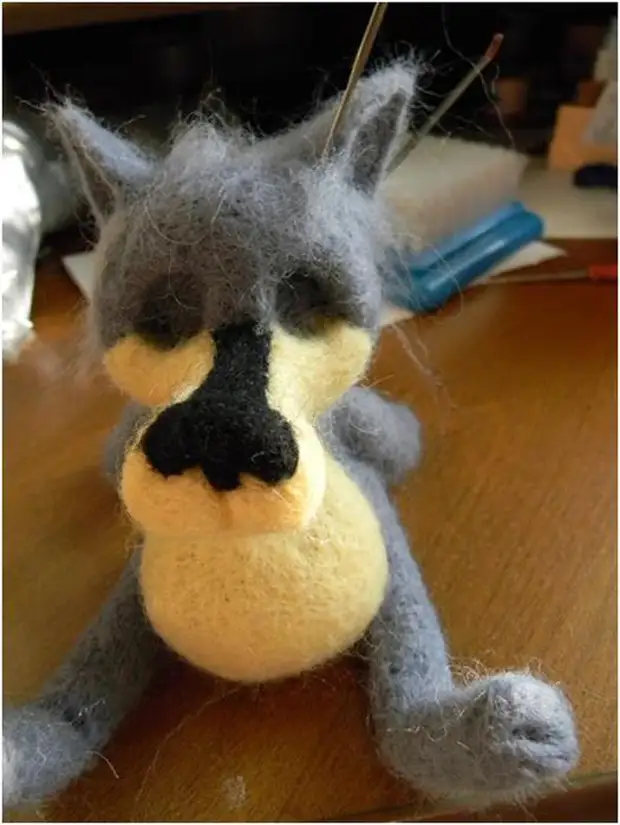
Wolf we are oh, as not young. Therefore, the wrinkles are needed on the forehead. We look at the drawing, do the same =)
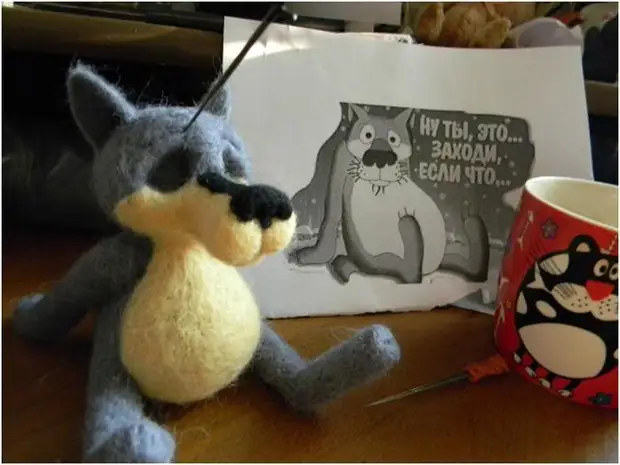
I think it's time to the toy "faded". According to legends, the soul of dolls is in the body through the eyes. So, our piece of polymer clay. I have premo, color is 5525. The color is just for the glazing. You can, of course, make a white self-impending and paint - here at your discretion.
Clay can bake, personally, I will cook (how will my words "I cook eyes"). Plastic does not work very strong, but for the eye there is enough. They still do not physically apply. Clay must be well to smoke, otherwise, when cooking, she can crack (when baking, I think, too). Eyes are sculpting in the shape of the eye.
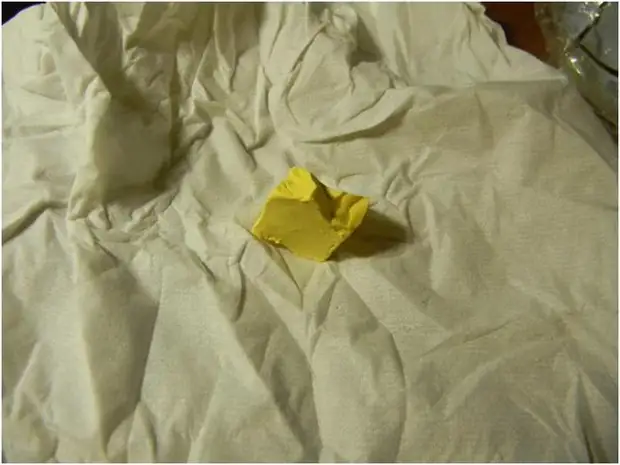
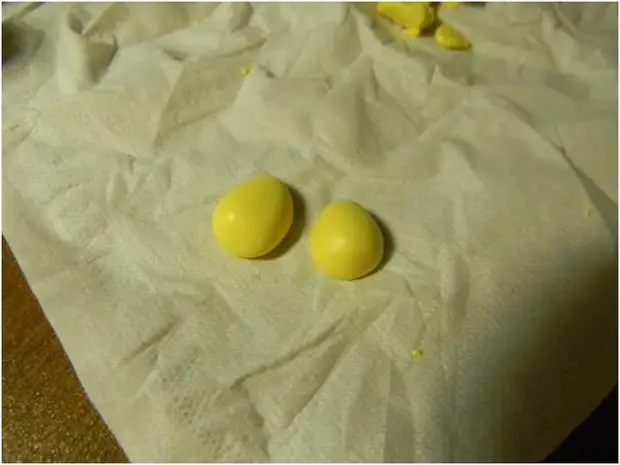
Eyes send to cooking. In the meantime, we make a mustache and nails to our wolf. I use such a wire for this. To be honest, I don't even have a concept for which it is in principle used. I bought in the fabric store, for frames. It turned out that this wire is covered with some kind of polymeric material and the form it does not hold at all. Even there is no attempt. In the coil of her 200 meters. So this is my strategic stock of the mustache. But, with a detailed study, it turned out to be not very suitable for mustache, because Pretty thick. But for the wolf - the most.
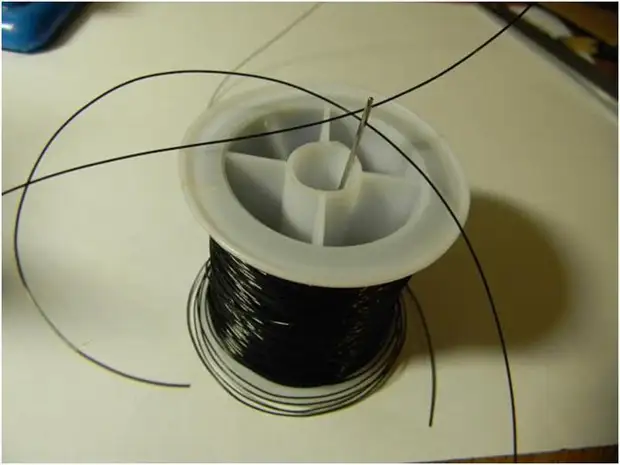
In order to make a mustache take a needle. Since the wire is thick, the needle is chosen with a big ear. But at the same time not very thick. After the wire is refilled in the needle, tie the node (if necessary, several) at a short distance from the end of the wire. This nodule will keep the mustache inside the muzzle. We protect the wire with the indoor node (so that it was about the middle). The node passes hard, pull neatly. With excessive zeal, the mustache crashes from the opposite side. Soldes of Us, on the other hand cut off. And repeat several times. After put the mustache and nails, a thin needle is good to break the nose and foot.
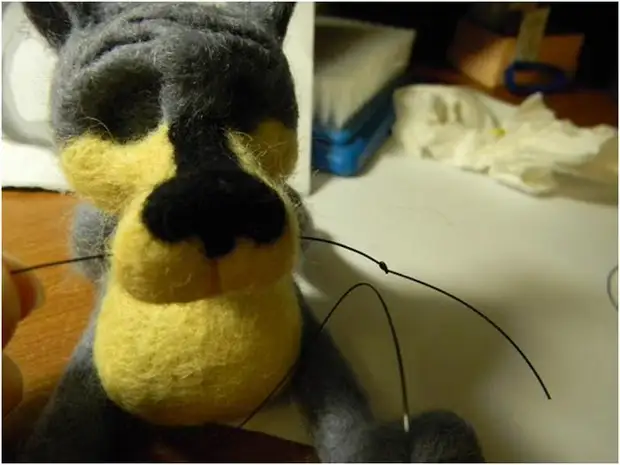
Do not forget about the beard. I brought the "beard" through the side of the nose. The technology is the same, just the wire comes out at the bottom, and not on the side.
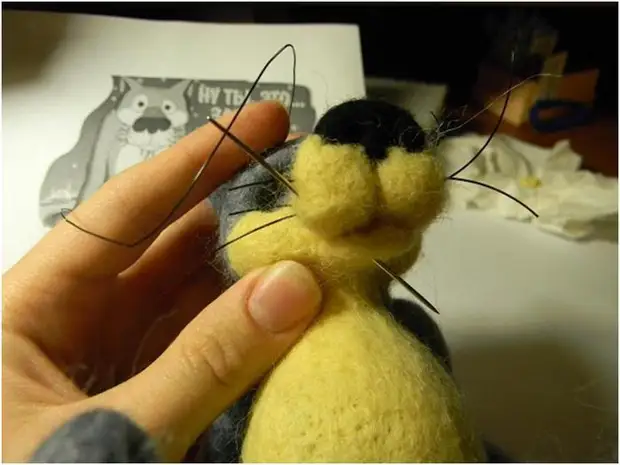
The same technology is used for nails. Only the "tail" with the node is much shorter and remains at the base (I did it through the heel)
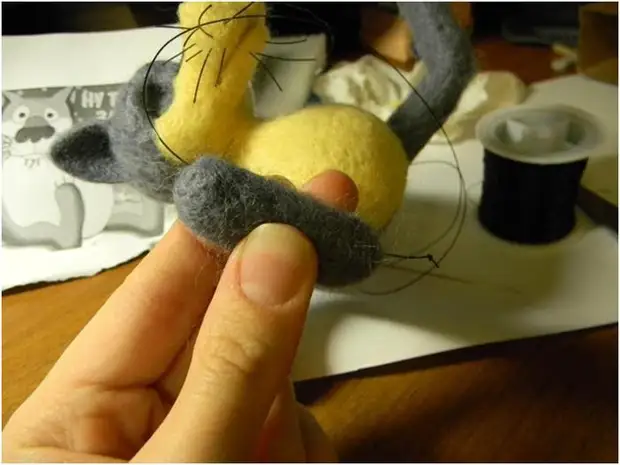
What kind of succulent and nail it turned out with us =) cut off too much. It can be said that the collection of toys is finished. At this stage, it can remain soft enough. Now the most monotonous occupation begins. We take a thin needle (you can take two for convenience) and gradually fail the whole body, hide irregularities, check for symmetry, etc. A thin needle does not need to insert deeply, otherwise there can be traces of needles (holes). If this will appear, we apply a small piece of wool to this place and gently take it to the surface. Again, the needle is deeply not sticking. The toy should be dense and sufficiently solid.
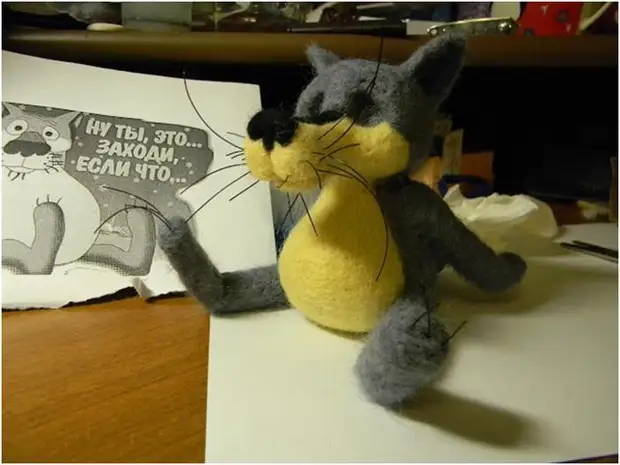
We take our eyes (they are ready for this moment) put in the orders. As a rule, do not suit. There are two outputs, choose the optimal (or more convenient). The first option is to become a skin, the other is to expand the socket. I expanded the socket. We try.
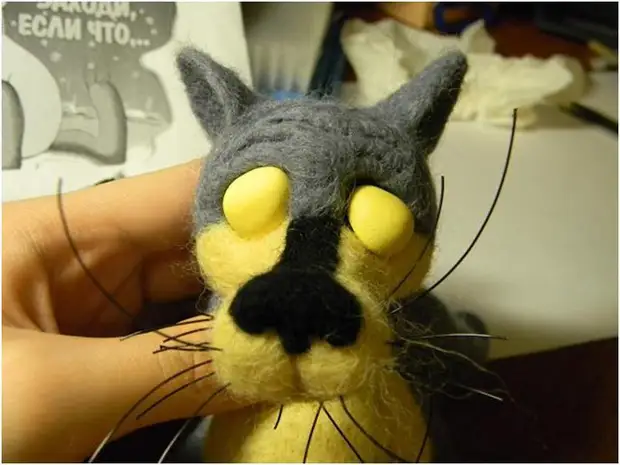
Before gluing, the edges of the empty chapter toniruham (I use dry black pastel). Better to do before, because Plastic is very susceptible in dry pigments and loves them to turn around (I don't know how to express it literary). Then not to drop =) But if you can carefully paint, and not as I, then you can also tinker. It makes the toy expressive =) We plan where it will be a pupil. Draw a black acrylic. If you are afraid to miss, first it is better to set carefully with a pencil.
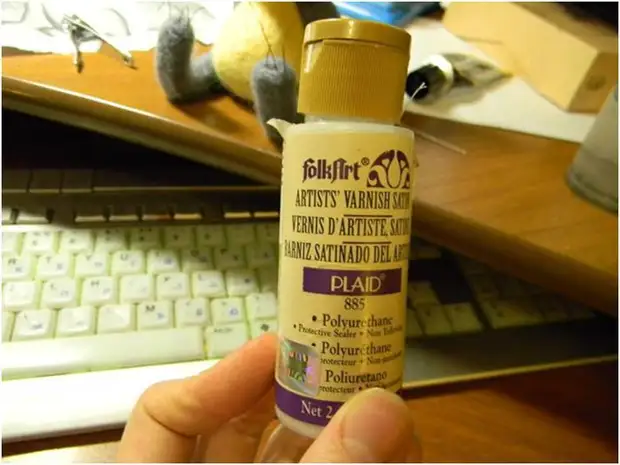
When the paint is dry, covered with varnish. I do not think that there is a principal difference in what, but I have periodically asked what I have. I share a photo. I have such a varnish. I bought a couple of years ago, rubles for 100. I used, probably about 20% maximum.
So, that's what we did at the moment ... Let's leave the lacquer
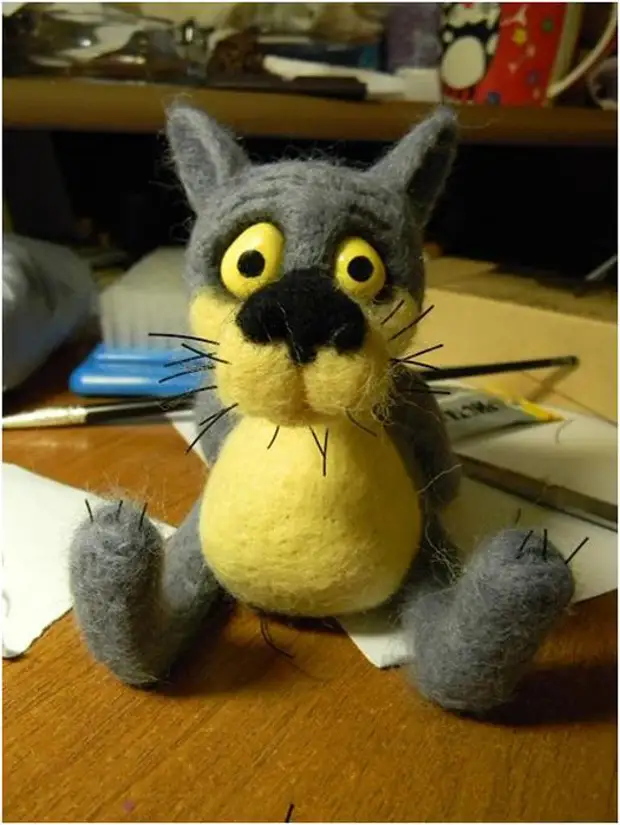
It seems nothing, but not enough semi-closed century. For him, we will need a small piece of wool, fold it and fall from one edge. From the other - Mokhnatki. We put the eyelid gently, trying not to get into the eye, so as not to damage. We put a thin needle.
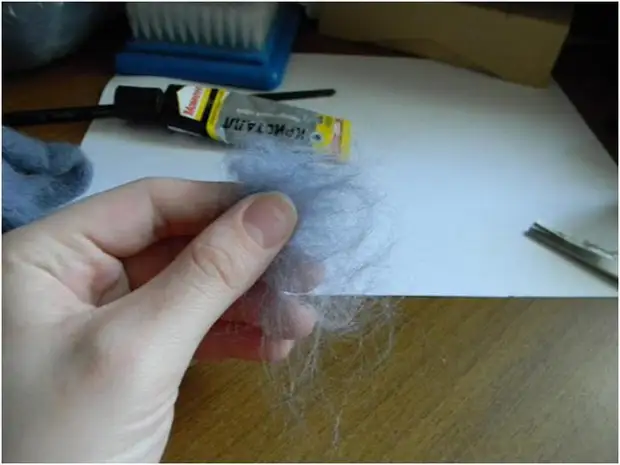
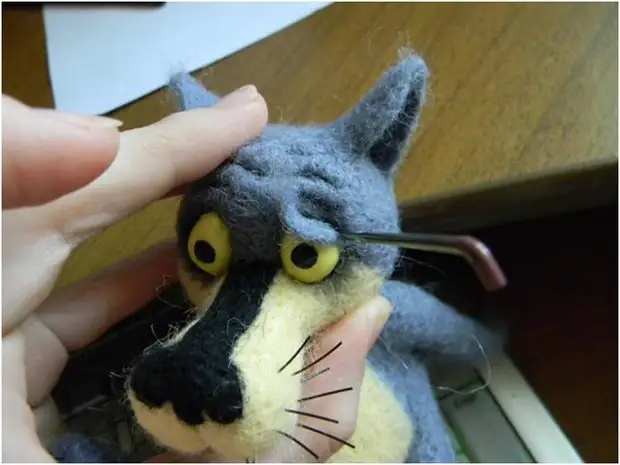
And now the final stage. We make black dots (as in the figure) in places where, apparently, a mustache breakdown for a long life.
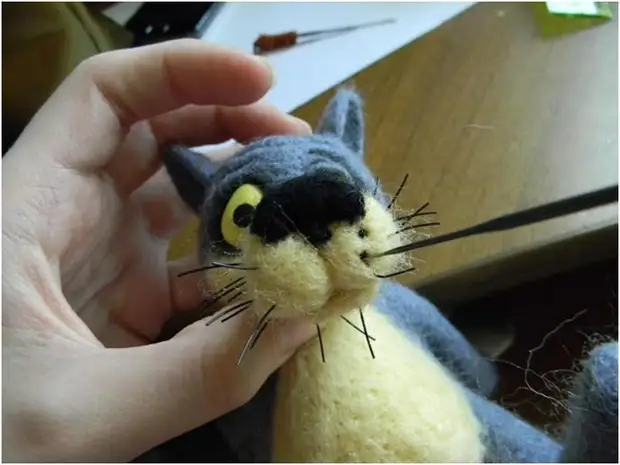
Now we tonue the deepening in the ears, the hole between the sleeps and mouth, as well as wrinkles.
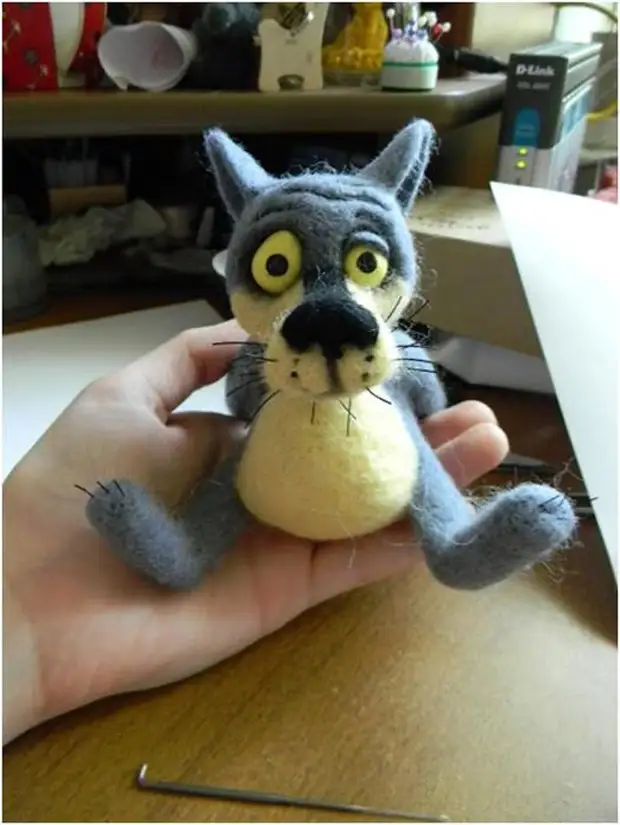
Our wolf is ready. He turned out to be sufficiently slim. At wishes, prayer can still be increased to the desired size. If you want to do the vice versa wolf, then the reverse process is void it.
Source: livemaster.ru/topic/303891-master-klass-po-valyaniyu-volka-iz-m-f-zil-byl-pes.
Russian-handmade
