Beautiful very wooden dishwashed many wood masters. Jewelry box made from Karelian birch decorate your home interior. How to make a simple casket of an interesting form and cut a geometric thread on it and read.
Wooden boxes should be made of dry material. I usually make from the birch, since the wood is homogeneous in density, it is well cut, it is painted and separated. We pick up without bitch and cracks, the workpiece of the casket should be cut off the same on the shade of the board. If you cut the parts and do not look at the shade and the color of the board, then when varnishing the product from the tree you can get an uneven color.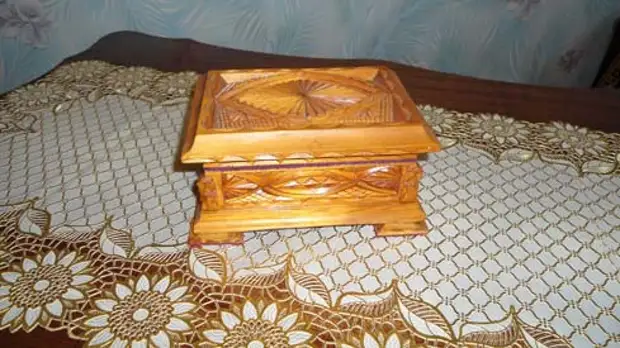
Blanks Casket
- 170 x 125 x 17 mm - 2 pcs
- 150 x 48 x 17 mm - 2 pcs
- 90 x 48 x 17 mm - 2 pcs
- 800 x 28 x 10 mm - 1 pc
- 500 x 12 x 12 mm - 1 pc
The first thing on the fugoval machine planing one side and the edge of the board, then on the flight we run to the desired size in thickness, and then on the pile of the sizes of the blanks.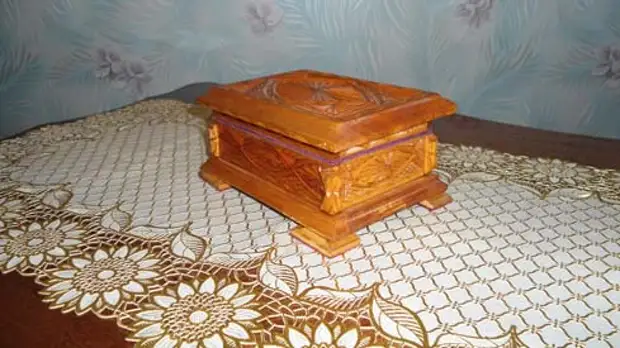
Making a box
The main stages in the manufacture of such a wooden box:- milling blanks
- Bonding Casket
- Carving on the box
- Interior decoration
- Toning and varnishing
Milling blanks
Wooden caskets of such a form are performed using a mill. It is necessary to mill on the machine some separate parts before gluing. On the milling machine, I drove the lid and the bottom of four sides. I made four legs from a long blank. Overtook the three sides and cut on a saw 40 x 28 mm. Then the end ended and again traced the desired size. In this way, made four legs. On the angular fragments, I also chose an angle of 7 x 7 mm on the machine, four parts of 35 mm sawdilled from a long blank and a sawmill with a small tooth. From the ends of the long walls chose 17 x 12 mm grooves.
Bonding Casket
To work with the crafts, I use PVA glue. Always buy only professional and advise you. To glue the first thing you need the wall. We wash the thin layer and knock on small cloves. Exactly we mark the lid and bottom, we assign the connection location and putting the cargo from the top of the car. Again on the milling machine, setting the saw separating the cover from the base, leaving on the cover 10 mm of the glued base. I place, I miss the legs and angular fragments and stick to the base of the box.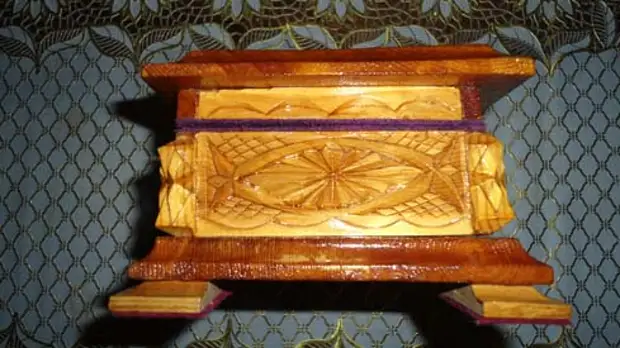
Carving on the box
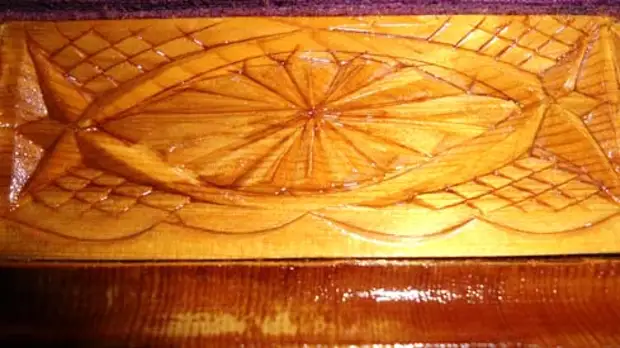
Wooden birch boxes can be very beautifully cut using geometric threads.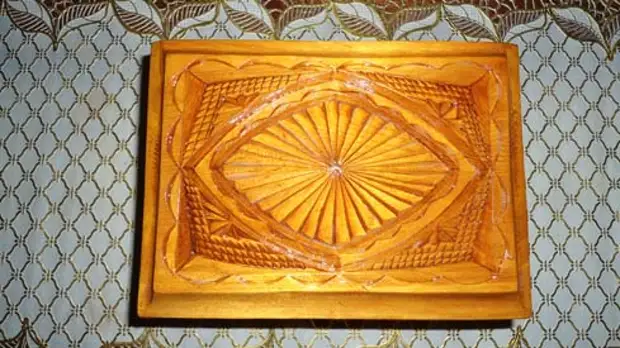
Interior decoration
Before placing the material, you need to install two small loops. Exactly placing, navigate small carnations first to cover, and then to the base. Measuring and cutting the material, we rinse the place of space on the box and then gently glue it. I use glue - moment.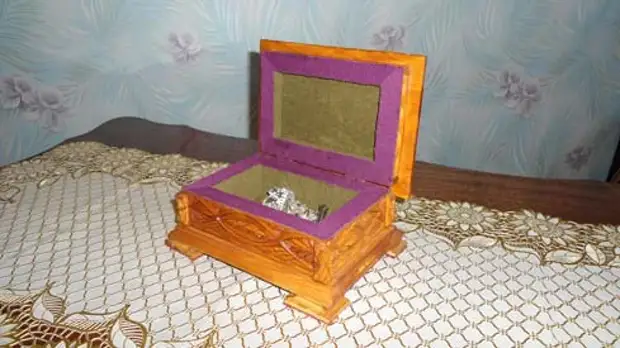
Toning and varnishing
Tinting of any product from wood should be done carefully. Pick up the color on the trial billet. I do it on trimming from the box that I do. After making sure that they picked up what they wanted, proceed to toning. When applied, rub well and cover evenly using brush and soft matter. Let's dry a wooden box and only then start to vanish. I cover my wood products, waterproof varnish three times. How to make a casket, an unusual oval I described before in the article. In the future I will show and tell what other wooden boxes can be made.
Photo: http://drevpodelki.ru/
