
(Teaches to draw Natalia Stroganova)
"Let's get acquainted and draw along with our children!
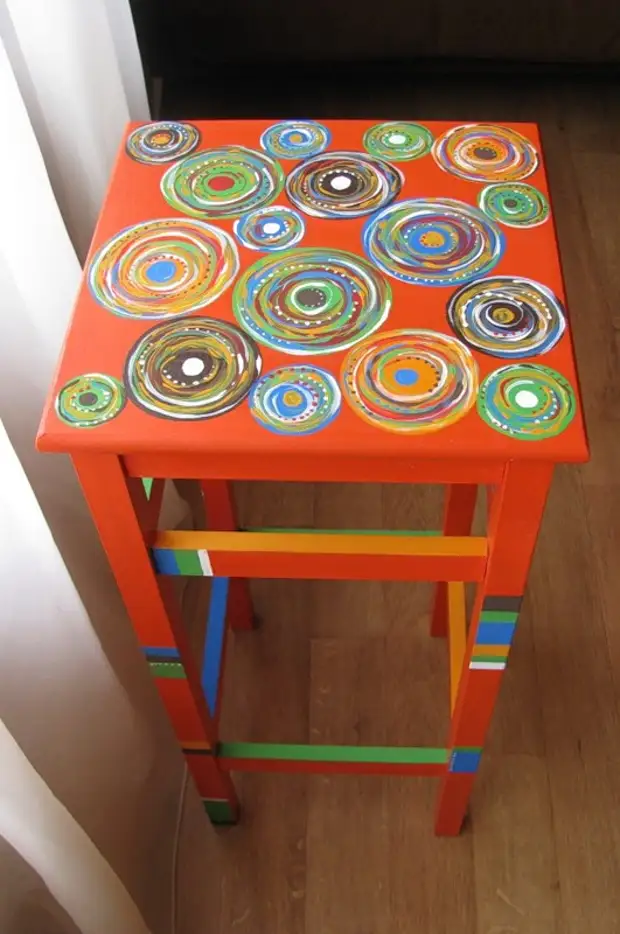
What to do in the country with children, especially when it is raining and boring just sit at home? We decorate this stool! Most importantly, do not forget to grant yourself - a fun mood! In our case, it is orange!
Materials in this master class are easy, inexpensive and accessible to everyone. We take these acrylic paints in tubes, or rather, these are the collers. We buy it all in the construction market. They can be added to white acrylorous paint, seeking the pastel shade you need. And you can simply draw them like bright colors that we will do!
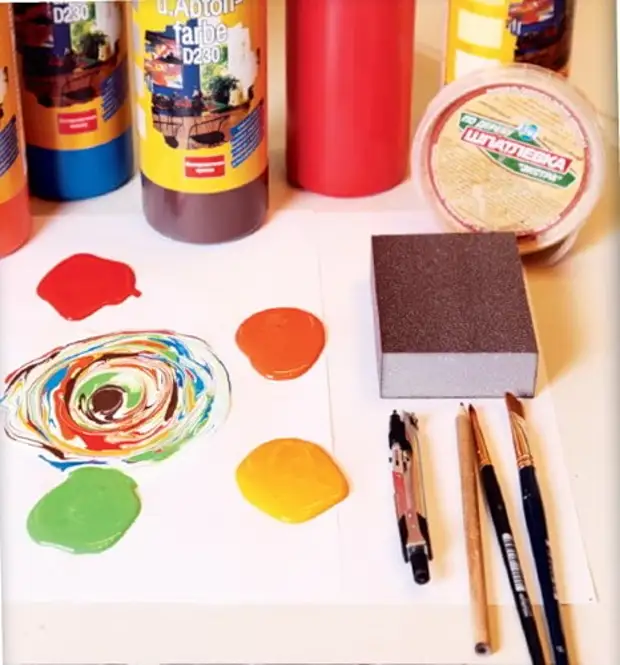
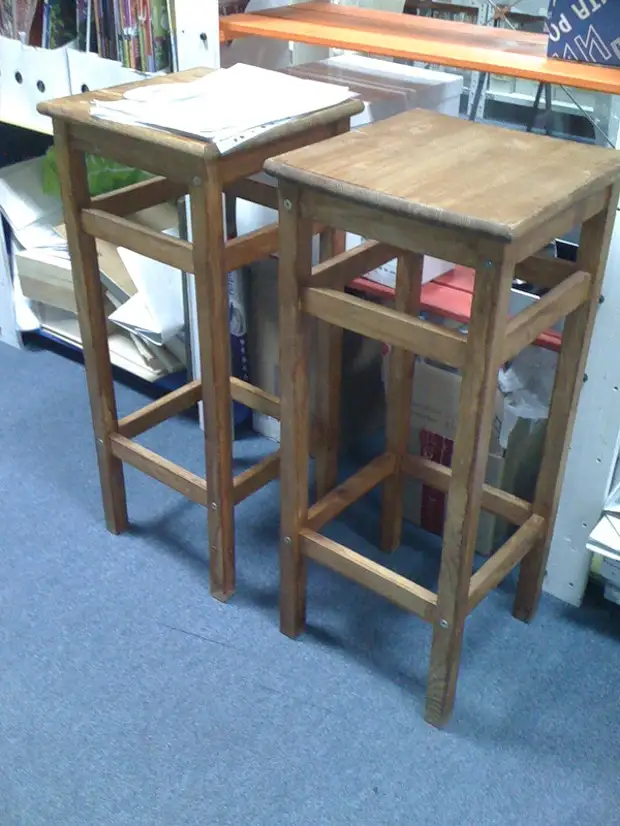
How will we draw? Where to get ideas? In the white spot acrylic paint, I got splashes from colored paints, which I applied to the palette. We mix the tassel! We got a colorful multicolored speck! Here we will embody this idea in the Decor of the Ikeev Bar Tuberet, who has long been dusting in a very unsightly form. Once it was covered with a boring gray verse, and we will turn it into a hunny stool, which will be pleased with their appearance to us in the country not one year!
So let's get up!
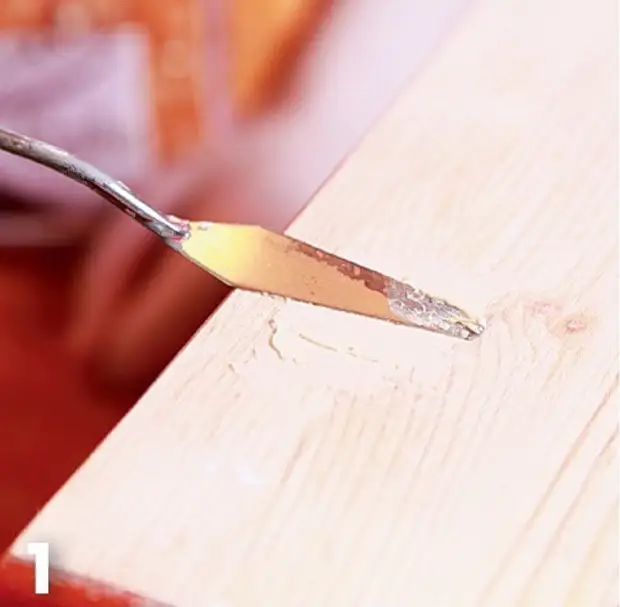
1. If there are cracks, chips or swirls on the surface of the toilet, then they need to be aligned. We use to make a putty on a tree and a spatula. I used Mastikhin, who was at my hand this time.
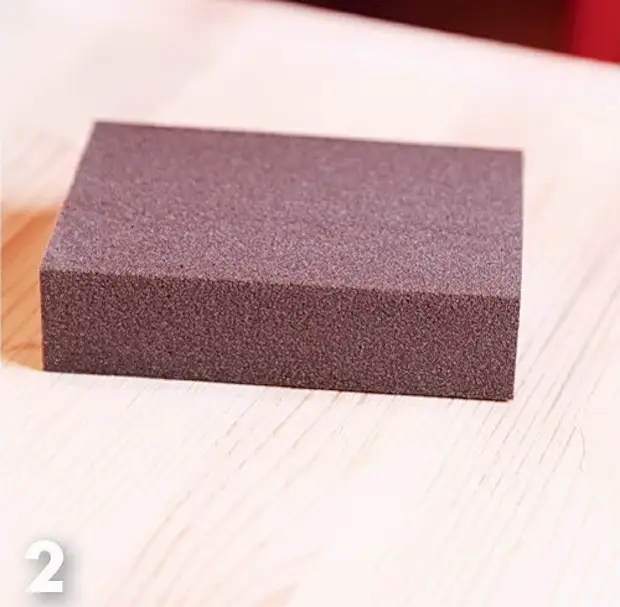
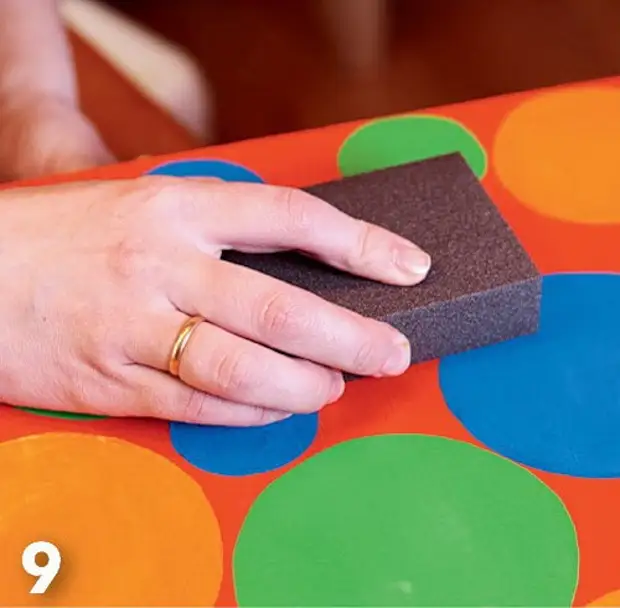
2. We are waiting for the shpatelivery to dry, after that it is squeaking the surface with a sponge for grinding.
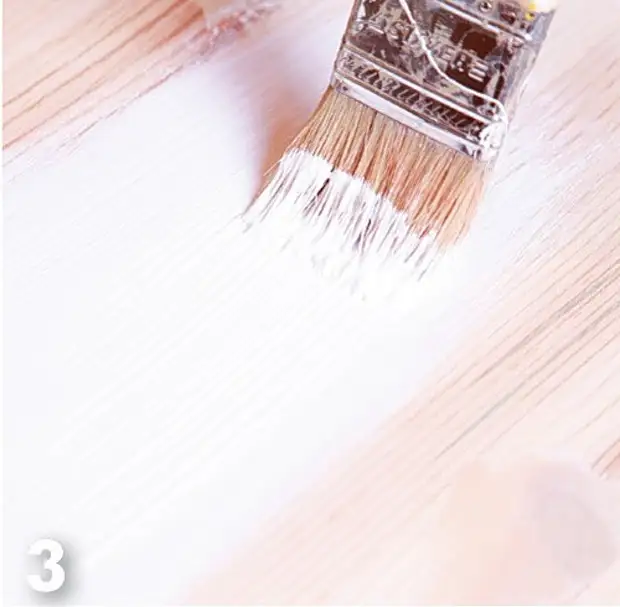
3. We remove the dust with a dry cloth and with a flat brush we applied primer. To make it easier for us to harvest and paint the stool, it is better to analyze it.
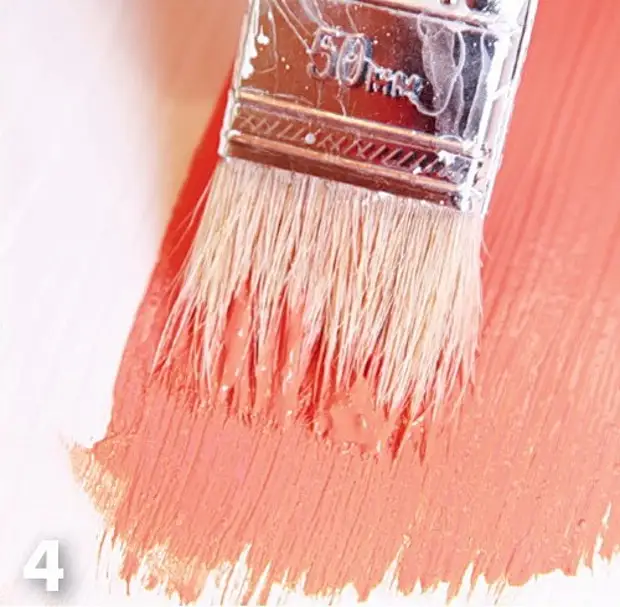
4. The primer dried. We proceed to apply the main color - orezhevoy. All surfaces cover the paint in 2 - 3 layers with intermediate drying and slices. The amount of layer depends on the dyingness of the paint. These stages will take you - 1 day.
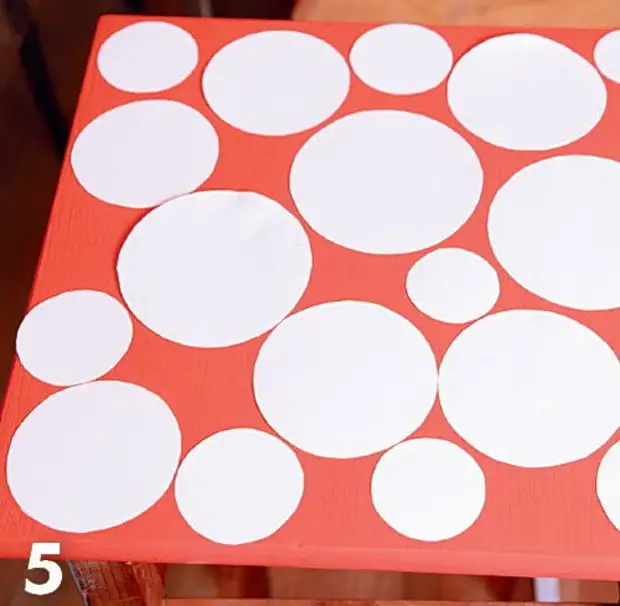
5. From white paper, cut the circles of various diameters and lay them out on the dressing seat, it is a pretty cheerful occupation, especially if you do with children. Together cut, invent the composition - the location of these circles and their future color. Instead of paper, you can use the mounting film, and then the cut circles will need to be simply glued to the surface. How to make templates from the film film I wrote to the master - class here www.livemaster.ru/topic/61855-master-klass-dekor-stolika-iz-ikea-trafaretnaya-rospis?vr=1&inside=1
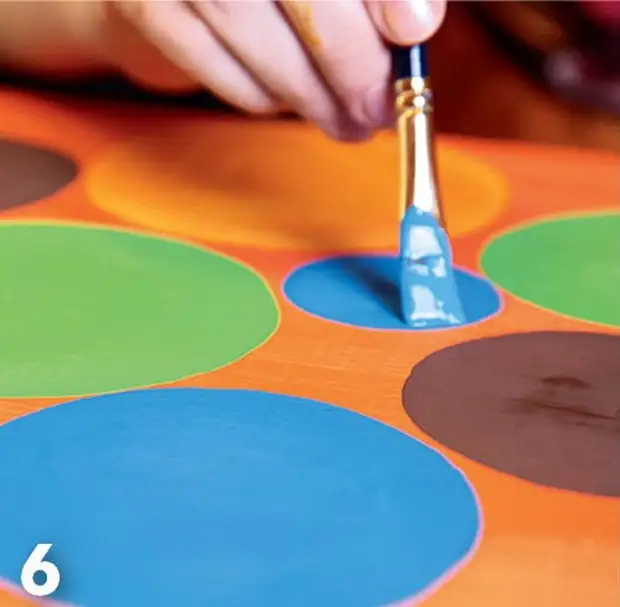
6. We supply the circles with a pencil, squeak the surface. Gently paint each circle into the color invented by us. We give every child by a tassel and draw everything together! If the circles did not quite smoothly - not trouble! In the future, these small flaws will hide our freely located drops - the strokes that we strike the spirals or ... just how we will do!
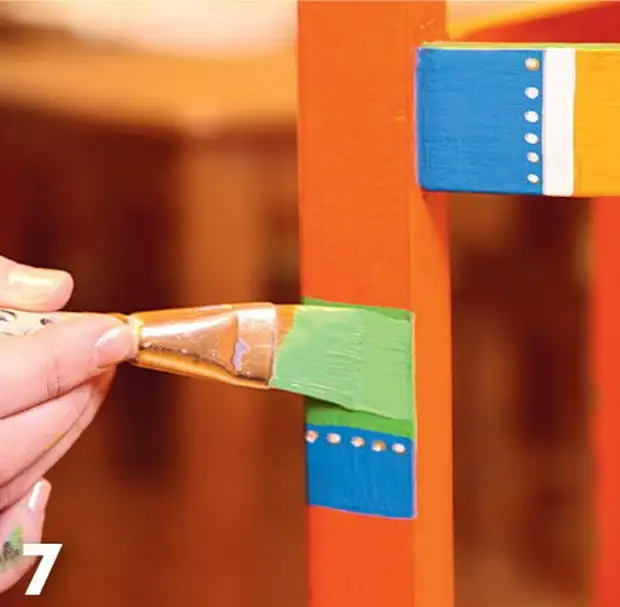
7. We decorate the legs and horizontal stands of the tobolet with multi-colored stripes, put the points.
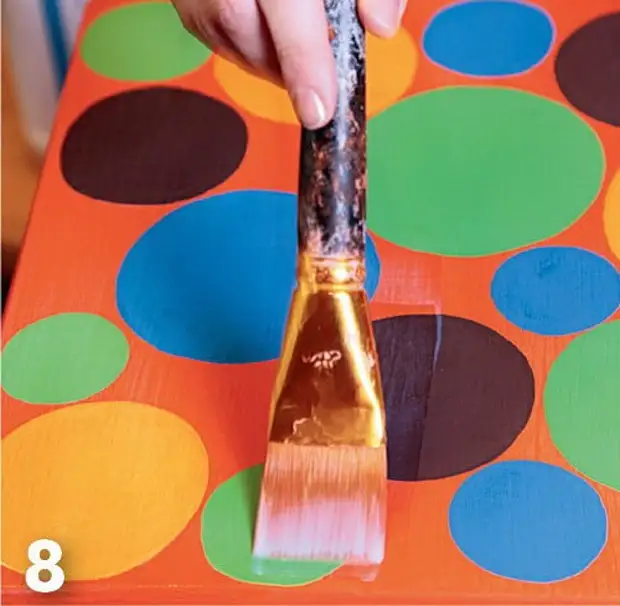
8. The paint on the token of the toaster dried, covered with its acrylic varnish. This will protect the perfectly painted surface from errors in our further decor. If something does not work, we just extract our painting with a damp cloth and what to draw again!
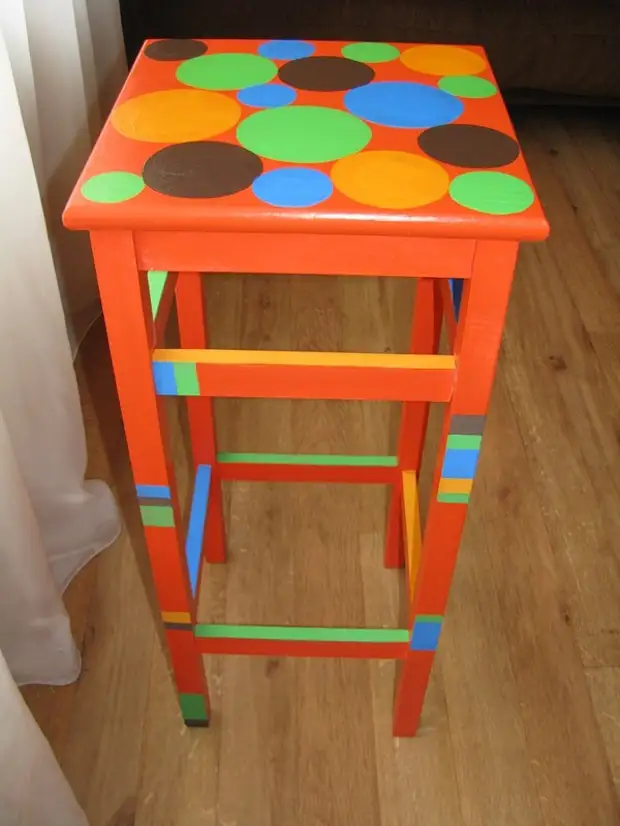
That stool turned out from us at this stage! You can stay on it, you can continue further! I would advise the stages on drawing circles and lacquer to put in the 2nd day, so that everything is good, and for the 3rd day, proceed to the further decor. But if you and your children are already in creative excitement and look forward to starting the final stage, then wait 2- 3 hours after varnishing, proceed to the paintings of the circles with smears - droplets!
9. Slightly squeak the surface with a sponge, wipe the dust
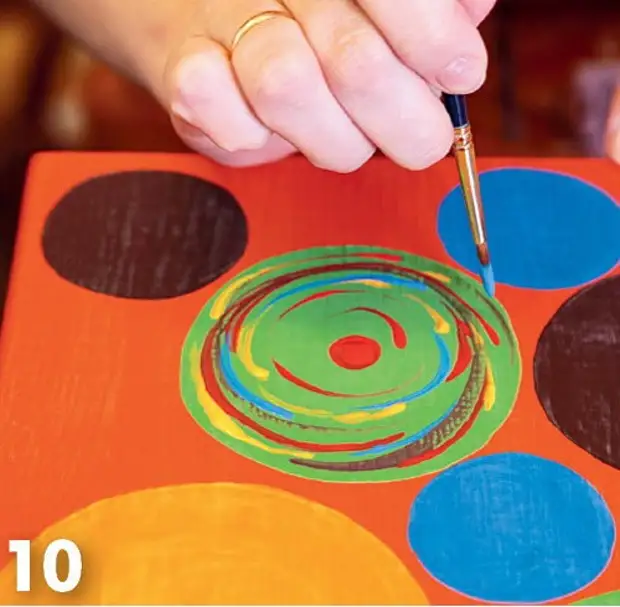
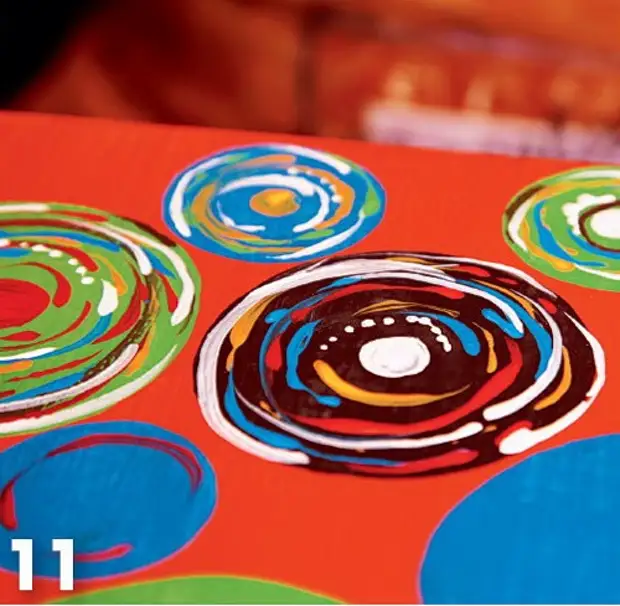
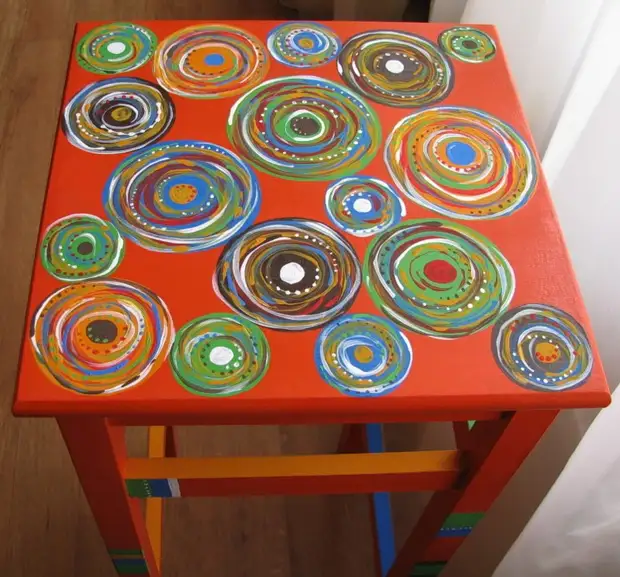
10 - 11. We are proceeding with the decoration of multi-colored circles. Round synthetic brushes are drawing an unlocked circle, having them in a spiral. I called them for myself - smears - droplets. Use for this shade contrasting circle color. If you do not like the result - just erase painted with a damp cloth. We draw the middleings, put the decorative points.
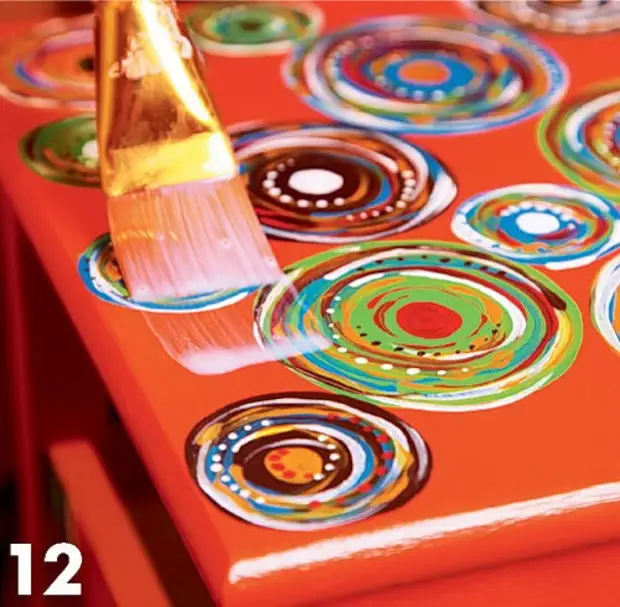
12. We cover all the surfaces of the tobyere finish acrylic varnish.
13. Ready!
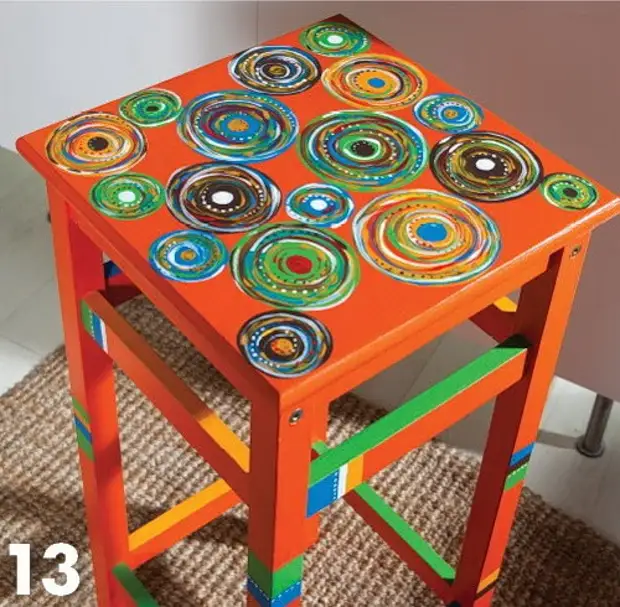
Master class prepared by me specifically for the magazine "Make yourself" 5, 2011
Well, then my climb, for a more complete picture, so to speak!
I will be glad if some of you come in handy this master - a class for organizing joint creative leisure with children! And also, how fast, inexpensive and fun to make your dacha furniture such a funny! "
A SOURCE