

This master class is about how very simple and quickly make stained paints with your own hands, then to decorate the windows with the applied "baking plates." To do this, we need PVA and food dyes glue.
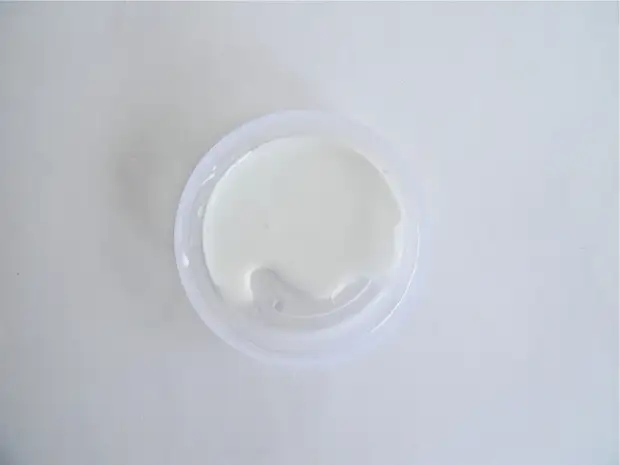
Pour glue PVA in the container, a little, 2 teaspoons are enough
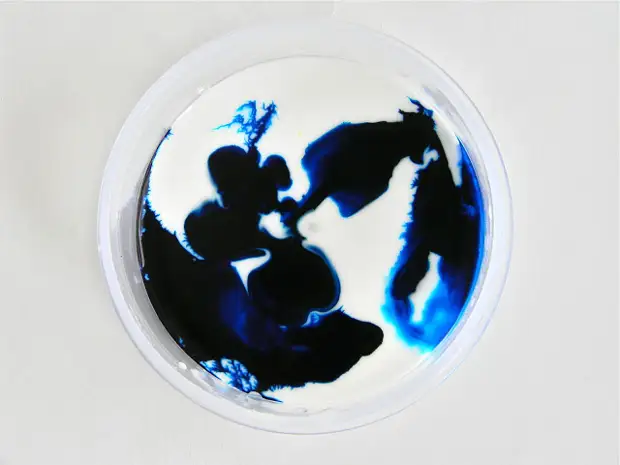
Add a few drops of dry or liquid food dye there, stir
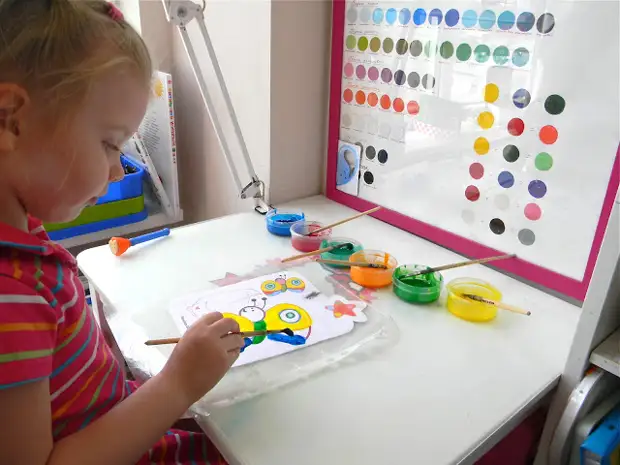
We make so many colors as you need and you can draw a tassel. The greater the paint will be applied, the bodies are better, the picture is more dense after drying. In order for the finished adhesions to be easier to tear off the base, it is better to use a film or a file instead of the basics. You can draw on the file just like that
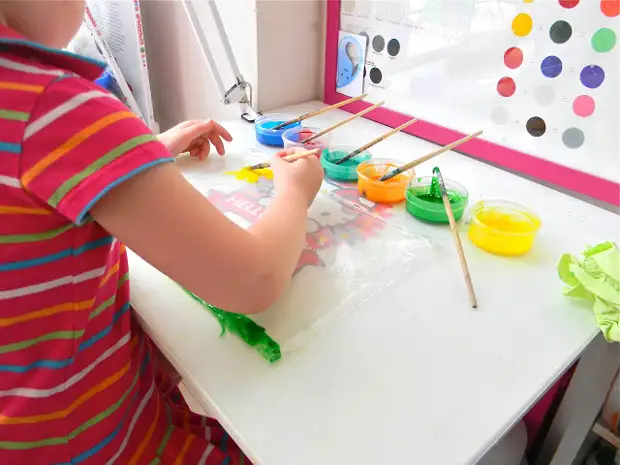
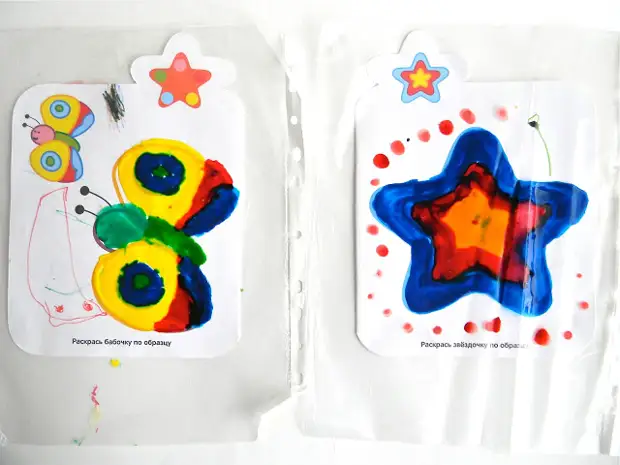
but can be inside the file to put the desired picture or coloring and color it
Drawn pictures leave to dry out at night
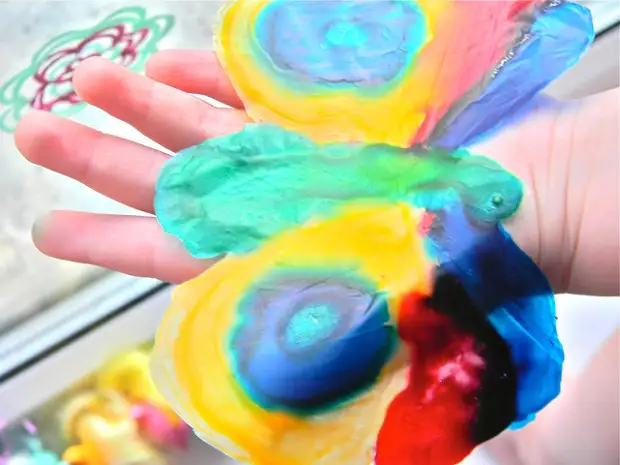
In the next morning, carefully dug the stained glass from the file. The party that was adjacent to the file will be smooth and brilliant - this side and need stained glass join to the window
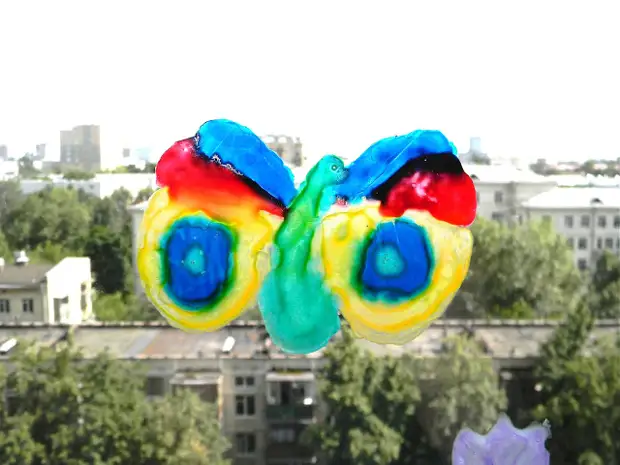
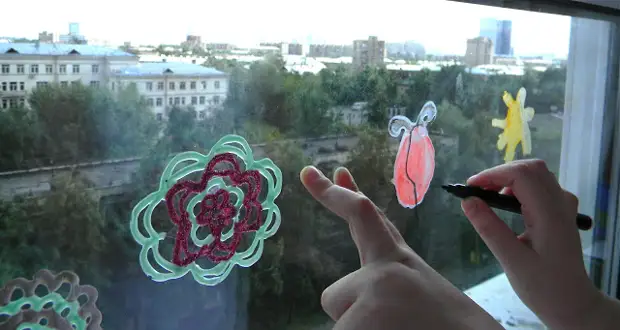
We apply our stained glass windows to the window, carefully smoothing your fingers
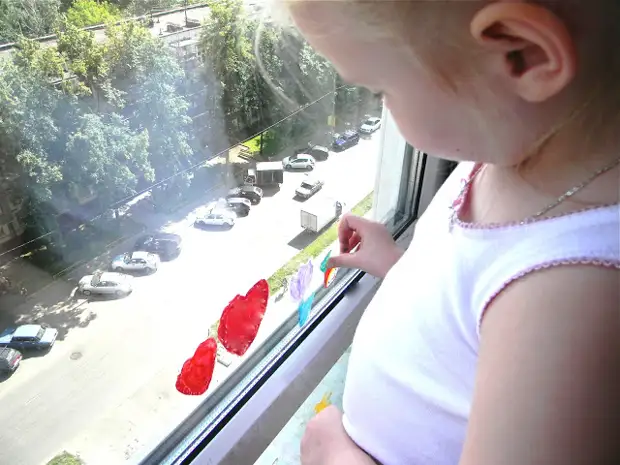
Let the child choose where the pictures will be located
If necessary, ready-made pictures can be painted with markers
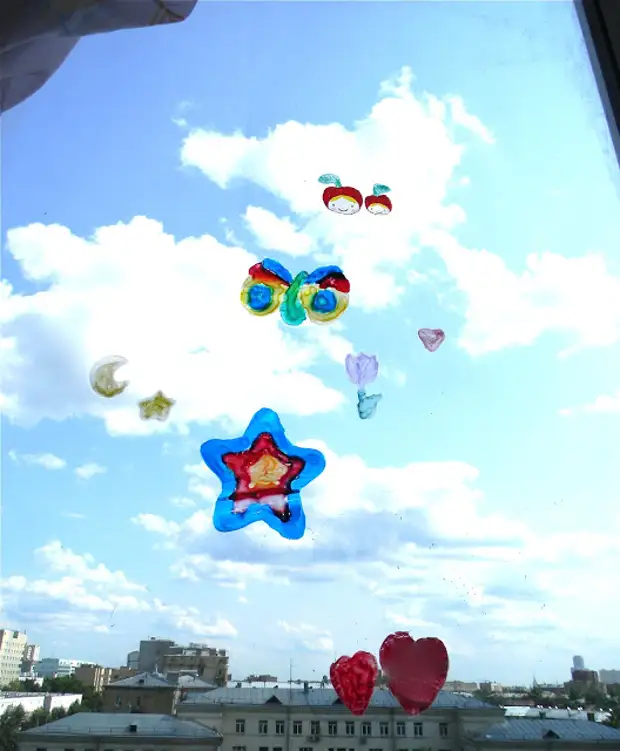
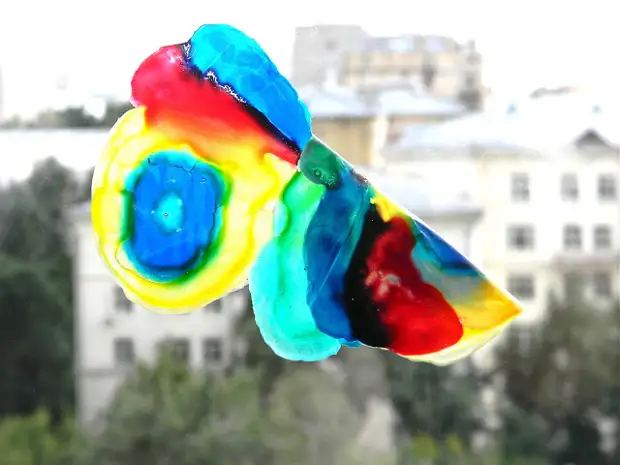
That's all! Now admire the result. I immediately became so fun and elegant!
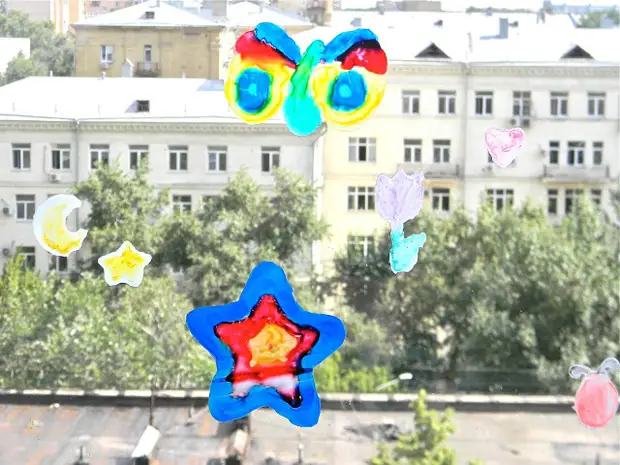
This is a Ulyanina Picture - Sun, Lawn and Butterfly
All adhesives with ease are separated from the glass, not leaving traces
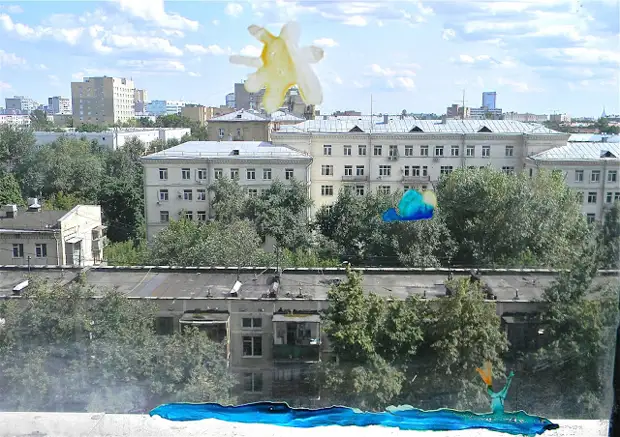
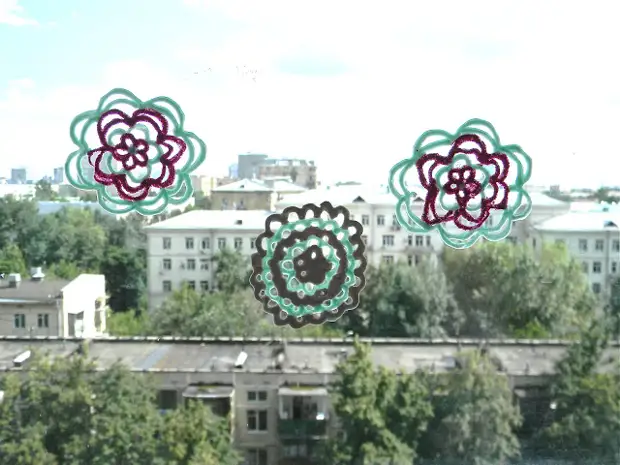
More beautiful stained glass windows can be done using a bulk contour (I have for fabric, but you can anyone). The technology is the same, but in this way you can make more elegant things. Thus, festive inscriptions and snowflakes are good.
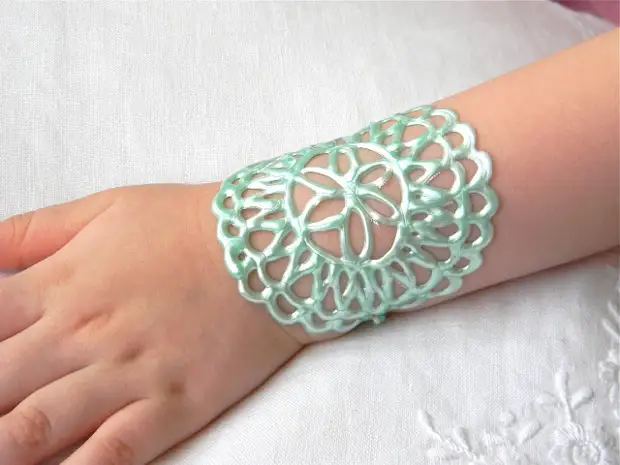
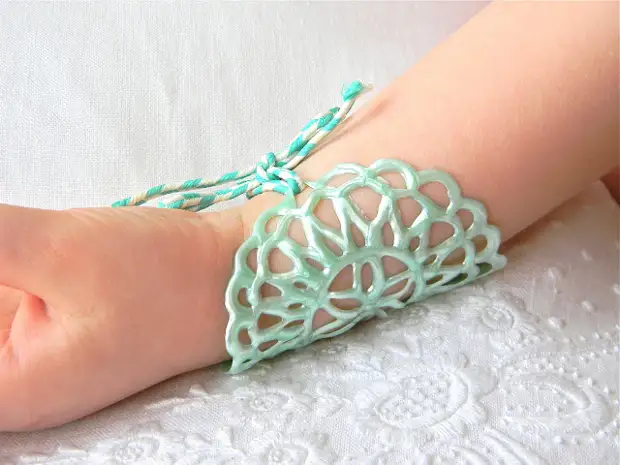
This stained glass window can become a bracelet! :-)
That's all! I hope this master class will inspire you and your children to decorate the window in the nursery! :-)
A source