When it comes to dividing the premises on the zones, partitions from plasterboard are immediately represented.
But there are other solutions that brilliantly prove the idea with light frames for paintings, which are optically divided into two parts, without reducing its volume. And this happens not least due to the reserved in the form of black and white photographs, on an enlarged scale copied to transparent paper.
Farming paintings - do it yourself:
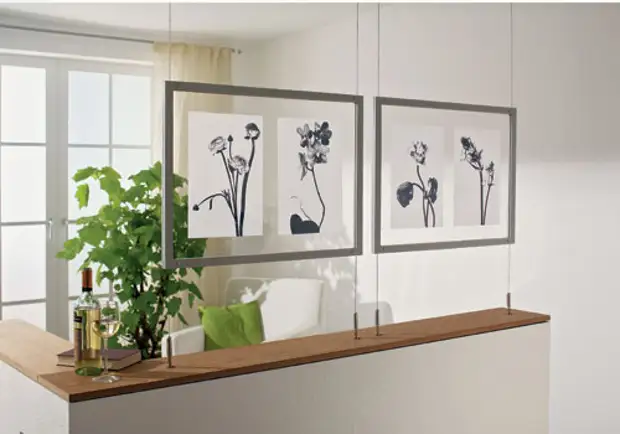
This is a fully accessible idea for self-embodiment. The basis of the project is inexpensive pine frames for RAM paintings from IKEA. There are seven different sizes on sale - from 10 x 15 cm to 50 x 70 cm. For a large partition, we used a frame with a size of 50 x 70 cm, and for a small "picture gallery" - frames with a size of 30 x 40 cm. For the design of the "flying frame »You will need two IKEA frames, respectively, which are combined with the rearrangers and are connected using binding screws.
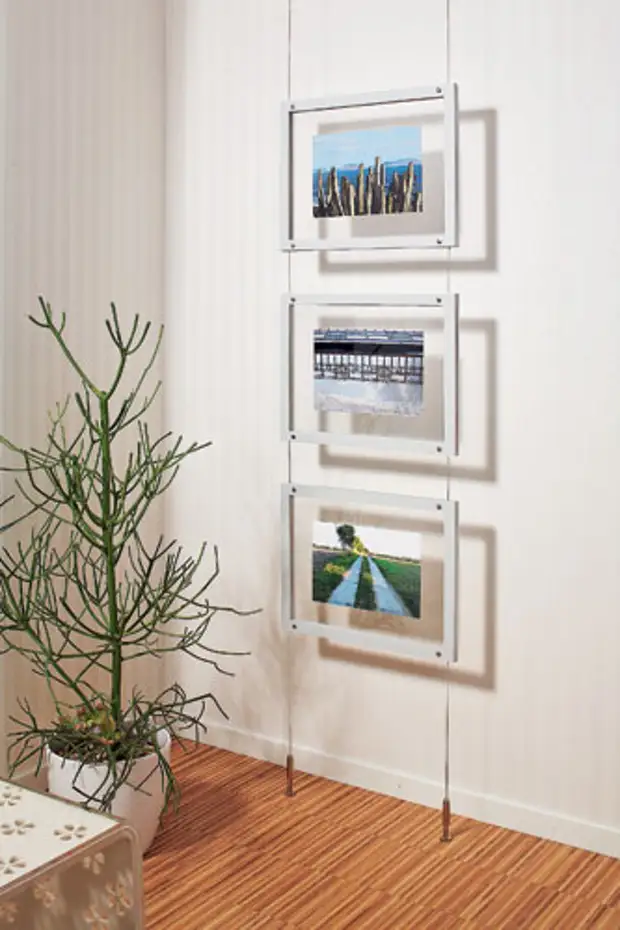
The filigree tensioning structure of "soaring" frames is extremely simple in the construction and is very available for the price, and it is possible to use it not only to demonstrate vacation photos, but also as a light partition indoor.
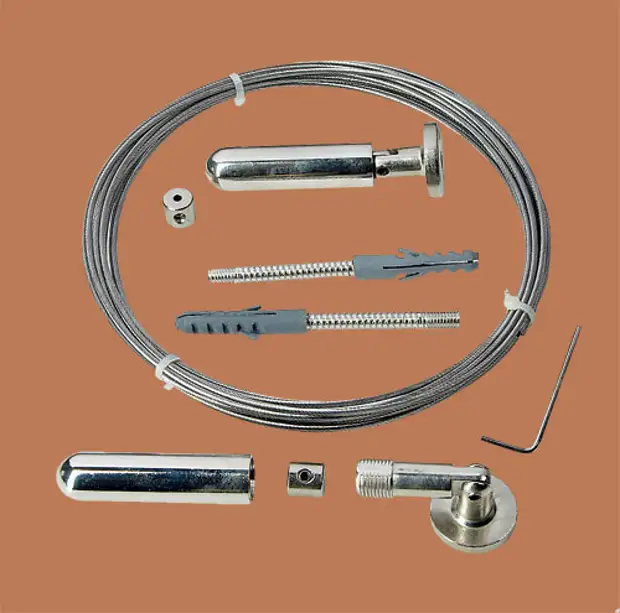
We use a curtain string with a thickness of 1 mm, two tensioning devices with a hinge (for tilt), as well as an adjusting key.
So on the curtain string is a whole gallery:
1. With pliers remove small metal plates fixing artificial glass and cardboard in the frame. Then raise the fold level of the frame using a wooden slash with a thickness of 3-4 mm so that the glass is flush with the frame.
Progress...
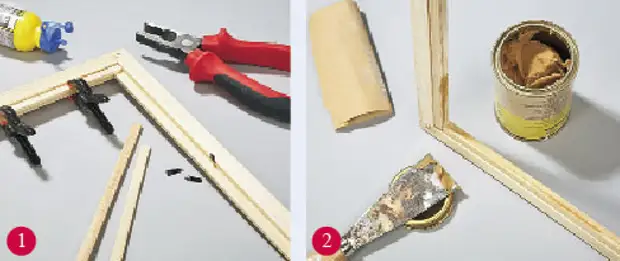
2. Uneven edges and open glue seams on small rails Fill out with a putty for wood and polish.
3. Strong hold between two frames connected by binding screws, it will hold them in the air. In order for between both frames, the gap is not formed, the string should be put in the V-shaped groove filled with a triangular file. In this case, the grooves should be such a depth so that the cable only slightly opposed the top. If the grooves turned out to be too deep and the cable slipped down, wake the groove with glue.
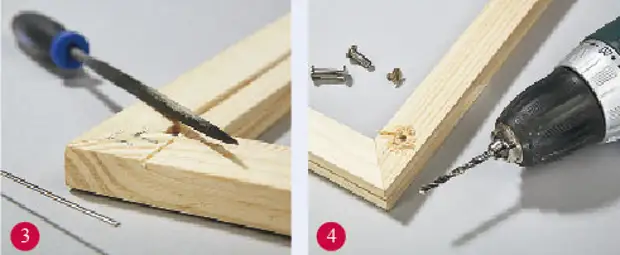
4 After that, put the frames on each other and drill through the binding hole for binding screws.
5. Then connect both frames with rear side with binding screws.
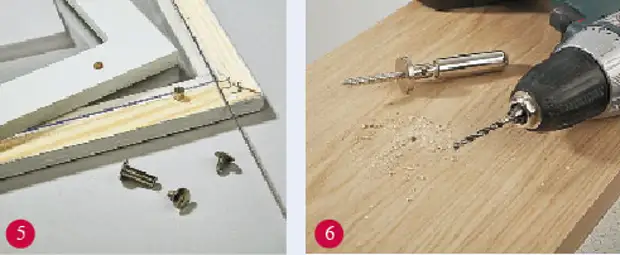
6. If the floor is wooden, then the mount is carried out only with the help of a tensioner for curtain string. For mounting to the concrete floor, you should use a dowel.
7.The device is assembled for installation on the floor. Then secure the string with the supplied clamp, as shown in the photo.
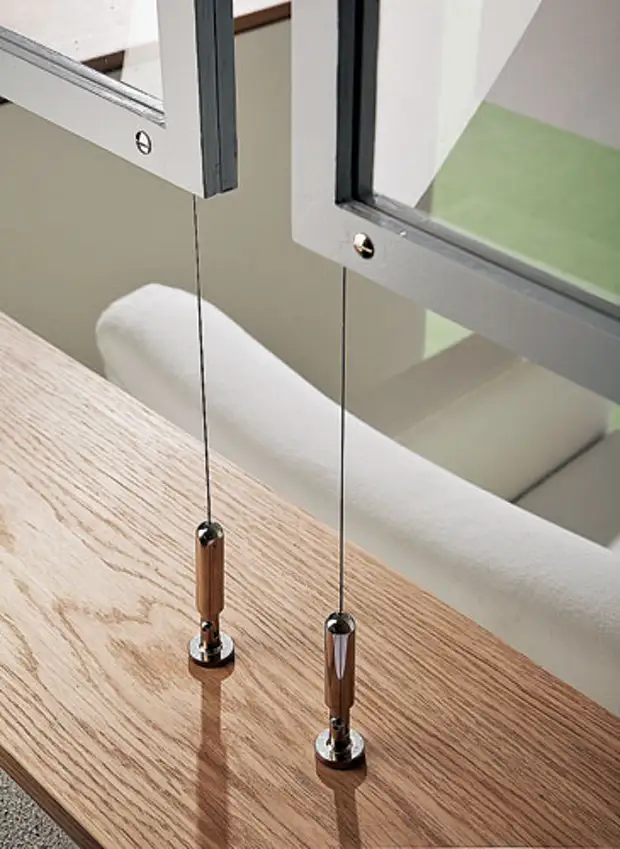
8. To install the frames, unscrew the binding screws slightly, press the strings into the V-shaped grooves located inside the V-shaped grooves, align the frame with the help level and again tighten the binding screws.
A source
