We sew a gum on a rubber band

Anonim

This MC is represented by the master of Irina Vadimovna.

We sew a gum on a rubber band | Fair Masters - Handmade, Handmade

We need:

- the cloth

- Thicks

- sewing machine

- Buttons

We sew a gum on a rubber band
1. And choose tissue. For this, MK was chosen here such a tissue - a brazer we will have a bright and festive!

We sew a gum on a rubber band

2. Remove the measurements.

I measured immediately the need for kosinka without gum-jumper. Those. Applied the centimeter tape from the ear and to another ear.

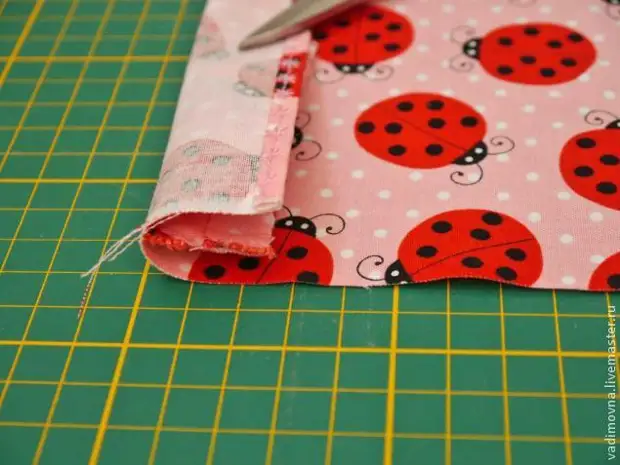
Plus I make a stock by another 2-3 cm on each side. Let the kinkochka be better, and the gum is smaller. (And do not forget about the allowances on the seams - 1 cm on each side will be enough).

Now we are determined with the width of the screech. Everything is at your discretion: you can make a narrow bandage strip, and you can also have a wide slam, which closes almost all the head. I need the second option.

We sew a gum on a rubber band
3. So, I need to cut a rectangle with a size of 43 cm by 25 cm. This is the main part of the kink.

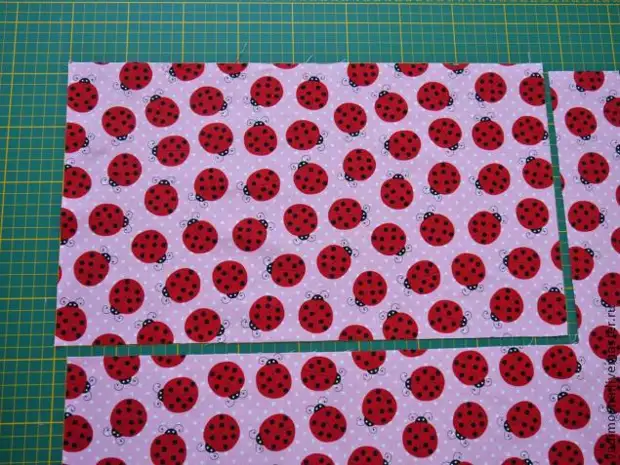
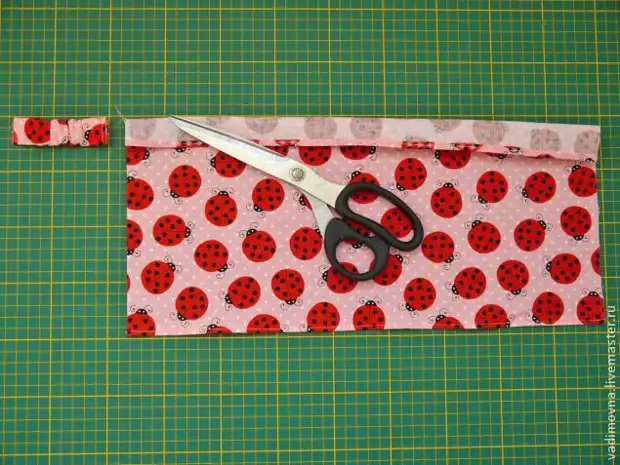
We decide the fabric and cut the edge. I carry out the cutting exactly: the lateral narrow sides - on the equity, and the wide parties - by duck (so that during the operation of the slam of the slammer stretch). Cut out ... loved!

We sew a gum on a rubber band
Now cut out a small rectangle, in which our rubber band will hide. It is width = 2 * the width of the elastic + allowance on the seam.

The length is practically arbitrary (within reasonable). To determine the length, I attached the bulk of Koskins to the head of the model, measured what length there will be a gum and added 4-5 centimeters so that it was a beautiful assembly and you could wear "easily and easily".

And here is the time to tell you about my mistake. When you first sewing, I chose a wide gum. I thought (naive) that it would be more convenient. But ... the gum turned out to be highly tight. This mega is uncomfortable, and even when you try to wear a two-year-old child! Therefore, now I use 2 stripes narrow gum. If you have a wide gum that is well stretched - you are lucky (I'm not lucky yet). (Therefore, in my formula for calculating the width of a small strip, I take not 2 width of the gum, but 4, because I have 2 strips of fine gum).

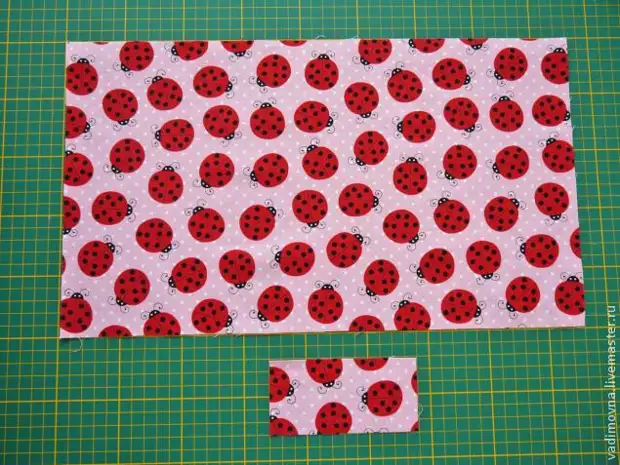
My small rectangle has a size of 12 cm by 6 cm.

We sew a gum on a rubber band
4. We work with a big rectangle. First, we will deal with the processing of long sides: one side is just a straight line, but I treated the second with the use of decorative stitching

We sew a gum on a rubber band
5. In line, a small rectangle. We put in half face to face, stringel along the long side. Soak. Weeply. We put 2 strips of gum. First, fix on the one hand. Now carefully guessed our tissue strip ... and make the leaf on the other side. Here is such a beautiful elastic band with us.

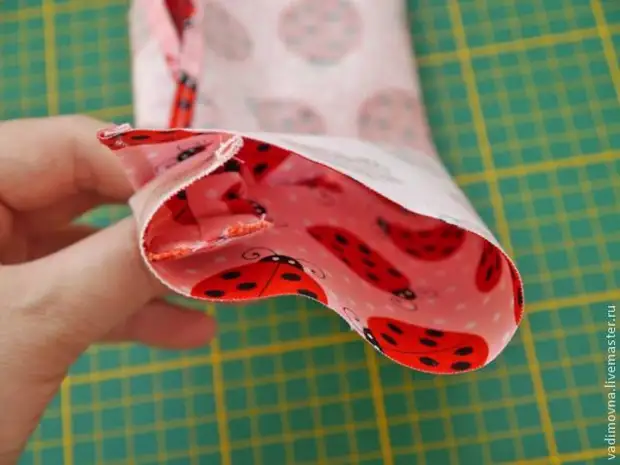
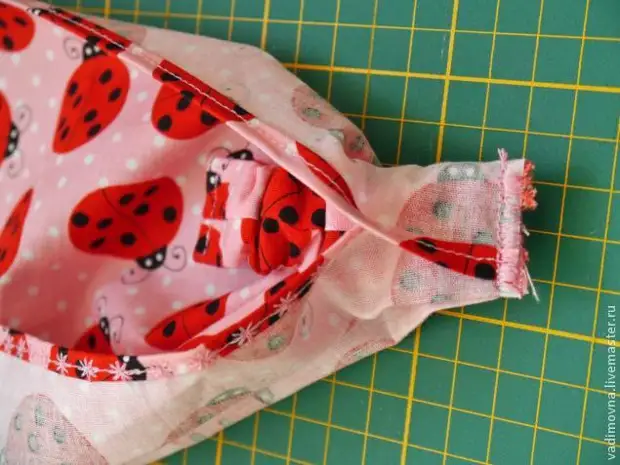
You can, of course, make a separate tunnel for each gum ... But why complicate your life?!

We sew a gum on a rubber band
6. Getting to assembling our screech. There are a lot of options for how to make folds: starting from elementary - just to dwell on the thread and ending with all sorts of "counter-transverse" folds. I most like this option I tell about.

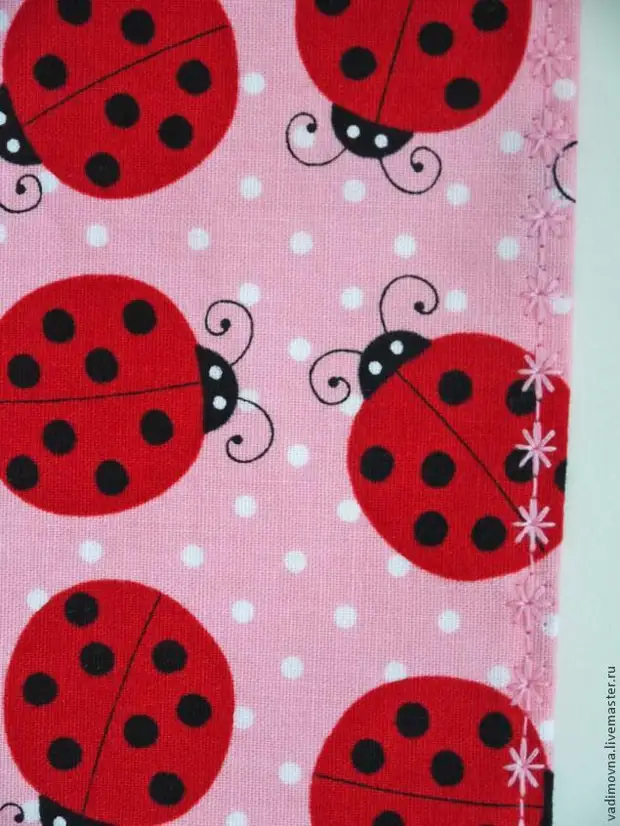
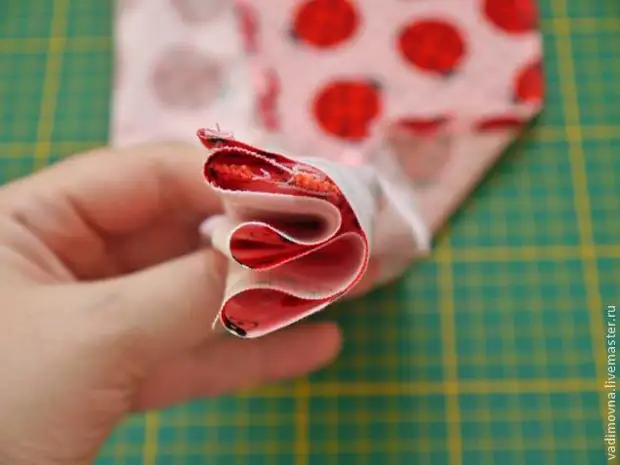
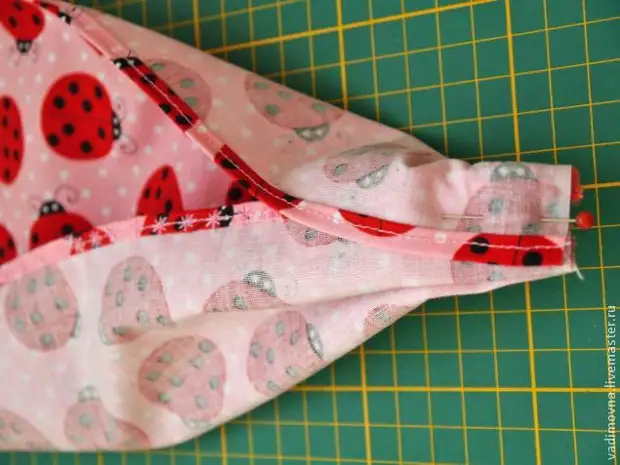
We decide the fabric and make a marker, which is equal to the width of our gum (it can be seen in the photo; a rubber band is near - so that you understand what width of the lapse).

We sew a gum on a rubber band
Now we put our elastic band in place: it should be inside this challenge, we dock cuts.

We sew a gum on a rubber band
Now we turn over the lower part of our brazers. Like this:

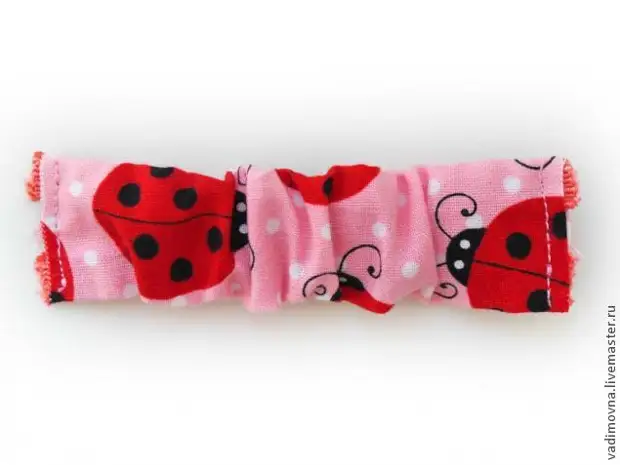
But further easier to look at the photo than to describe it with words. The process of assembling the folds is:
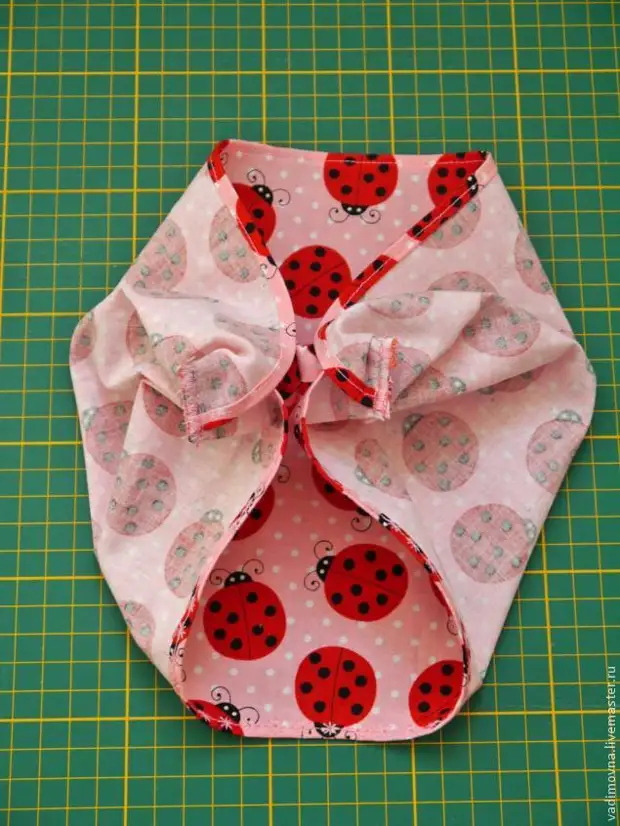
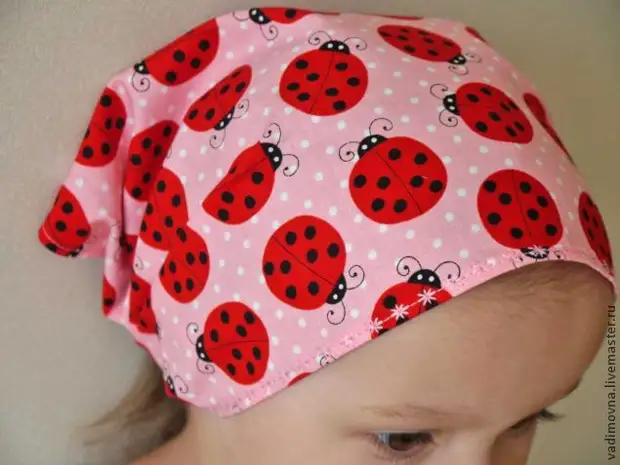
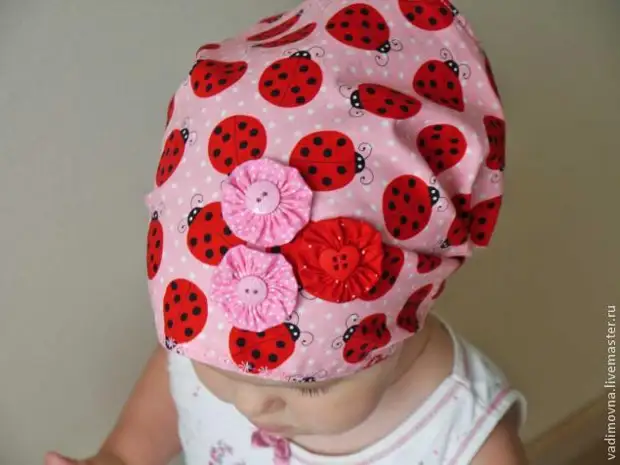
We sew a gum on a rubber band

We sew a gum on a rubber band

We sew a gum on a rubber band

We sew a gum on a rubber band
In the process, flatter the sections and follow the folding of us the same size (well, at least approximately). Collected.

We sew a gum on a rubber band
We go for the typewriter and make a line. I wondered by the usual Zigzag. One side is ready.

We sew a gum on a rubber band
Now we do the same with the second side. Be sure to follow the folds to lay down symmetrically the first side. Assembled - Stopped (straight line + zigzag). That's what happened as a result. See, folds are symmetrical on both sides. (Here it is clear that Zigzag I went 2 times - there and back, so that the seam was kept tightly).

We sew a gum on a rubber band
7. Soak our lunches on the front side. We admire beauty. Our seam was hidden when turned out and does not interfere at all.

We sew a gum on a rubber band
And then we are decorated with decorated: ribbons, lace, flowers, butterflies - everything that makes you up. The thought of yo-yoshki came to my head. And I immediately implemented this idea. It was difficult to stop, Yo-Yoshka is fond of ... But still I decided that 3 pieces are enough. That beauty I got.

And on the model:

We sew a gum on a rubber band

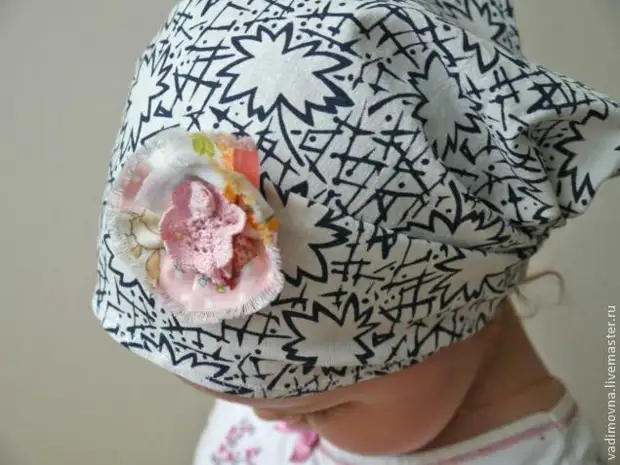
And this is the second such slaughterhouse (the other cloth is more subtle, from the "grandmother" stocks):

We sew a gum on a rubber band

We sew a gum on a rubber band

A source

Read more