
This master class is represented by the Olga Master (KnittedWorld5

|
I am fond of toys a little more than a year and during this time I tried my toys from different materials: knitted, butchers, special purchased, beads, felt, but it all didn't look very much, because to the leaning (muzzle) toys can not, for example, Buy special eyes and they will certainly fit in size.
I wanted to have such eyes to the toy "came to life." I stopped my choice on embroidered eyes. The occupation is laborious, but believe me - it is worth it.
I immediately warn - I'm not a specialist in embroidery, so do not judge strictly.
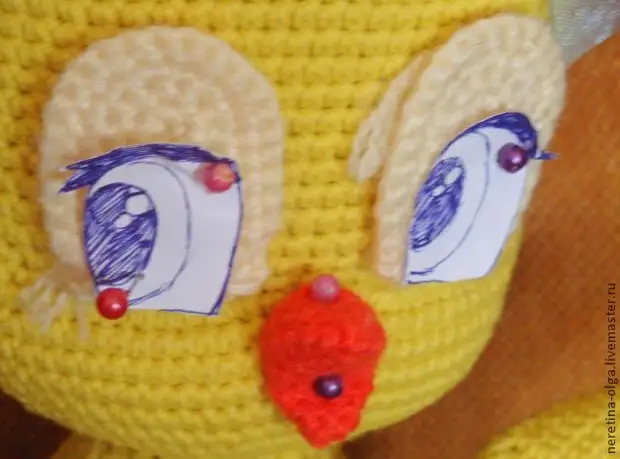
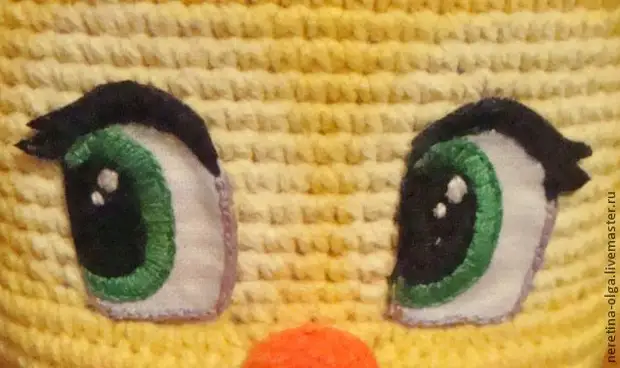
So, let's begin. As an example, I took a knitted Easter chicken (the eyes embroidered in 2 copies).
1. Make two sketches on paper, cut first and try toy.
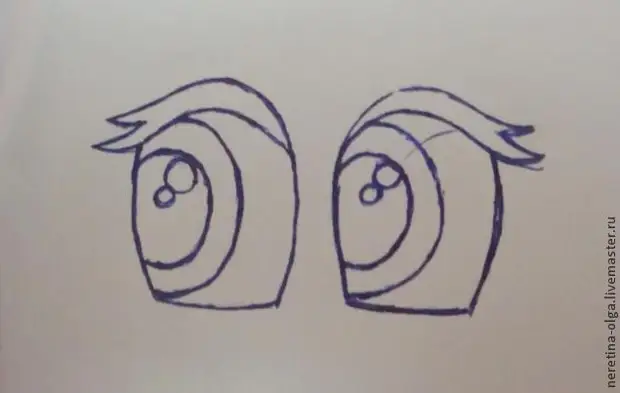
The second sketch is our template:
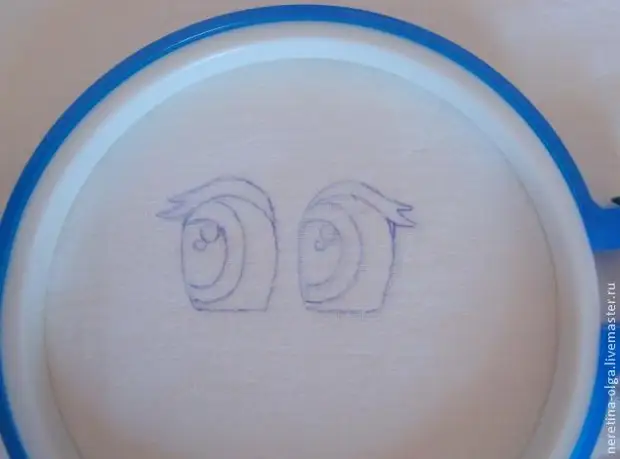
2. If the size suits you, then copy the template on a white cloth:
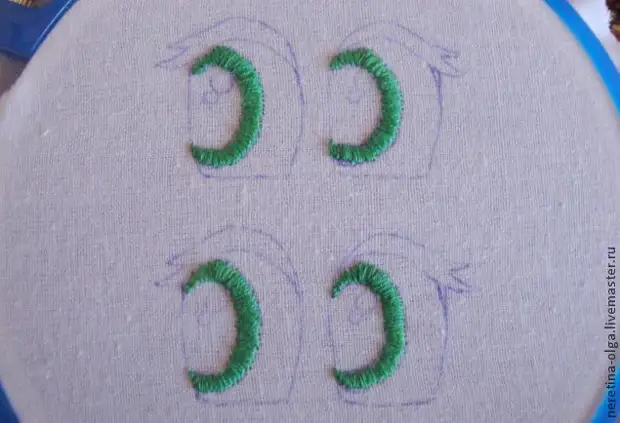
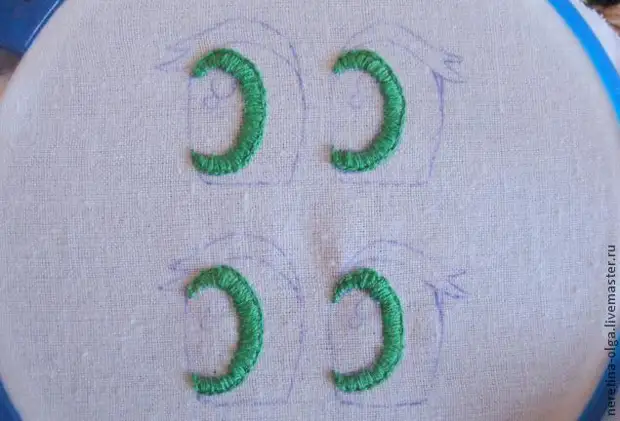
3. Embroidery in 3 threads with green, as shown in the figure:
4. Then in 2 threads with green, small stitches to strip out the outline from the outside so that the circle seemed smaller:
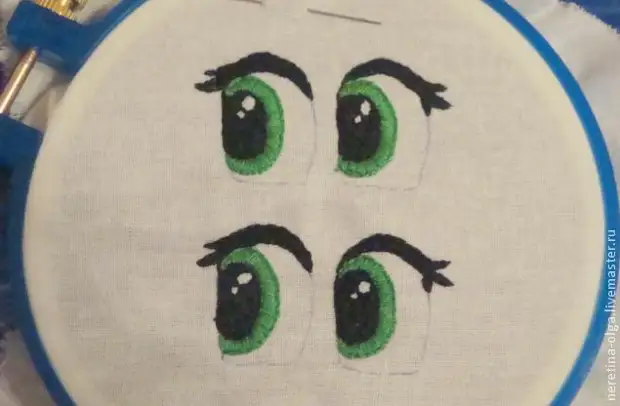
5. In 3 black threads embroider pupils, leaving not embroidered 2 small round glare:
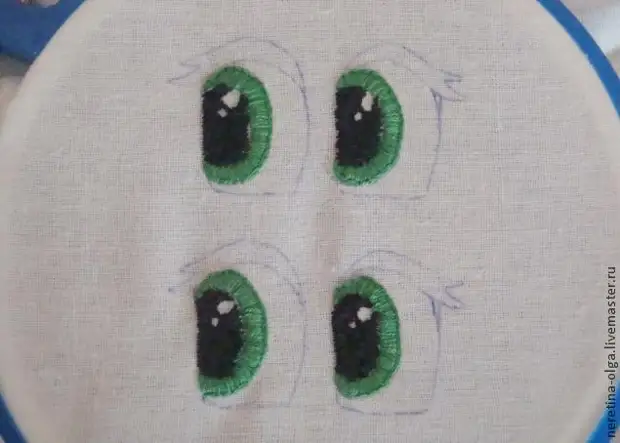
6. In 2 black threads with small stitches we are wearing a black pupil circuit. Pupil will seem evenly:
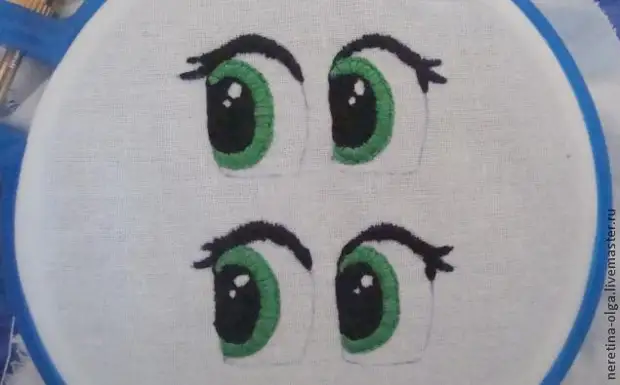
7. In 3 black threads, small stitches embroider eyelashes, and further in 2 threads of black, we are cutting them along the contour:
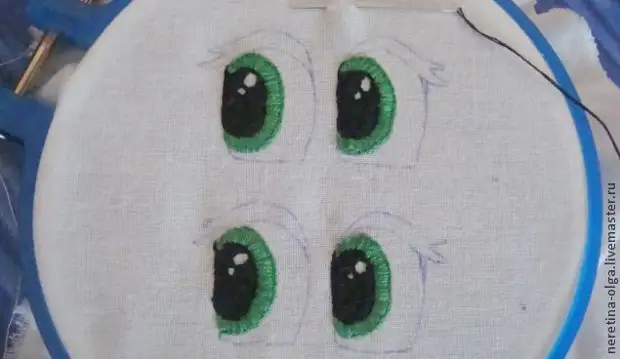
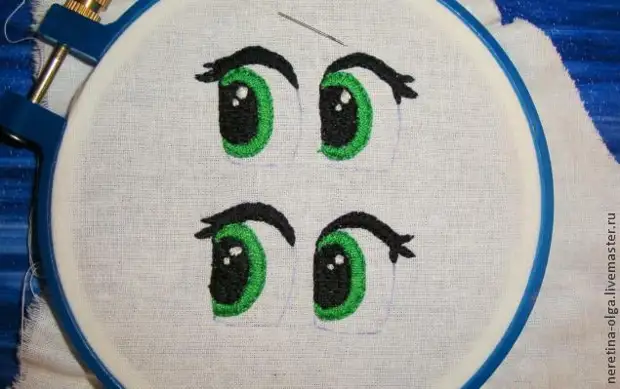
8. In 2 white threads, embroider glare on pupils, the eyes began to seem more alive:
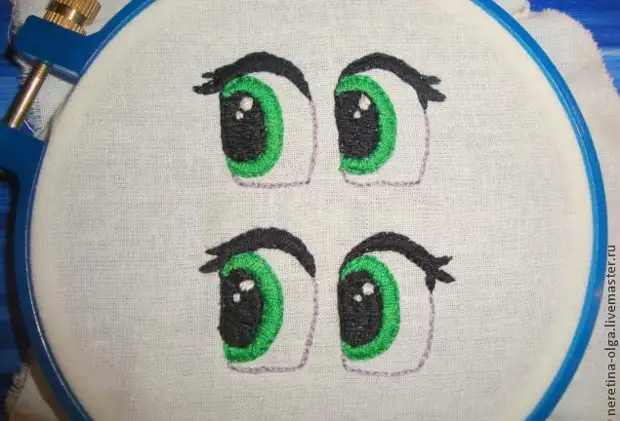
9. In 3 threads of gray, embroider small stitches on the sides and below:
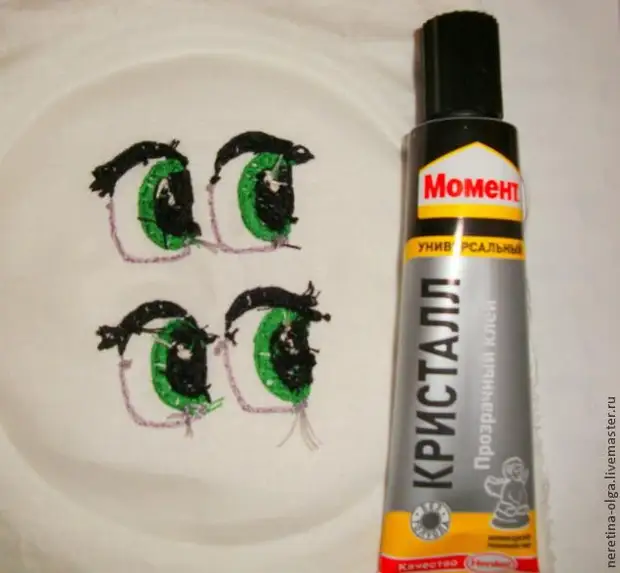
10. Now the eyes need to be cut, but before it is done from the wrong side of the embroidery to lubricate the edges with a transparent glue moment, otherwise, when cutting the edge of the embroidery, it will begin to bloom:
11. Where black embroidery, if a little white fabric looks like, carefully pass along the edges with a black marker.
12. Finished eyes glue toy with transparent glue:
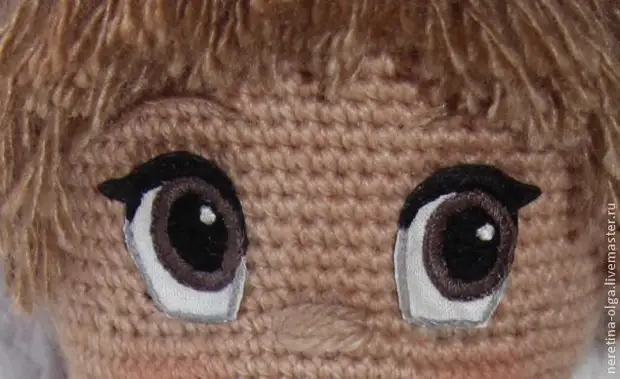
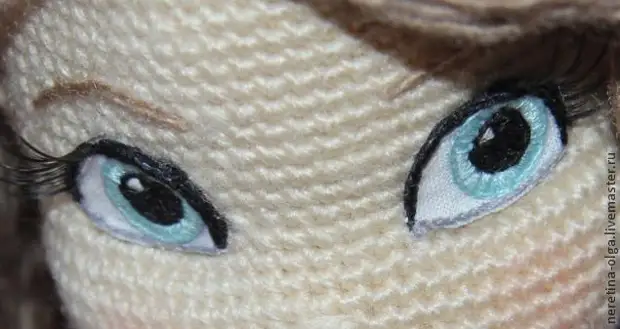
But the eyes of my dolls:
I really hope that this master class will come in handy.
A source