
The author of the work is Tatiana Queen.
 from polymer clay | Fair Masters - Handmade, Handmade")
Good day, dear friends! Behind the Spring window, I want to create something new.
Today I want to share with you a small master class, a photo-report process of creating a gentle flower whose name is Estoma.
For this we will need the following:
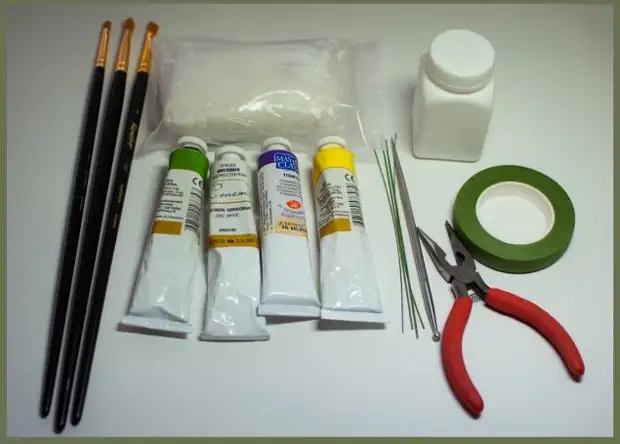
- Polymer clay, as it is also called cold china (I use Modern Clar)
- Wire. The flower is not heavy therefore they can approach №20, 22
- pliers, pliers (they will be easy to cut and bend the wire)
- stack for rolling clay or needker (if there is no stack)
- Oil paints (yellow, white, green and, if the edge is like my flower, purple flowers)
- Brushes
- Glue PVA or Latex
- Floral tape (for assembling composition)
And a little bit of time and good mood))
Let's proceed?
Let's start with the middle of our future flower. To do this, you will prepare 2 pieces of clay, kneading yellow and green paint in them (I have her herbal green).
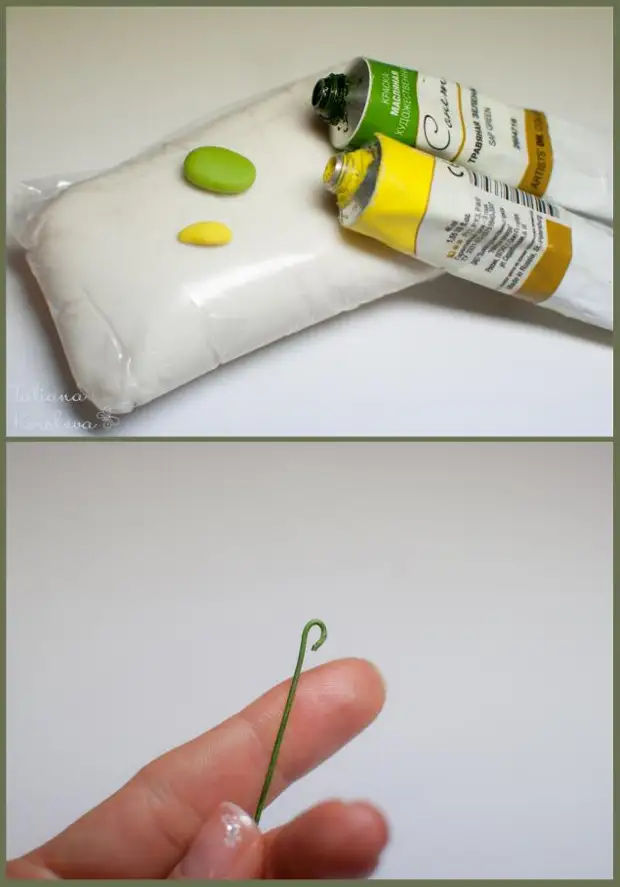
With the help of pliers bend the edge of the wire, making a loop.
Then we take a little green clay, form a ball, wear it on our harvested wire, with glue pre-applied to it and pull it out the edge.
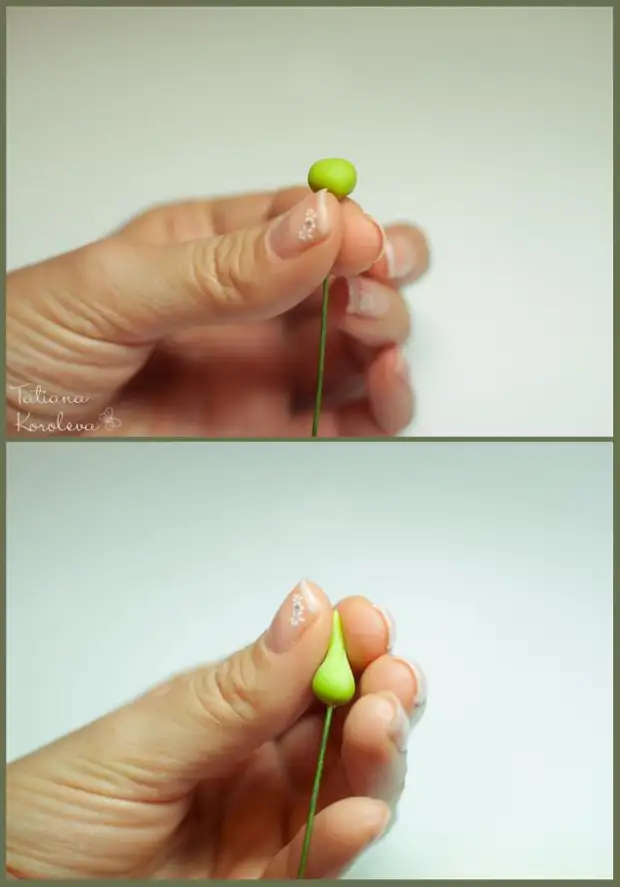
You can immediately give clay the shape of an elongated drop. Well, it will be more convenient for you. )
Next, we form a small piece of clay into the ball, it will be the top of the pestle of the future eustoma.
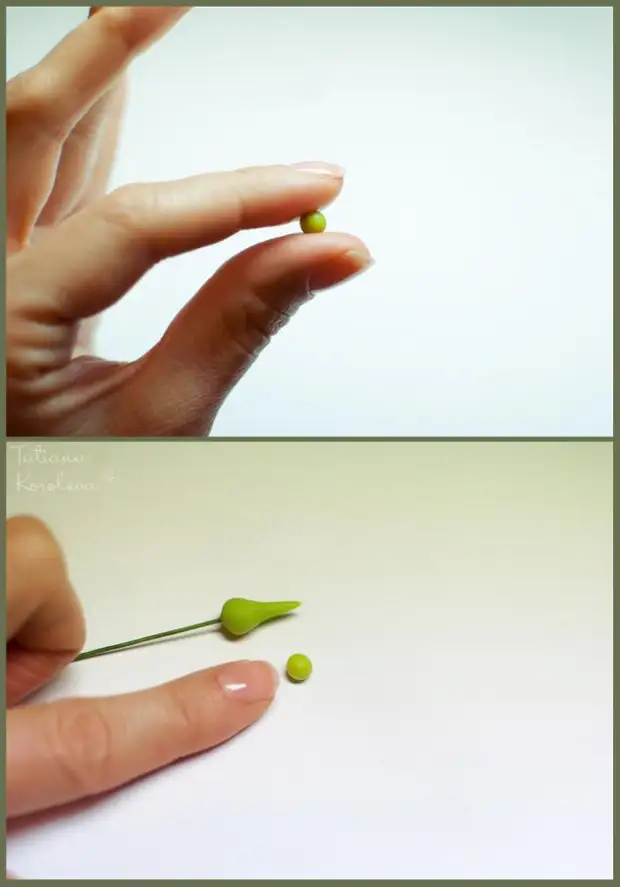
The resulting ball is planted on the glue, cutting with scissors to 2 equal parts, slightly appropriate, as if we spare.
That's how it happened to me.
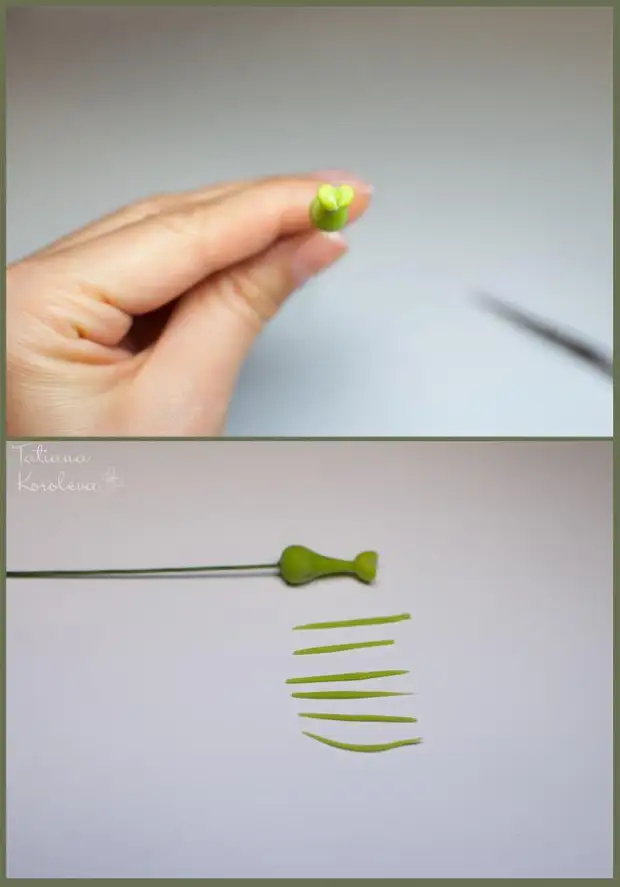
We now turn to the stamens. You can use ready-made, and you can do it yourself, for this:
Roll over the green clay thin strips (sticky threads) and glue them to the pestle in a circle.
From yellow clay, we make small, like beerins, balls (it will be anthers) and put them on glue to the tops of the threads.
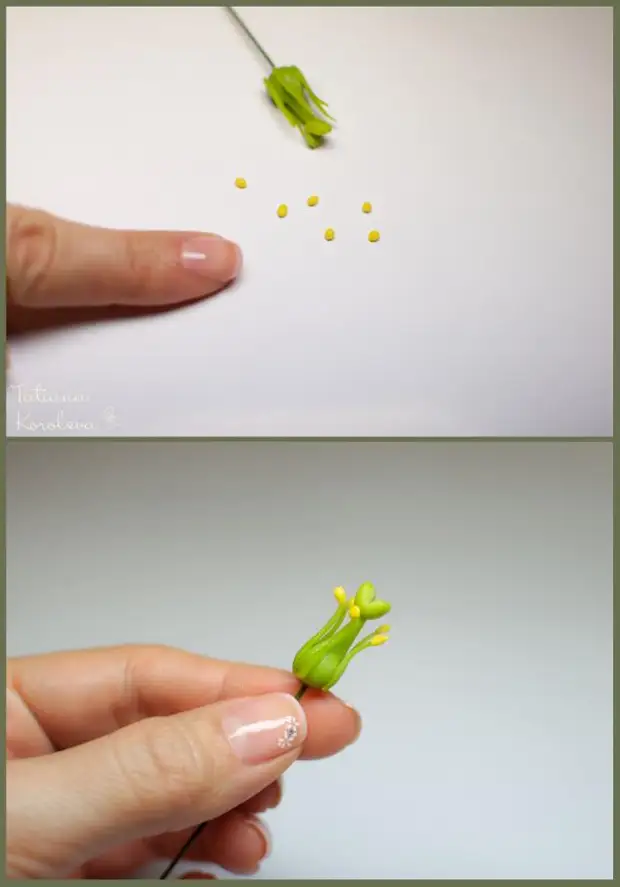
The middle of the flower is ready.)) We leave it to be dried.
Eustoma (Lisianthus), like any other flower, can be different in color and number of petals. I have it simple, with one number of petals, which will be 6.
Let's start ... In clay we knead a little white paint, the flower will turn out brighter and more realistic.
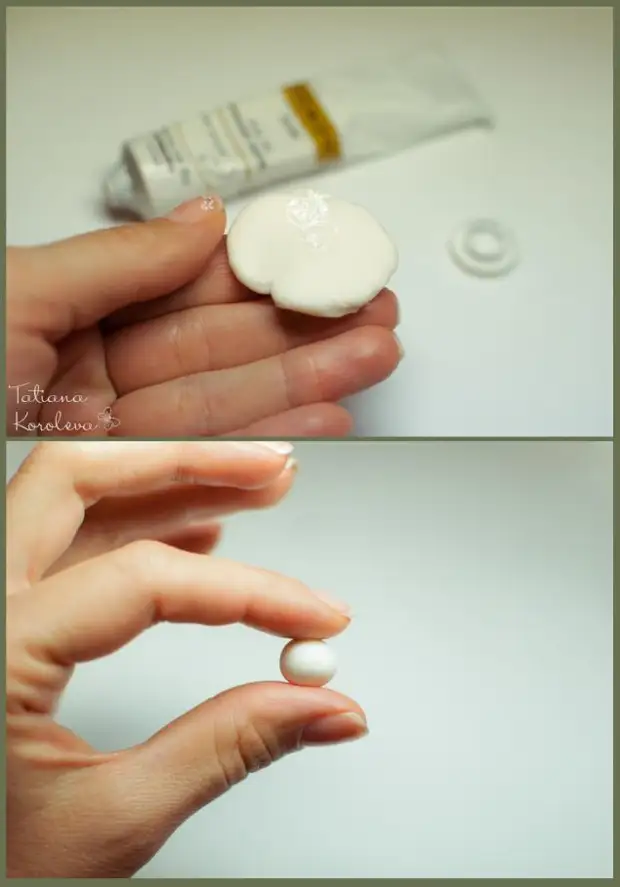
For the first petal, we take a little clay, form a ball, rolling it on your palm with a stack, giving the shape of the petal. The top edge is slightly overlooked with the help of fingers or scissors, and we make it wavy, passing along the edge with a stack with a large pressure. Unfortunately I can not show how I did it in the photo ... (Eh, sorry that only 2 hands ....)
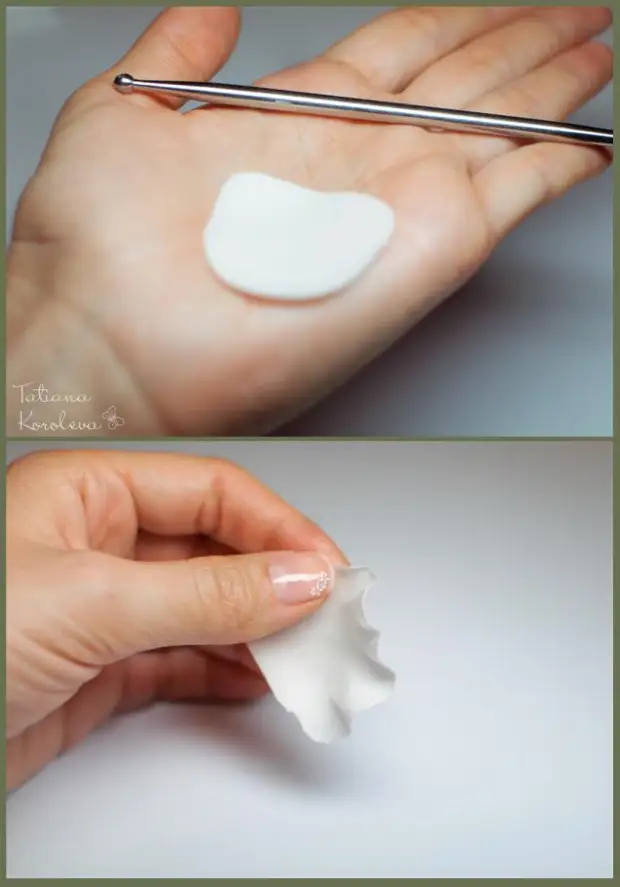
Here I got the first petal.
Similarly, do all the others.
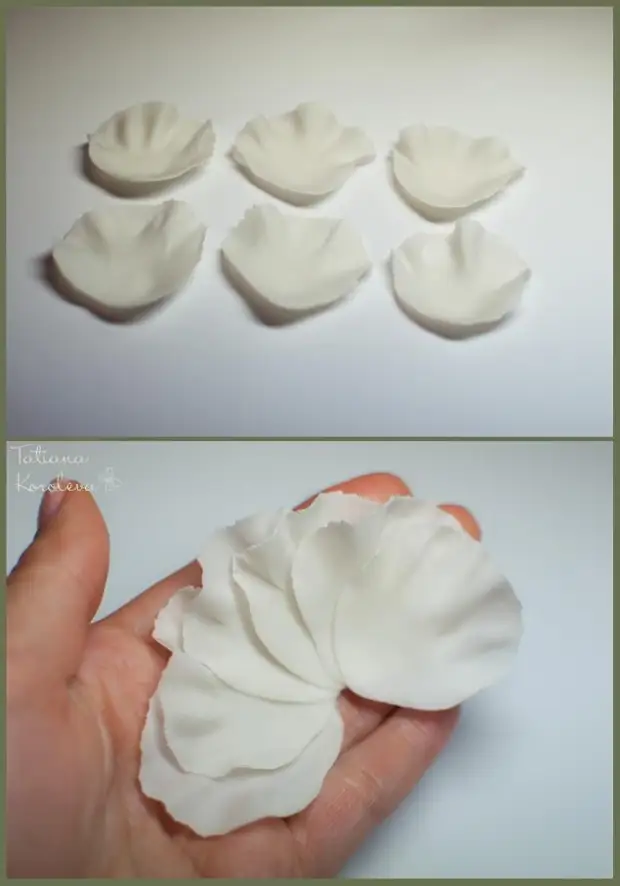
When all the petals are ready and dried slightly, we do the following:
On the right lower edge of the first petal, we apply glue (quite a bit) and put on it the second with a displacement, just act with all the others.
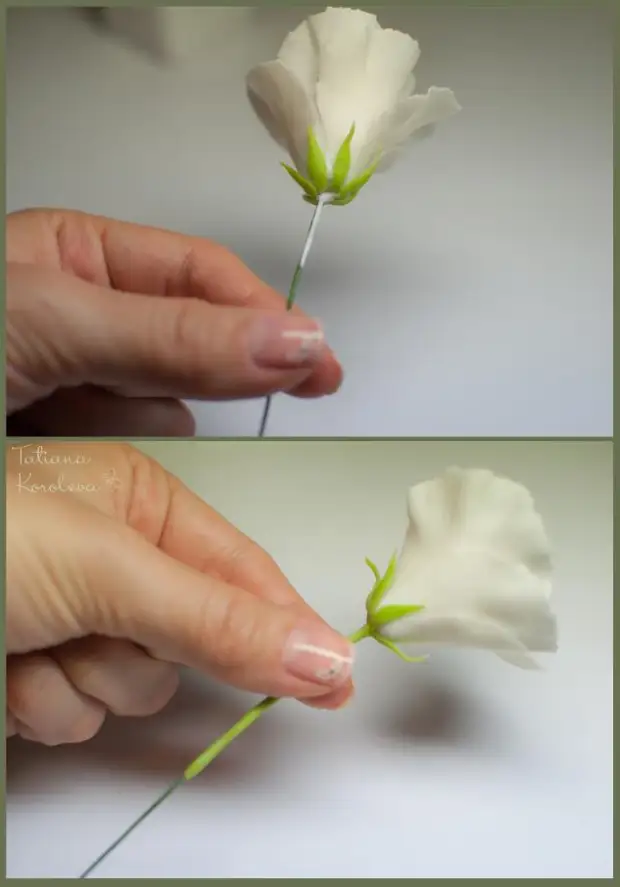
On the basis of our collected petals we apply glue.
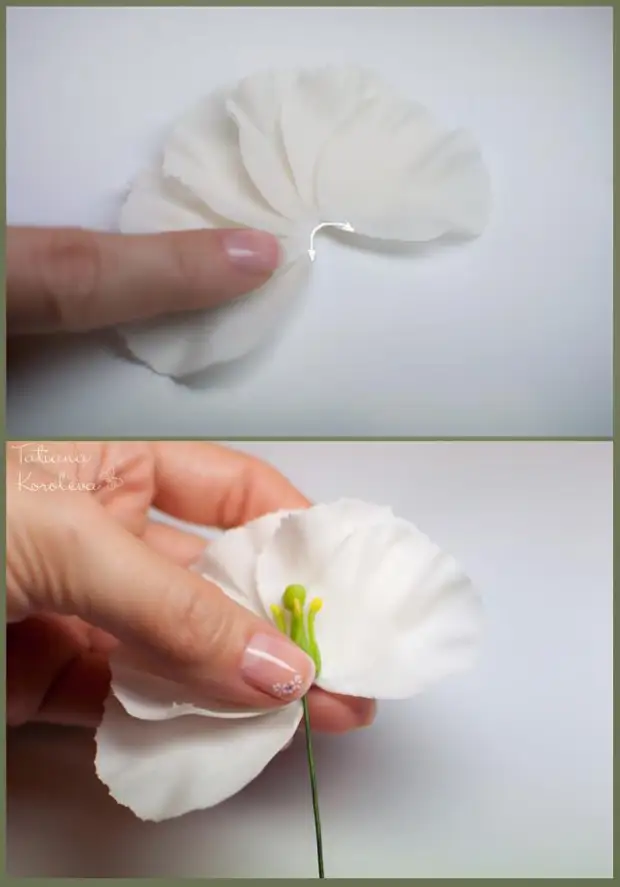
We apply a middle of the flower, wrap, slightly pressing at the base.
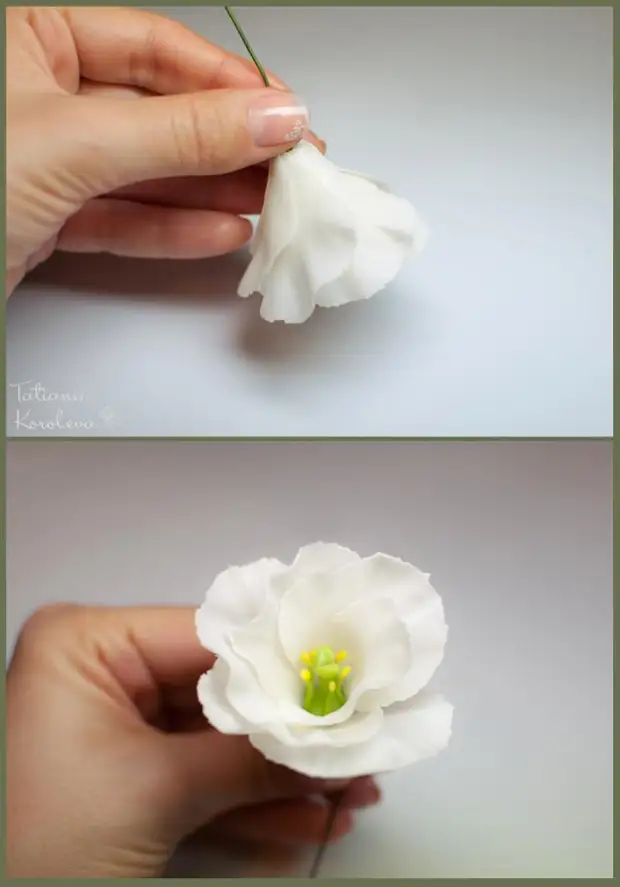
Petals are, pestle and stamens too, flower is ready? But no ...
He still needs sewers and stem.
For this, the green clay roll 6 strips (it will make it easier to do from an elongated drop) and glue them to the base.
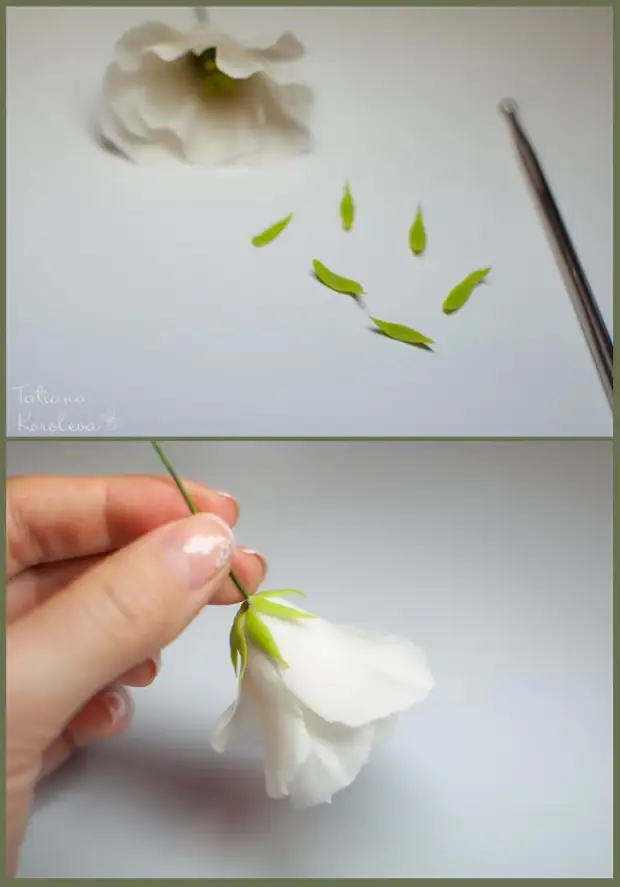
Something like that .
Now it is necessary to apply glue on a wire (flower stem) ...
... Wrap the wire with a piece of clay, and rolling between your fingers, distribute clay on the stalk to the length you need ..
Give the flower to dry, after which you can proceed to tint.
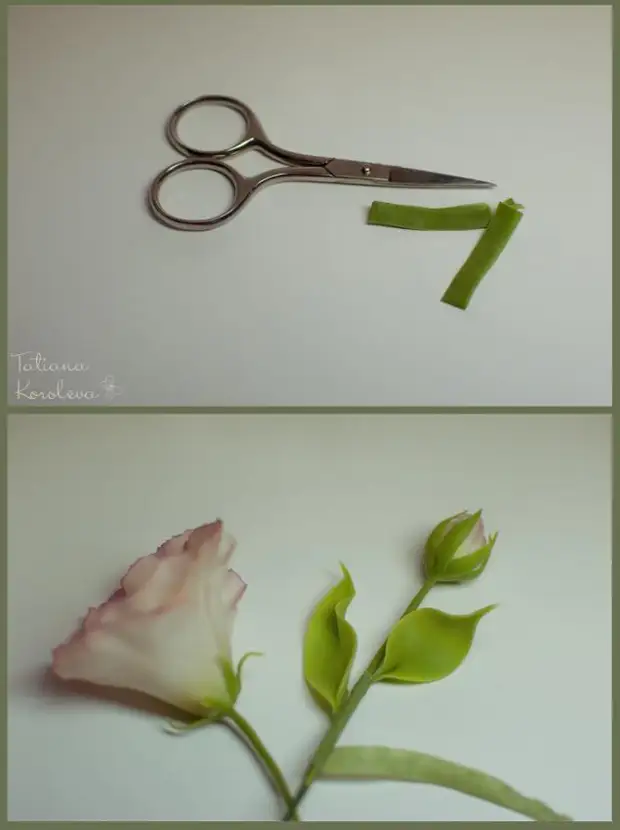
With the help of green paint toning the base of the flower, and with the help of purple - the edges of the lobes themselves.

Voila! Our Eustoma is ready!
This could be finished lesson, but I want to share the process of assembling the composition. No wonder I specified TEP (floristic tape)
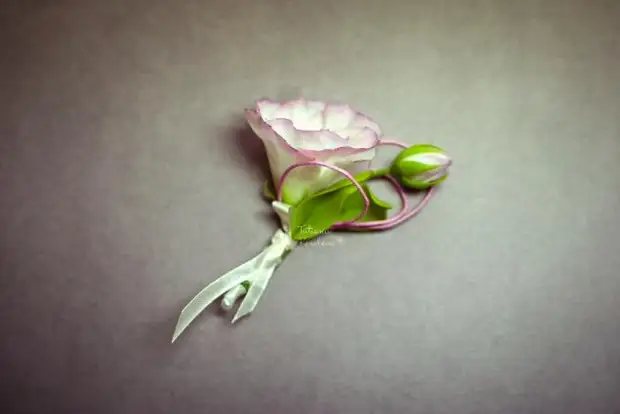
I will have a boutonniere - a tender spring base for brooches.
So...
Cut off the required amount of floristic (sticky) tape, we fold it several times and cut along in half.
We deploy, carefully stretch and begin to collect a branch. Swim the ribbon stem, attach the leaves (they were prepared in advance).
Next, with the help of buns, cut off the excess wire, leaving the desired length of the stem. Decorating ...
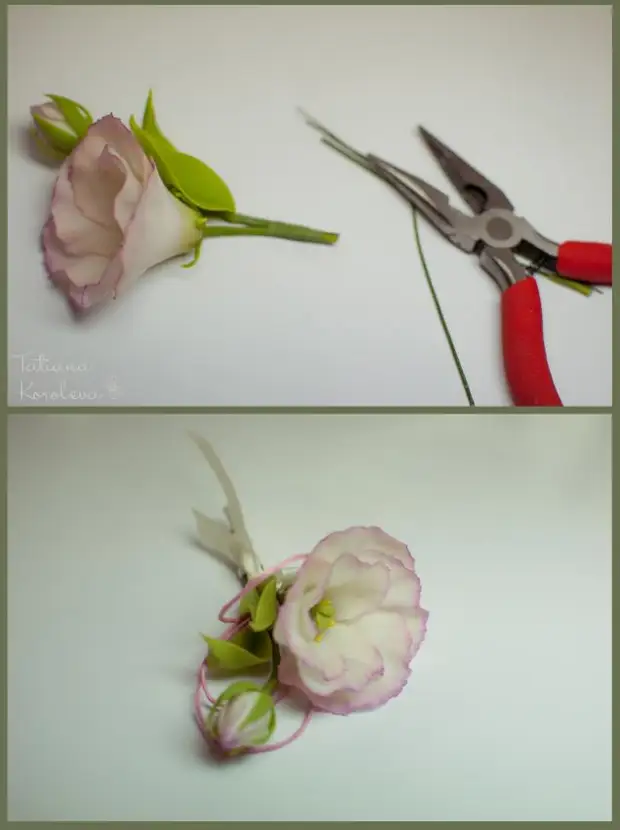
In this case, I used a decorative cord and satin ribbon.
Boutonniere is ready!
A source