
The author of the article - Marino Mironov.
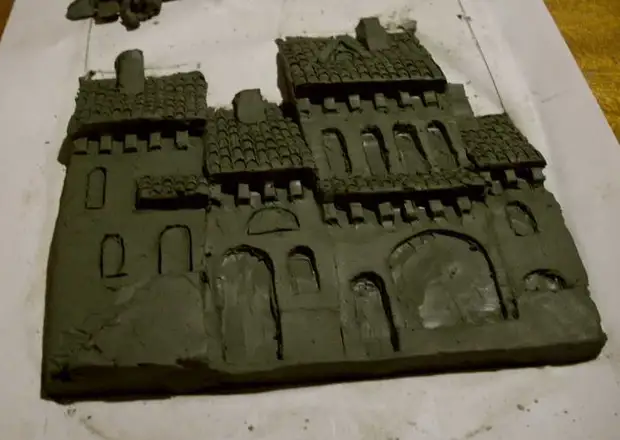
Yesterday I blinded this street.
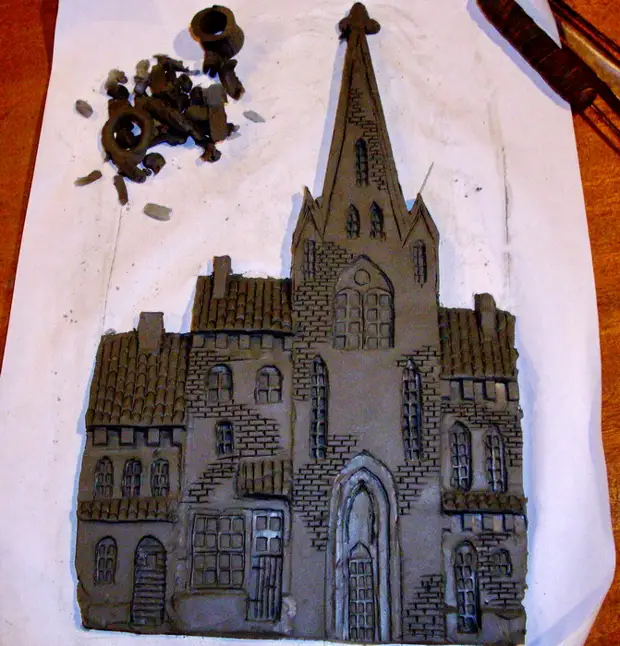
Today I will show how it is done on the example more simple.
The whole process takes two hours. If you sculpt longer, you need to escape from the drying of clay. Either to cover with polyethylene or wet rags, or spray all from the pulverist. If you live in a wet climate, on the ocean or near the swamp, then you can not fear.
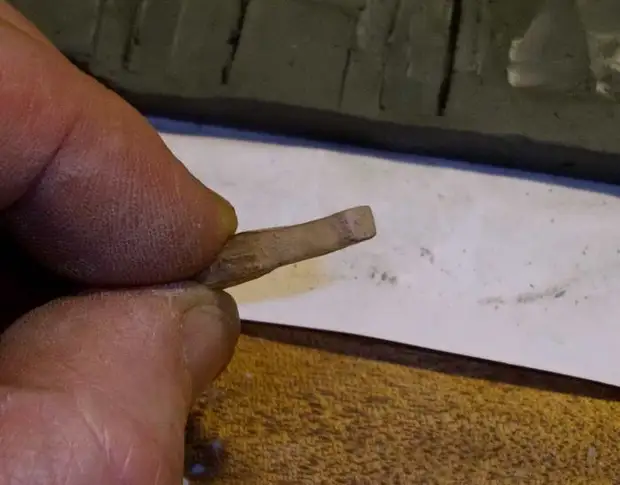
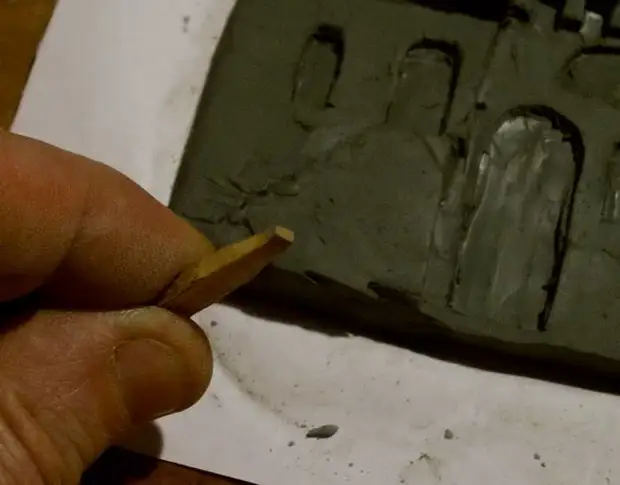
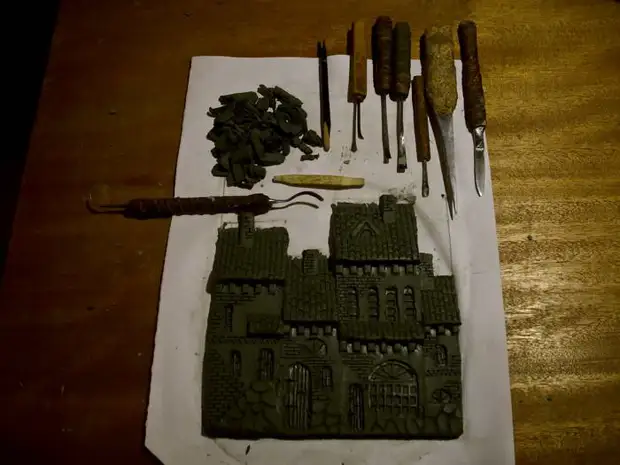
Tools are almost all homemade. It's more comfortable for me. (But it is quite possible to find something on store shelves). Most often made of thick steel spokes, first heated on the gas stove, and then the hammer of the formed. Knives are all very stupid, almost round and slightly polished, so that the surface of the clay was smooth.
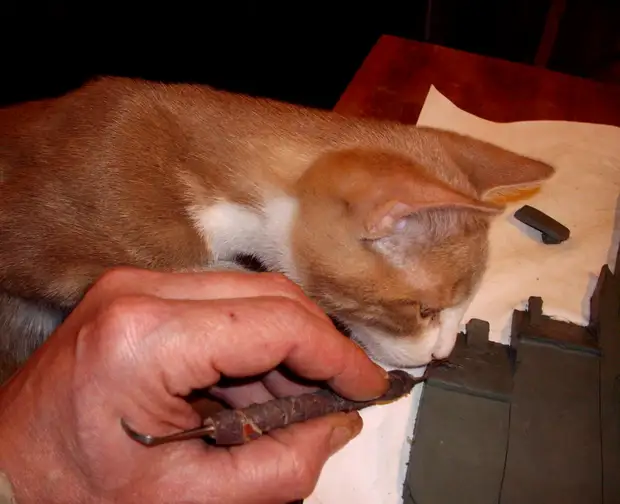
I also ask me to forgive me for not very high-quality photos. I had to take everything yourself. And when you work, it is hard. Need to teach photograph my cats and a dog, but they don't want
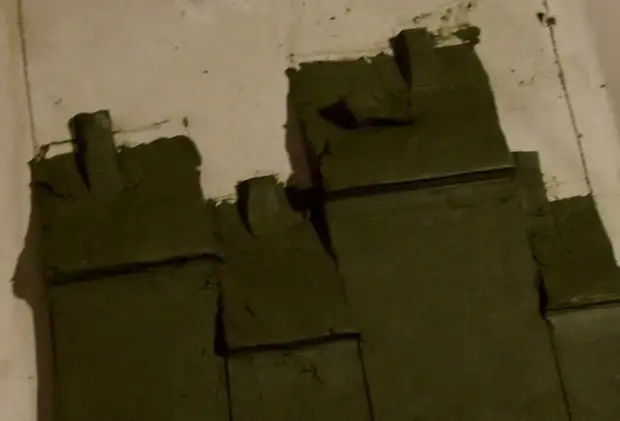
When I make a panel, first cooking clay reservoir.
1No board cland a ruler, I dial the estimated thickness of the layer
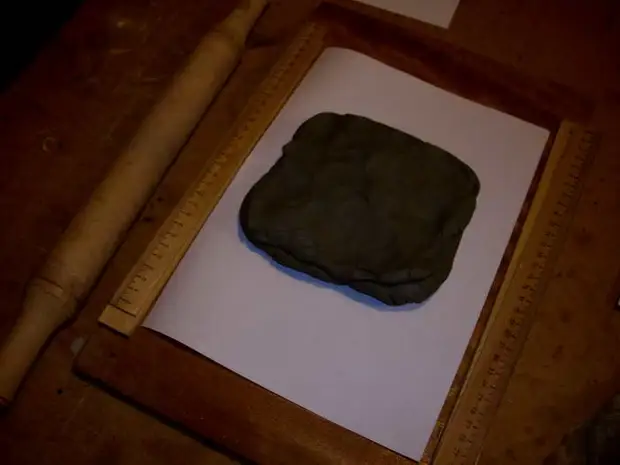
2 Plast ready!
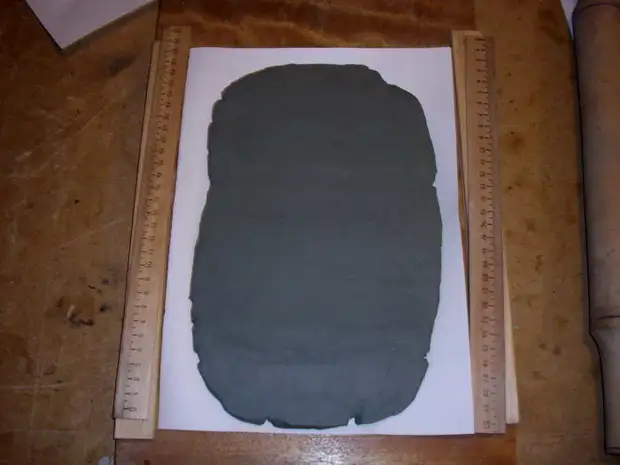
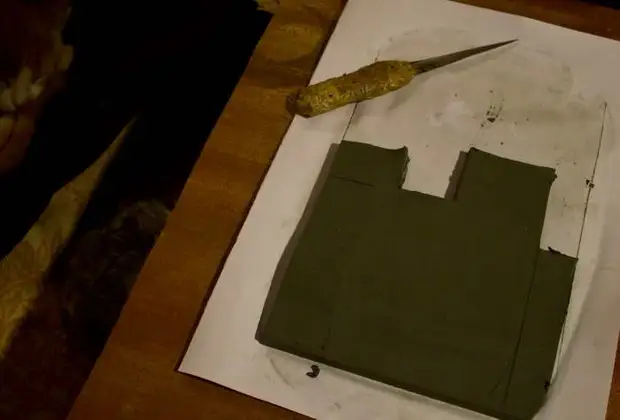
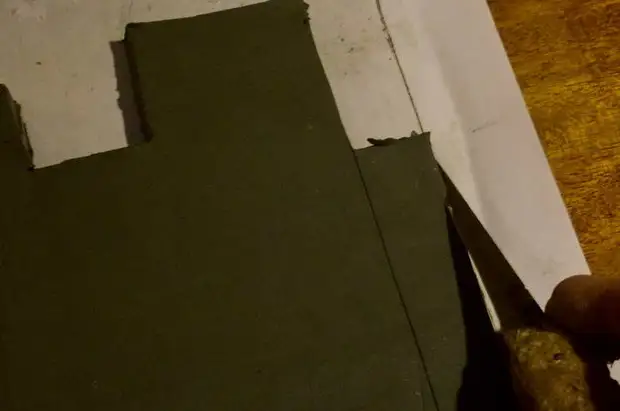
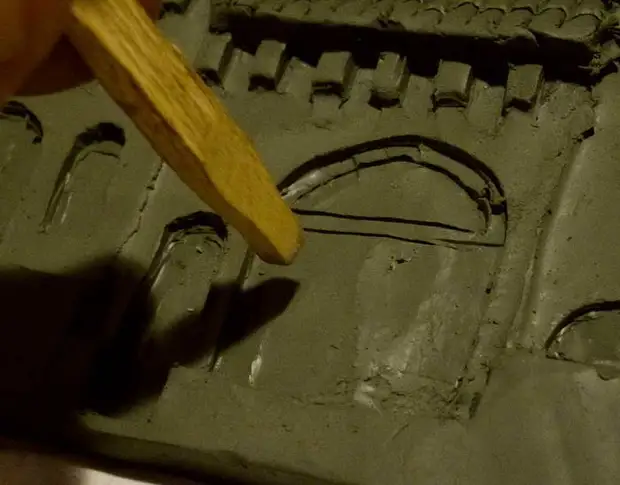
3 Apply a knife outline of the street

4 Cut it
5 Sut off the edge for future roofs
6 trimming from roofs apply down for cornix
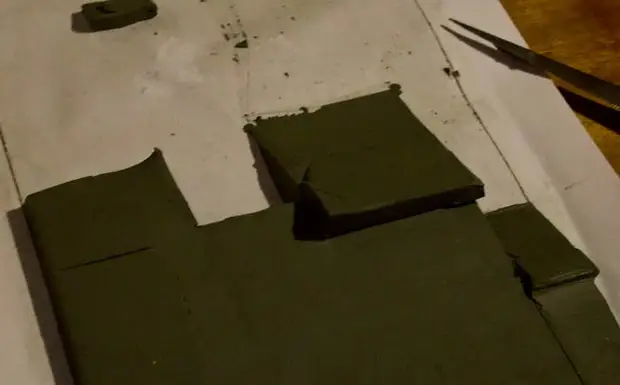
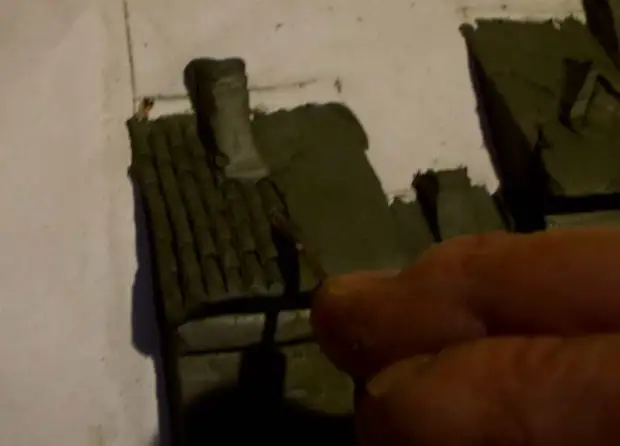
7 Here are the rods of the roofs are ready
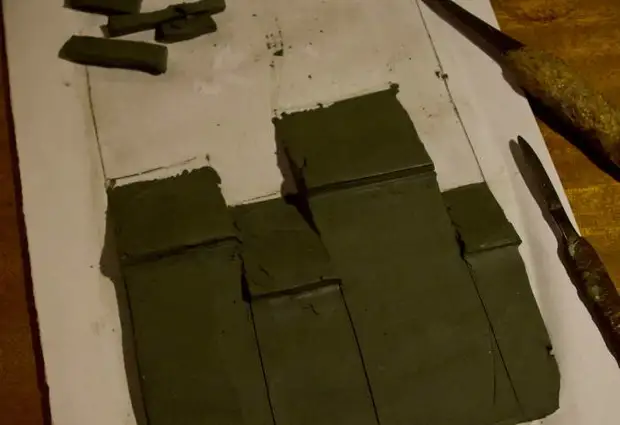
8 Send future pipes
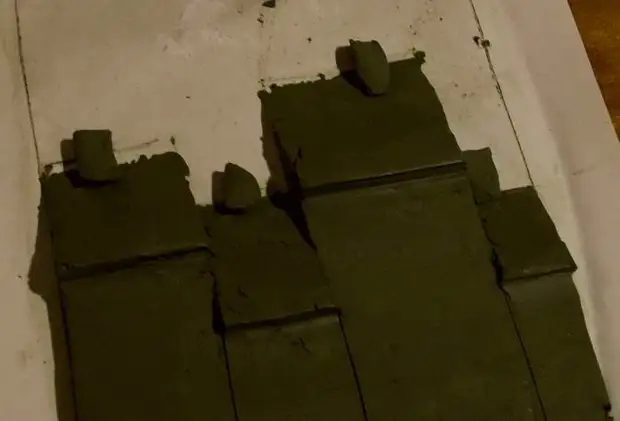
9 Lepim them
10 Making an auditory window

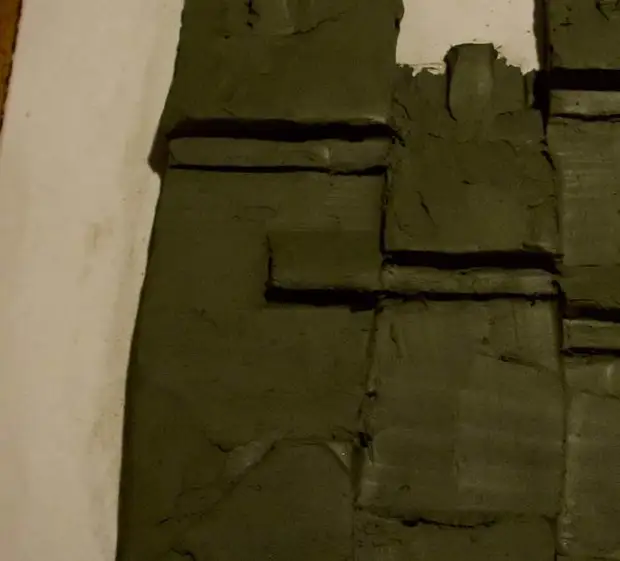
11 Cooking Cornis
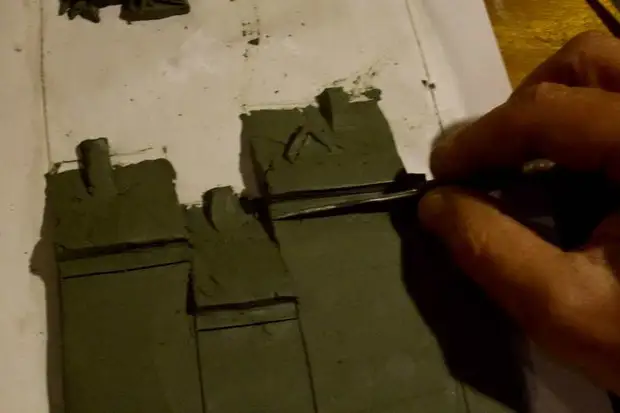
12 Making in the middle of one house Additional carnisik
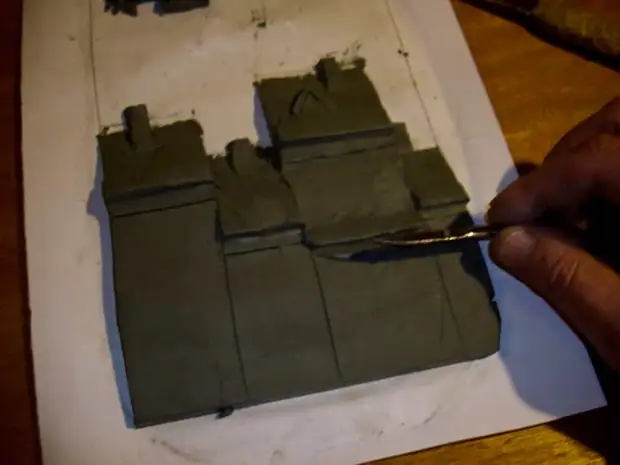
13 piece of clay for porch
14 contour of the porch
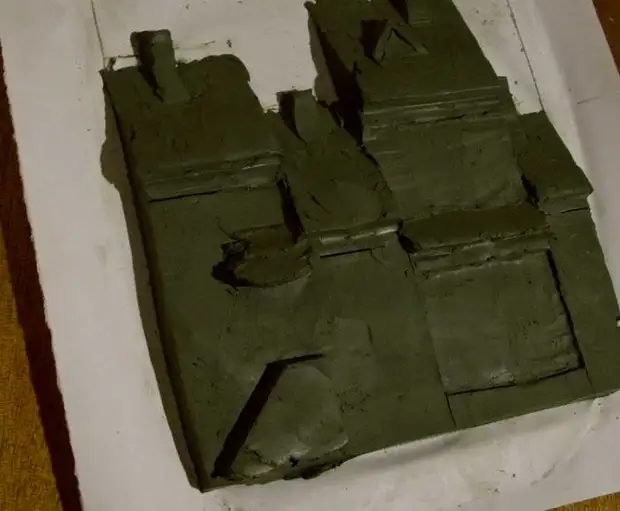
15 Porch is ready
16 Canopy over the porch
17 ...
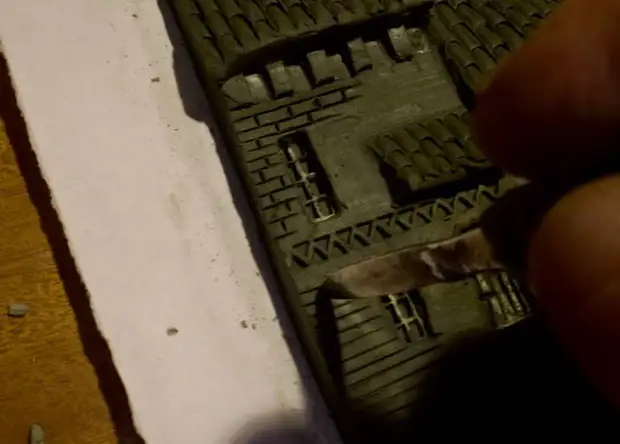
18 Tile Tool
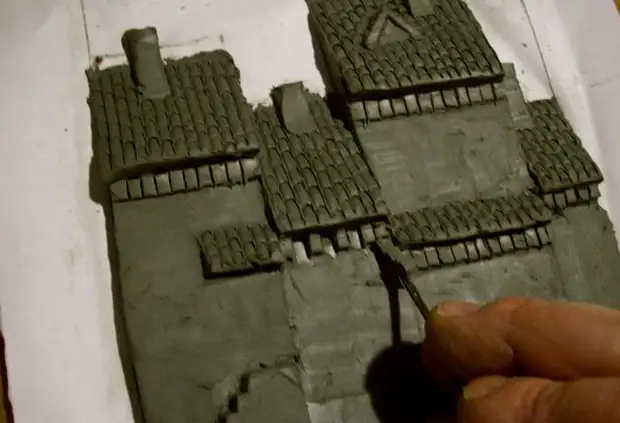
19 The first row of the tiles are laid

20 Continuation of disgrace
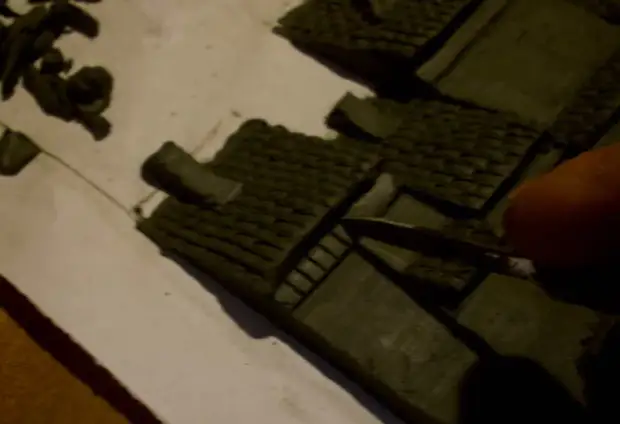
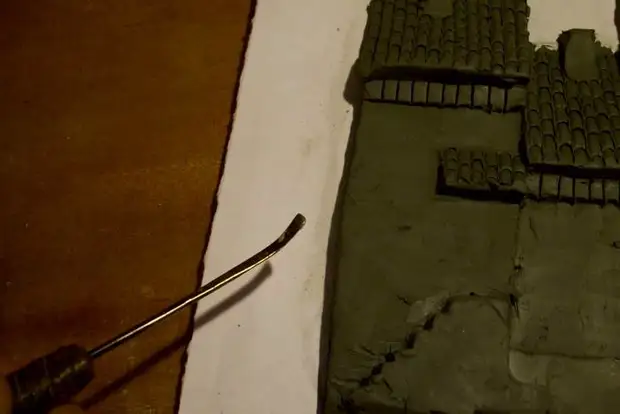
21 I liked this rocars just
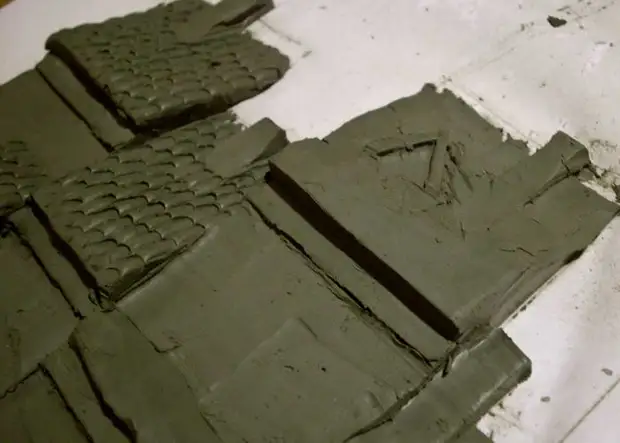
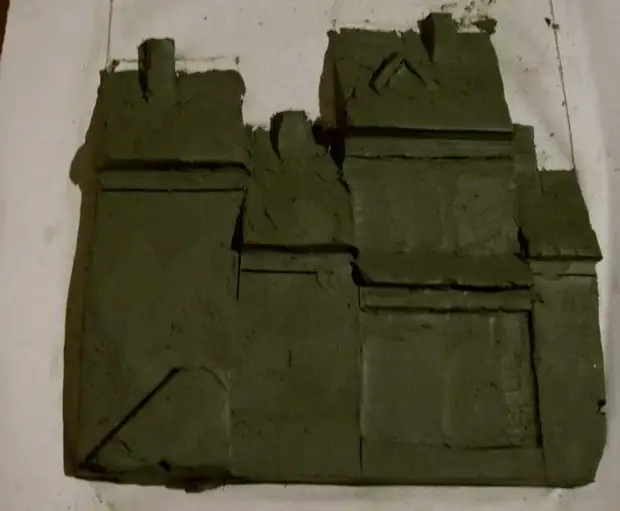
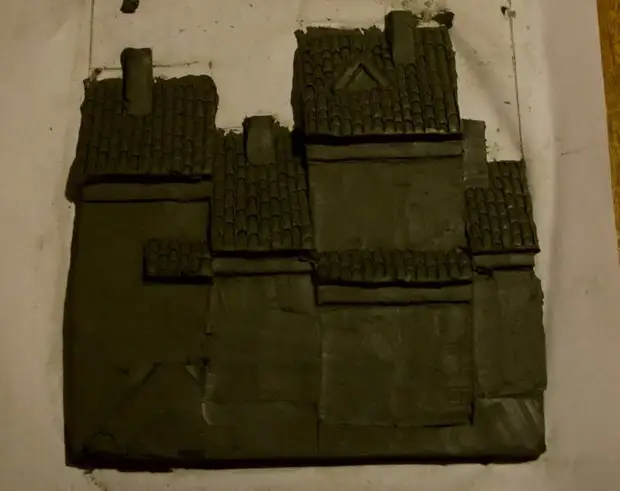
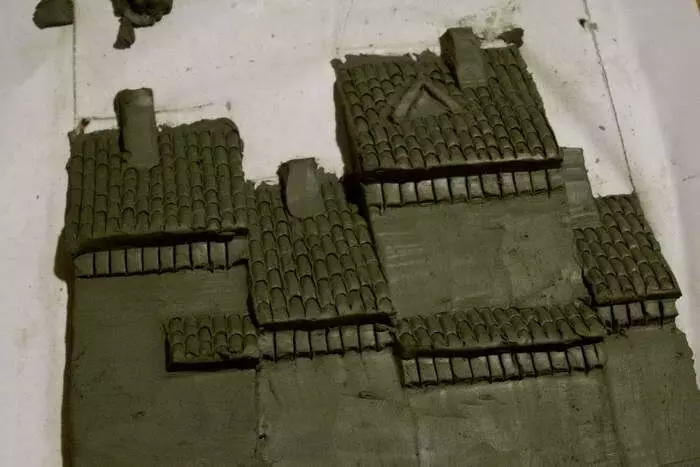
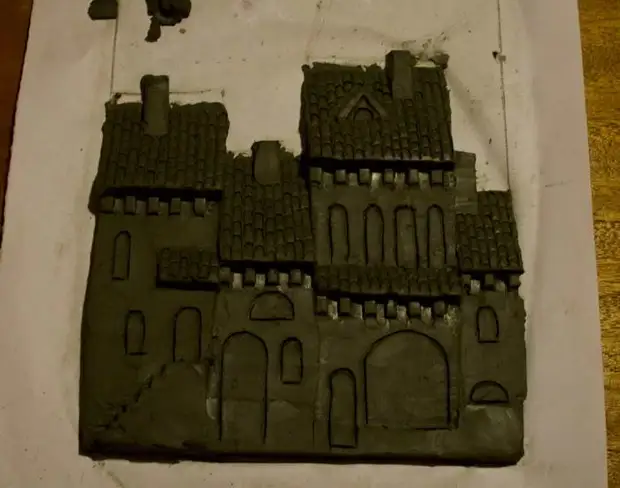
22 roofs are ready
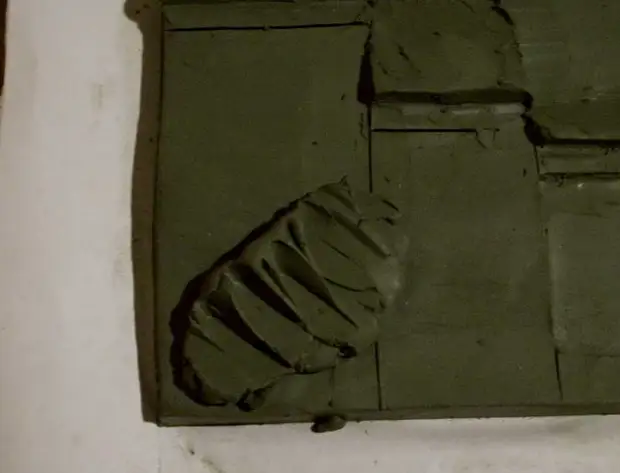
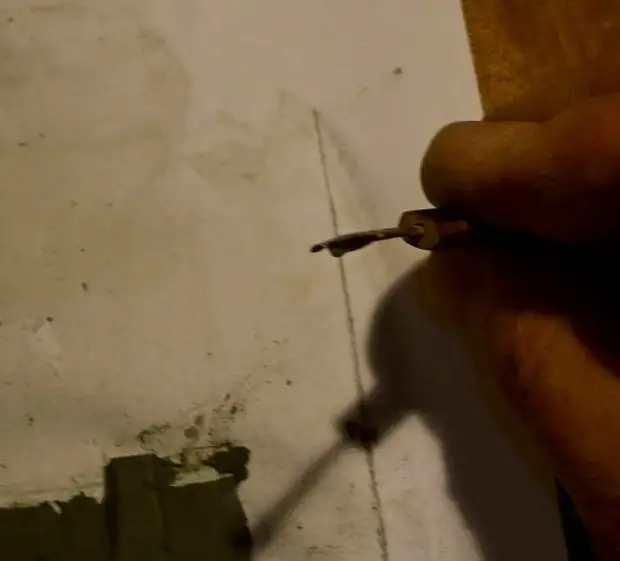
23 Such a tool is comfortable to sculpt the ladder
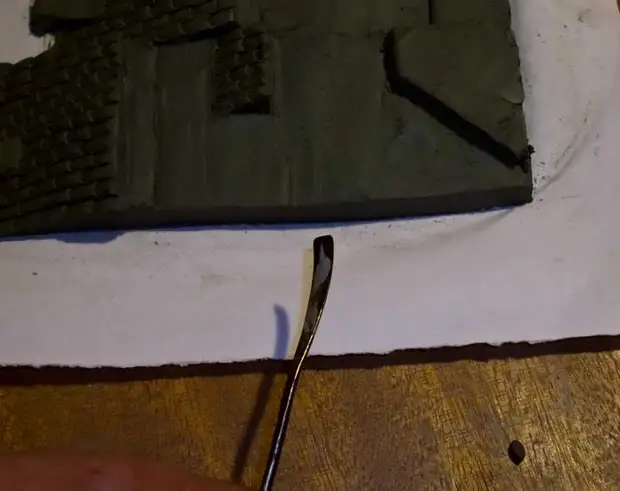
24 That's the way, only I hold down there at the bottom, which is now photographing
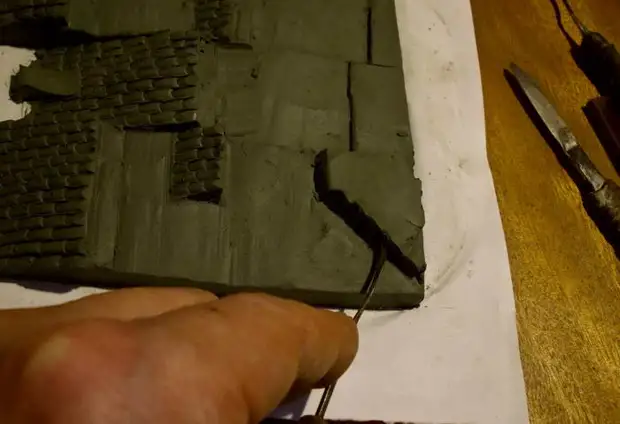
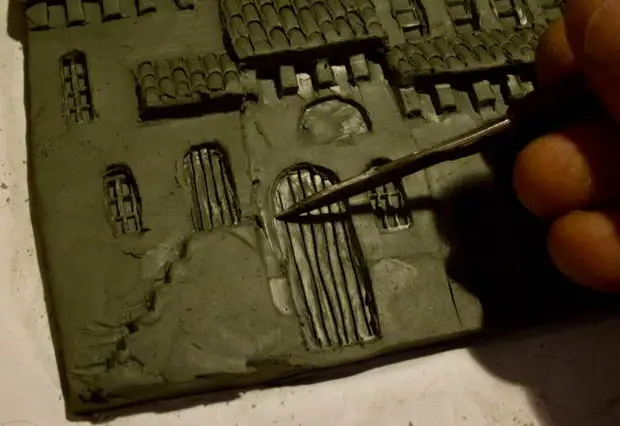
25 Cut here such figs
26 That, it turned out
27 Another funny tool
28 Cut from above each time

29 and a toolmarrow back-ahead squeeze unnecessary
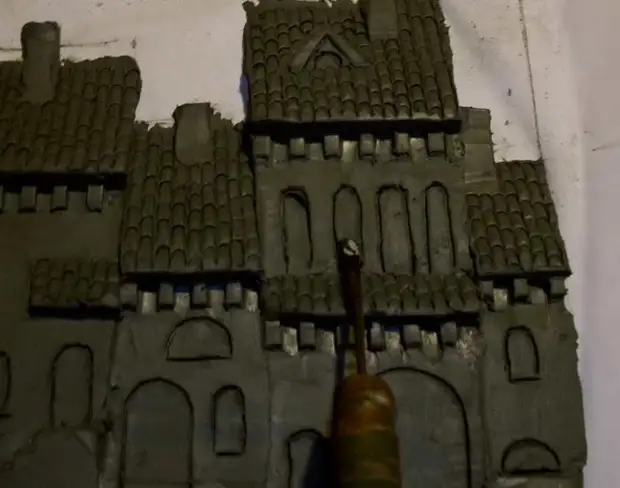
30 UV!

31 inherited door contours doors apply
32 throw out and equal at the same time
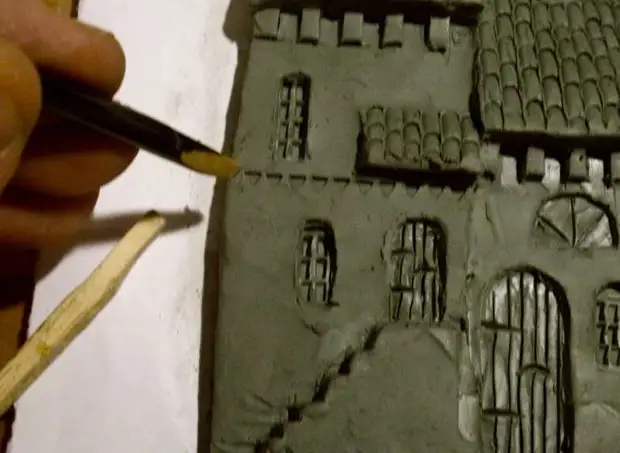
33 about this
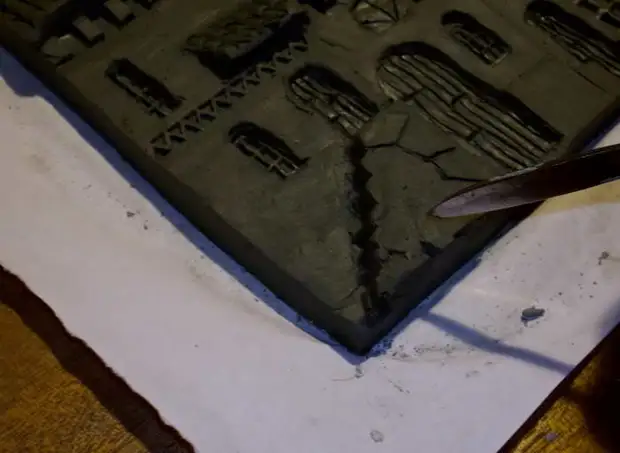
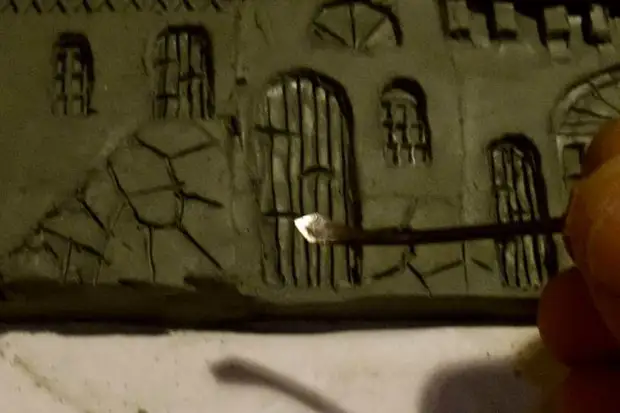
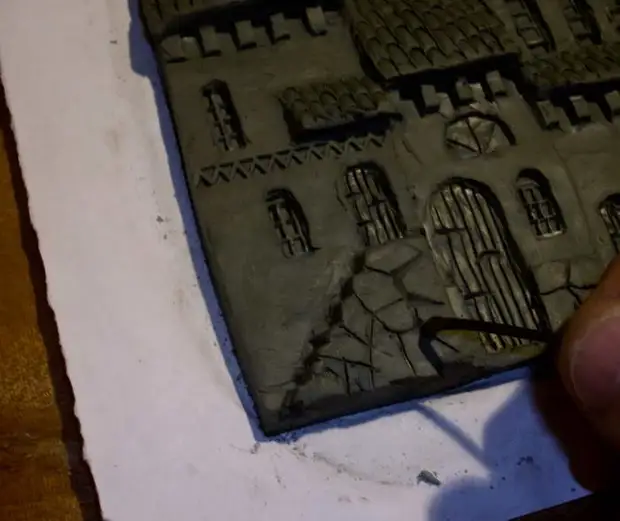
34 wands with different shelted ends will stamp glass
35 option
36 right now it will happen - follow!
37 Now Street is glazed
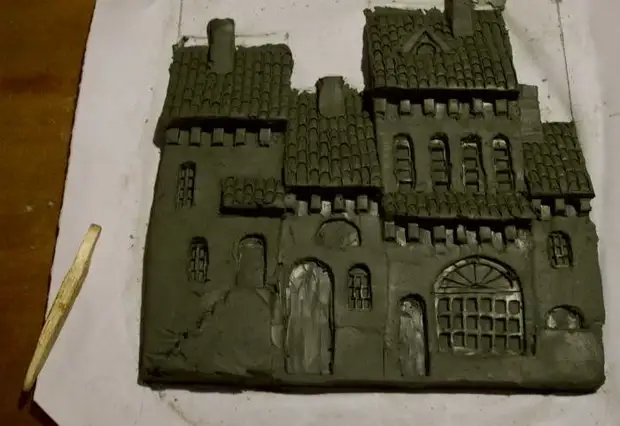
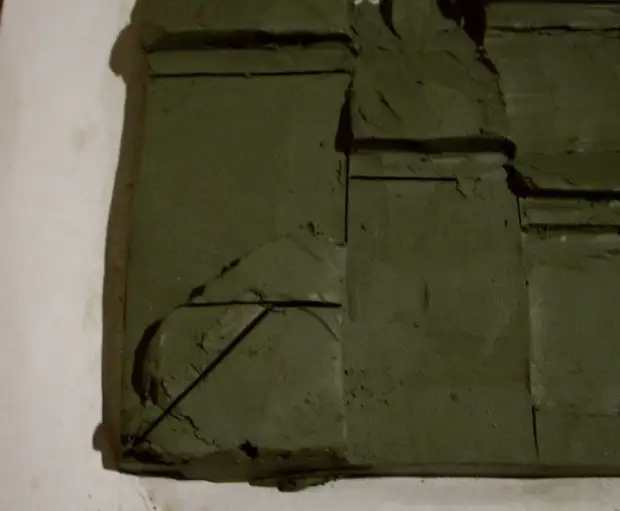
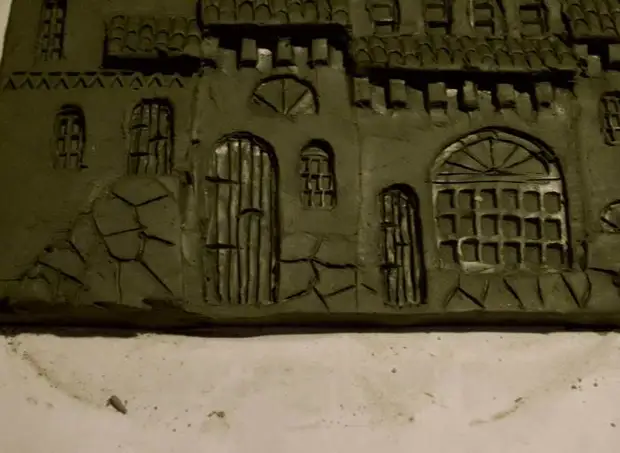
38 Let the doors be out of simple boards
39 And the triangular wand is found a decorative frezik such
40 Follow Stone Foundation
41 here
42 take such a tool
43 And we denote them the seams between the stones
44 Foundations are ready
45 Bricks are needed. I do not make the entire surface of the brick. There are enough hints, and the eye perceives, as it should.
First horizontal seams
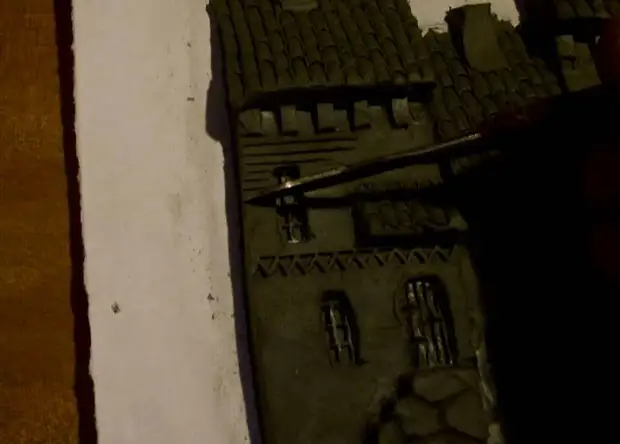
46 then vertical
47 Ready!
I hope you will not have difficulty. And if you write! Address you know!
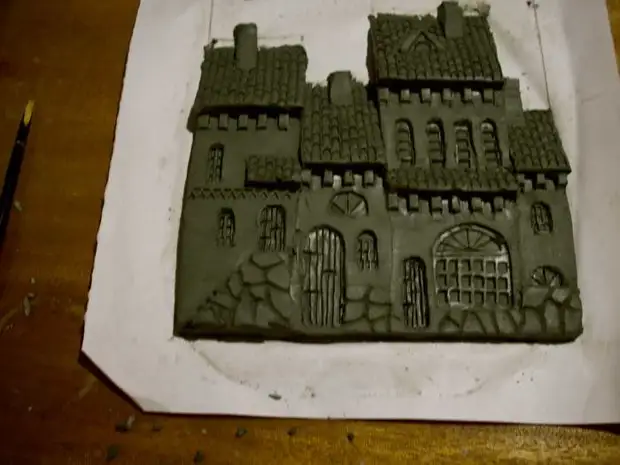
Well, finally, a photo of the creation, which I always hard helps in your work, and I do not want to photograph me.
A source