
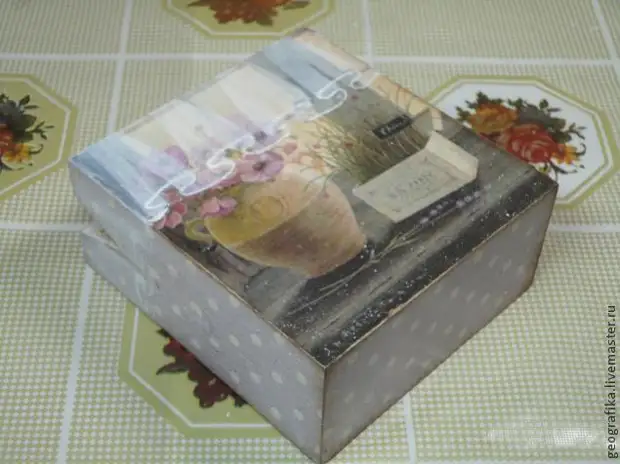
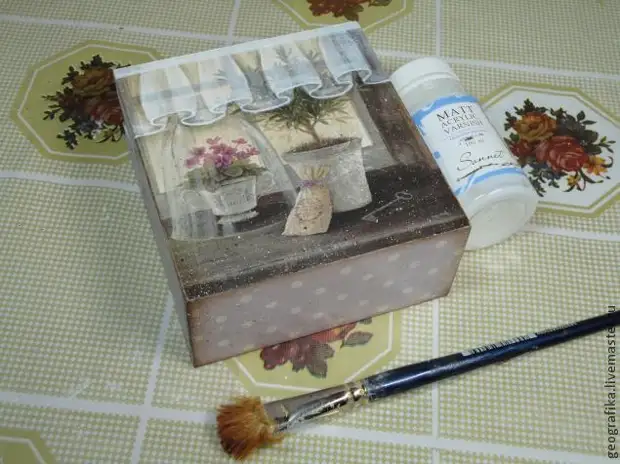
We make a handbag for a gift!
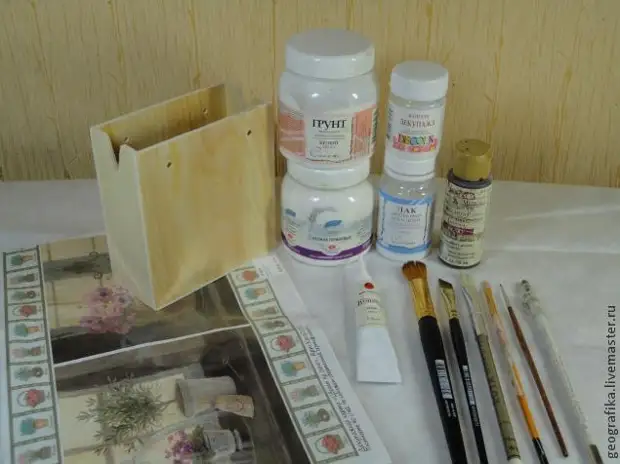
We need:
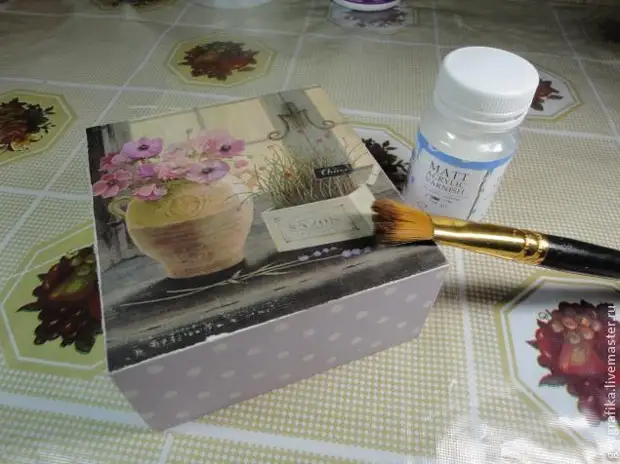
- Boot
- Acrylic soil
- picture
- Decament glue
- Acrylic matte varnish
- Acrylic paint (white, black, umbra)
- Contour for glass and ceramics white
- Tassels of different sizes from a bristle
- Synthetic brush with a bevelled edge
- Medium Antik or bitumen
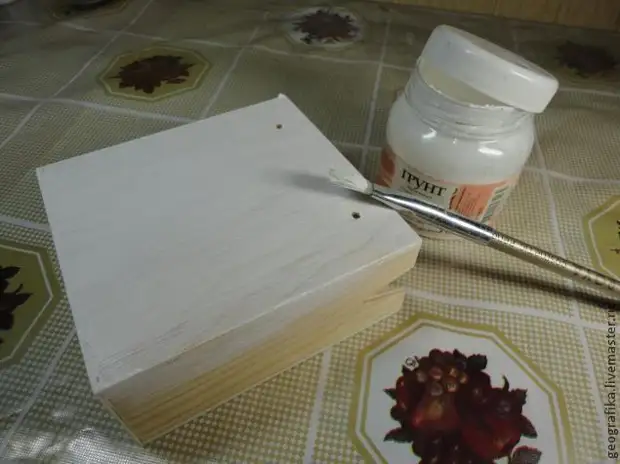
2. Breasting:
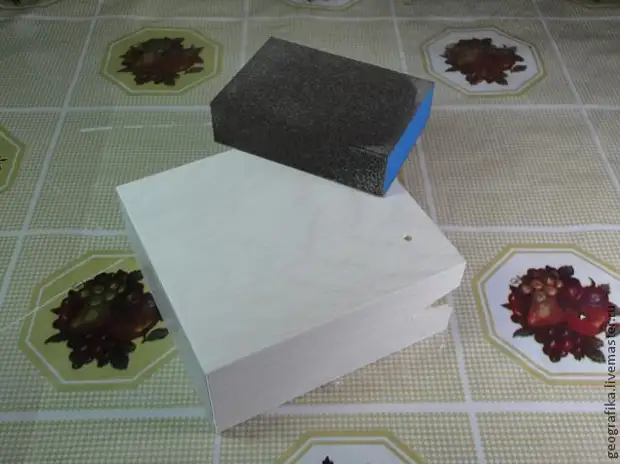
3. We clean the surface with a sandpaper or grinding sponge.
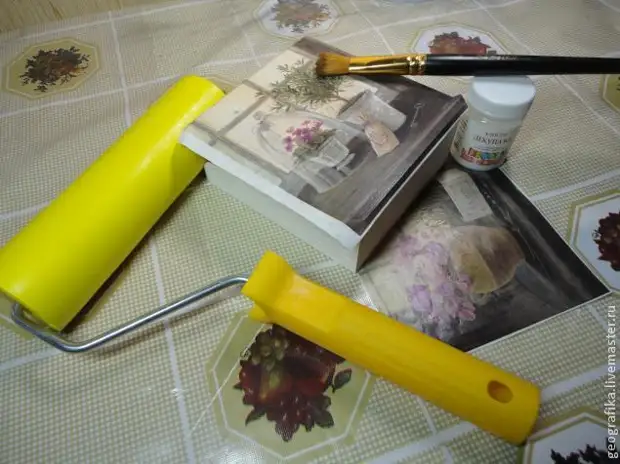
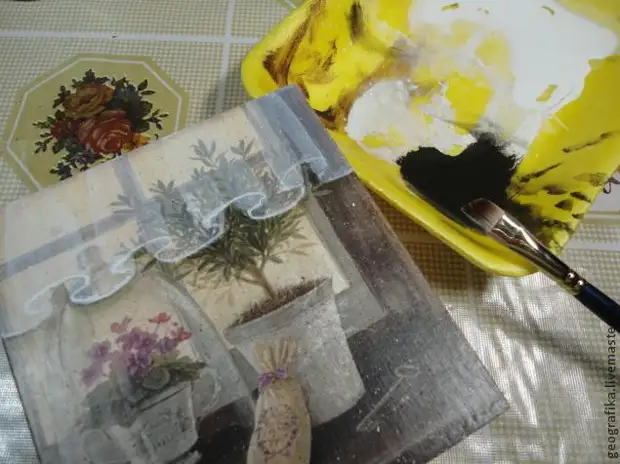
4. We glue our picture.
5. Cover with one layer of varnish to protect our picture from "jambs", which are usually when drawing veilics. If something goes not as we need, simply a humid napkin and draw a back.
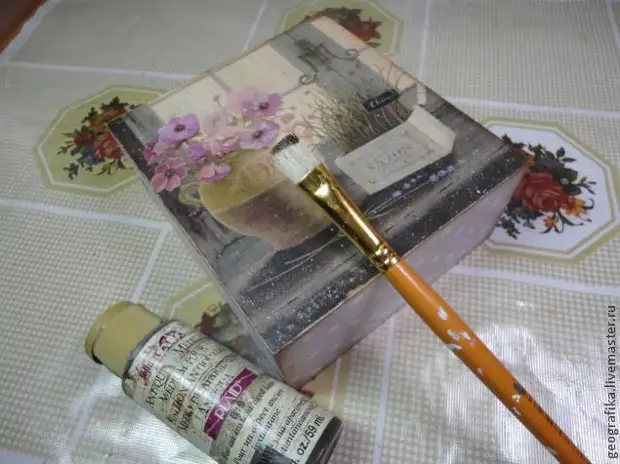
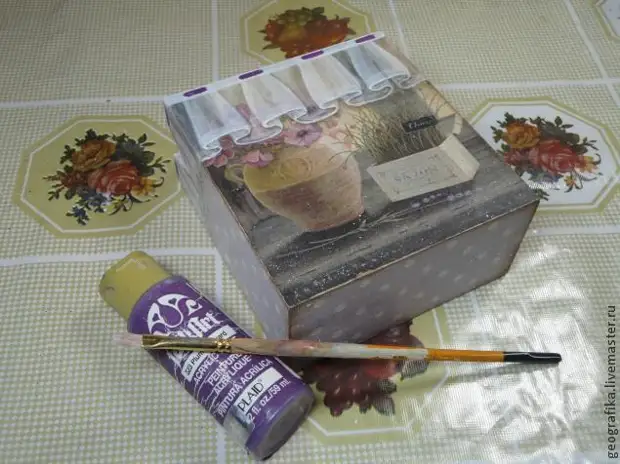
6. Now using a medium an antique or bitumen, a slightly semi-dry brush or sponge, follow the face, or, as my acquaintance says - the selection of the facet of work. Thereby collect the picture into a bunch.
If you wish, we do spray. I always have such a desire and here I made a spray of white paint and paint black + umbra.
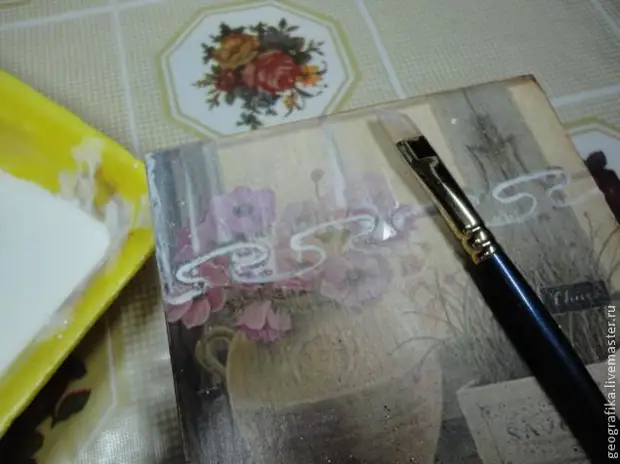
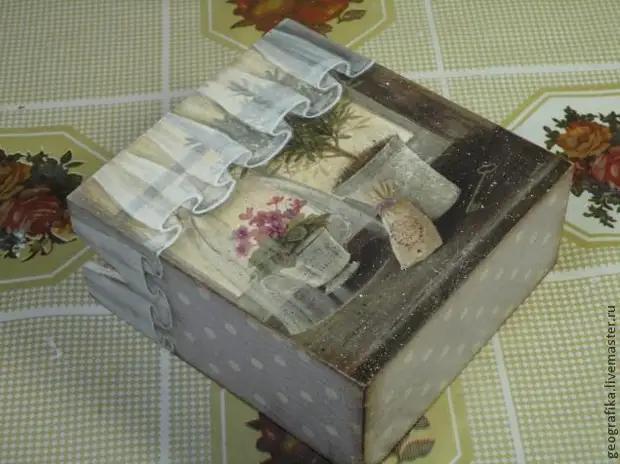
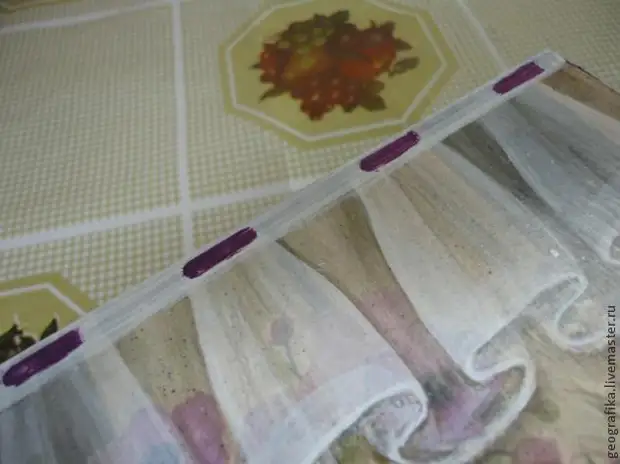
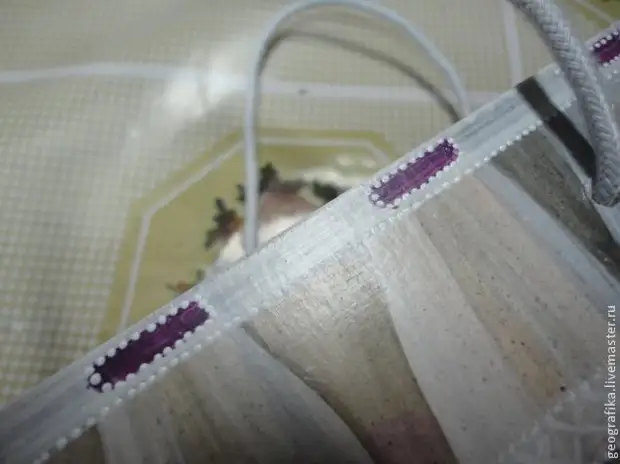
7. Well, now the most interesting thing is to draw a veil. Paint from the bottom contour. From how we draw it to depend on how our veil will look in the finished form. Whether it will be one-sided folds, or oncoming, and maybe even combined. The folds of the oncoming type are conceived in this work, and therefore my contour has the kind of such "atomic fungi".
First draw contour with a simple pencil. But I like to draw it with a soft cosmetic pencil for lip white. And then, with a thin brush, we supply acrylic white paint, slightly diluted with water.

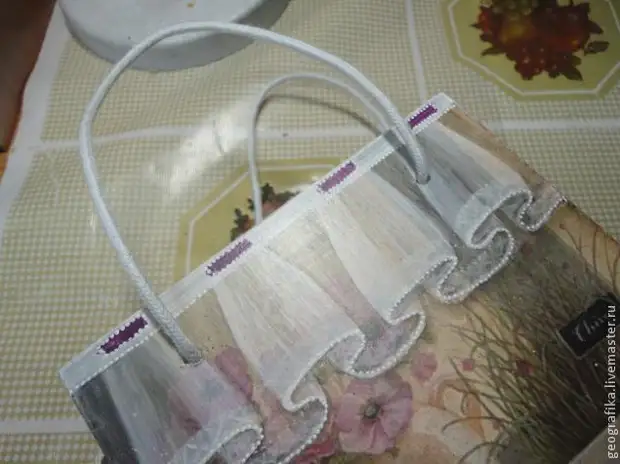
8. Now white acrylic paint is very strongly diluted with water until translucency.
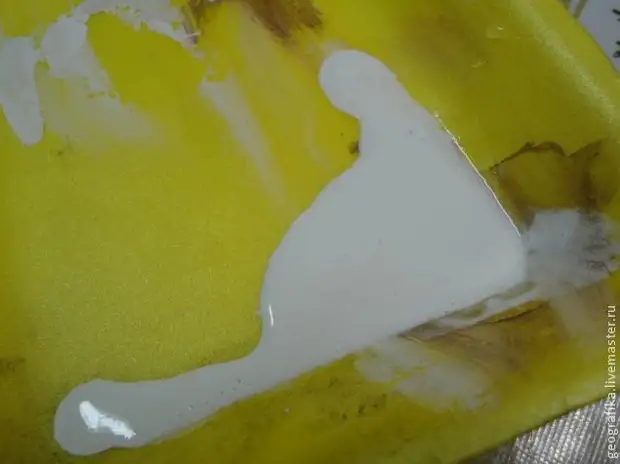
9. Synthetic brush diluted paint fill the space of our future veil. The brush should not be very wet. From how many layers we will suffer, the density of the tissue will depend on, that is, its transparency.
10. Now in the place of "folding folds", where the fabric layer is superimposed on each other, we choose the paint strips, which will be our folds.
11. Now draw shadows on the folds, which will give our veil finished, air and living look. For drawing shadows, it is strongly diluted with water black paint. I also add some kind of paint of the dwarfs of Umbra. I like it more. Shadows are more natural.
12. Shadows draw a synthetic brush with a bevelled edge. Poppy brush in paint not with the whole brush, but only an elongated edge and draw a shadow first under the lower circuit of the veil. Due to the fact that the brush is beveling, the shadow will be cut and go to bed gently and naturally, without sharp boundaries.
Then also draw shadows along the elevated strips of folds.
13. Draw a narrow tassel along the edge of a white edge. This will be our ribbon.
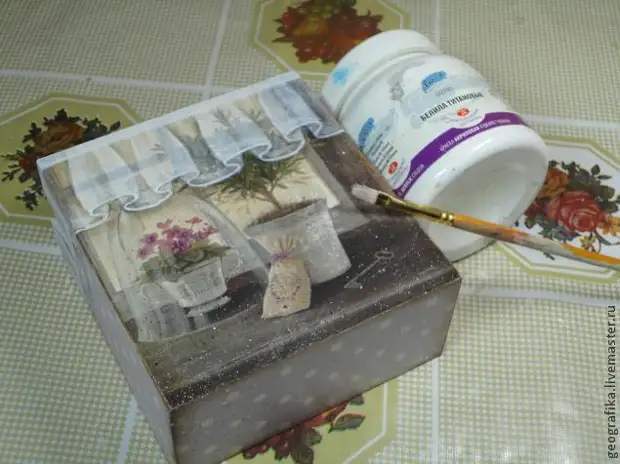
14. Again, cover the operation by the protective layer of acrylic matte varnish.
15. Narrow flat tassel draw small strokes of paint suitable under the picture of the tone. This will depict the future ribbon inserted into the White Cant.
16. Let's look closer.
17. The contour point the edge of the veil and the edges of the ribbon and Kant:
18. That's how it will look like.
19. Well now we are ready to go to visit!
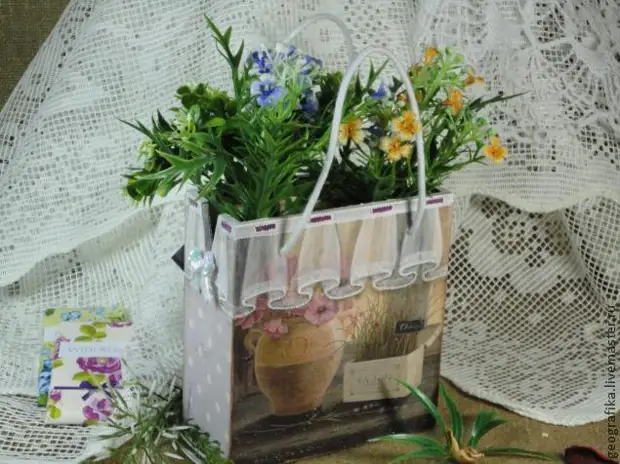
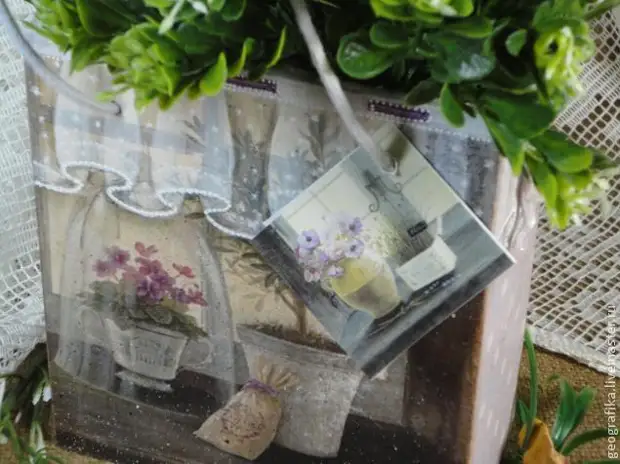
20. On a rope handle, hang this biretop - a reduced copy of our picture. On it we can write our congratulations and the best wishes of the one we go to congratulate.
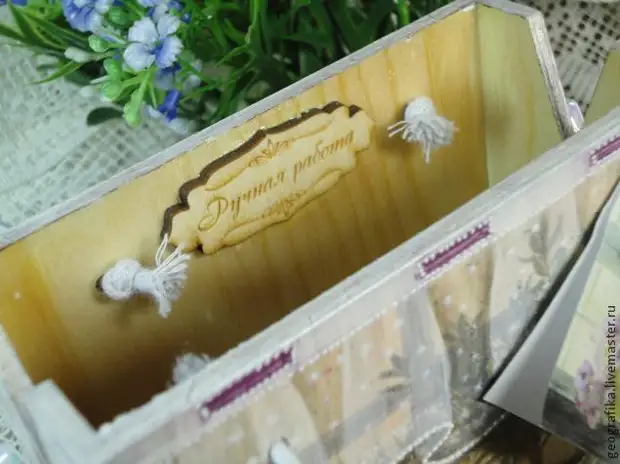
21. And do not forget about the inner design. In our work should be beautiful everything!
A source