
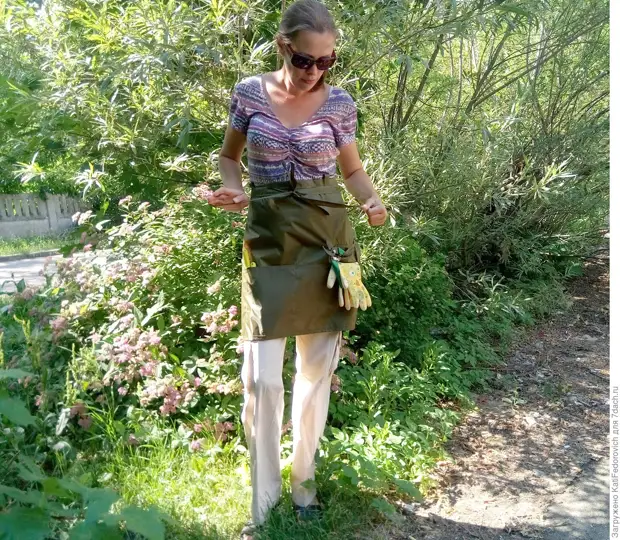
The apron is needed by any hostess, and the gardener-garden especially. Undoubtedly, it can be bought. But I decided to sew exactly the way I need.
Requirements for my apron: very light, waterproof, big pockets, deep pocket for the phone, fashionable long belt, without a bib.
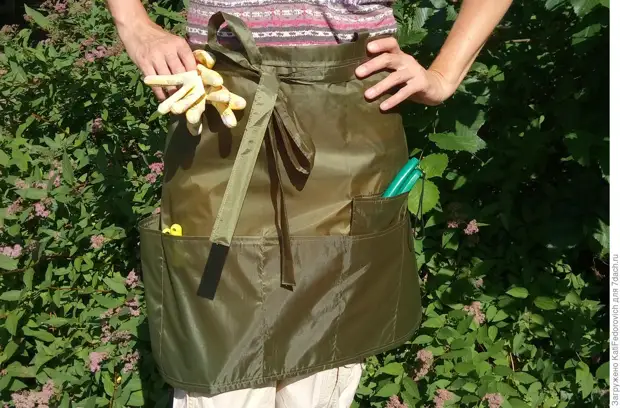
Fabric for apron I chose such from which umbrellas and raincoats are made. I sewed my apron and now I want to share with you how to do it quickly and beautiful.
So, sew apron in 2 hours.
We will need:
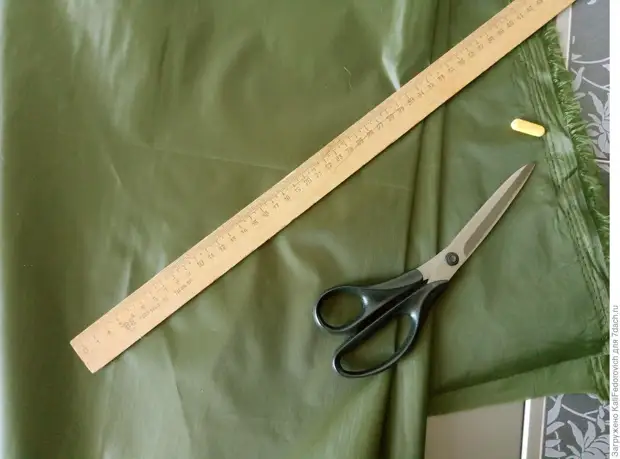
- Cutting fabric, I have 150x50cm;
- scissors;
- line;
- chalk or soap;
- threads;
- Sewing machine (hand-made stapler is also suitable).
Turning process
1. Cutting apron
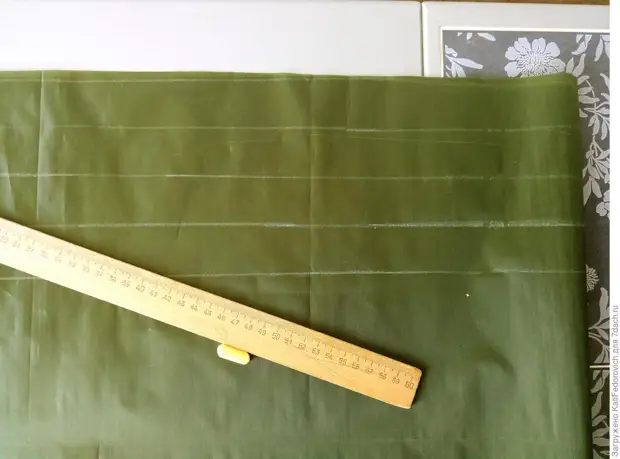
We will not need any cuttings, everything is simple. I stroke a cloth through a rag and lay out on the table (or on the floor))) Maximum width of the fabric I have 1.5 meters, it is very much for me, I cut the fabric in half. Length (50 cm) leave as it is, quite enough for apron. The first cut is our base for apron.
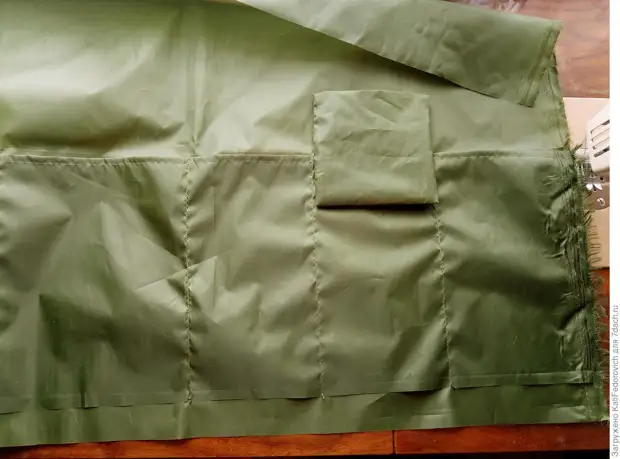
From the second cut slicing of pockets. We decide how many will be, and draw on the fabric. I got 3 narrow and 2 wide. One of the pockets will be with a small pocket from above. It will be a valve covering a pocket with a telephone.
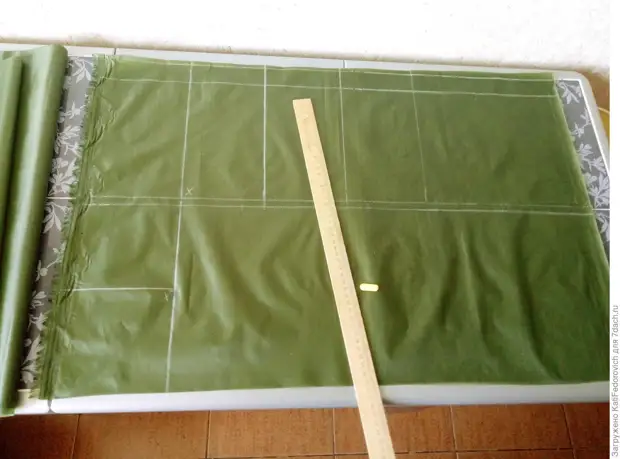
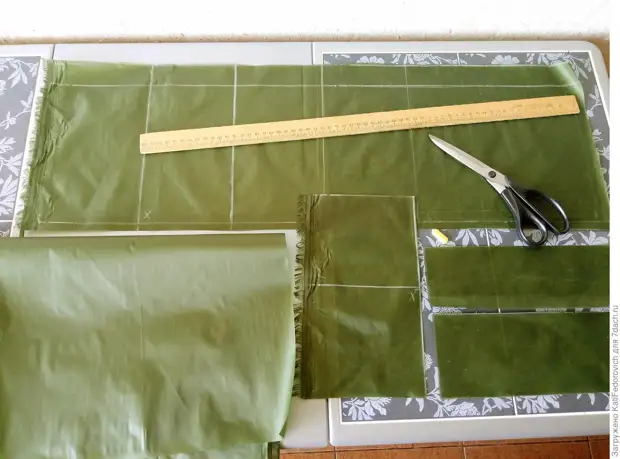
From the remaining 75 cm fabric we cut two long stripes for the future fashionable belt. We draw on two line widths.
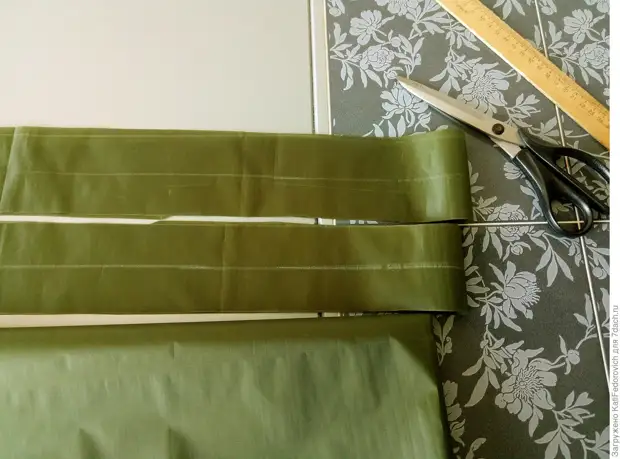
Everything, half of the work done!
2. Sew apron
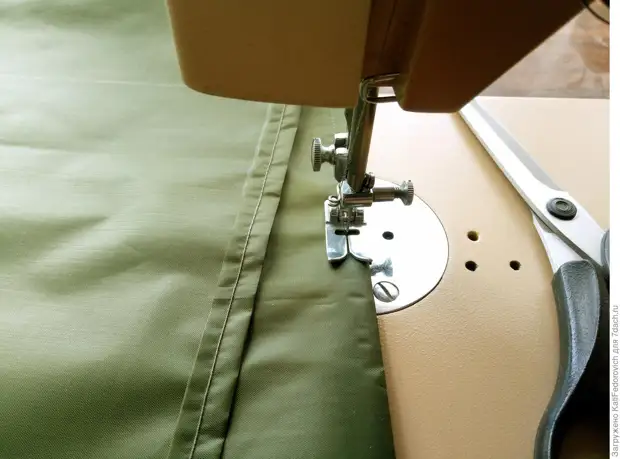
Principle: sew is obvious, i.e. All on the outside. This in order for the product to look "factory-market", and not stitched at home on the knee (as in fact))). The fabric allows, because the lines can be seen.
2.1. We like top pockets. Double grazing and spend.
2.2. Pockets are sewn to the base. We retreat from the bottom of the product 2-3 cm and sew the side of the draft line cut with pockets (so that the pockets are not shifted during the process).
We themselves go to us with a solid web, so I first flashing the dual line for strength in the center. Next, we attach evenly and flash the other pockets. I flashed a double line until the middle, not completely.
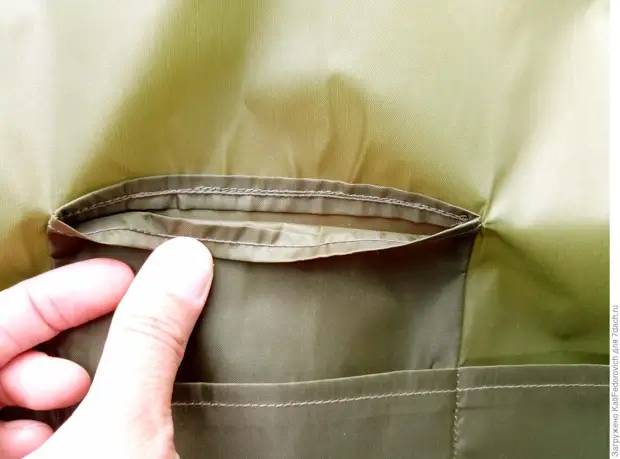
2.3. We sew a valve pocket from three sides. Soak, we fell doubly the upper edge and we ascend it.
2.4. We put in half a slam, we tailble the edges and spend.
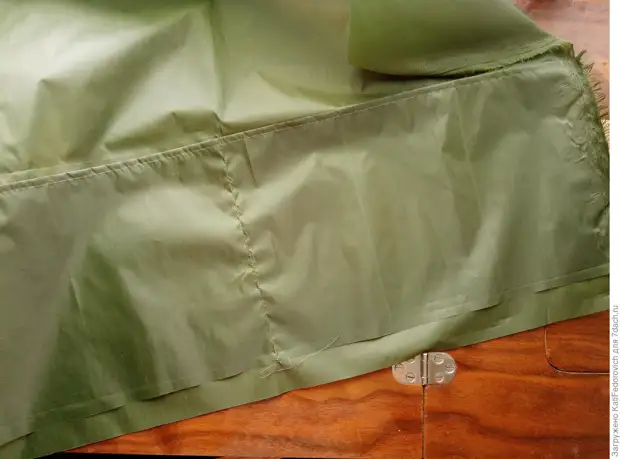
So, all the details are ready and stitched-sewn. Now you can "collect" the remaining parts and sew apron throughout the edges.
2.5. From above pocket for the phone sewn from the inside of the pocket valve. It turns out the second open pockets over the first, it is the "roof" for the phone.
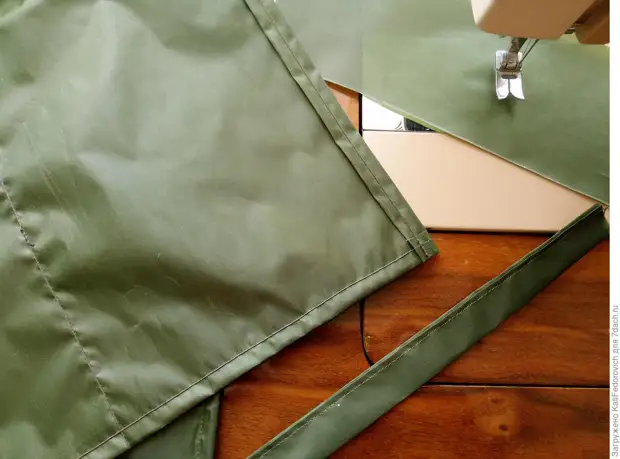
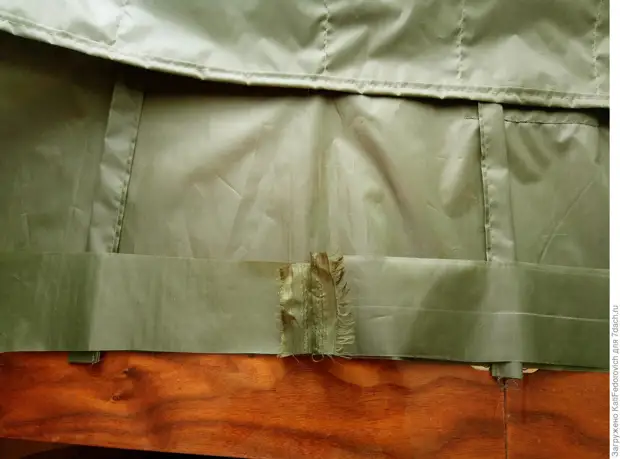
2.6. Penibate is evident, doubly, the bottom of the apron. We capture the bottom of the pockets and spend. It turns out at the same time the bottom of the pockets, processed by the lower edge of the apron plus a decent looking product.
2.7. Penget doubly side sides of the apron and spend. But already inside. However, all this can be done as the hostess like))
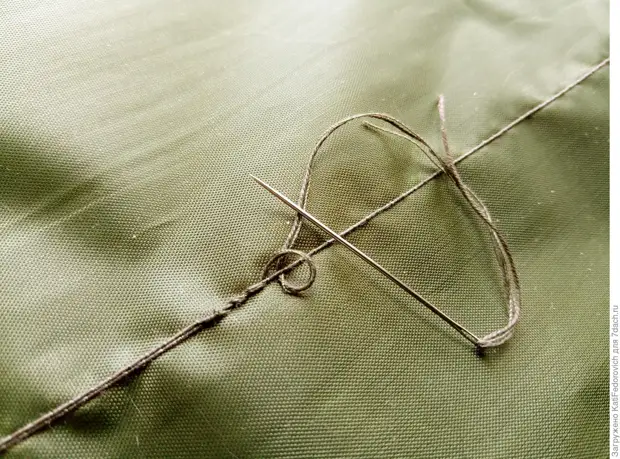
By the way, everyone remembers how to beautifully hide the remnants of threads? On the back of the product, the knots were knocked out, both tail in the needle inserted and stretch the string around each seam line. Cut up too much. And everything is beautiful.
2.8. The saddle is the belt. He is very long. But I really wanted exactly such. Therefore, I suffer and stitch-stitch-stitching.
Send the belt "Classic". Stitching both halves in one long. I combine the center of the belt with the center of the apron face belt-to-invalid Apron. Inside, laying the slave. And, retreating 5 mm from the top edge, sewing the belt to the apron. Next, turn the belt on the front straight of the apron, we throw the slam in the same way. We fold the belt in half along the long side, stroke. What is good weeping fabric - it is not necessary to iron it, it is enough to swear with your fingers (nails). Also clogged also the seams and facial bending of the bottom of the belt. I convert the bottom edge of the belt and adding the face of the apron, hiding the previous line inside, along with the cutters.
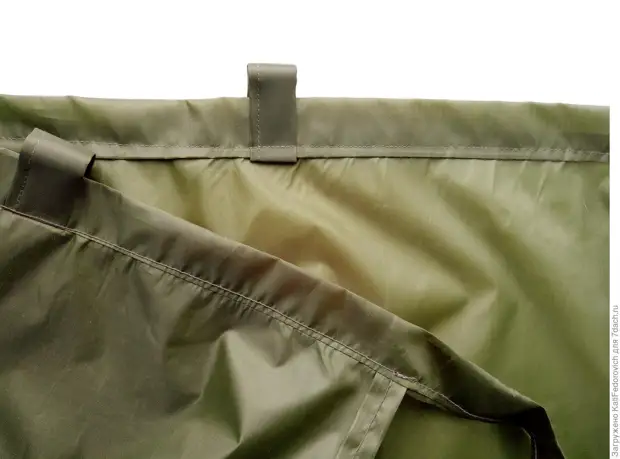
Next, the remaining not sewn parts of the belt we turn inside the edge and flash again in the face.
Everything, apron is ready!
Thanks for attention! It turned out a lot of photos and text. But I wanted to be clear and visual.
In fact, the apron sews very simple and fast. I printed longer and photographed than sewed.
