
Author of work - Anastasia Silk wisdom.

In this master class, I want to tell and show how I processes the cuts of silkkerchings.
Maybe this information will be useful to someone.
I remember your searches in solving the task of processing the edge of products. I've got a lot of nerves, impressionable me. Threw me in different directions: I was looking for a storm technician, I tried, then it was all threw, since the result was extremely not satisfied, and started to pick up the overlock, then the sewing machine. As a result, shifting the mass of the information, I finally picked up a suitable way to the result.
Of course, I did not invent a bike, and yet my way to my way, through a compilation of existing ones, was long. I hope my master class will keep a lot of time to the craftsmen looking for a response to the question - how to heal the silk accessory, without disappearing the product.
So, I use:
- Pillow.
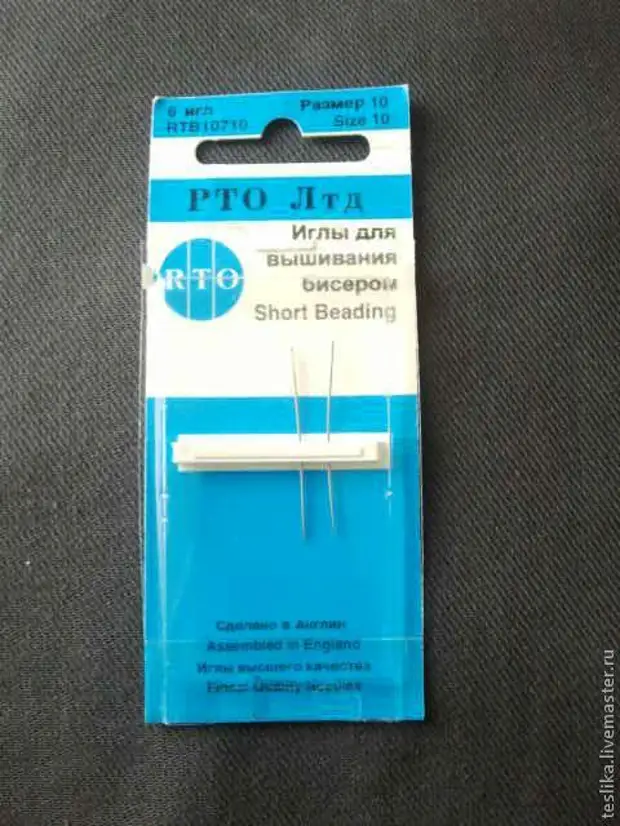
- Beaded needles.
- Scissors.
- Threads.
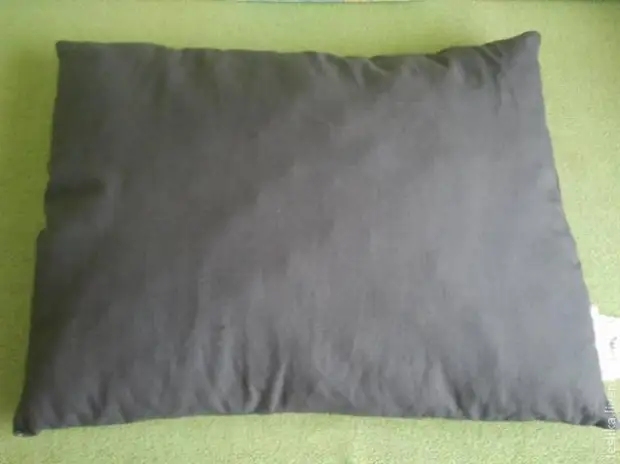
Pillow:
I have a pillow from the Armed Forces of the Russian Federation, allocated a spouse))) You use any comfortable, small pillow in size.
Bissor needles.
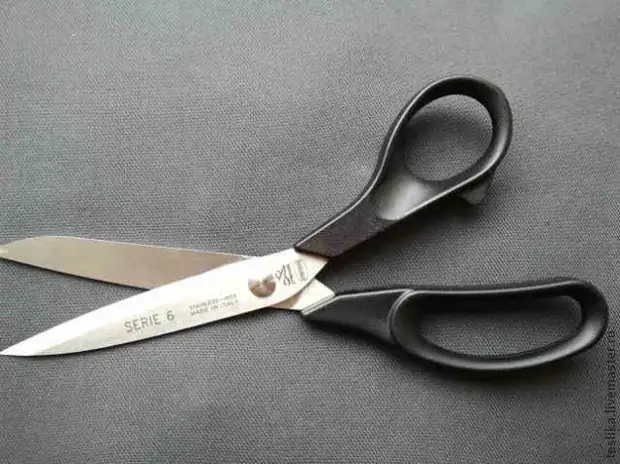
Scissors:
At the very beginning of its activity, I bought good portno scissors, Premax number 6. Very help in working with silk.
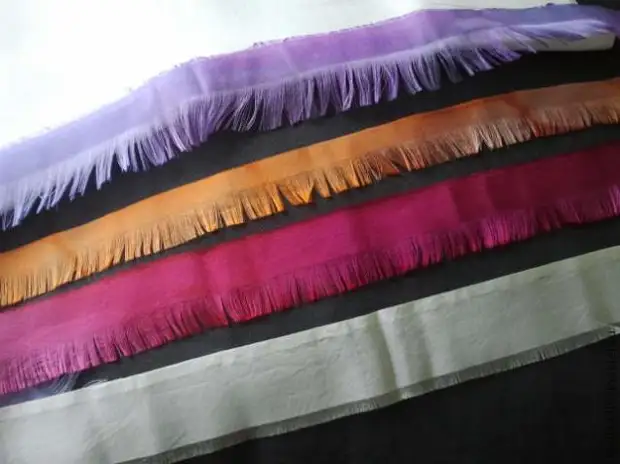
Threads:
I think that it is in threads a large proportion of a successful result. I use the threads elongated from silk flap, which stain in a variety of colors. It is important to use silk with unknown thread. As a result, the thread on the product is practically not visible, nor with the facial or from the wrong side.
And now, directly the process:
I take a silk, in this case the atlas of medium density, and cut off the extra villus "under the root". In the process of work, Vorki will, of course, arise - in the course I do the same with them as at the beginning.

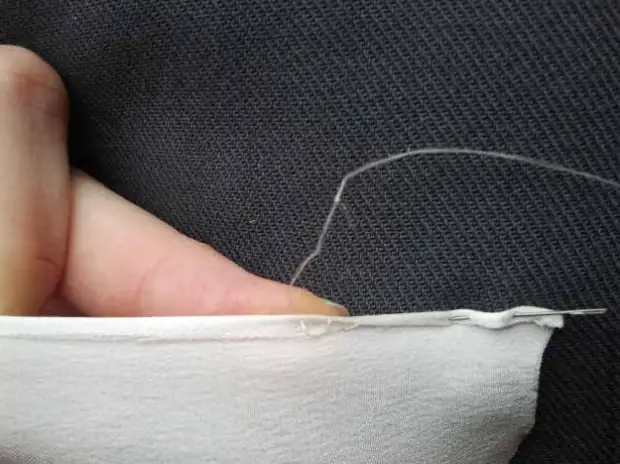
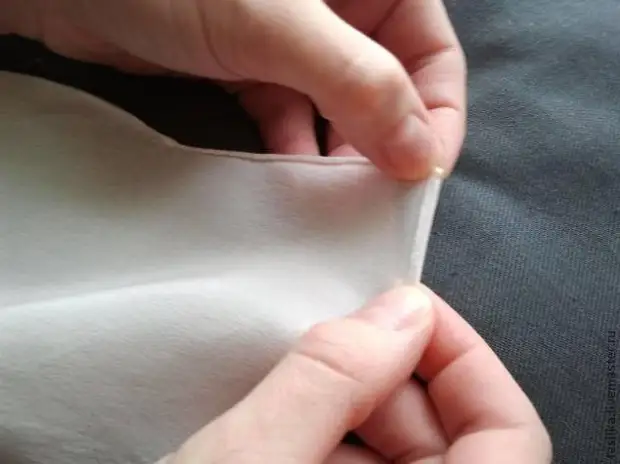
I make a small bend on silk, like this:
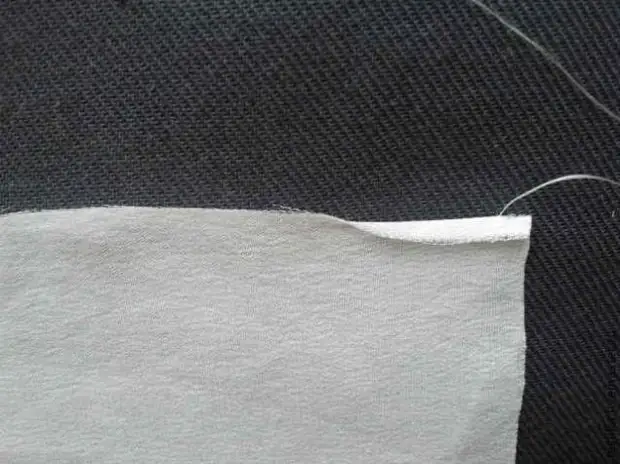
To evaluate milmage.
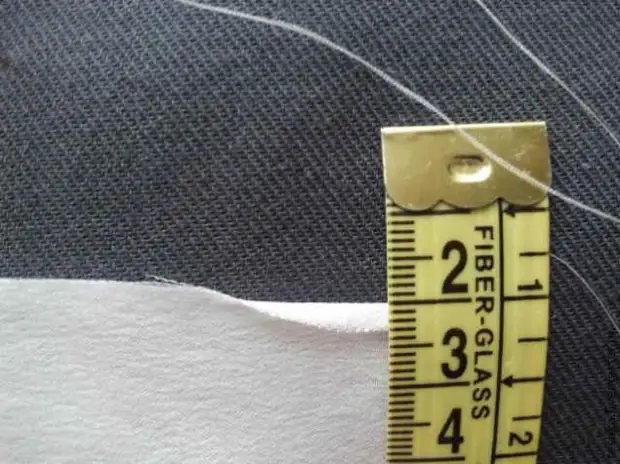
The bending is only 3 mm.
I start sewing, capturing 2-3 threads.
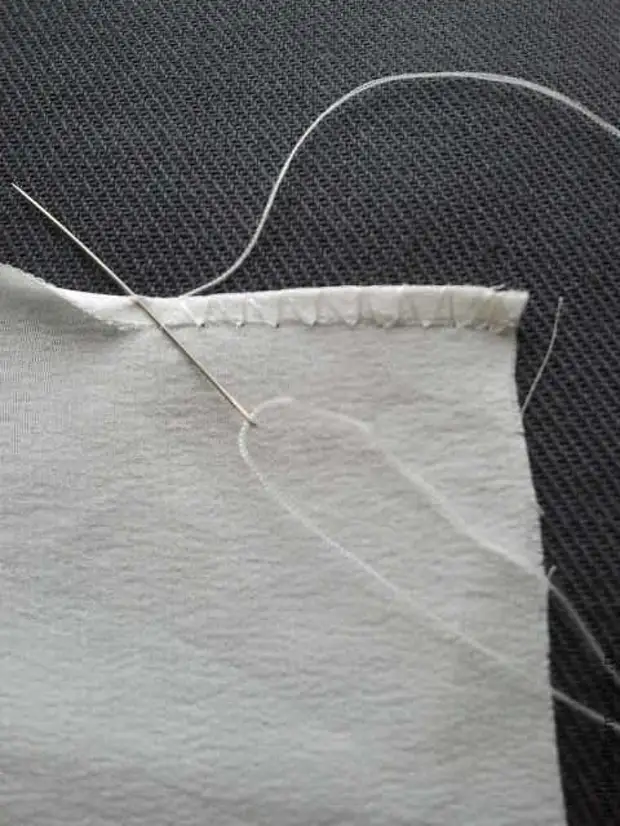
Tighten.
It is better not to get involved and tighten more often, as the thread can get confused.
Next, I fix the product with a needle on the pillow, pulling the fabric and continue, now it is much easier for me, more convenient and faster!
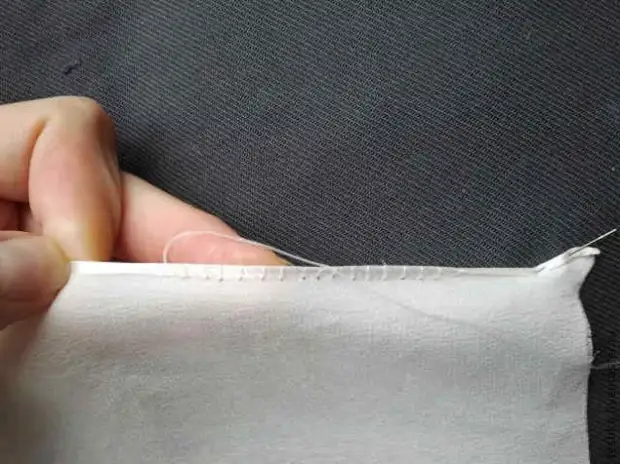
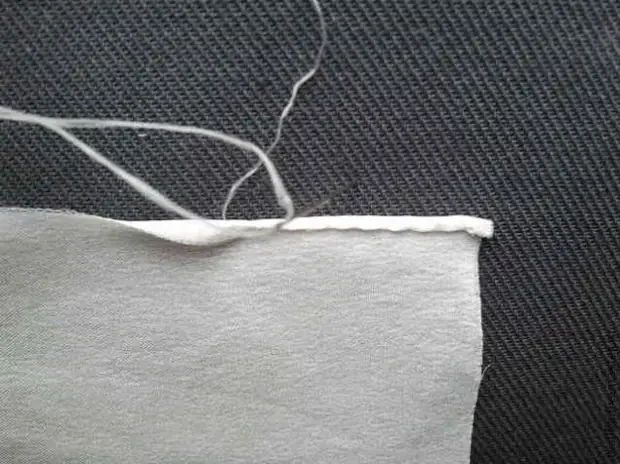
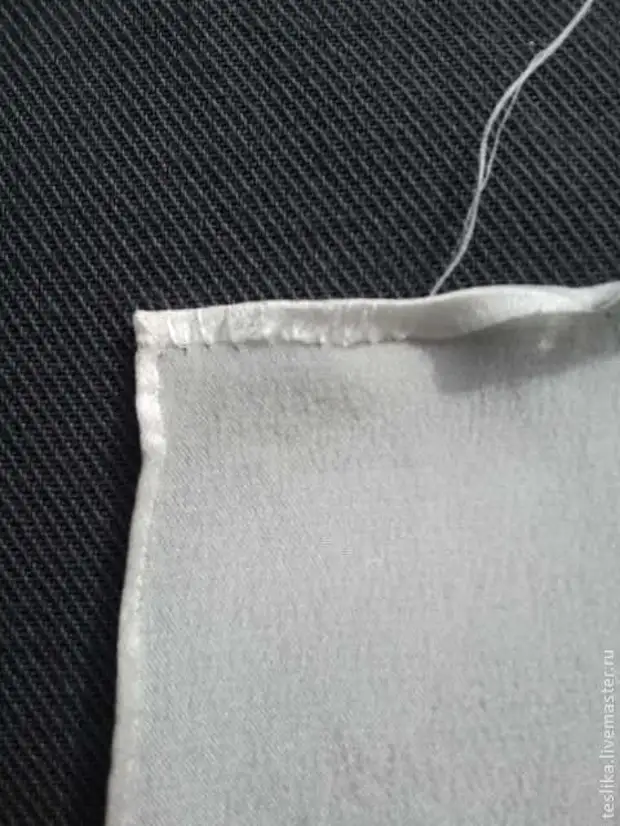
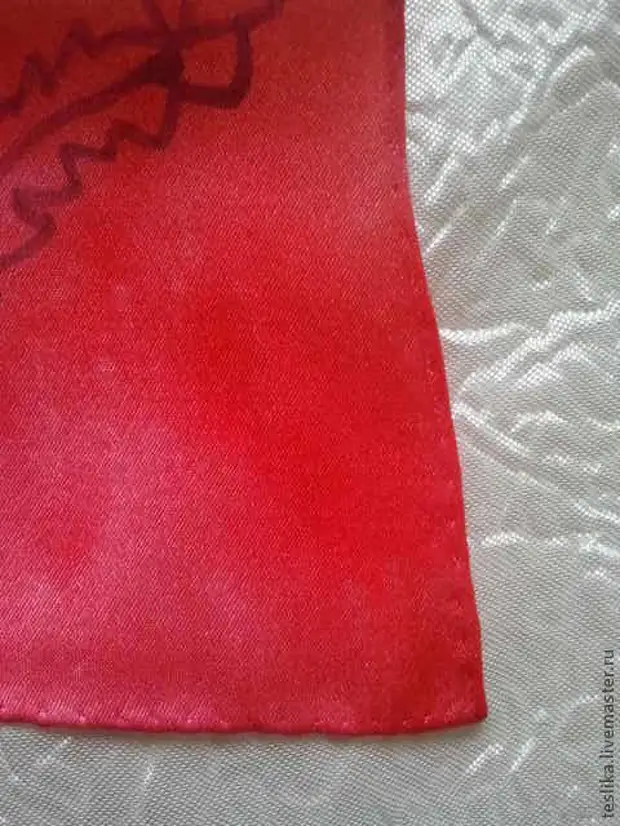
The width of the finished subhead is 1.5 -2 mm.
The photo below is already with a saturated iron bending.
Point.

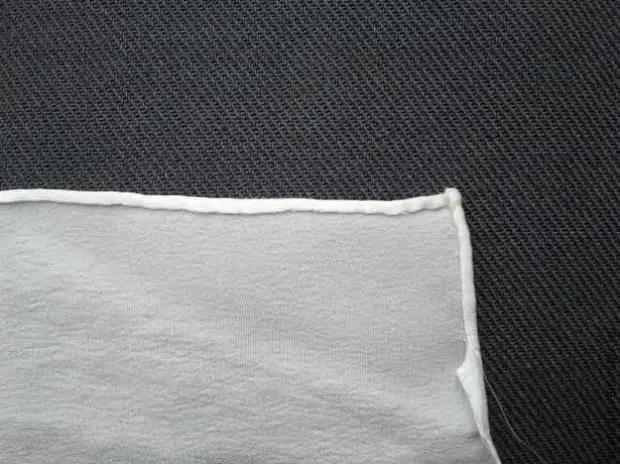
Front side.
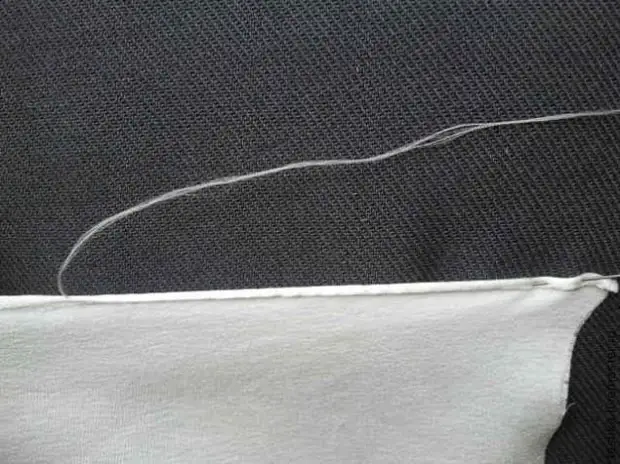
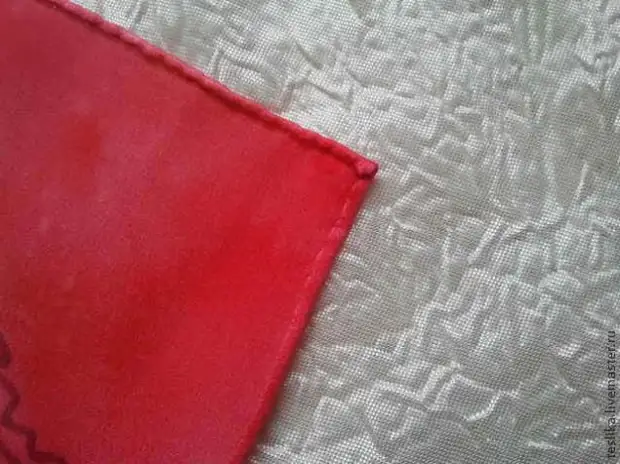
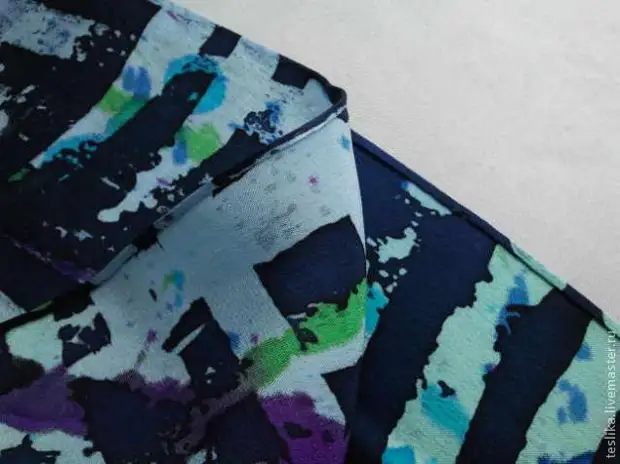
And now the corners are a workplace of silk accessories !!! And the Beach of the manual stitching of the product !!!
Just make a bend and go!
The only nuance, I am a little wetting the fabric, which greatly facilitates the work - silk becomes obedient.
Tighten and get a neat corner!
One moment: I sew on the left to the left, and here I just showed how to make an angle.
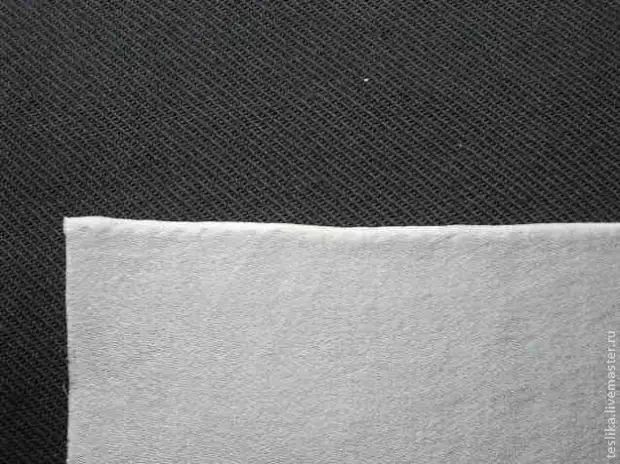
And it looks like on finished products:
I hope the information will be useful.
A source