
Author of work - Tulip Accessories (Natalia).

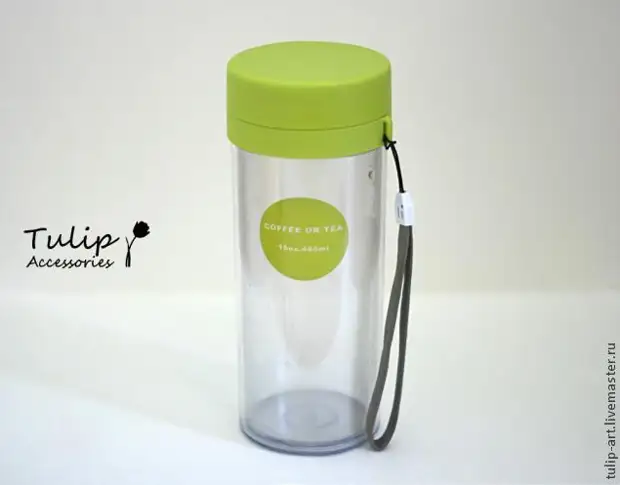
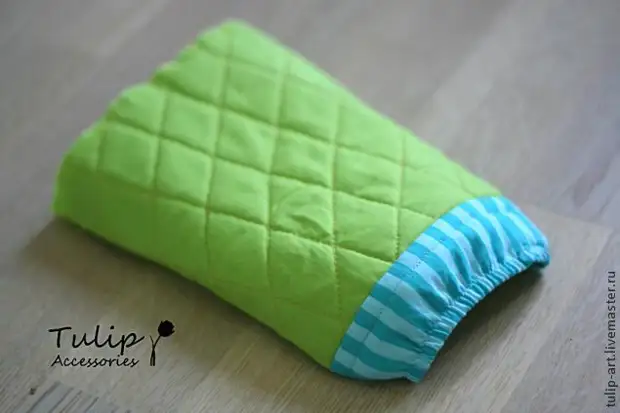
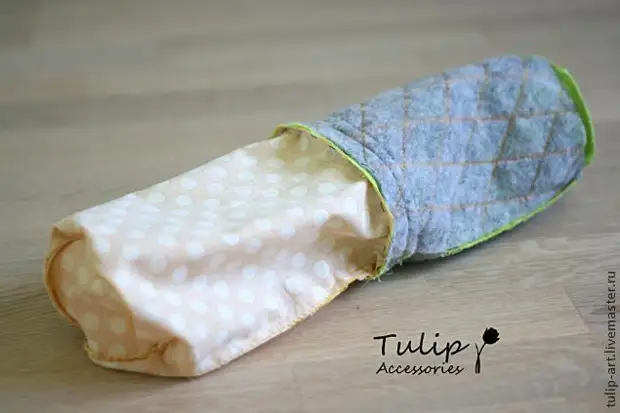
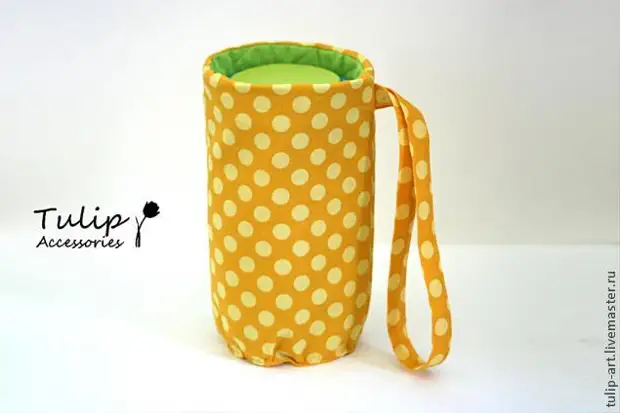
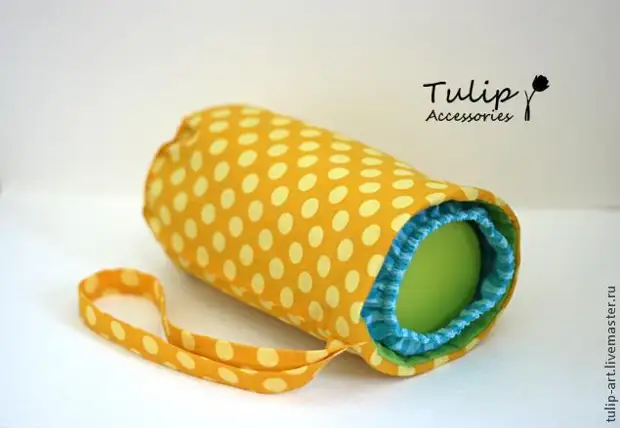
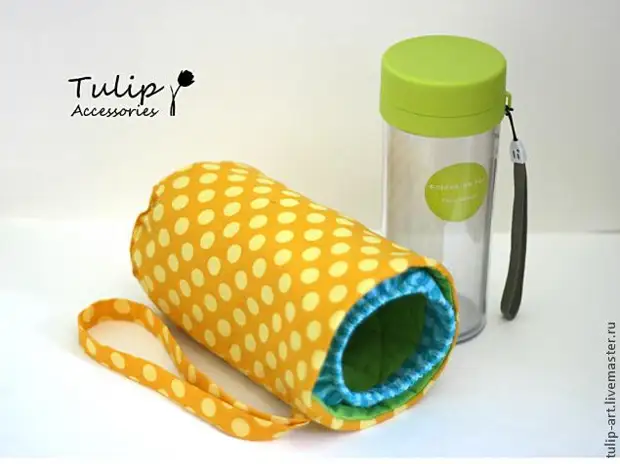
So, it looks like this:
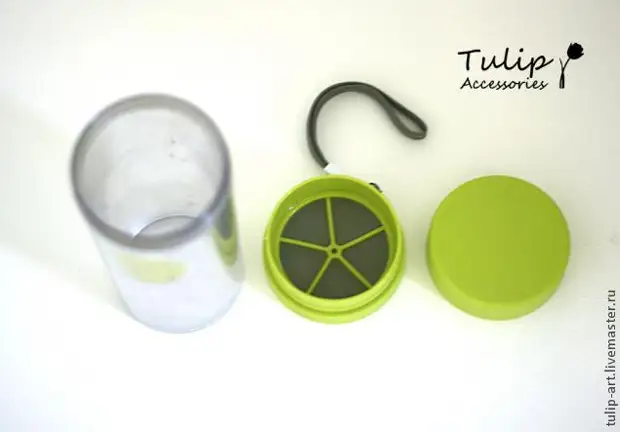
If it is disassembled, there are three parts - a lid, a pitch-filter and a glass itself:
This device was seen by me during a trip to China. The trip was a workplace and we visited several industrial factories. And here at each factory, in the room where workers are changed, it is necessary to have a rack in the entire wall, the shelves of which are tightly forced by such glasses - multicolored, diverse, empty and complete. As we learned later, these cups belonged to workers, they drank tea. Since it is impossible to enter food and drinks in the work premises, they left them on the rack in the locker room.
Later, walking around the city, I saw these cups again almost everyone counter in your hands. In general, it is not a secret for anyone that the Chinese drink tea without stopping, but that, that in the way they prefer to do this from such glasses, and all-all-all, I learned only there.
Of course, they were sold in almost every store and I could not refuse myself in souvenir. The souvenir turned out to be quite useful, now I also take this glass everywhere with me.
Also, by the way, he really is a thermos, as it has the walls in him, though plastic, but double, with a layer of air between them. But of course, it is warm, it is not so good as usual in the design of the thermos, in fact, why I decided Make a density case for him, which will help to additionally hold warm.
Well, now, I think you can start :)
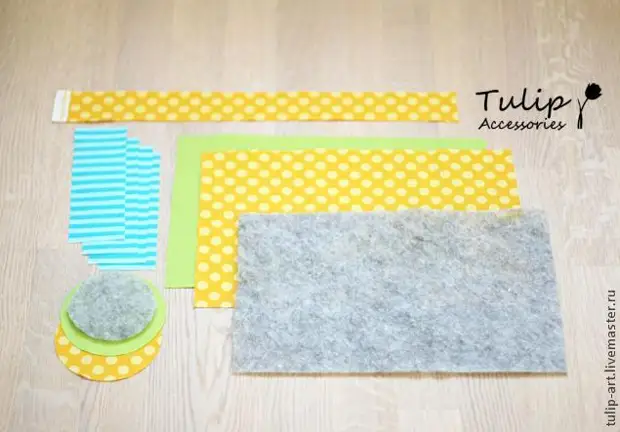
We need:
1. Cotton two or three different colors and a rubber.
2. Singyprc or any other similar seal.
3. Sewing threads of suitable colors.
4. Scissors, ruler, portno chalk, pins.
5. Sewing machine.
Cut:
Not sure if there is no sense to give accurate sizes, as the thermos has its own, it is necessary to count here.
1. Details of the side walls - you will need two, for the inner and outer parts. These are rectangles, one side of which is equal to the height of the thermosa + 2 cm + points on the seams, and the second - the length of the circumference of the bottom.
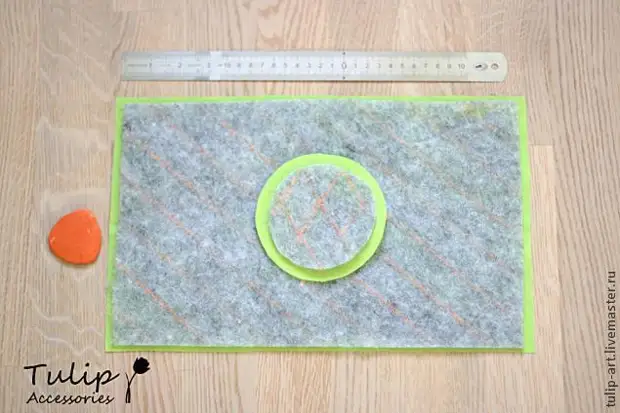
2. Details of the bottom - round parts, for the inner and outer parts. The diameter of the circles is the diameter of the thermos - 2 cm bottom + allowances on the seams. To find out the length of the circle of the bottom, you can use the school formula, according to which the diameter needs to be multiplied by 3.14.
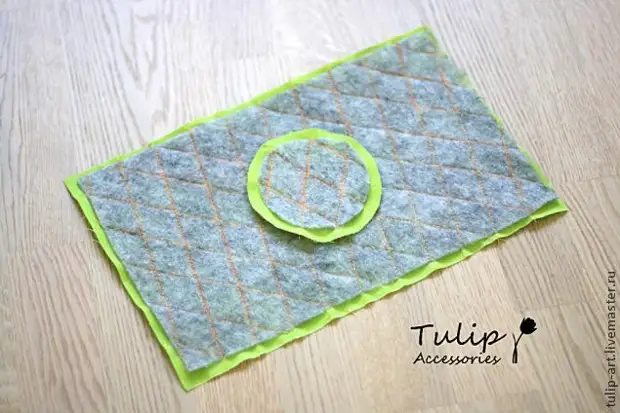
3. Seal, rectangle, each side of which is less than the parties of the rectangles from paragraph 1 to the size of the storage spaces. Circle, the same, without allowance.
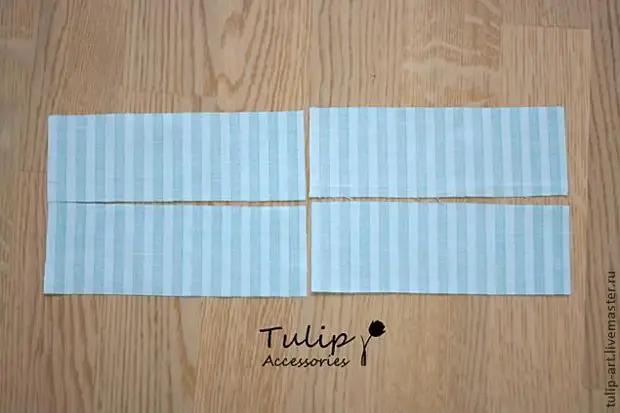
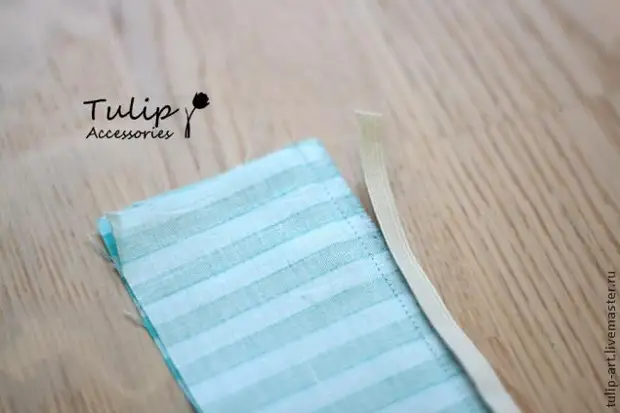
4. Rope-handle - a tissue strip about 50 cm long and 3-4 cm wide.
5. And more details that will be pulled by a rubber band and will firmly facilitate the thermos from above. On my photo of their 4 pcs., But in fact, it is from poverty, if you have enough material, then crumble two parts, the long side is equal to the length of the circumference of the bottom, i.e. Coincides with a length of one side of parts from paragraph 1, short - 4 cm.
Let's start working with lining and filler details. Because My filler does not have an adhesive layer, I perform a stitch after applying marking on the involving side.
Then I turn my 4 details into two:
And then stitch them with the front sides of each other with the long sides:
Now we need a rubber. Apply it like this along the seam.
And we add a zigzag or other suitable seam on the typewriter, with an effort to pull the gum along the stitching.
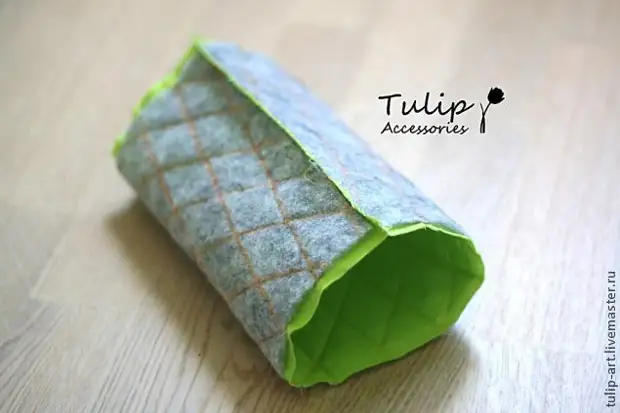
It turns out such a detail:
Close it in the ring, stitching facing the face spattered short sides:
If you deploy the item, it will be like this:
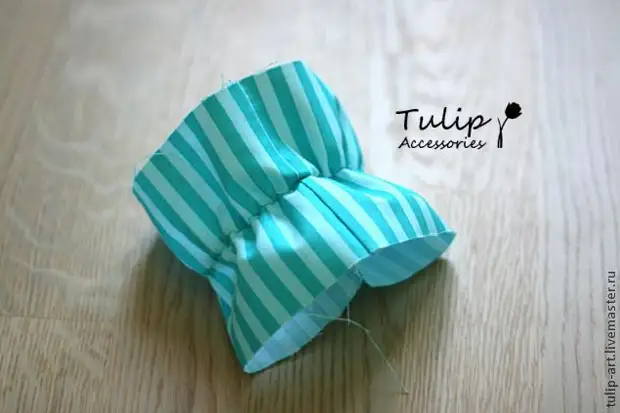
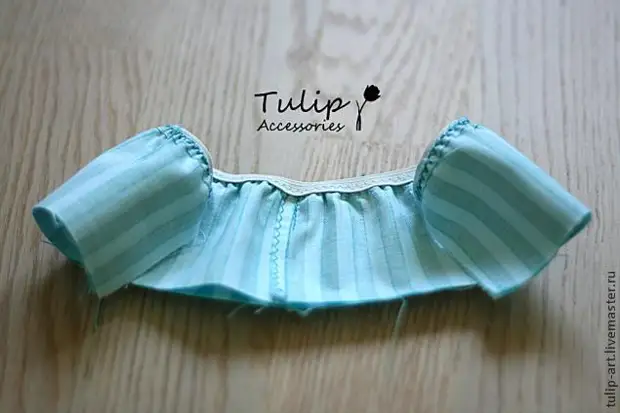
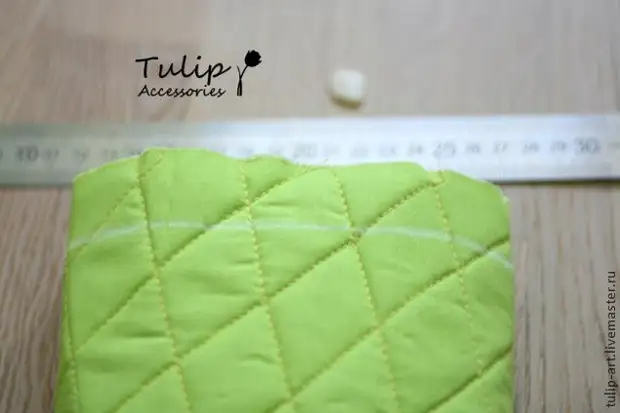
Now we fold it with extensions to each other, the front sides are outside and put on top, along the past seam, another line Zig Zag.
We get here such a skirt:
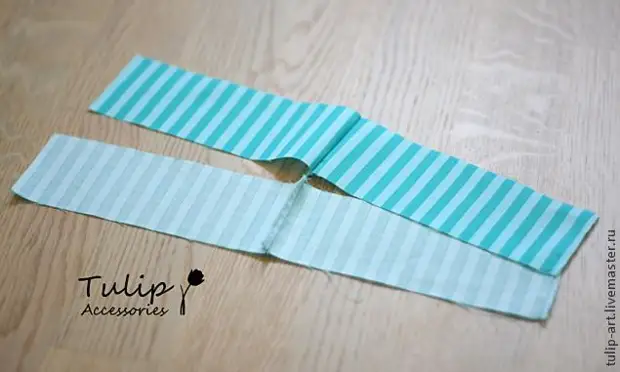
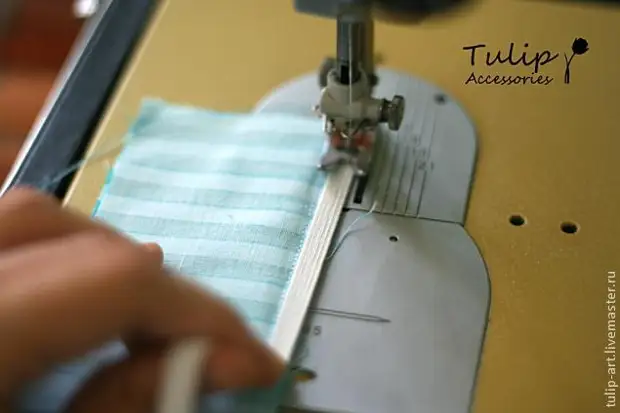
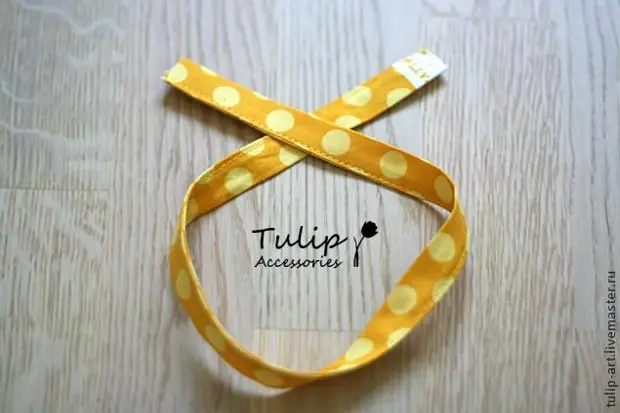
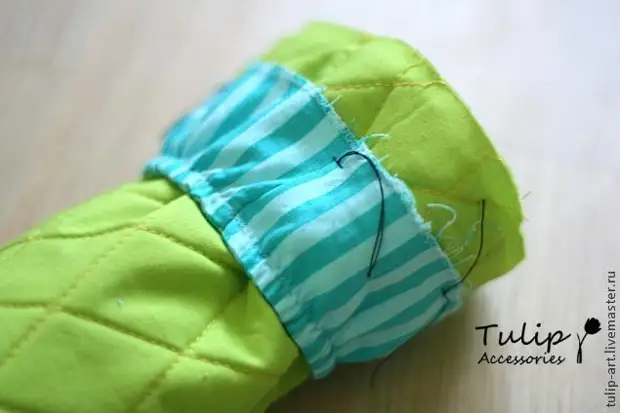
Now we take striped rope, we fold the long sides by face to each other:
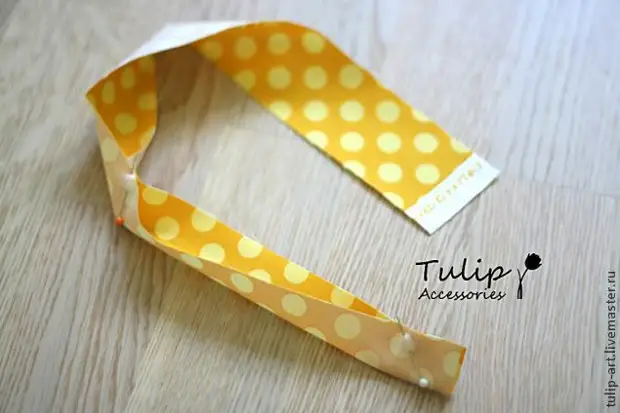
And spend:
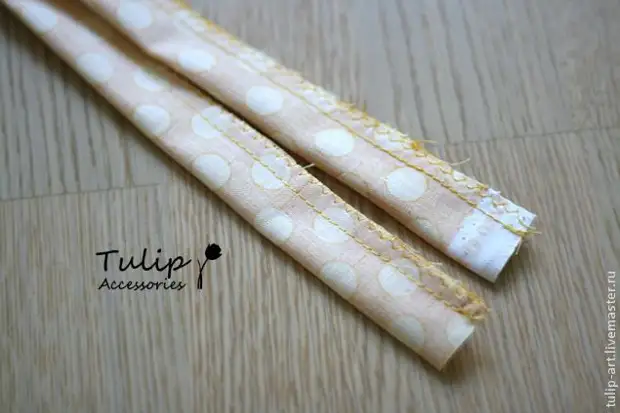
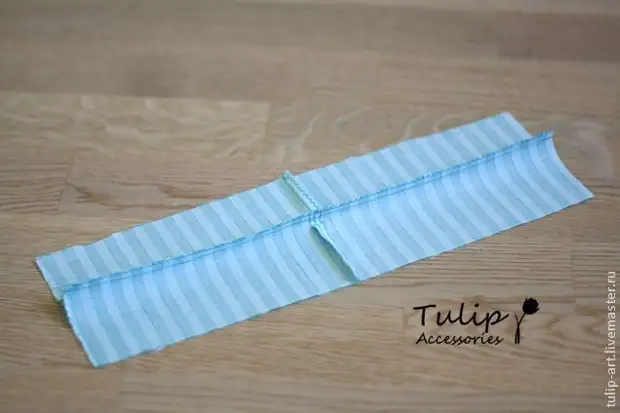
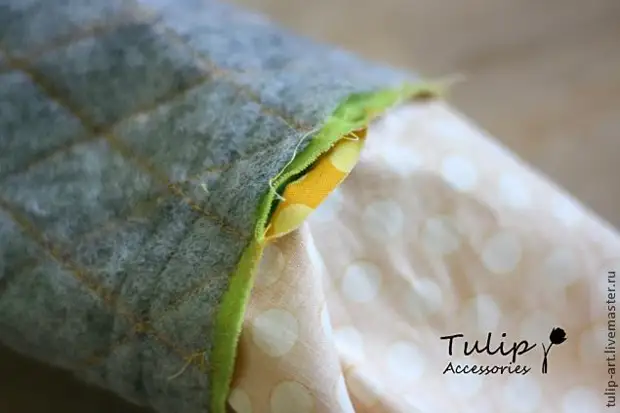
Soak on the face, we move away, at will put a decorative line at will. Ready:
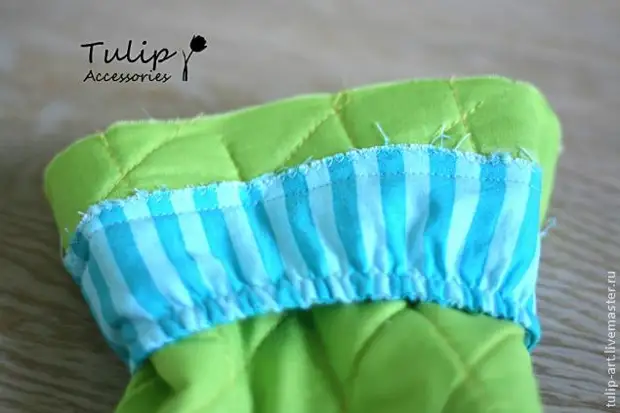
We take a rectangle-side wall for the outside of the cover, fold the short sides to each other, between them we put the rope folded in half, not reaching 2-3 cm to the edge:
We pass, process the edges, cut off the surplus of the rope:
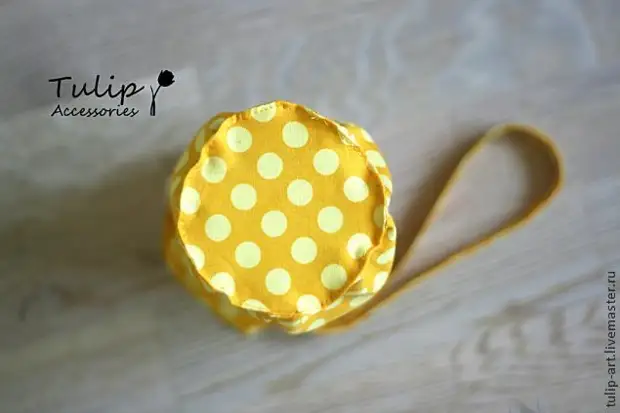
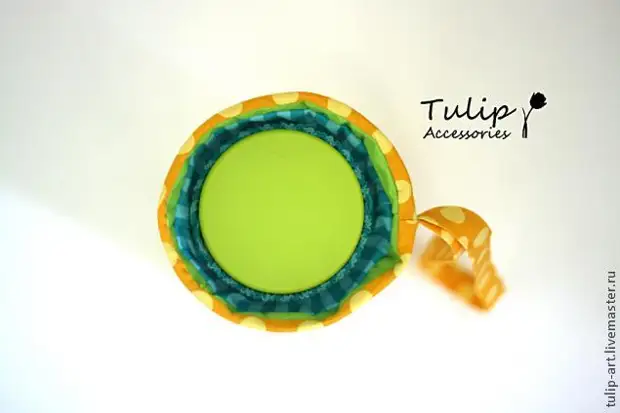
Now we will deal with the bottom. Take the yellow circle and we shoot it a pair of stitches in four places to the part of the side wall, like this:
Now you can leapt, everything should get up smoothly.
We grab, remove the surrender:

If you turn out, it will be like this:
Already something like something. I could not stop and put another line on the bottom:
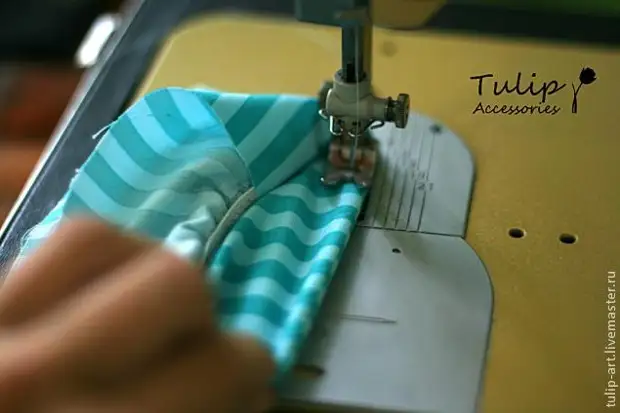
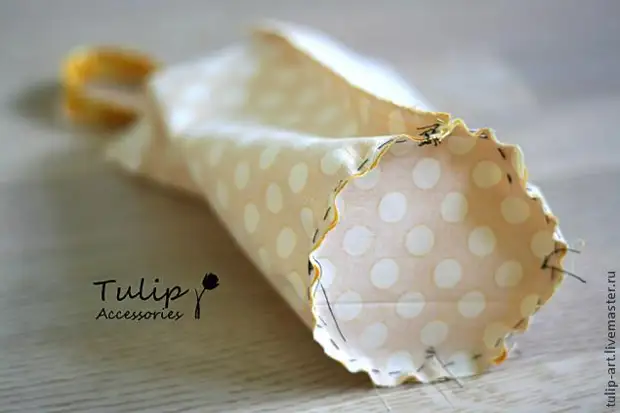
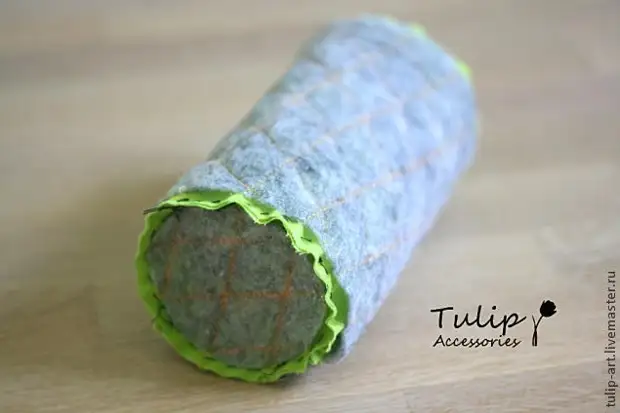
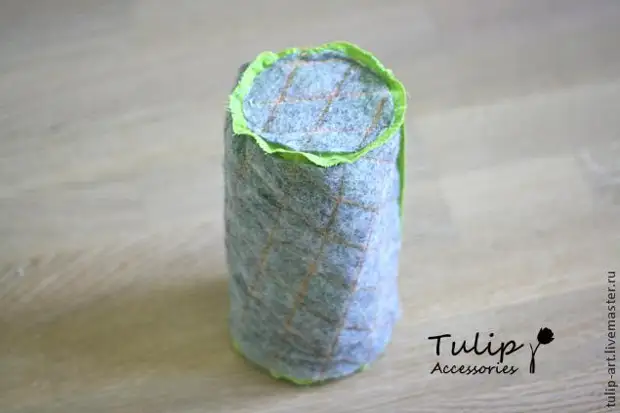
Returning to the side wall of the inside. We are stitched as well as yellow, short sides, closed into the pipe, green fabric with filler:
At a distance of 2-3 cm from the edge we put a small line throughout the circumference of the pipe.
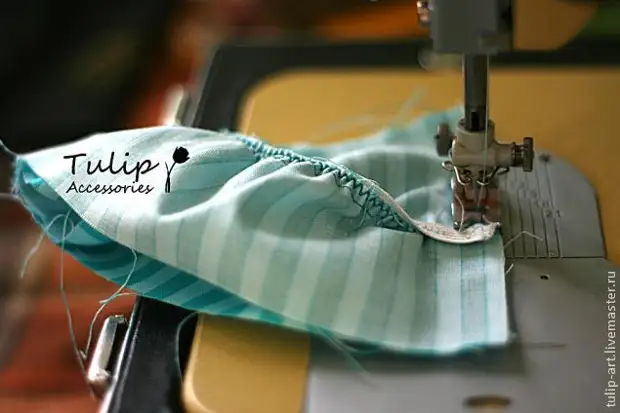
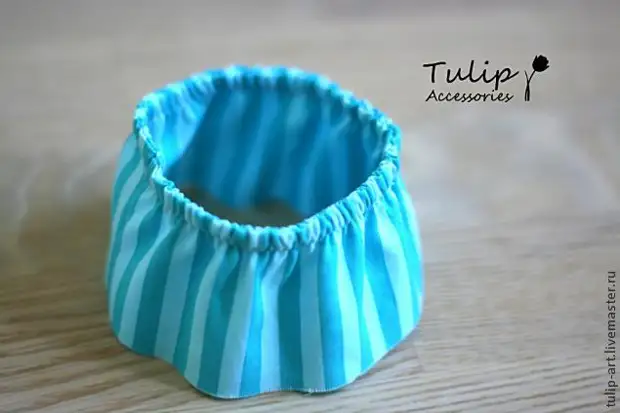
"We wear a" skirt, as shown in the photo, the edge equalizes along the line with the shallow and take it.
Pass:
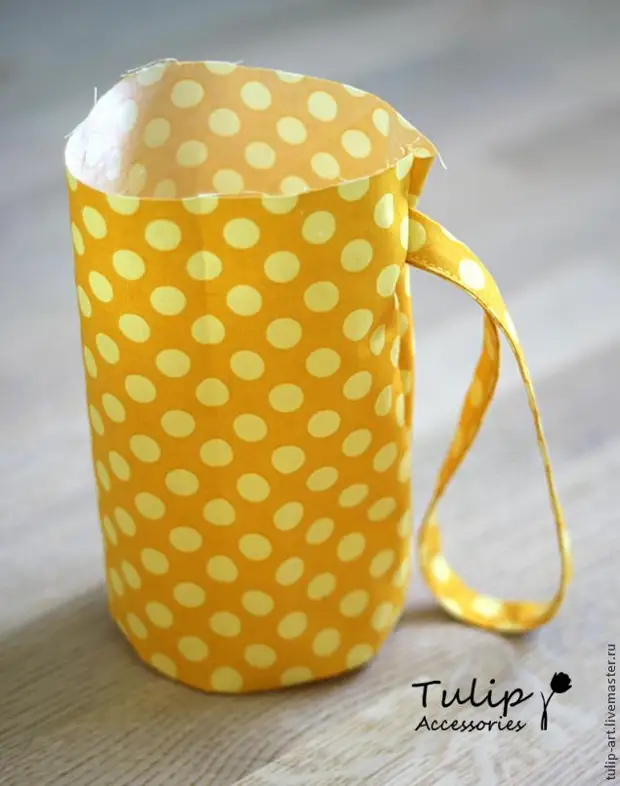
We flex a skirt upstairs and spend again, so that the previous seam does not stick through this:
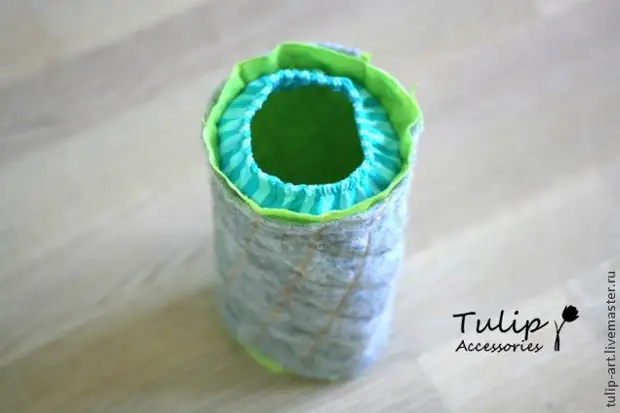
Turn the resulting to do, it looks like this:
Making Dysheko as well as last time - commemorates ...
.. and spend:
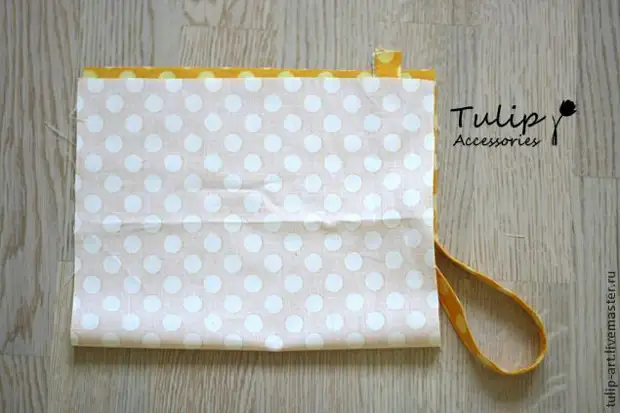
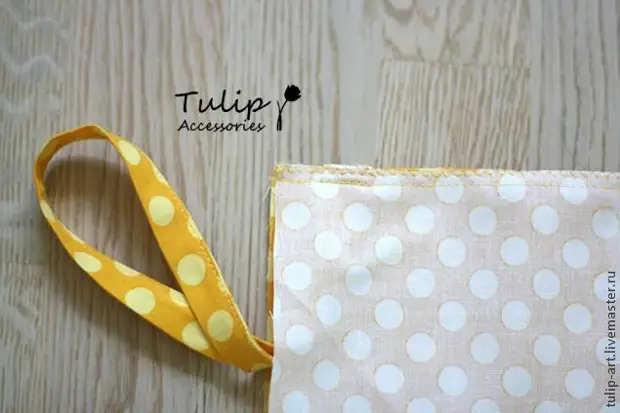
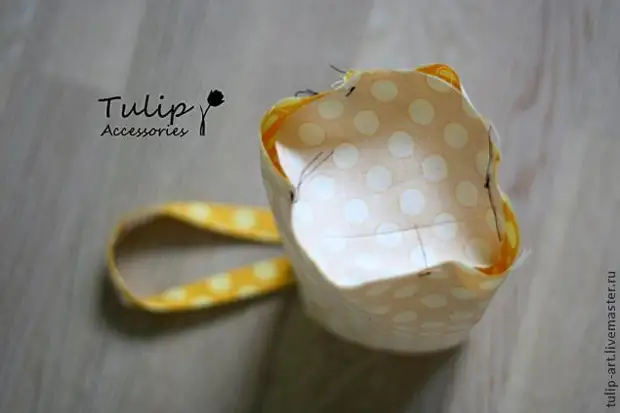
It remains very little. We estimate the front side of the edges of the inner and outer parts to each other:
And spend, leaving a hole for turning.
We remove the upset, turn out. Ready!
A source