
We will need 4.5 hours of pure working time without taking into account intermediate drying and preparation of materials.
From the tools we will need:
- Thermopystole.
- Hoven To sprinkle the branch of the length we need.
- Scissors.
- Brush from bristles.
Materials:
- Polyfoam ball with a diameter of 10 cm. (If you do not have a blank, it can be made independently from the "Pesoplex" construction insulation).
- Sisal.
- Thread for winding, I used linen.
- Tree branch (Corilus - Circular Forest Food, Salix - Circular Waves, Smooth-Breed Garden - Cherry, Irga, etc.). In this composition, the branch of Irgi purified from the branch is used.
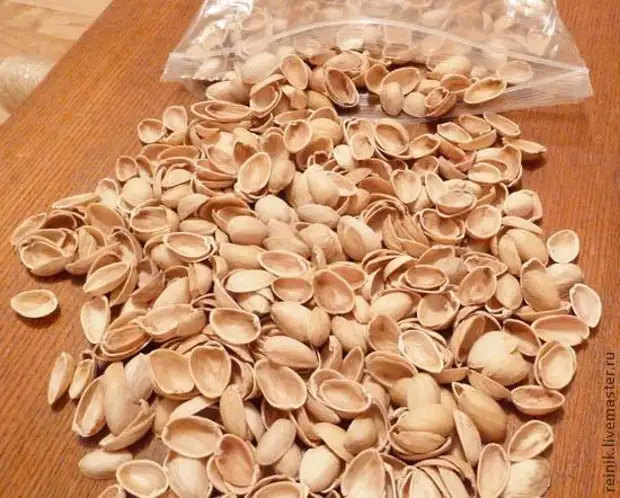
- Shell pistachios, pre-peeled, mishairing, dried and sorted in size. Approximately 1.5 kg. pistachios.
- Termoklay 3 rod.
- Paint spray silver color.
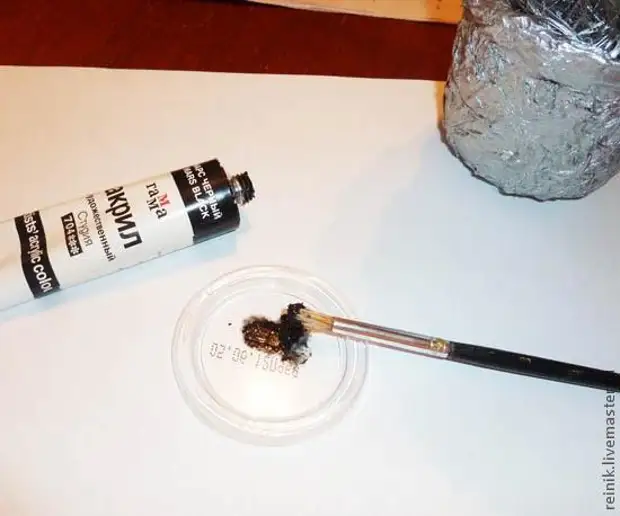
- Acrylic paint of black flowers.
- Acrylic matte varnish.
- Gypsum or alabaster (building gypsum with sand impurities, etc.). For Topiarias, I prefer to use plaster, because He grabbed faster and dries.
- Pot (plastic or ceramic). In this master class, a plastic pot is pre-decorated with napkins in a papier-mache technique.
- Decorative elements: chain with beads and dragonflies.
So, let's begin:
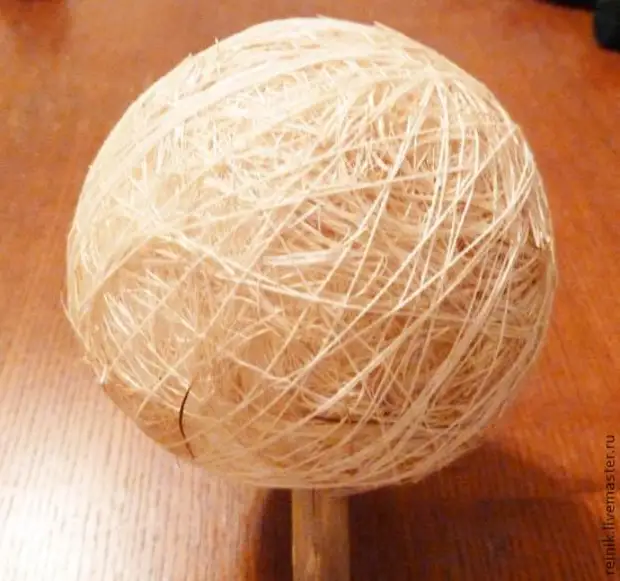
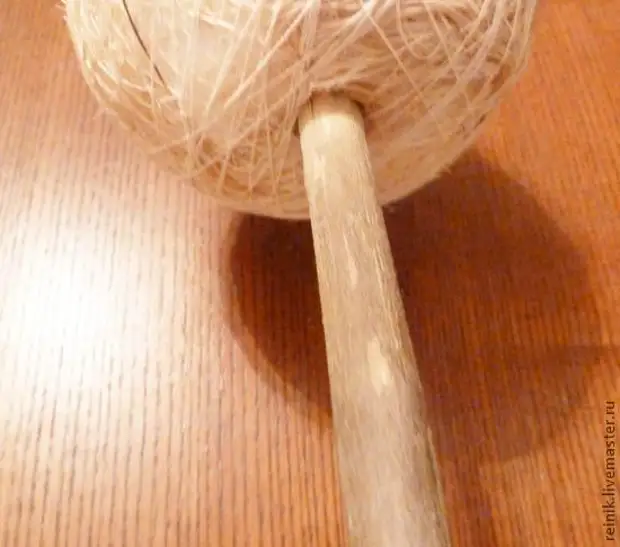
In the foam bowl with a ballpoint handle or a simple pencil make a small hole. In the hole we pour molten thermocons and insert the trunk of our tree into it.
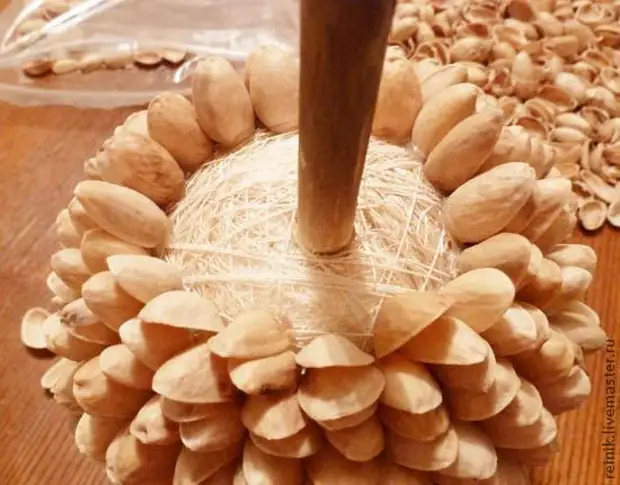
Before pasting the ball of pistachios, in order to avoid a surprise in the form of a foam melting from paint, I recommend to make a winding from sisal. To do this, sisal moisten with hot water (it will become softer), slightly stretch and wind around the foam ball. Fix sisal on a bowl with threads.
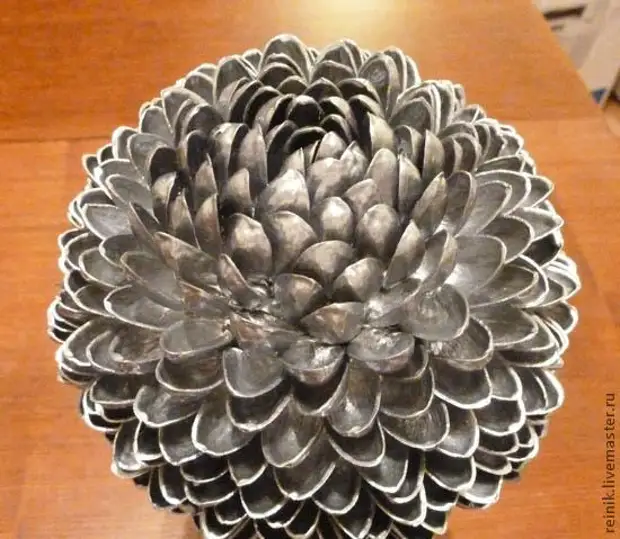
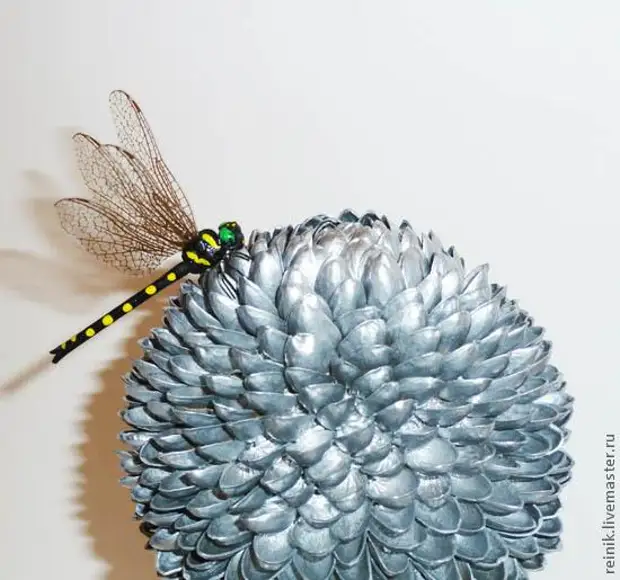
The next stage of work is a ball bowl pistachio shell. The pasting starts from the top to the base of the tree.
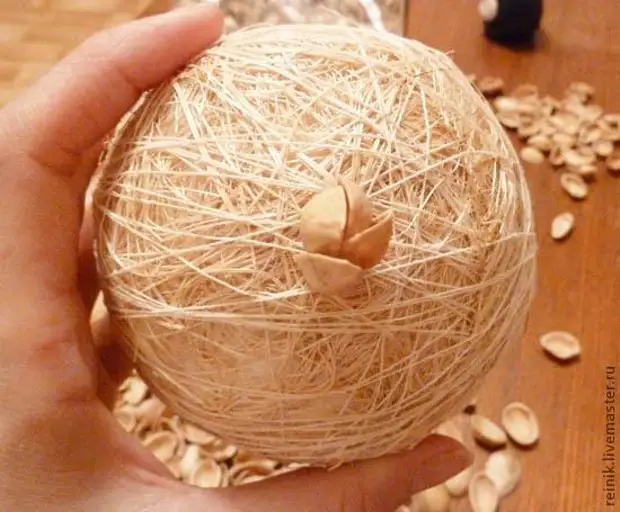
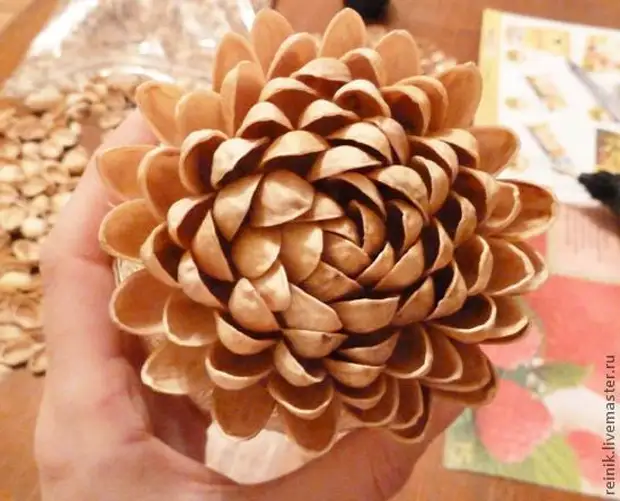

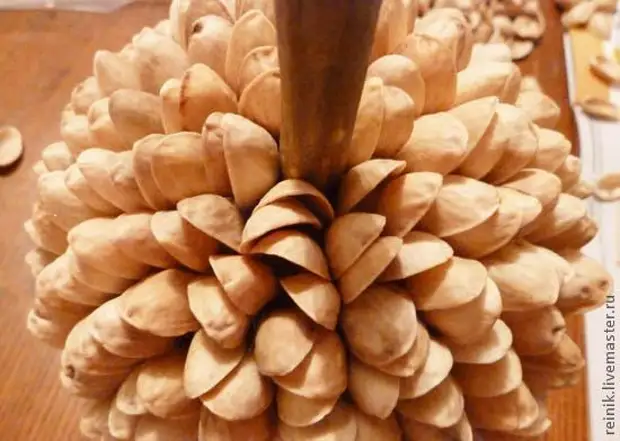
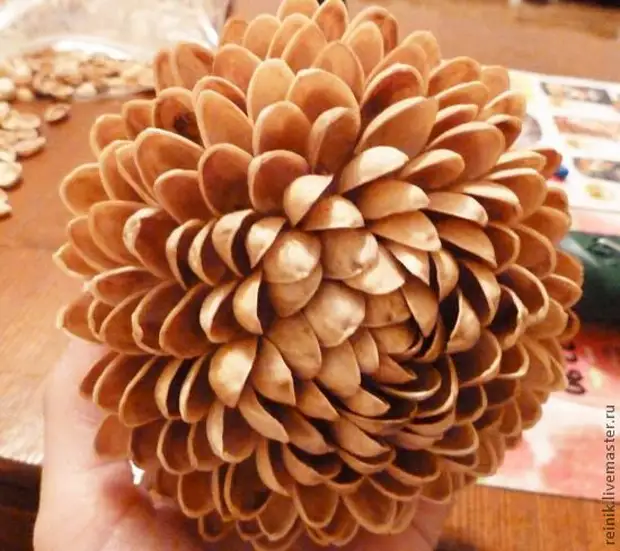
Note that the crown formation is possible in several ways. For example: if the scales on the top of the tree are located with a slope to the center, the result is a closed rosette, if the flakes are located with a slope outside, it will look at the finished product as a revealed flower. You can make several pasta on the crown. It all depends only on your imagination.

Now you need to paint the finished crown of the paint. At the same stage, I painted and prepared a previously prepared pot.
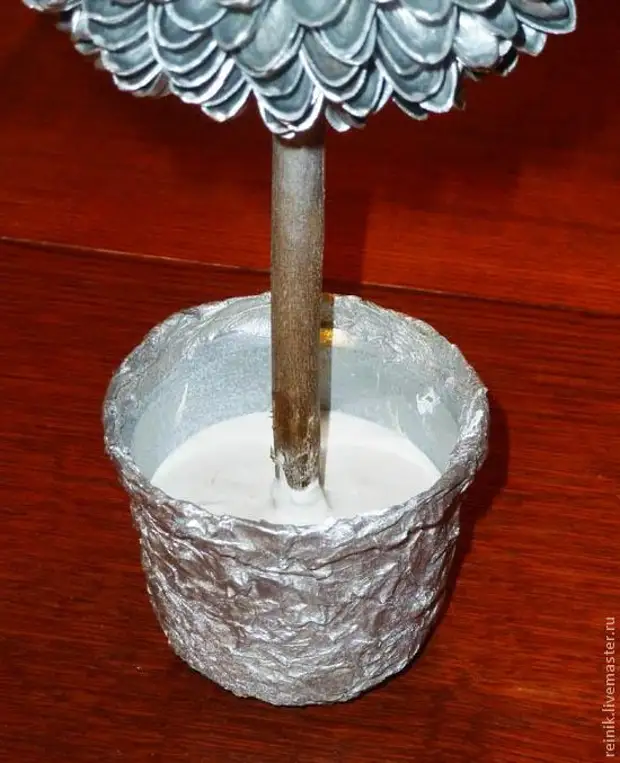
After the complete drying of the crown and the pot fasten our village in a pot with a gypsum fill. To do this, mix in a plastic cup or other suitable capacitance gypsum with water to a condition of thick sour cream. Purifies the gypsum into our decorative pot and fasten the stem in it.
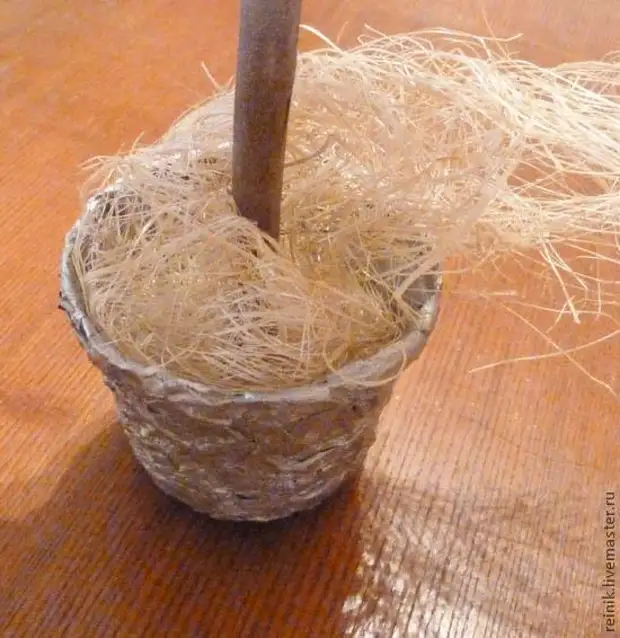
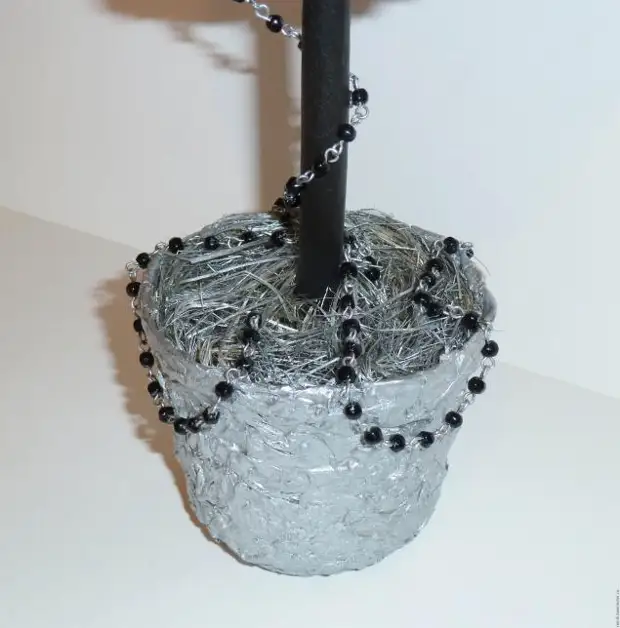
After complete drying of the gypsum, we begin to decorate the base of the tree sisal. To do this, we wind sisal around the lower part of the trunk, at the same time sealing it and forming in a pot in the form of a row.
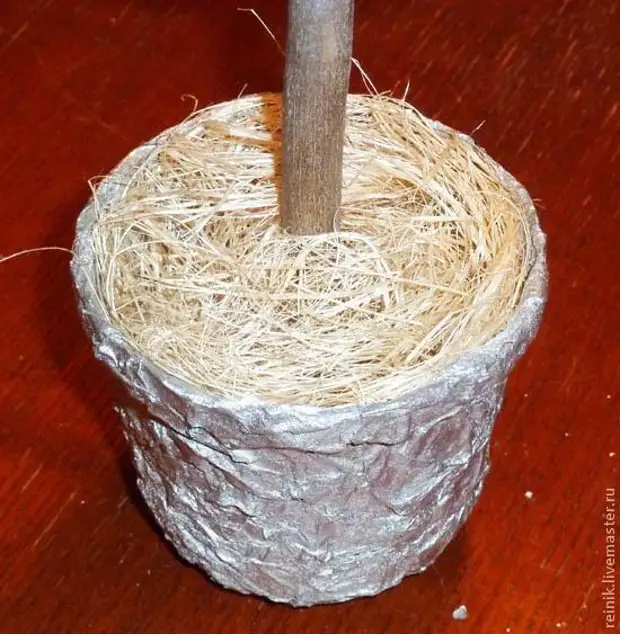
The next stage - the color was sisal in the pot of paint spray. If you have chosen for topiary a ready-made ceramic pot, it was sisal to protect it to protect against paint, it is necessary to wrap a p / e package, paper or painting tape.
After drying, the sisali is staining the trunk with two layers of black acrylic paint with an intermediate drying. It is better to use a brush brushes from a bristle, it better cries all the irregularities. Then cover the barrel of 1 layer of matte acrylic varnish.
The next and most pleasant stage of the work will be the decoration of the finished tree. To decorate the trunk and the founding of Topiaria, I chose a chain with glass, painted in mass, faceted beads.
And as an finishing decor, we fix a pretty dragonfly.
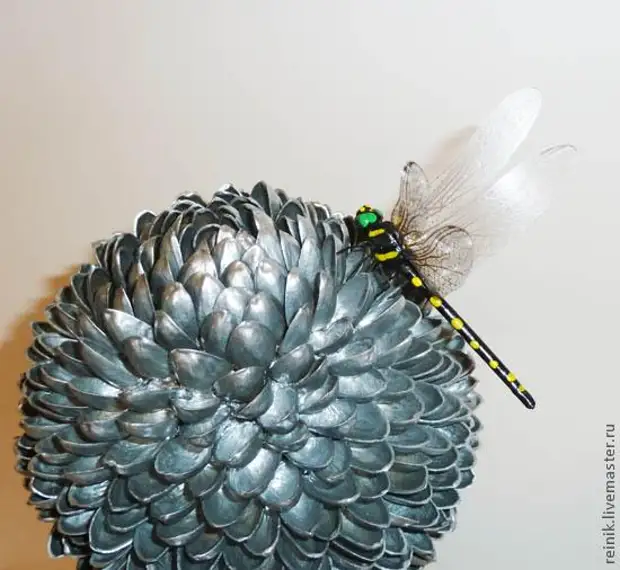
Let's admire the finished tree.
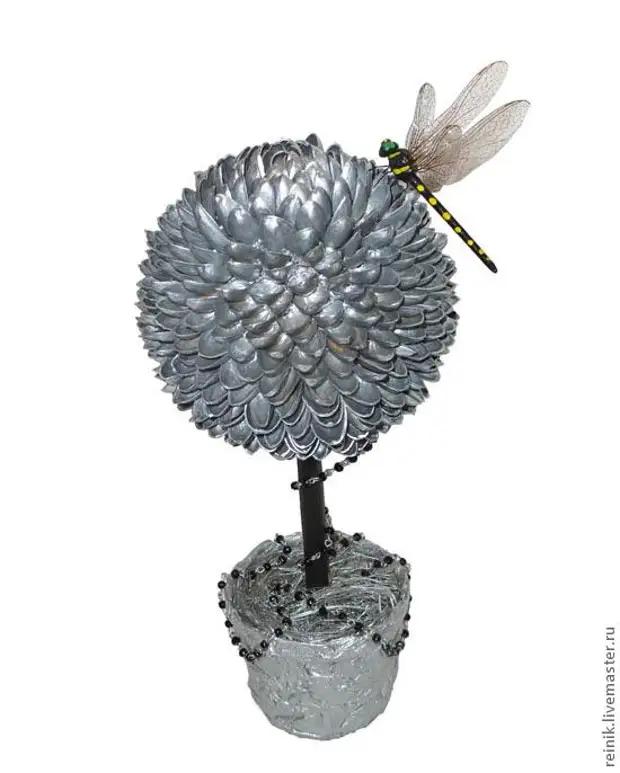
Do you know that in European Floristics Topiaria called "happiness tree"?
A source