
The author of the work - Victoria is an elegant.

Good day.
I want to offer you a small master class to create a gentle and elegant bracelet.
To create the bracelet, I needed the following materials and tools:
1) genuine leather for the base, as much as possible in color on the color of human skin;
2) genuine leather for the wrong side;
3) lace or guipure;
4) sewing rhinestones with a rainbow coating;
5) faceted crystal beads (round and droplets);
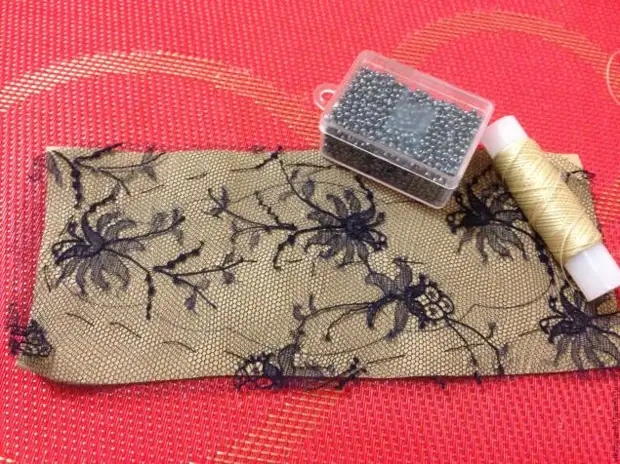
6) Beaded Czech, hematite color;
7) Beads Toho # 15, transparent (little bit);
8) Togl clasp;
9) thread, needle, scissors, glue moment "Crystal".
- To begin with, we make a pattern from paper and call it on the skin, also noting the line of the middle.
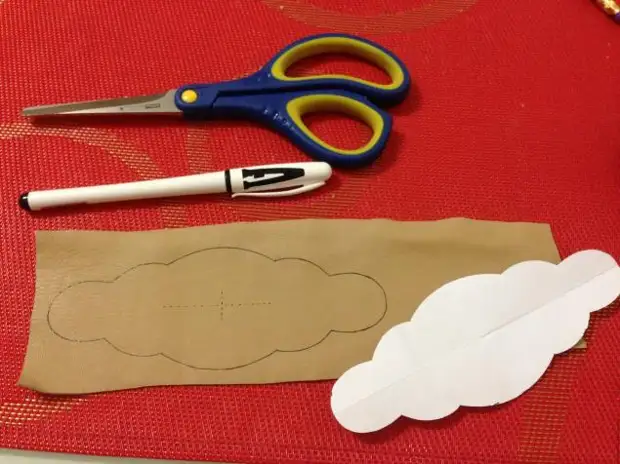
- We will make a guipure to the skin and notice around the main outline of the future bracelet and fix on the middle.
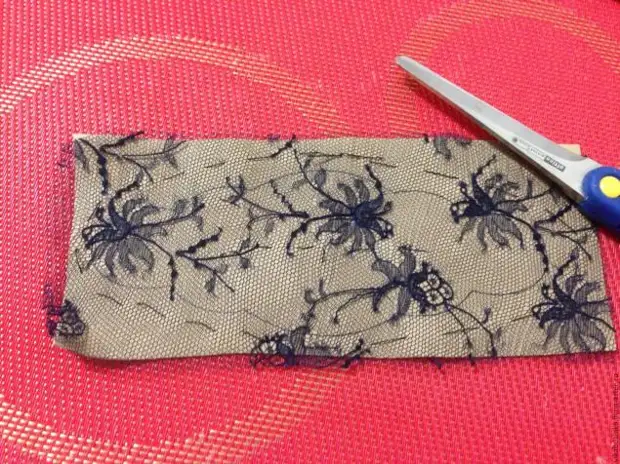
- I will cut everything too much and you can proceed to embroidery.
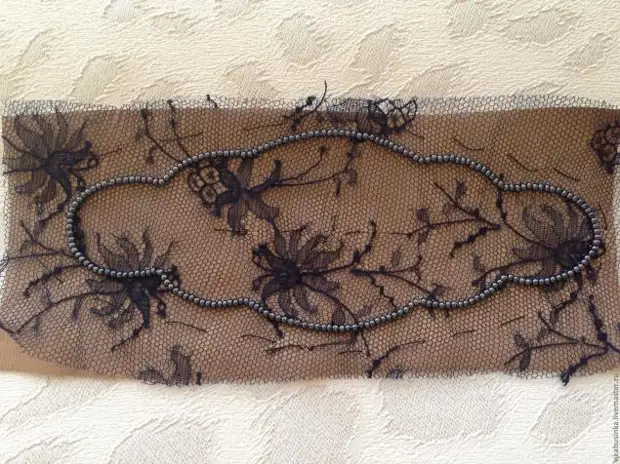
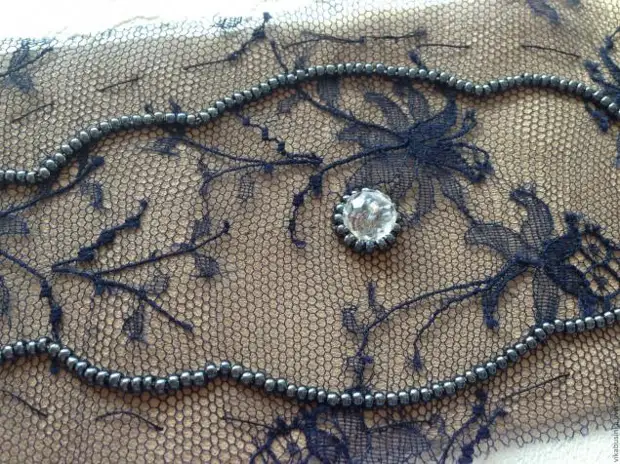
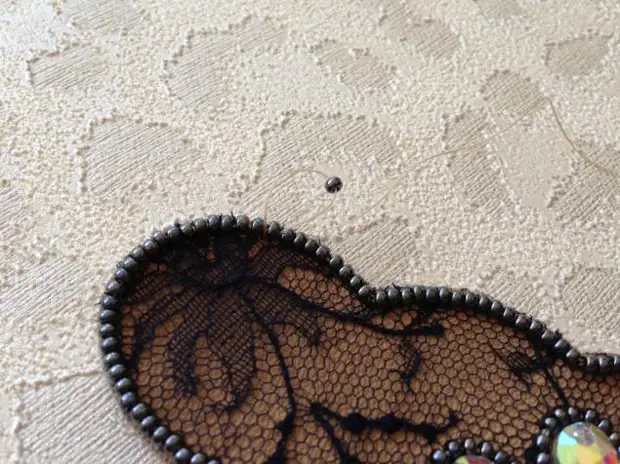
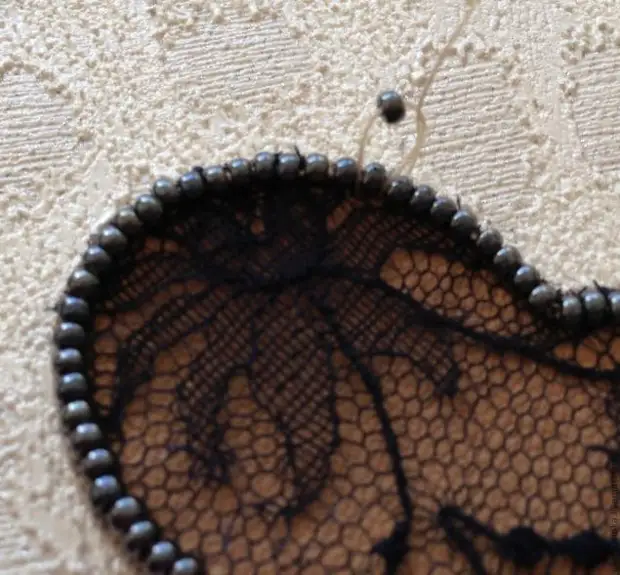
- We start embroider with beads along the contour. Embroide the seam "back needle."
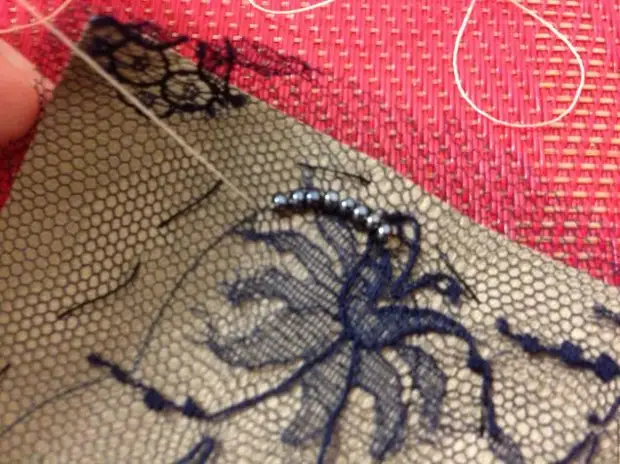
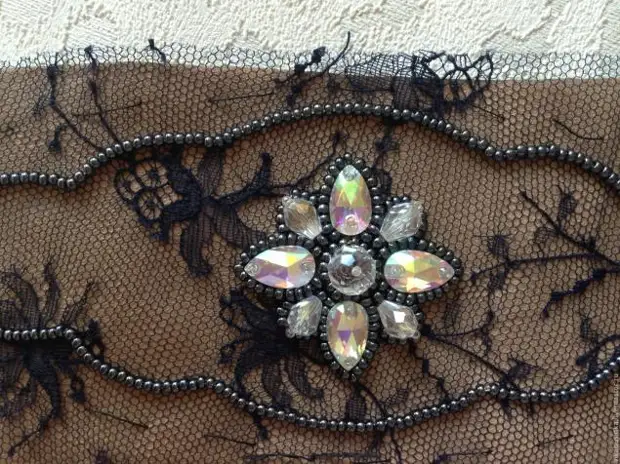
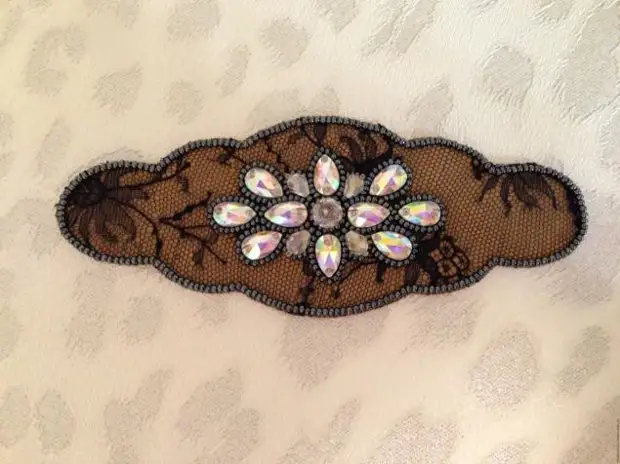
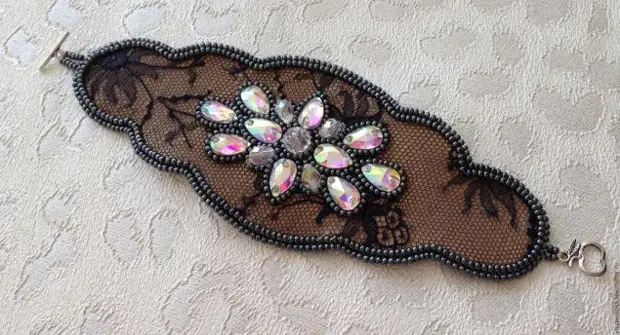
- That's what happened. It will be the form of our future bracelet
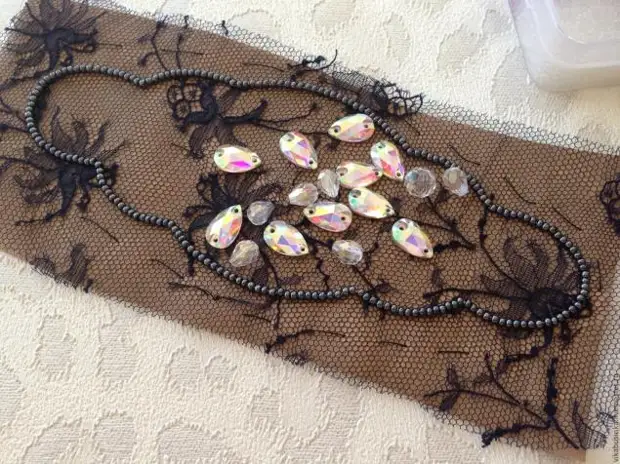
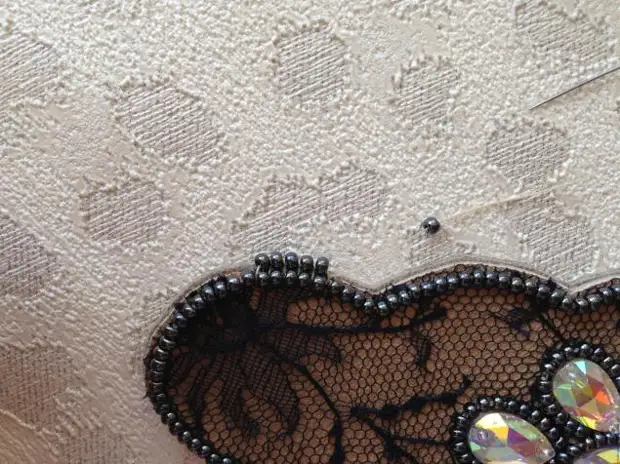
- When the "border" of our bracelet is ready, proceed to the decor of the middle. We select rhinestones and pattern.
I created my pattern in the course of work.
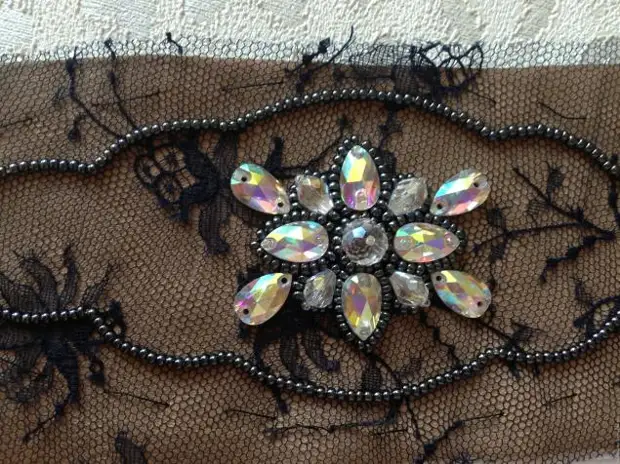
- First, sew a central element
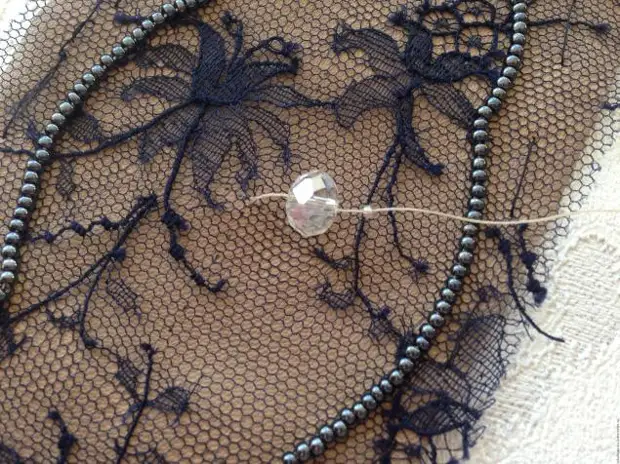
- Large faceted bead. Refreshing with a small transparent bispering (Tono # 15). - This will be our center :) We will create further "beauty".
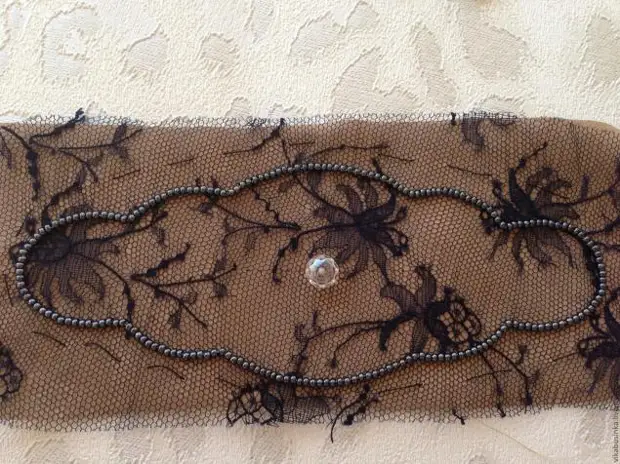
- We are trimmed in a circle beads.
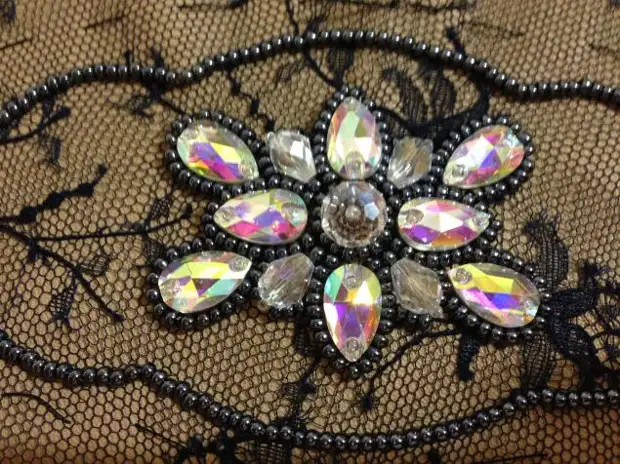
- Next, work will move on a repeated scheme:
1) lay out rhinestones (I glued a little glue for convenience to the base.

2) sew rhinestones with all the same small transparent bispers;
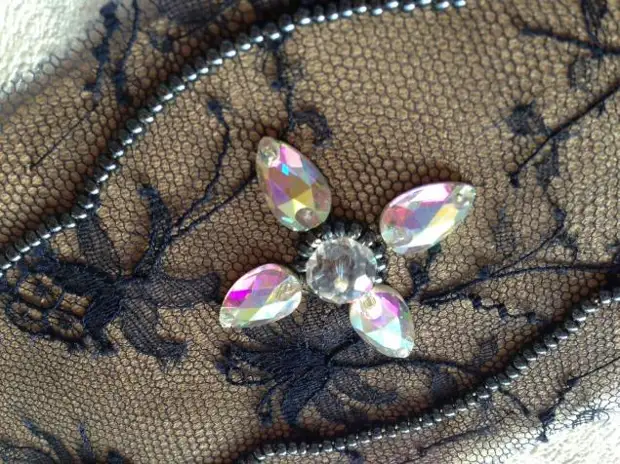
3) we are cut by the contour beads of the primary color;
4) Purchase the next row of rhines, repeat all actions.
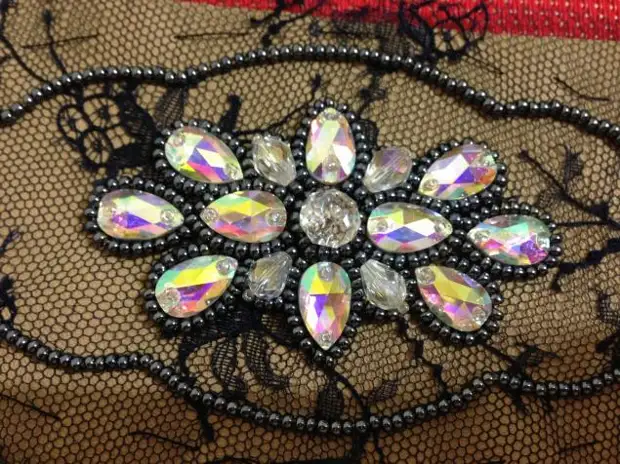
True, in the second row I diluted with rhinestones with crystal droplets, but the meaning remains practically the same :) (sewing a bead, at a broader base, I dressed on the thread also 2 small transparent bispers so that the threads could not be seen)
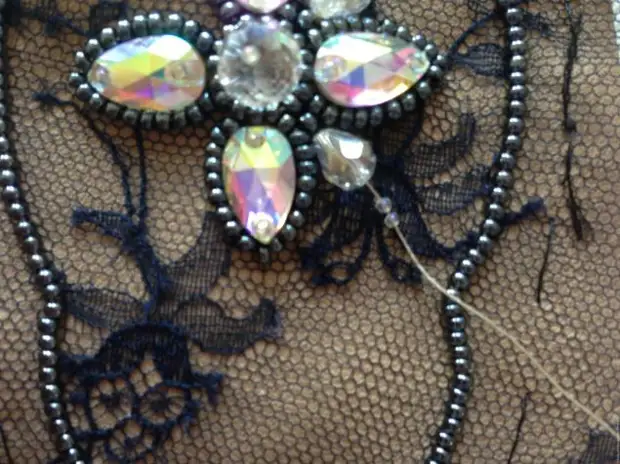
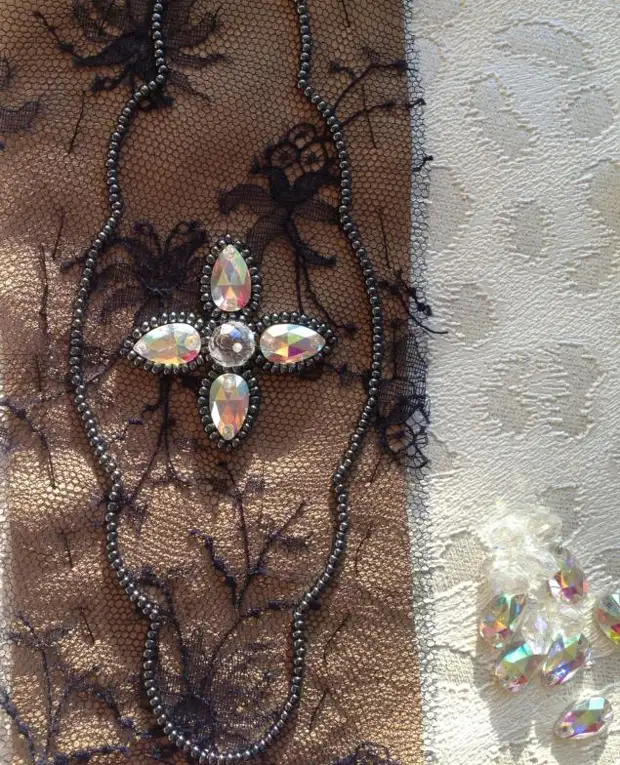
Crustalinki, too, we are wearing beads ...
Well, then, everything as I wrote: laid out - they sewed - she was crushed.
(And I just lay out a gradual photo report)
- When all stages of embroidery behind - carefully, so as not to hurt the threads, cut out our bracelet. It is best to use manicure scissors.
- Now we glue the carved base to the skin, which we will have an invalid side.

- While we are waiting for the drying of the glue (I usually wait 10-15 minutes) We go to drink tea, for example :)
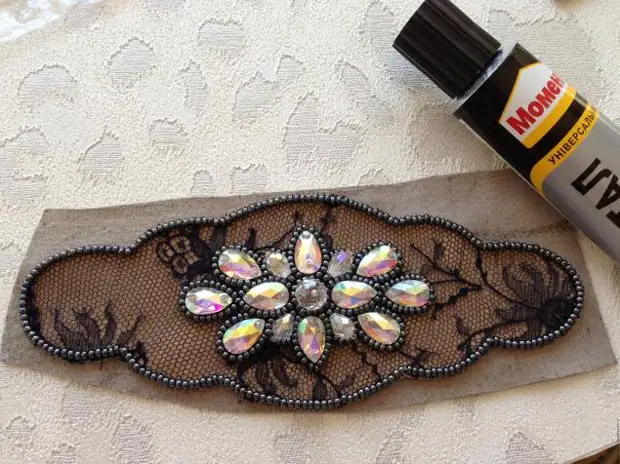
mmmm.
- And now also carefully cut out and "hovering" skin, leaving a completely small supply (no more than 1mm), in this case the skin of the offstage will be slightly subjected to beaded seams and no skin is visible.
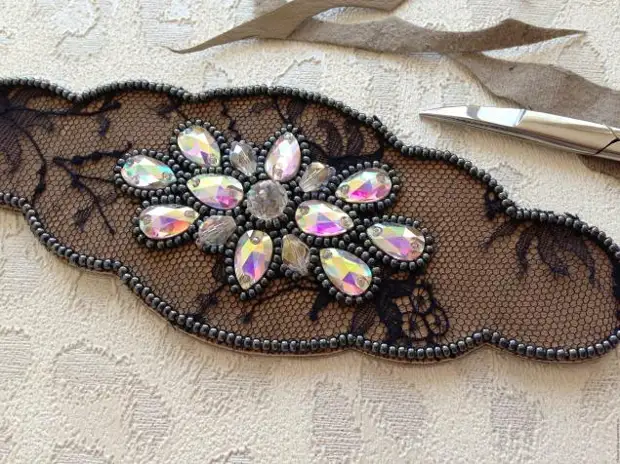
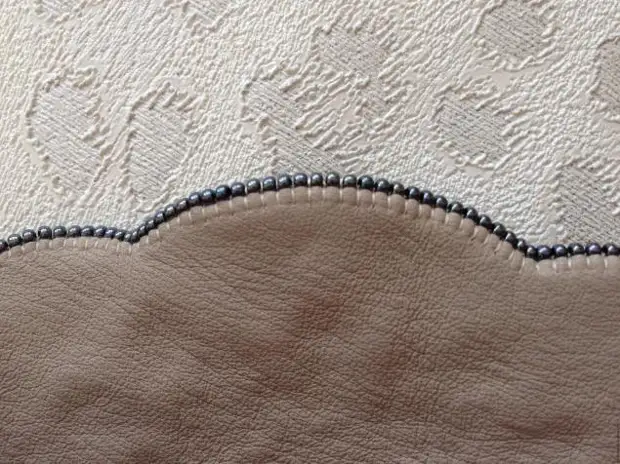
- And now it comes not the most interesting, but the most necessary moment is the final border a number of beads, which will enjoy our product. We reserve enough long thread (it will be a bit not convenient, but most likely you will not come to hide the nodules several times).
BUT! First, I want to run a little ahead.
I chose a clasp for my bracelet - Togl, and immediately took care of a reliable fastening.
Therefore, as long as the base and rannak do not fit together .... I fastened it on a double thread on each side of the bracelet (in the places of future sewing) at this stage, because You can hide the node inside the product !!!
So, proceed :)
- hide nodes of the thread inside, between two layers of the skin. We leave the needle on the front side, below our beaded row. (In our case, this is especially important, since it will not be superfluous to be more reliably to strip lace (guipure) to the skin so that in the future it does not lose and not slipped).
We put on 1 beerinka and enter the needle through one crawled beerink.
Without tightening to the end, we stretch the thread in the resulting loop and now tighten.
Again, wear a beerink, repeat the actions ...
And so far the first and old biserinka will not meet.
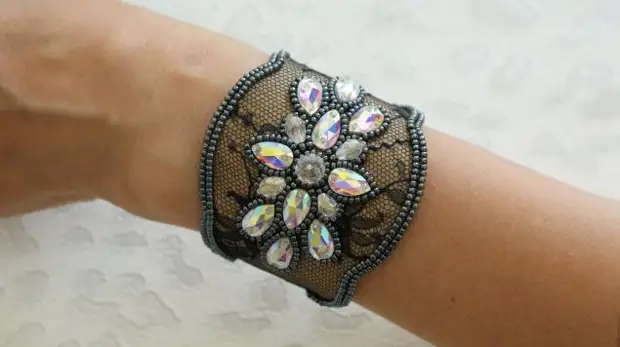
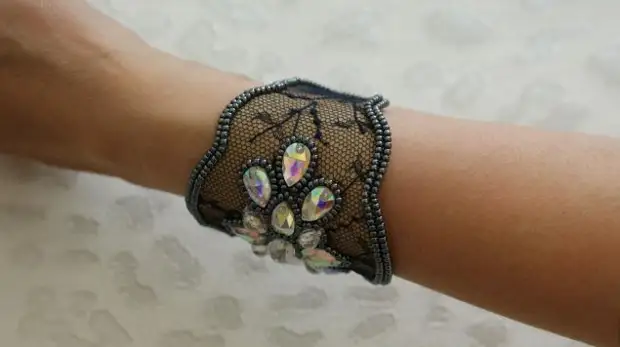
- This is what the wear of the finished product looks like:
- Now I remember our, pre-prepared, double threads.
And sew fasteners:
- First we type 2 bispers, then we ride the fastener, we also finish 2 bispers
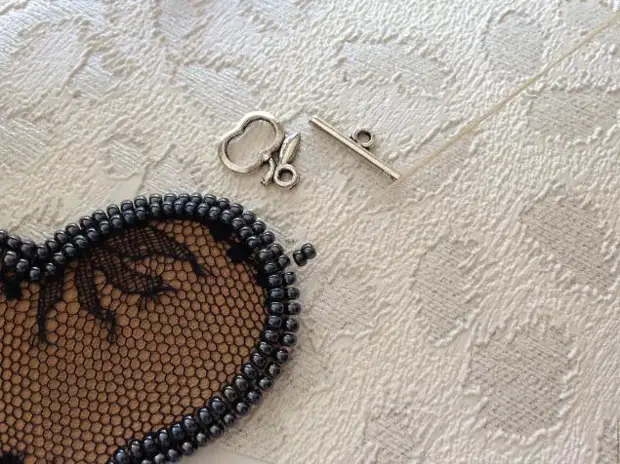
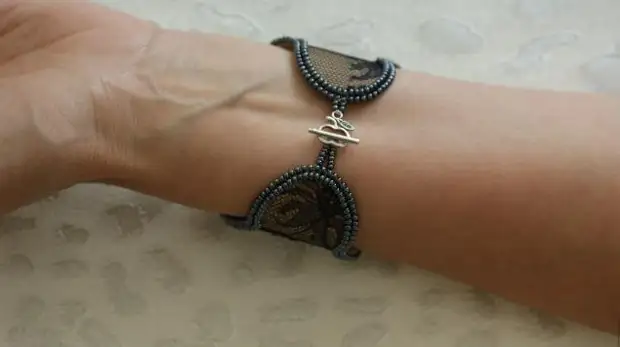
- That's what it turns out:
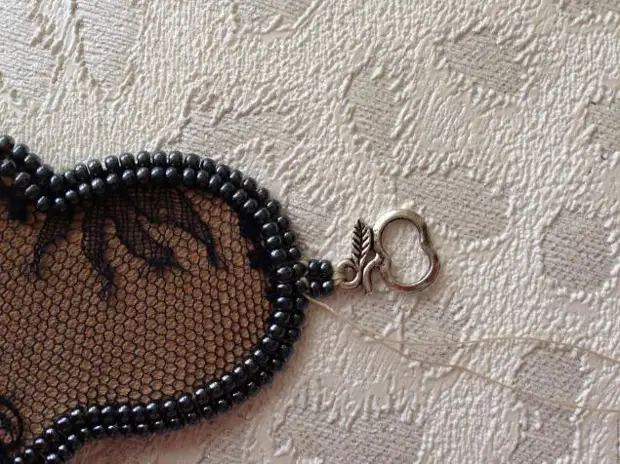
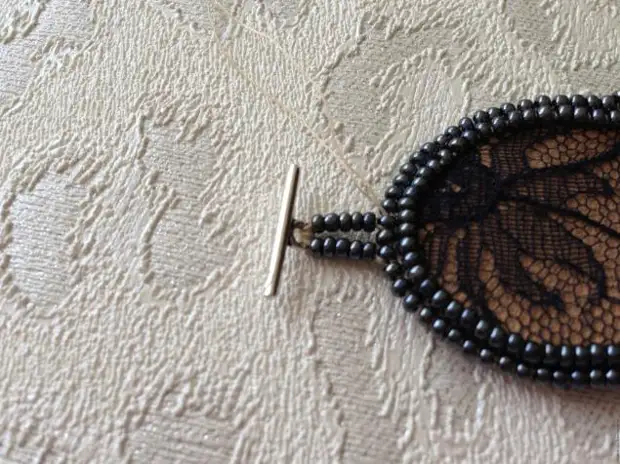
- If the "ring" from the fastener of Togl can be sewn at any distance from the product, even close. Then in the case of a "stick" from the clasp - you need to dial a slightly more bisper, make such a "laugh" beaded ... Otherwise, you just can not fasten the bracelet.
- Now carefully we get a thread in beaded rows, periodically tie into invisible novels between the beads and hide the thread tail under beads.
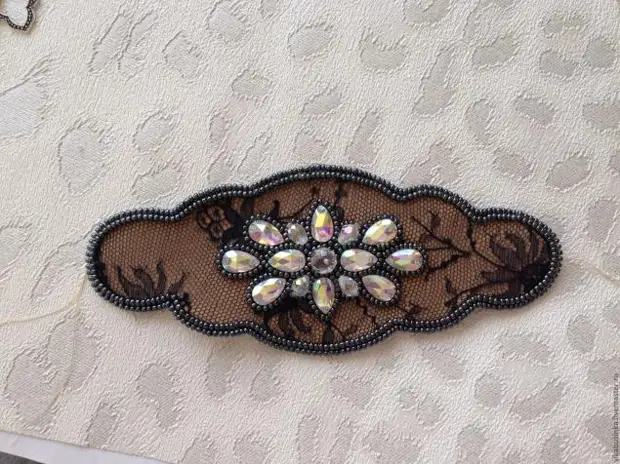
We put on the bracelet, catch the enthusiastic views of others, enjoy.
P.S. The skin of the base specifically picked up the color as much as possible on the color on human :) I wanted to create the effect of the fact that only lace, rhinestones and a little bead :)
Here's how it looks on a refine:
A source