

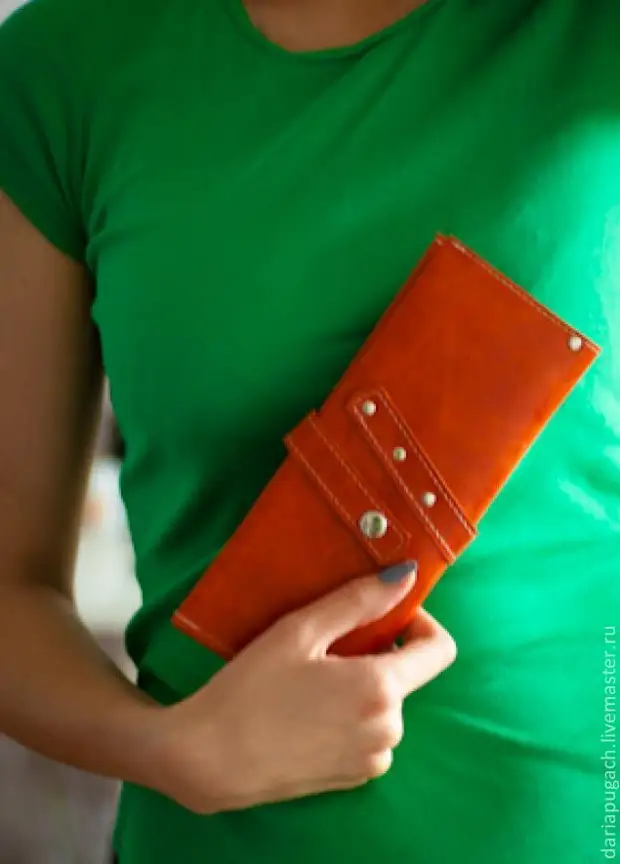
I'll tell you how to make my wallets :) Weather in St. Petersburg overcast and cold, summer is not at all .. I want warmth! So I decided to make a bright wallet and share the experience :)
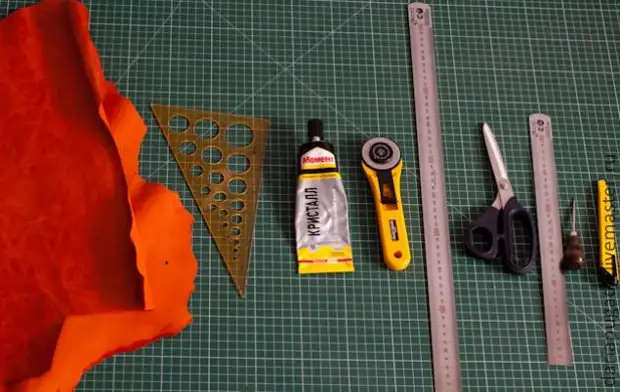
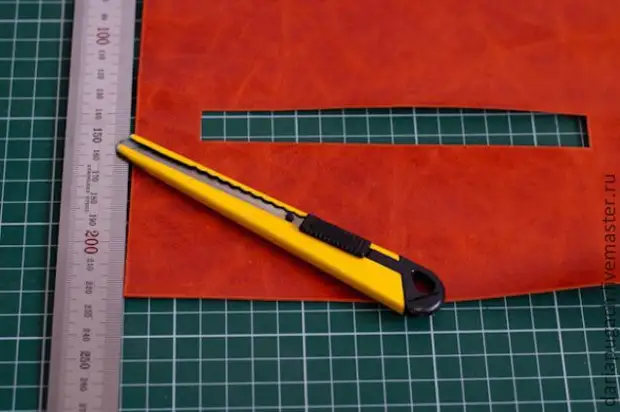
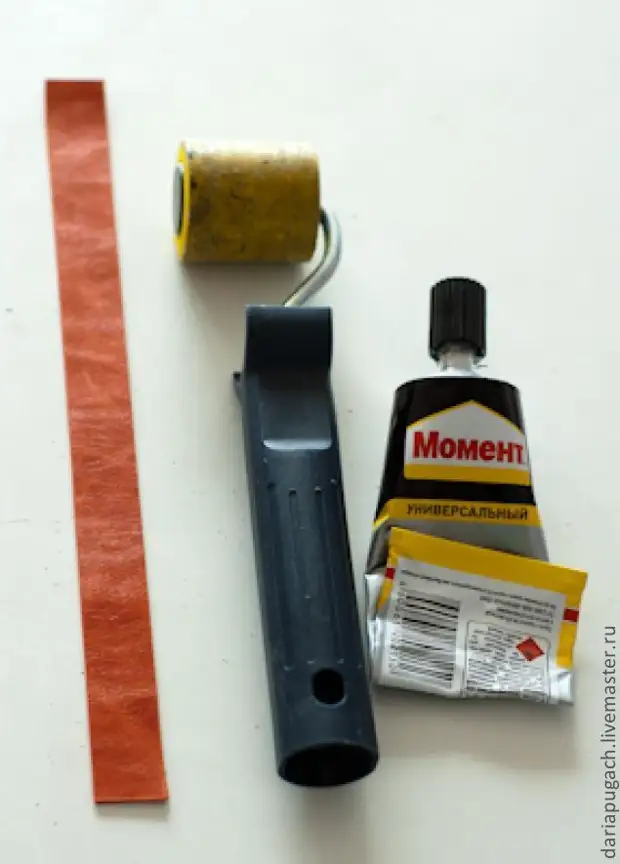
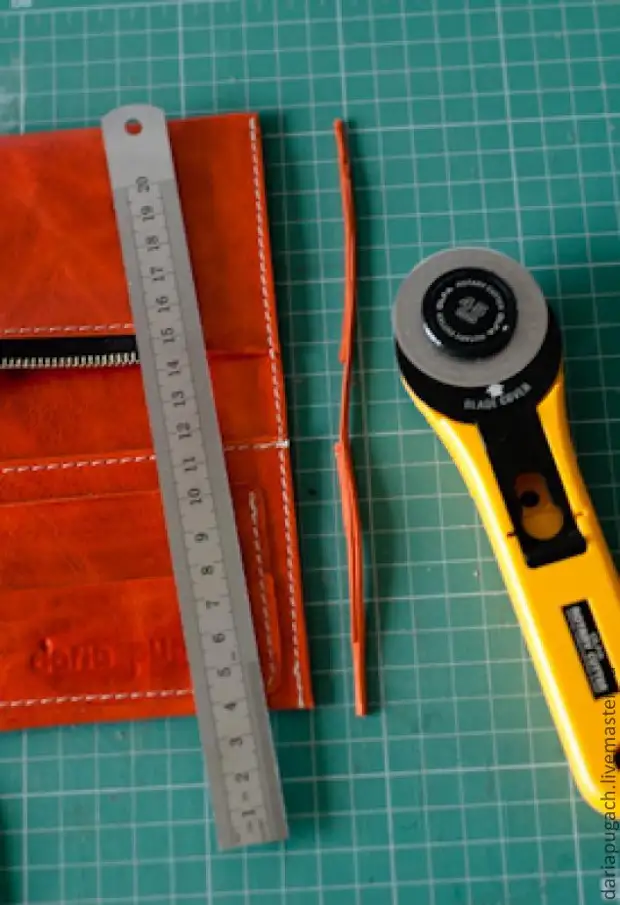
So for work you will need tools and, of course, beautiful skin
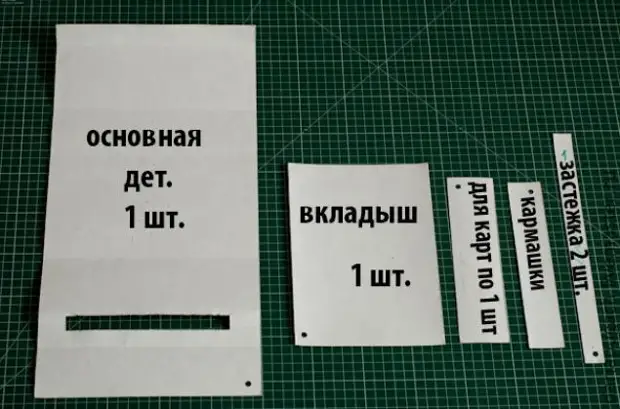
Pekal built herself, I do not specify the sizes, as they can be different at will. It is such a form of a wallet that I received the method of trial and errors :)
I make a layout on the skirt
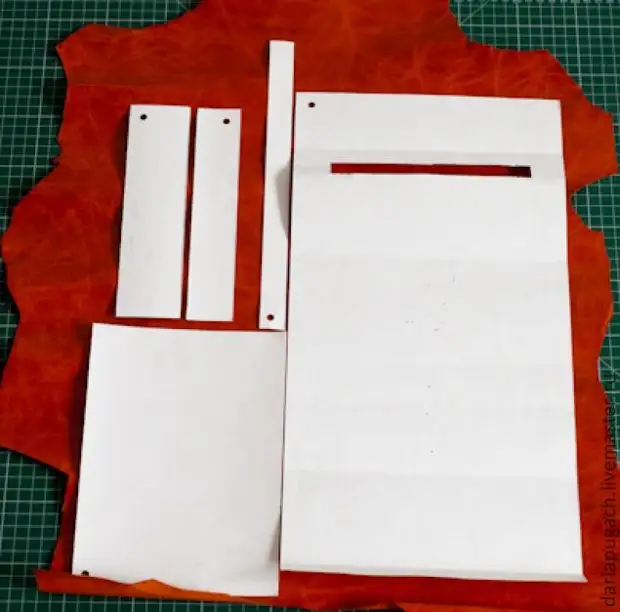
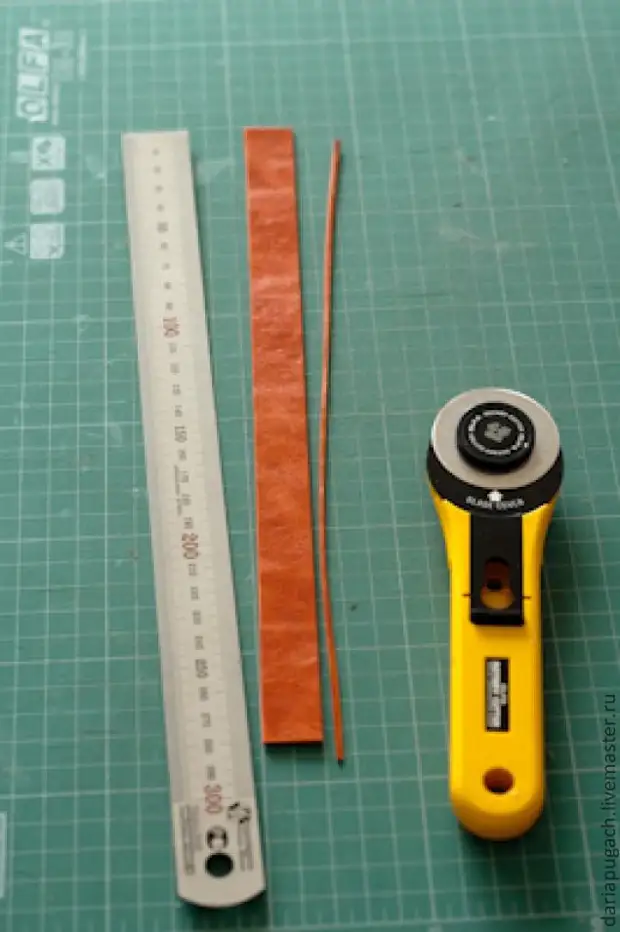
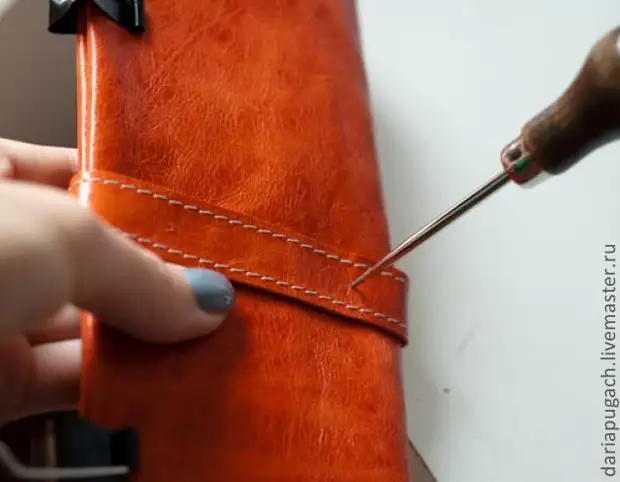
I ripped in a seer and cut out a knife with a round blade. Very comfortable intrusion, without it, like without hands
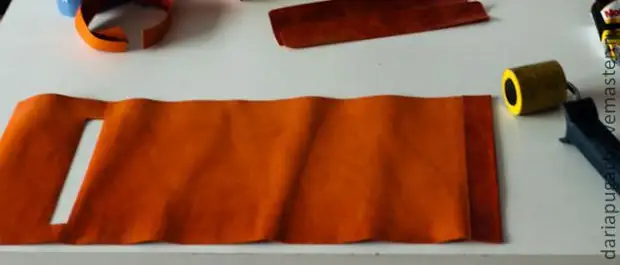
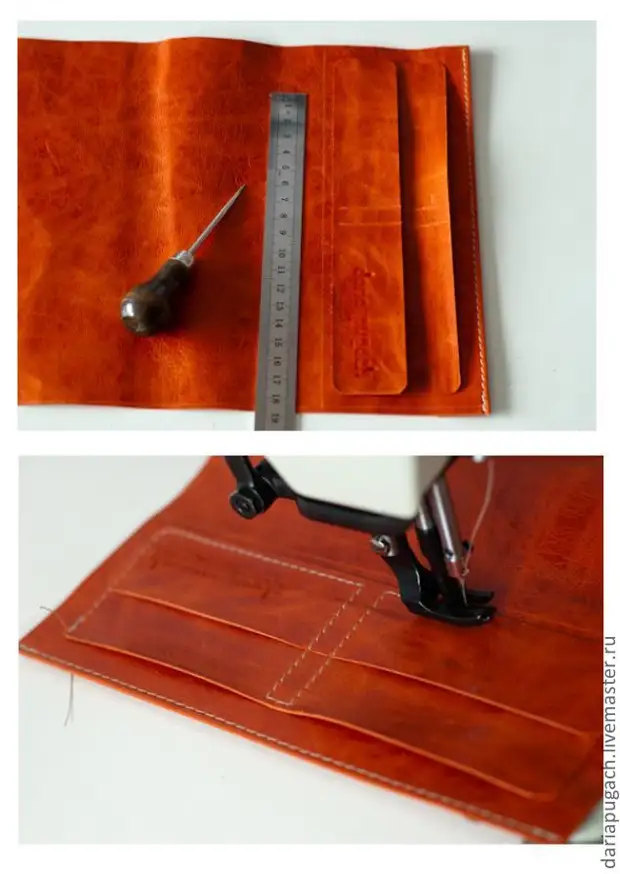
The zipper window cuts out the cutter, the corners should be smooth and neat
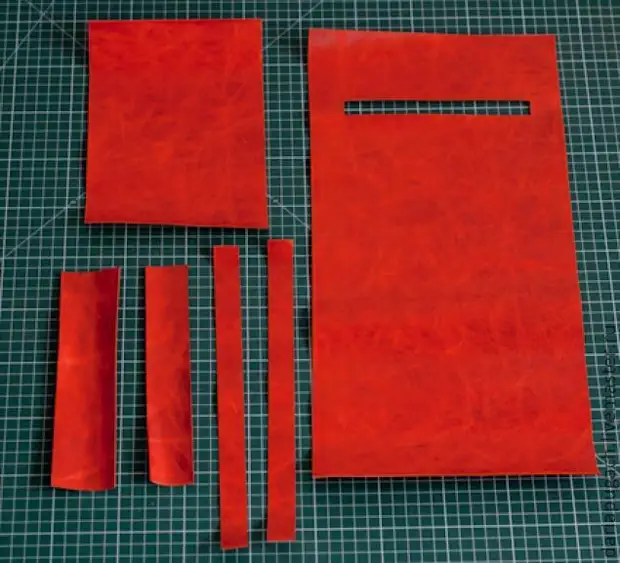
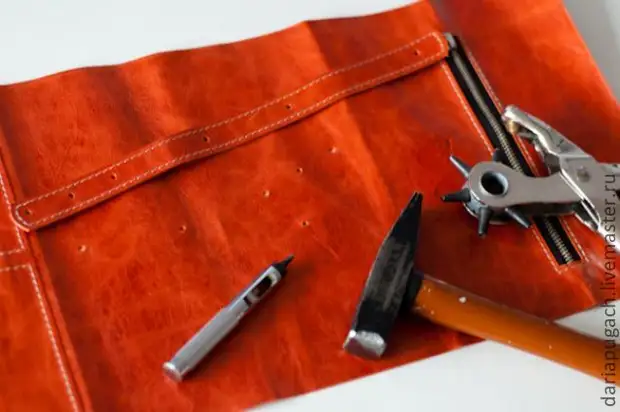
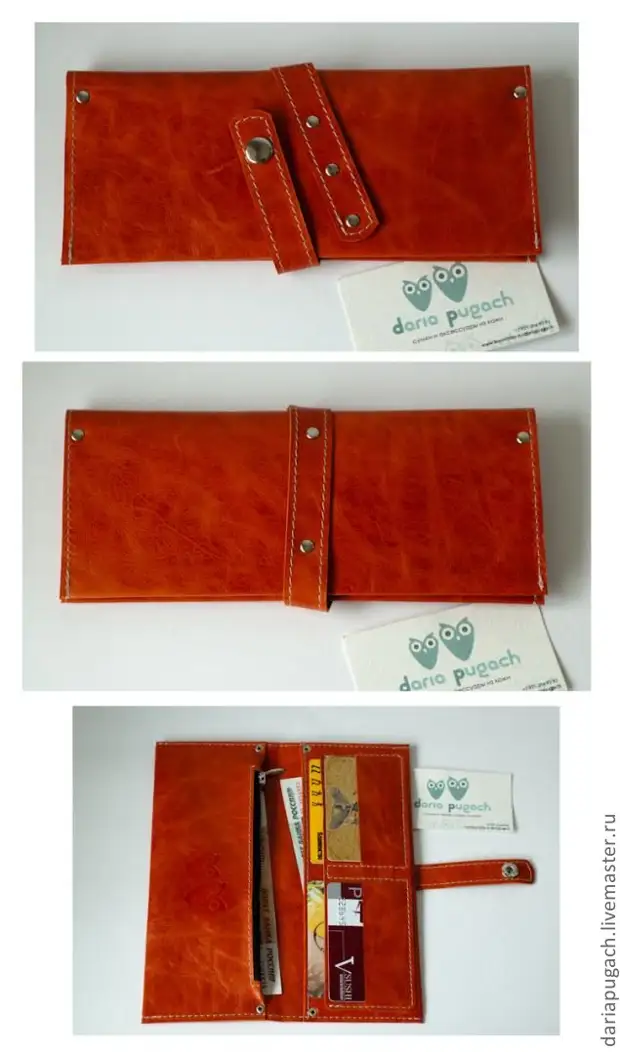
That's what happened, all the details are ready
At karmashkov for cards twigony corners with scissors
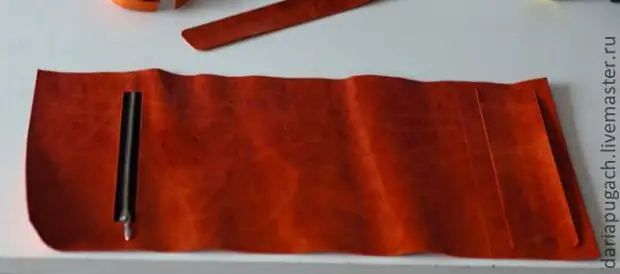
Next, on the main part I make a bending = 2.5 cm for edge seal
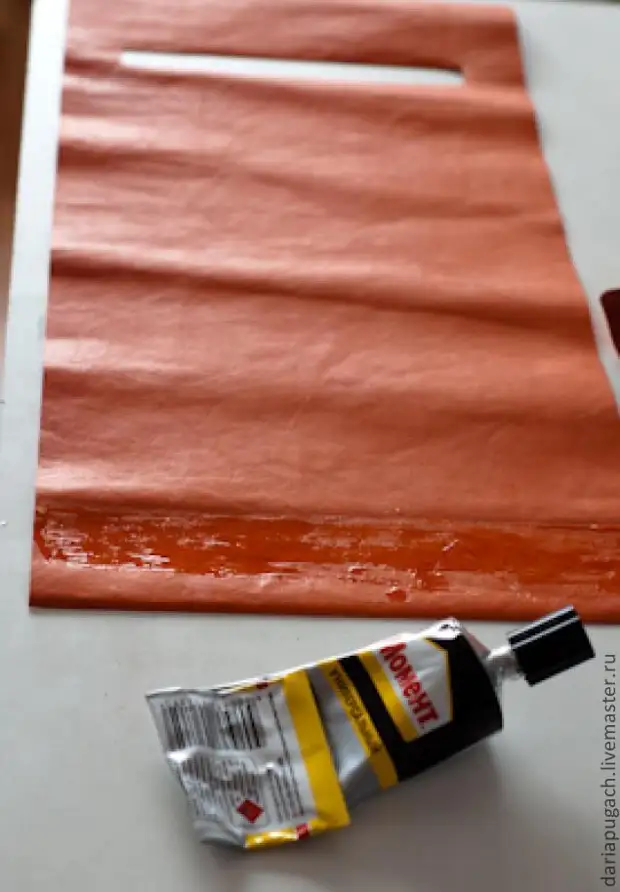
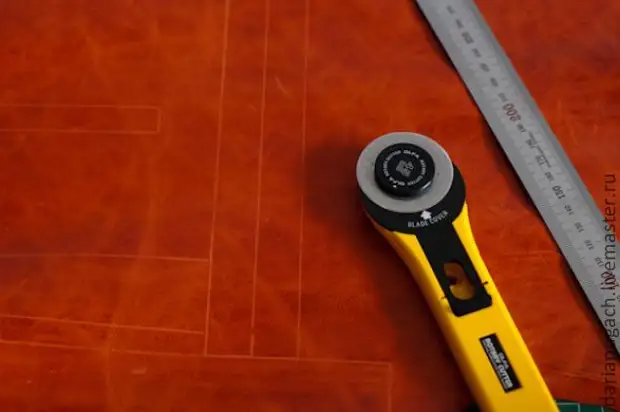
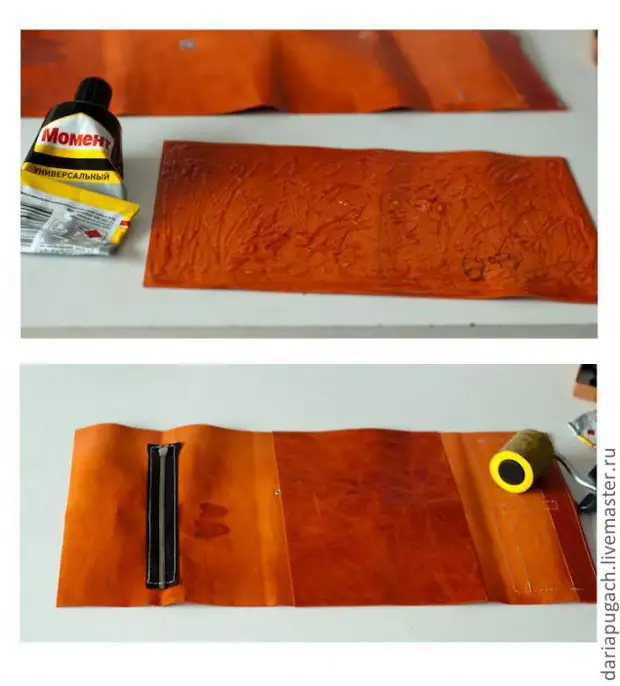
So, smooth out the rubber roller, so that the glue is evenly distributed
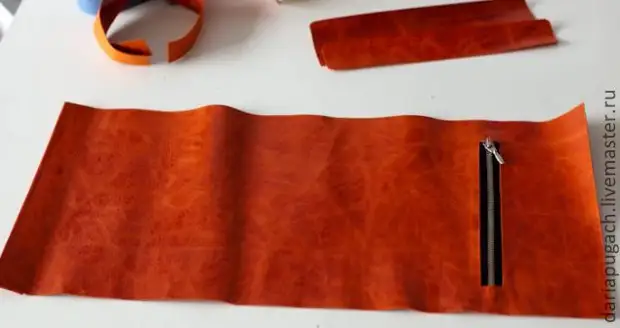
Blinding lightning
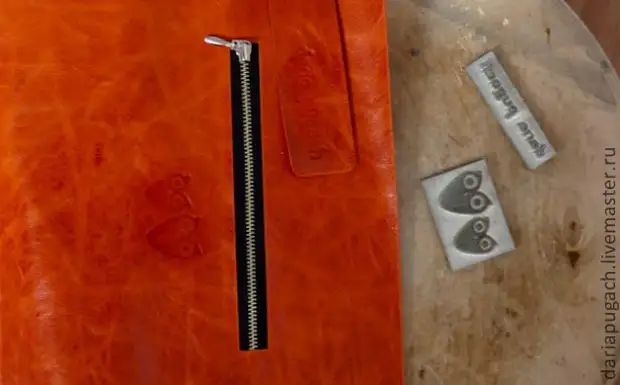
I make embossed, more detail about embossed in my MK www.livemaster.ru/topic/77688-mk-klyuchnitsa-s-avtorskim-tisneniem?vr=1&inside=1
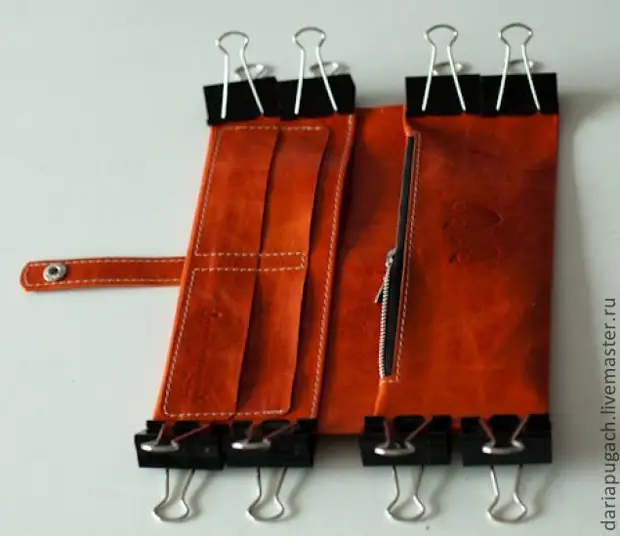
From the edge where I made a bend measuring 8 cm (it can be seen) and gluing pockets for cards as in the photo
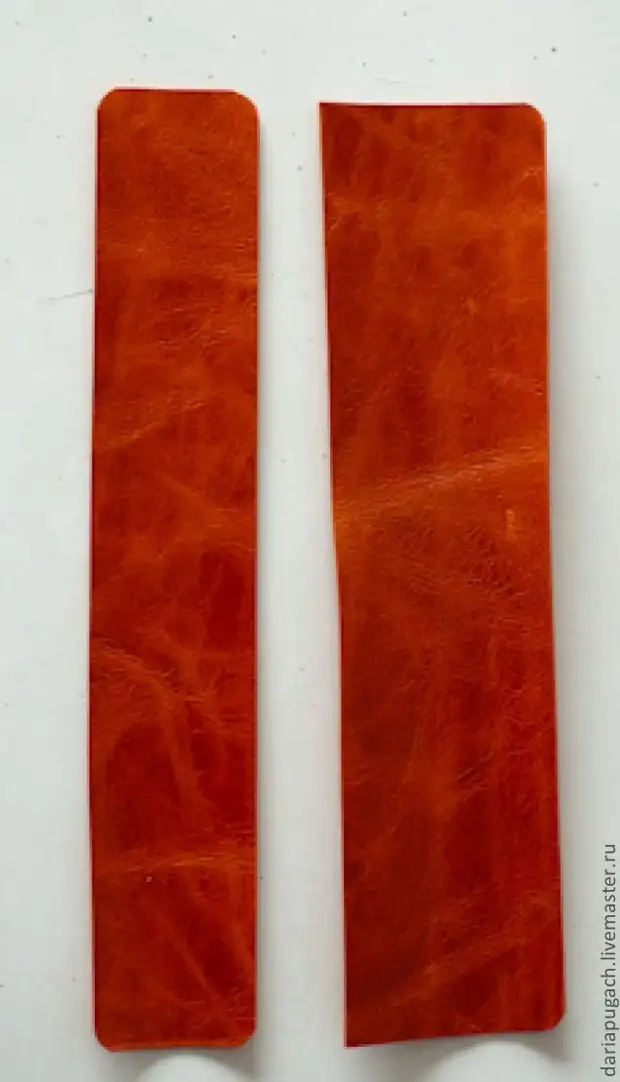
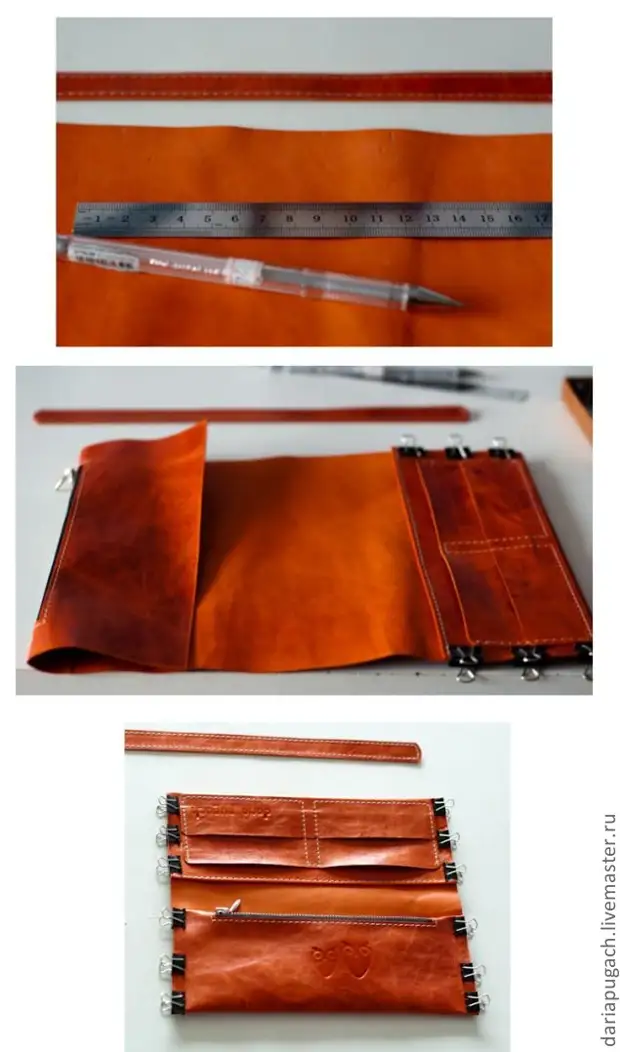
Next, I swear two stripes that will be a fastener
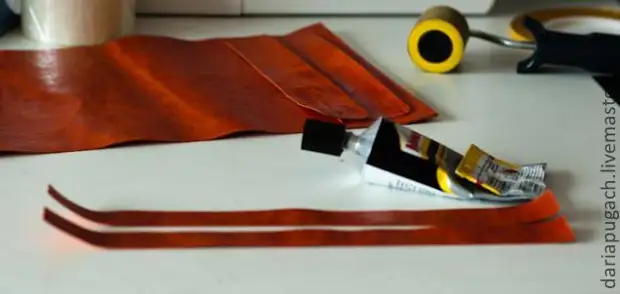
Also roller pretty on them)
Cutting exactly glued stripes
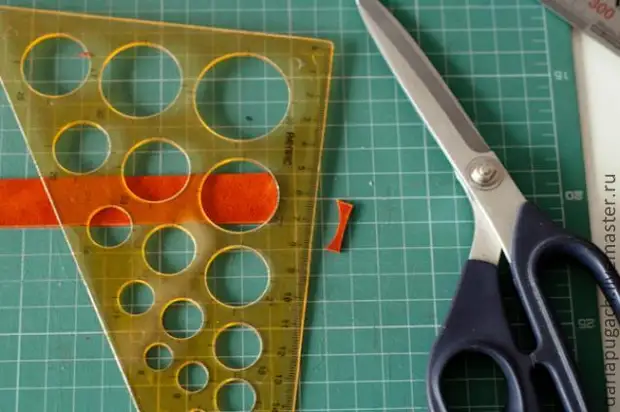
Changing the edge in a ruler with circles, cut by scissors.
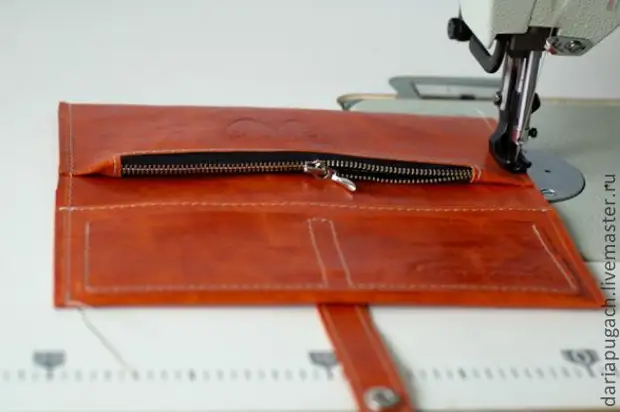
I go to the typewriter with my beloved :) I adjust the zipper, laying the lines along the edge of the bend, on the bottom of the pocket. I rejuvenate strip- fastener

I stick the second striped pockets for cards. I mark the lines, scribble on the bog. I pace a line, neatly, beautiful
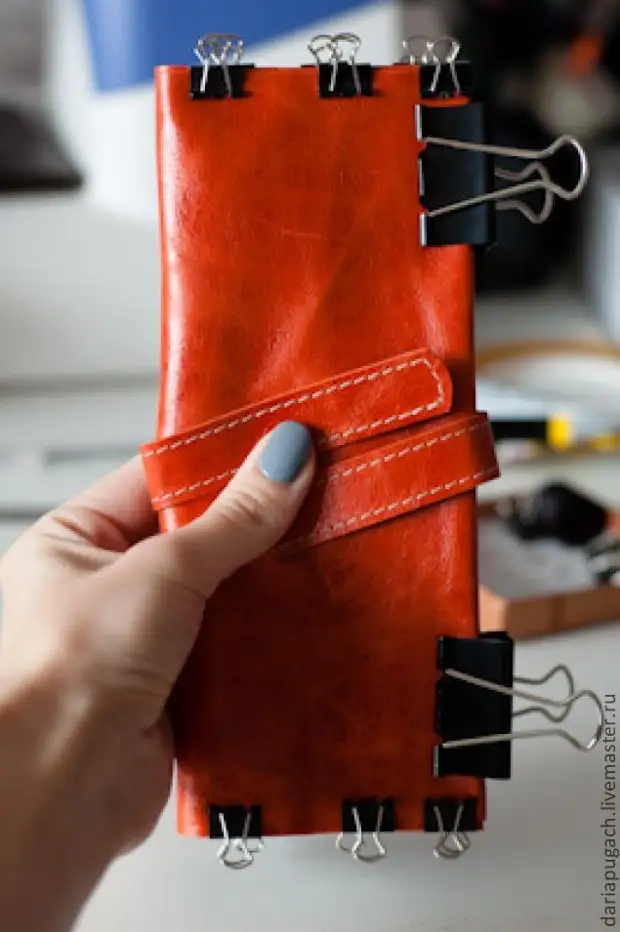
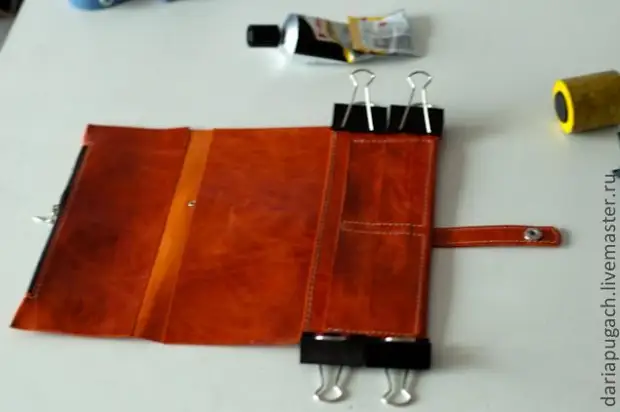
Next, I celebrate the places for which I will add, getting pockets for bills. I add, fix the clamps. Without glue! This is to note how the fastener will be.
Approximately the way I keep the clasp, the second I mark a selection, piercing, so that the holes were visible
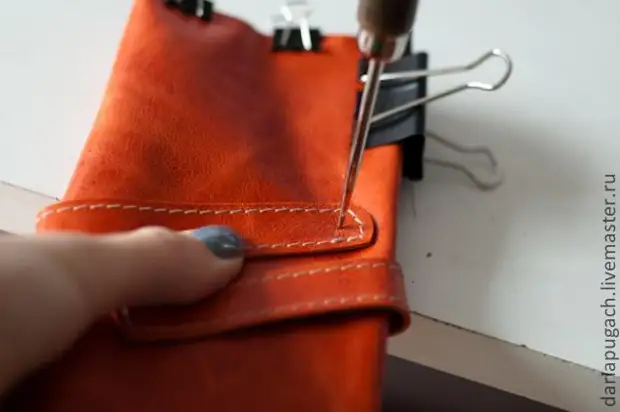
On the reverse side the same
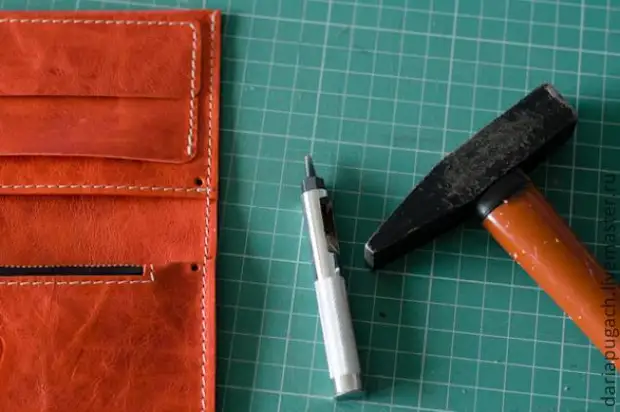
I make holes with a discern or tongs, depending on what time of the day, if at night, it is better not to knock :)
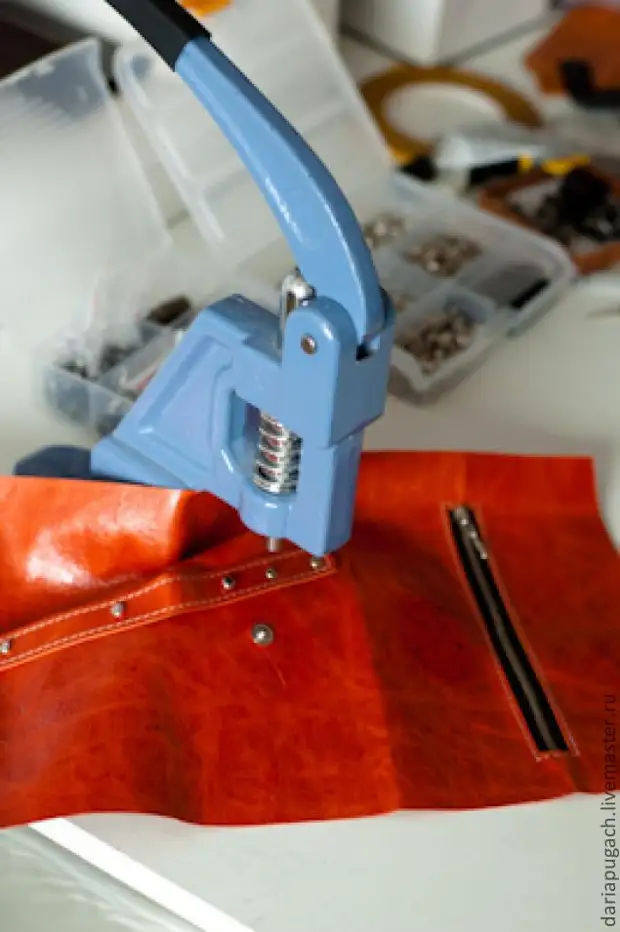
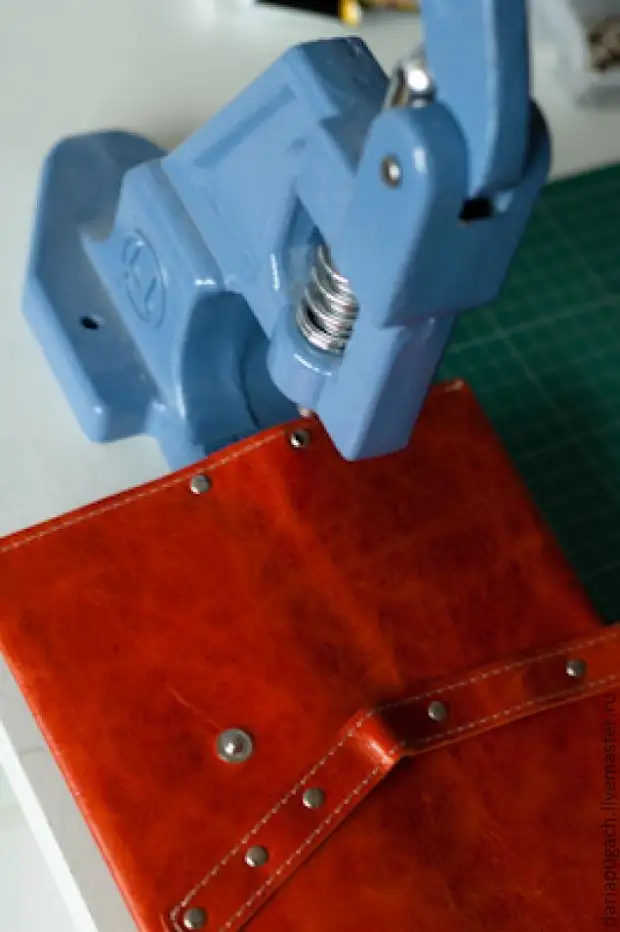
With the help of a manual press I install accessories
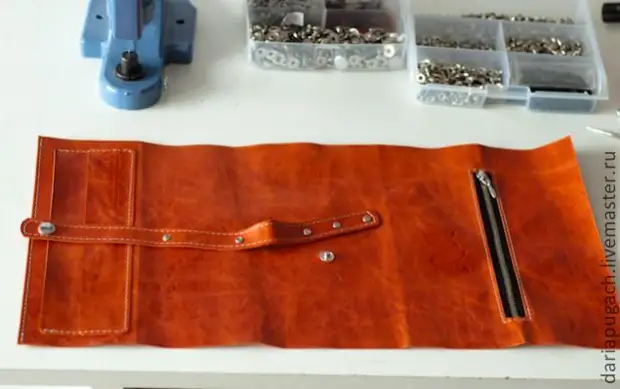
It turned out like that
Next, take the detail of the liner. I welt the entire surface with glue, sticking, as in the photo
Ringing from the lightning and stick, pretty! it will be pockets for little things

On the opposite side, we brew and gluively bonding around the edges, I use the clamps
And once again we wrap on the side of the zipper, gluing, I clamp. Waiting for the glue will dry up, drink tea :)
At the edges stacked
Along the lines cut off, leveling the edges of the entire "package", on both sides.
I do holes on both sides with a hammer and a bandwich
I install Holnitene
The finished product is retreating with rubber Cyans, giving edges with clarity, just carefully, without damaging the zipper inside!
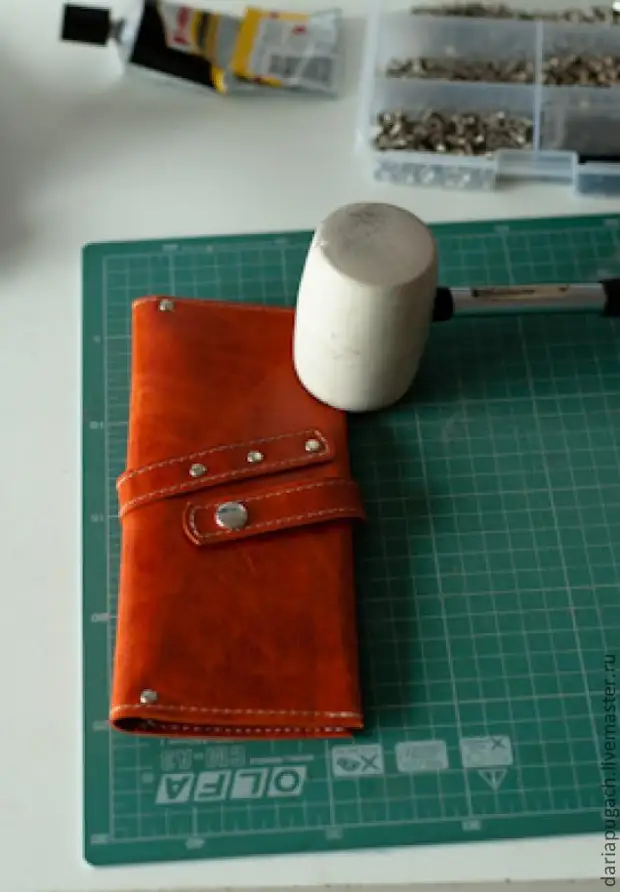
Vua-la! Wallet is ready :) fill in wealth and run on the sale.
A source