
To begin with, let's briefly might on what we have already done in the first part:
1. She sewed all the details.
2. Understood with the principle of making knobs on the frame and ... op! It's all ... And, it would seem, so many pictures and letters.
That's what we look at in this part:
1. Production of the head:
a) We will analyze how to make relief (nose);
b) a little touched upon the weighting;
c) briefly affect the painting of the face.
2. Assembling dolls.
That's what we need:
1. Putting;
2. Mononia;
3. Wool for felting (anyone will suit, the main thing that the color was close to the color of the fabric, from which the doll is sewn);
4. needle for felting (coarse);
5. Brush or sponge (we will be fed);
6. glue (unchanged crystal moment);
7. Acrylic and oil paints;
8. Brushes;
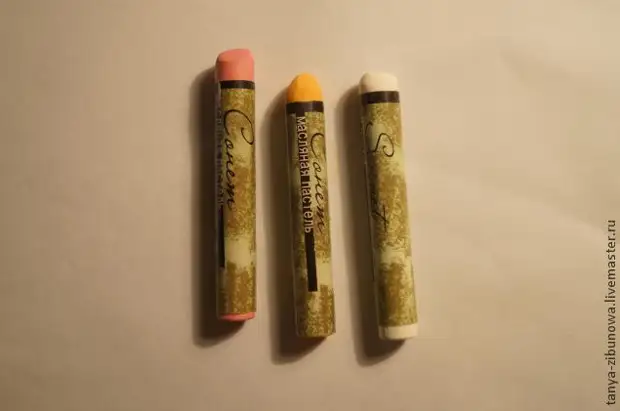
9. Oil pastel;
10. Small, simple buttons (4 pieces);
11. Scissors, patience, and as always - your magic handles!
So, in order: we take a brush, a needle for filling and a small piece of wool. Gently form the ball from it, put on the brush and start to flicker the wool, and in a simple hole to breathe this ball needle.
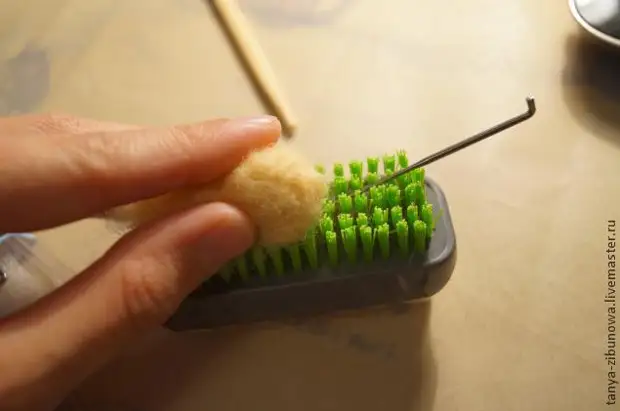
There is a small trick, you should do not quite a ball, but rather a papilla. On the one hand, there must be a round pipper, and with another blurring range, it is necessary in order to do not add your wrolows with a smooth transition from the ball to the filler. I took a picture of what I got, but, unfortunately, in the photo The form is not at all clear, therefore, for better perception, I collapsed it:
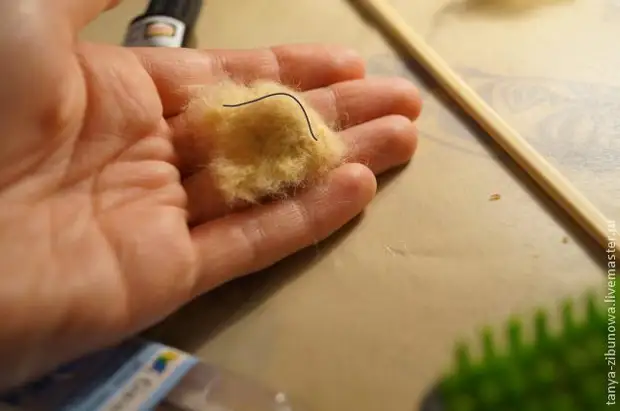
The edges after the formation of the pimple, can be carefully attached. You can do it with scissors and needles. Cut the surplus with scissors, then we go along the edges of the needle, but not flaming, but as if combing.
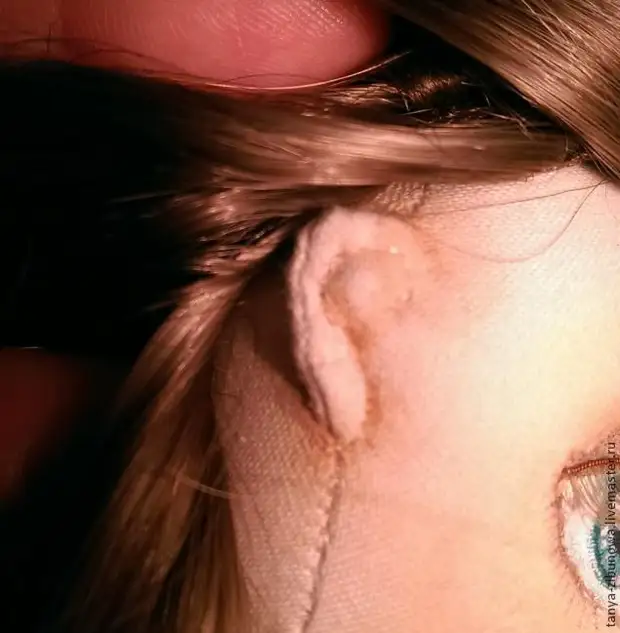
When the "Pipper" is ready, facing it with a thin layer of glue and lay off for a couple of minutes aside. Then take the head blank, we find a nose with your finger and carefully through the hole on the back of the head we squeeze it out with an invalid. Now it will be difficult. It is necessary to carefully glue the nose's blank to the wrong one, it is very important to grope that the tip is very important, gently spread the seam to the sides, we apply a pimple to it:
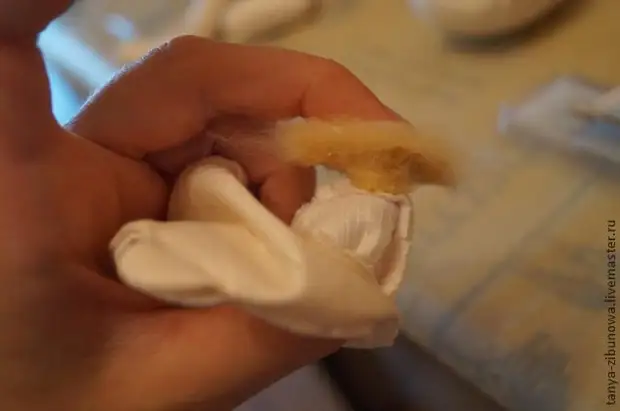
Pushing it inside. It is necessary to act as much as possible so that the blank does not move from the nose. When the pipple turns out inside, we glue it all, stretching fabric to her side:
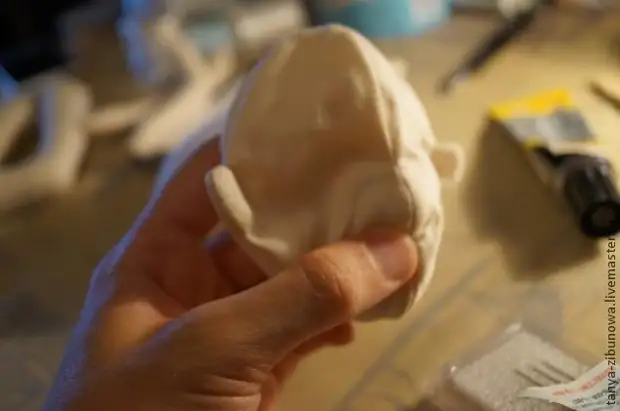
Fill the head with stuffing. I squeeze very tight. After packing, we sew a hole, on the back of the head and sew the ears:
Now I ask me to excuse me - the process strongly tightened, and I did not photograph a lot, but in particular: the head, rice with a marker of the fiber and grieving. Therefore, I present you only the finished result:
I'll tell you a little about mercy. Before you get tightening, draw a face with an endungent marker or pencil. I drag all the same monnion. I flash the eye contour + top eyelid. I firm through the top of the head, behind the line of "hair growth". I work according to such a scheme (approximate promotion of the thread when taking):
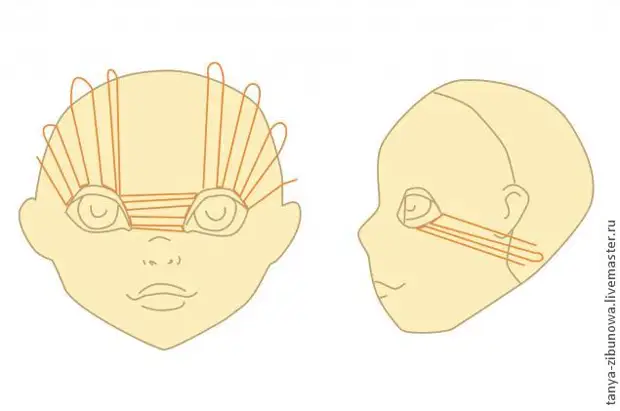
I hope so at least a little clearer.
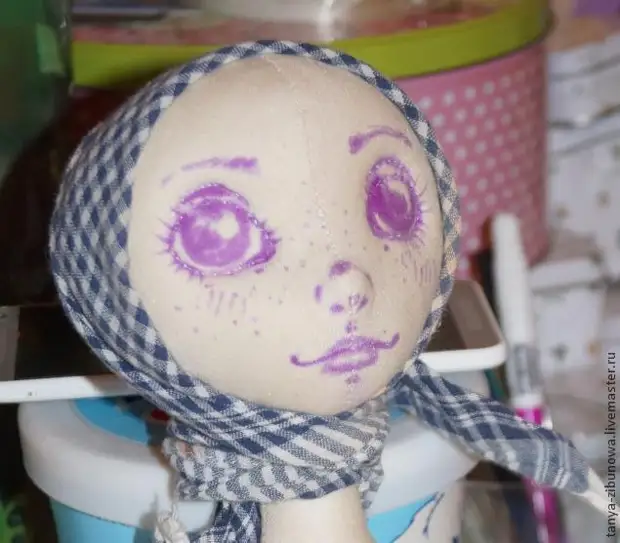
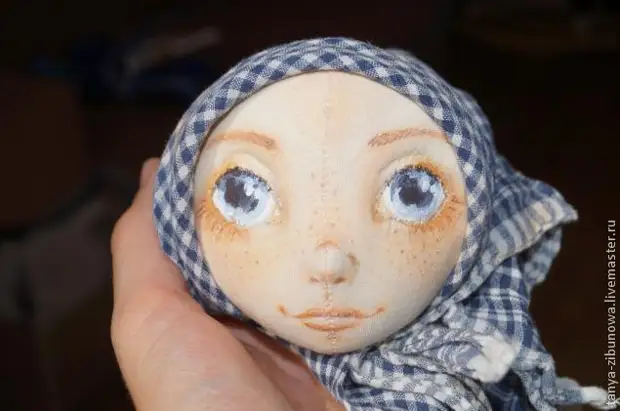
Face . There is no sense about the painting of the lipper, I will note only the main stages:
1. Oil colors apply shadow. For this, the brush must be trim almost to the cutting. Paints take quite a little bit, and before you take on the face, sort it on a sheet of paper, until the brush starts to leave barely noticeable traces. We apply them to corners of the eyes, lips, the bottom of the nose and brow. After shadows, Bellyl, in the same technique, I will run around the brightest places: the top eyelid, the tip of the nose, and the bottom lip. At the end of working with butter, you can designate a blush:
2. Detailed drawing with acrylic paints. Everything is already very individual here, and depends on your imagination :) I can only give some important tips: 1. Begin to draw with proteins, in several layers, closing them with Bellax; 2. I strongly do not recommend using black paint (you can add a little bit into the pupils and all), especially to circle her eyes. This "hesitates" the doll, making it a bit ... vulgar something (I apologize if you started someone's feelings, it's only my opinion). If you need dark paint, then better add blue into brown.
3. At the end of work with the face, paste oil pastels. Work with the Rumyanta and the most bright places, I use only three shape (pink, yellow-pink, white):
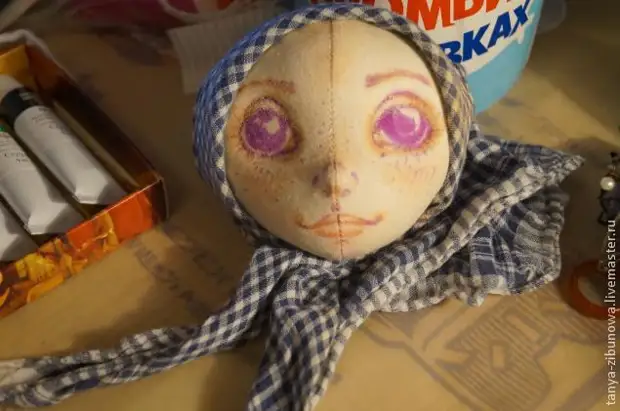
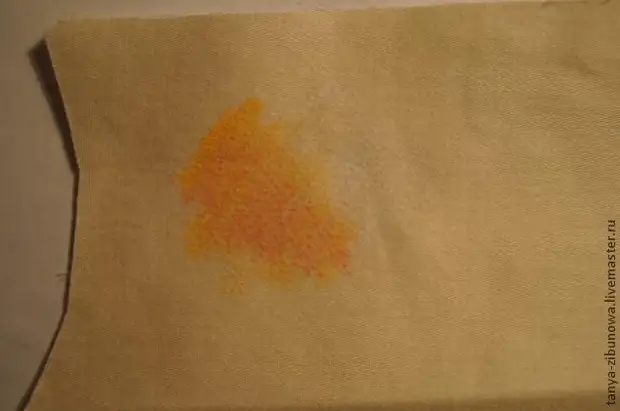
Smalls I am "on the live" draw on a doll. Approximately like this:
Then carefully growing everything with a soft cloth:
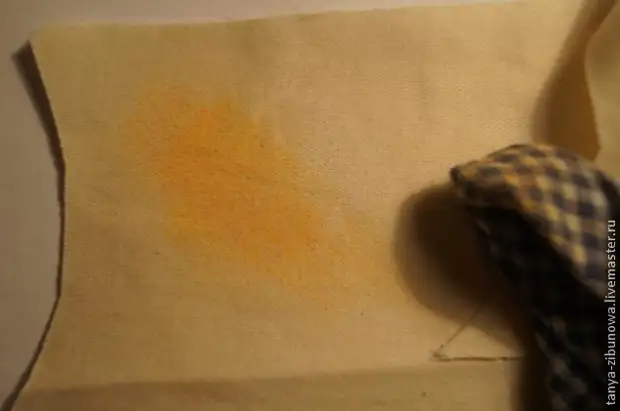
I am not afraid to overdo it (but, of course, do not draw to the state of the oil crust), because later, while I finish the doll, the surplus is usually erased, and the light beautiful shade remains. That's what happened to me:
Here is another little advice - you should not stick the eyelashes immediately after painting the face. I advise you to postpone it at the very end when the doll is fully ready. If you stick the eyelashes right away, in the future they will interfere with the sewing of the hair, constantly clinging to themselves strands, which is fraught with the breakdown of the cilia and extra bliss.
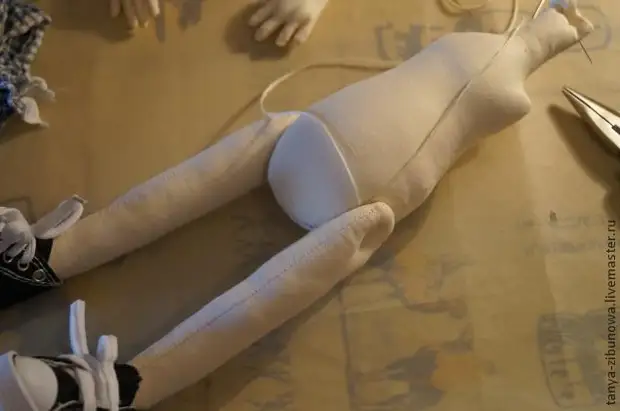
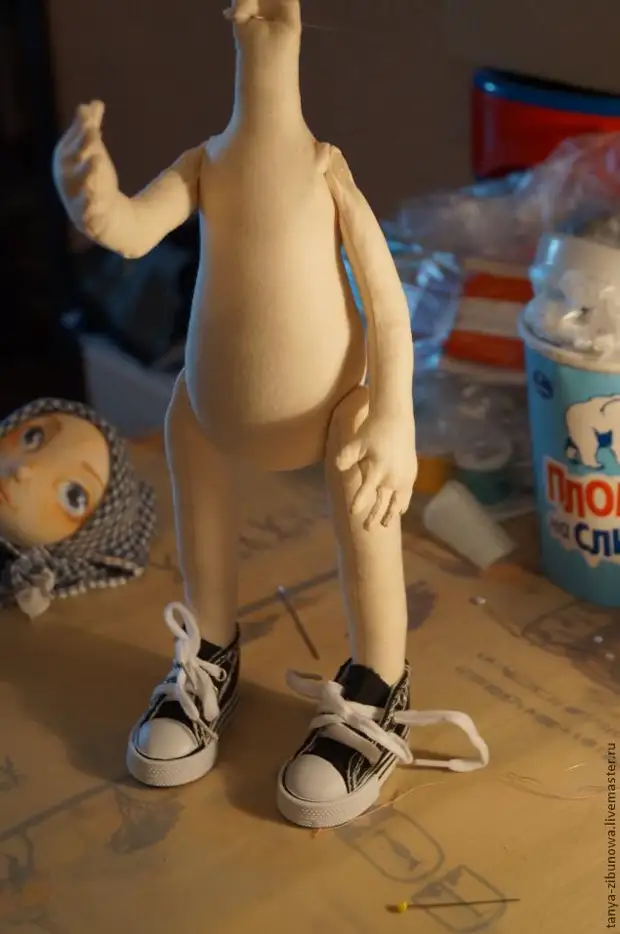
On the packing of the torso and legs, I will not dwell, here and so everything is clear. Small pieces, gradually fill the carcass and legs. Still must be tight. After putting off the secret seam, with the help of mononi, we sew holes on the legs.
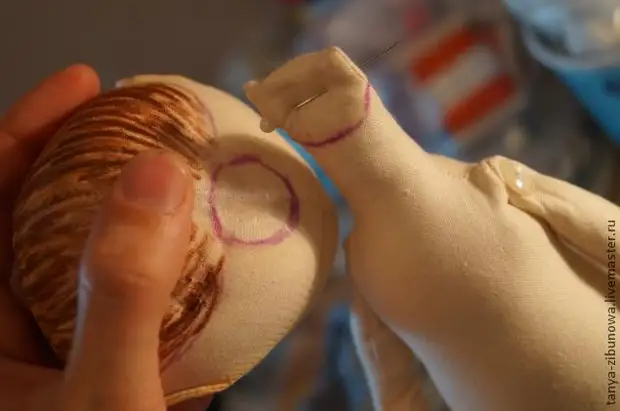
Assembly . Let's start with the sewing of the legs, to help us will need a needle for binding. To begin with, we find the right place of attachment:
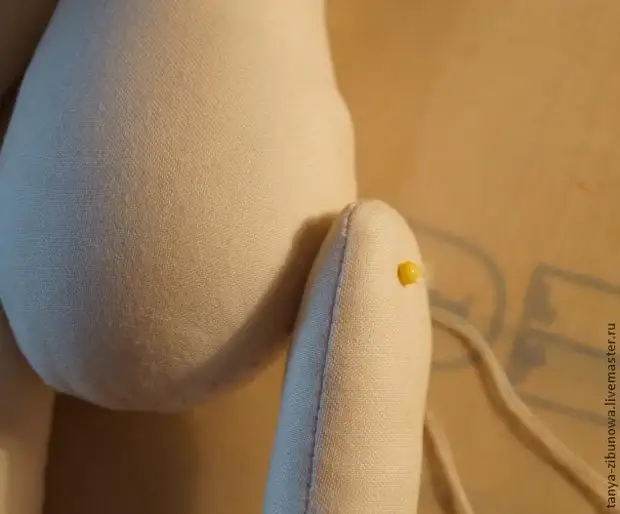
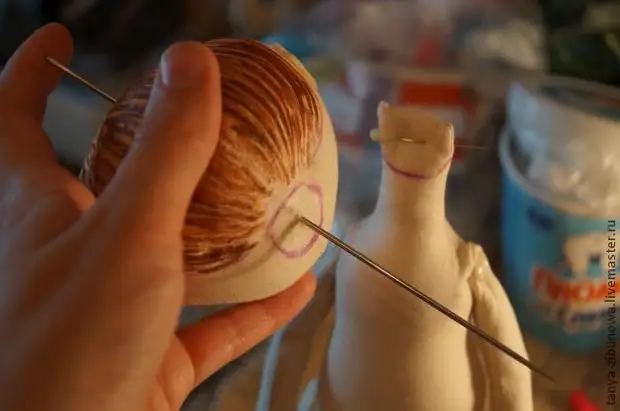
Prepare the thread of the desired color, for this you need to fold it several times. With the needle for binding, check the correctness of the foundations found:
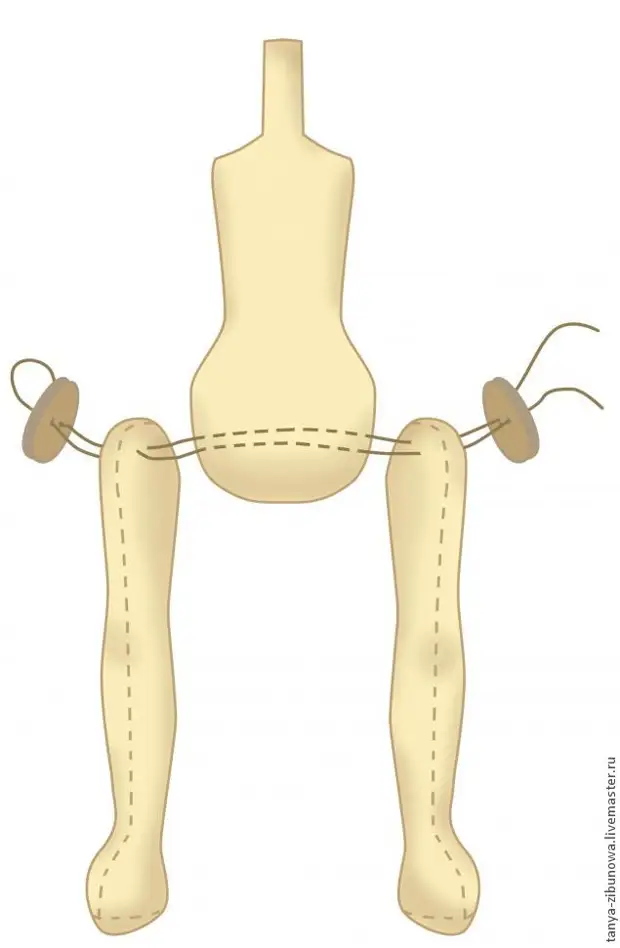
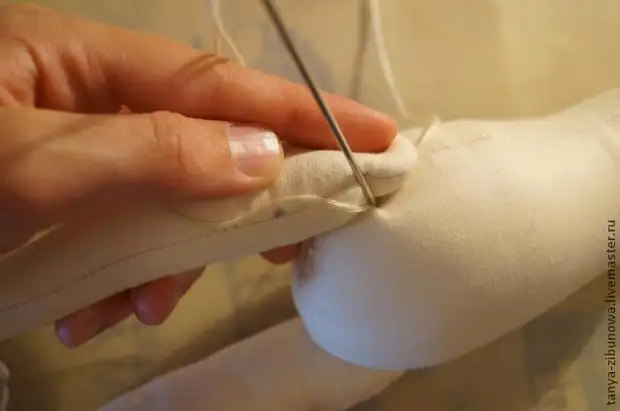
And sew on such a scheme:
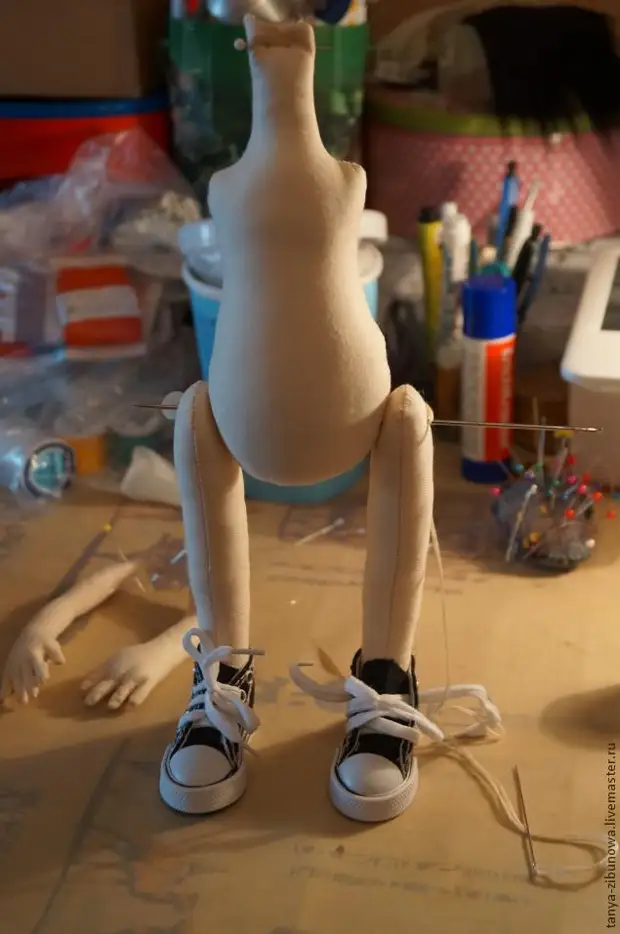
We remove the ends of the thread on one leg, well tighten and tie the knot, for reliability it can be dripped with glue:
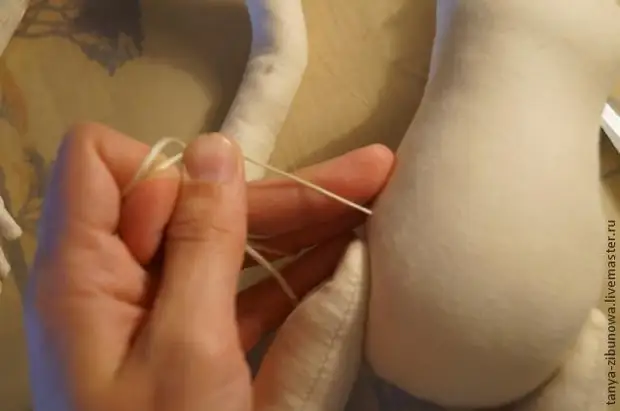
The ends of the thread must be hidden in the carcass, for this, refuel them into the needle, take it next to the nodule:
You can remove thread in any. Then it must be pulled out and cut:
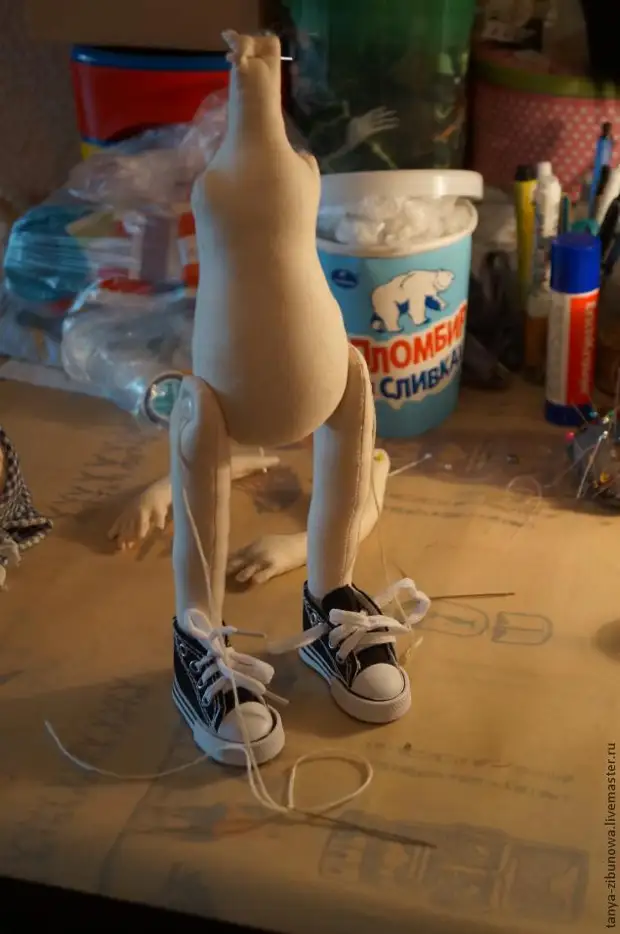
The legs are ready. The handles are sewn by the same scheme:
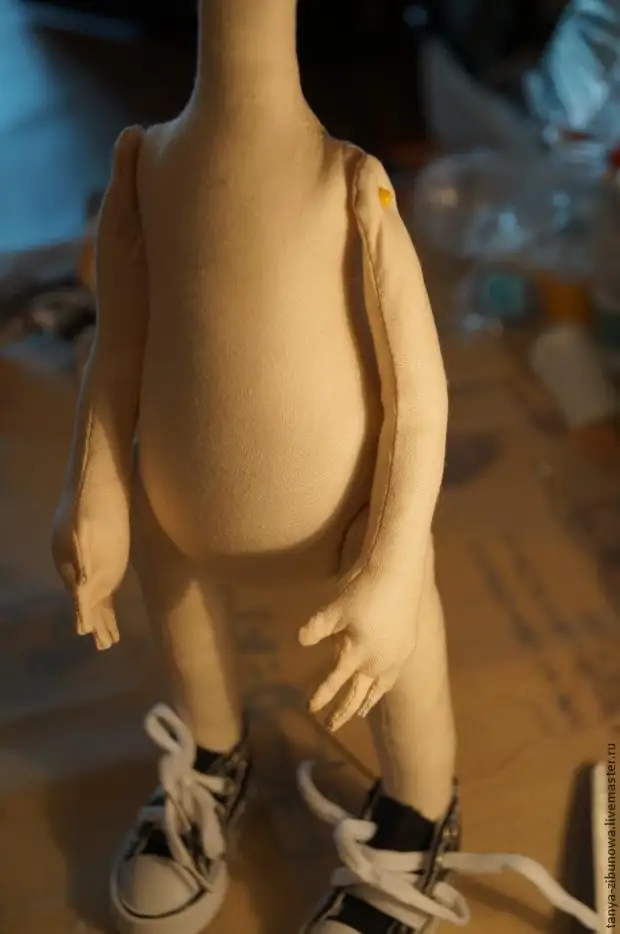
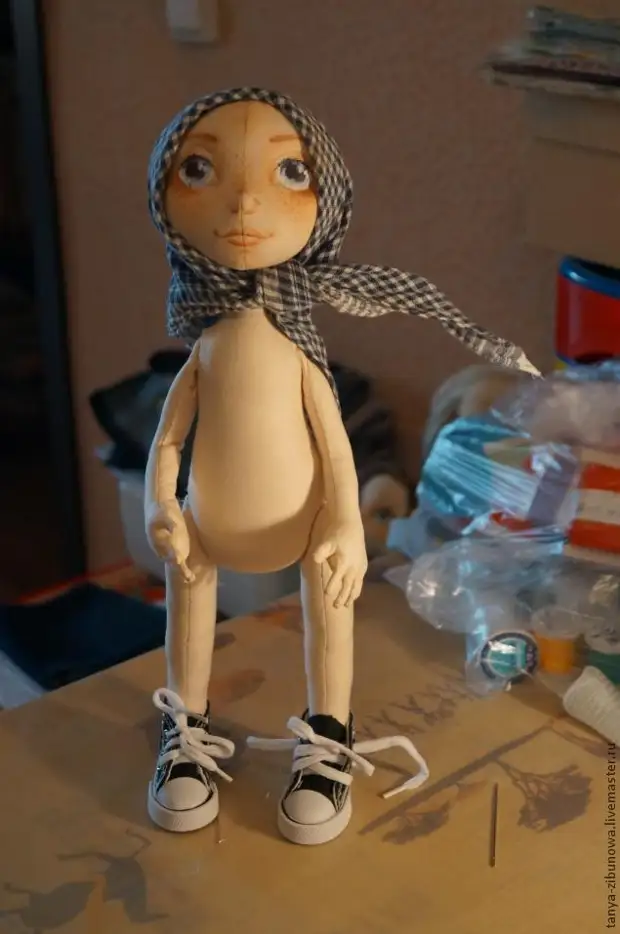
Now it remains only to sew the head :)
By the way, Lorochka is 100% brunette, and the fabric on the head is very bright, to avoid flashing "skin" through the hair, the base can be toned (as you have a marker on the fabric, acrylic with the help of a sponge).
We try on your head to the body and outlining the sewing lines:
To facilitate the sewing of the head, we attach it to the neck with the help of all the same needles for binding and sewing a secret seam:
Our doll is almost ready! The most difficult behind, you can praise yourself and eat a delicious chimney bun;)
So the second part came to the end. I hope she became no less useful for you than the first.
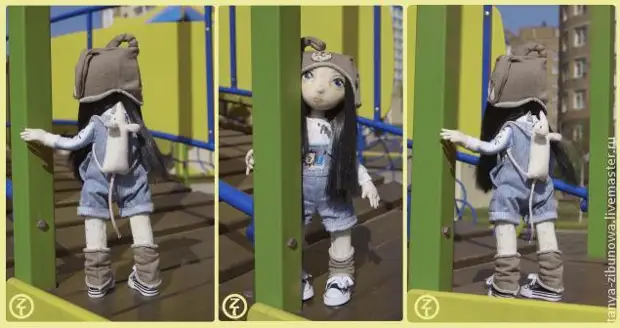
On this, in general, almost all work on the doll is completed. In the next, final part, I will tell you how to sew your hair and how to sew a friend Laura - a mouse pan. I will share the pattern of overalls and blouses of Laura.
A source