
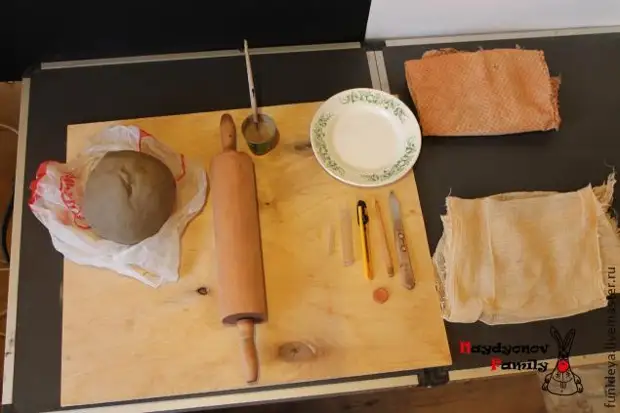
Casket in the form of a turtle, with a mirror on the lid. Casket It turns out a roomy. To make such a turtle, we need clay, rolling, gauze, stacks, slip, knife, blade, needle, any dish (or just a smooth circle).
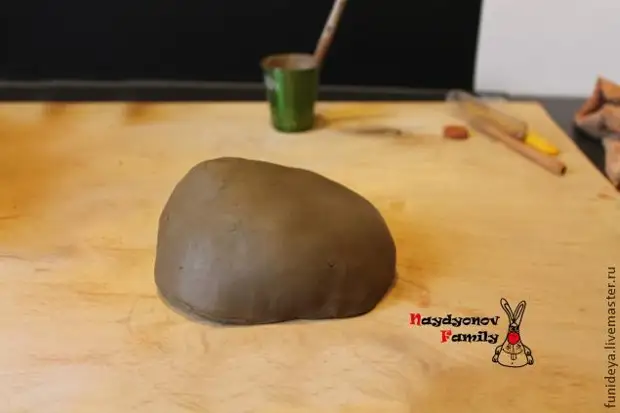
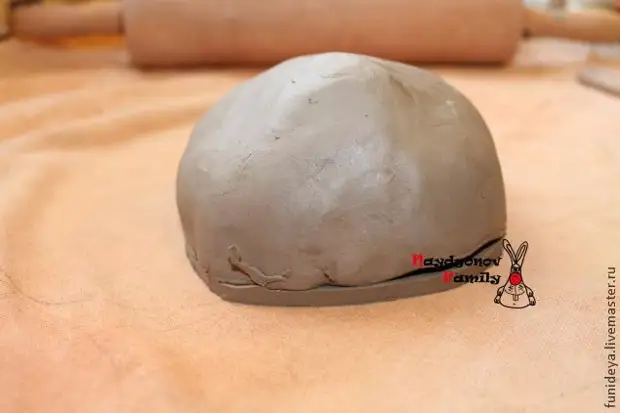
1. So, proceed. We start with a shell modeling for a turtle. Our shell should be the same in thickness, otherwise in the furnace can burst from uneven heating, so they have a bug of clay reservoir.
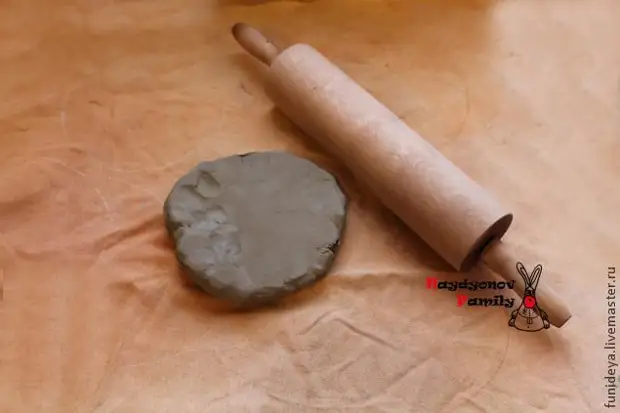
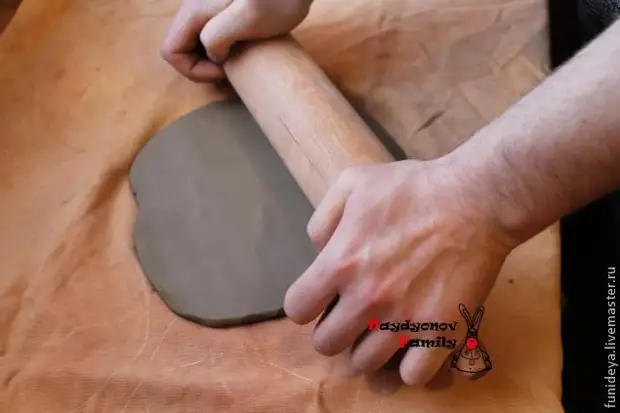
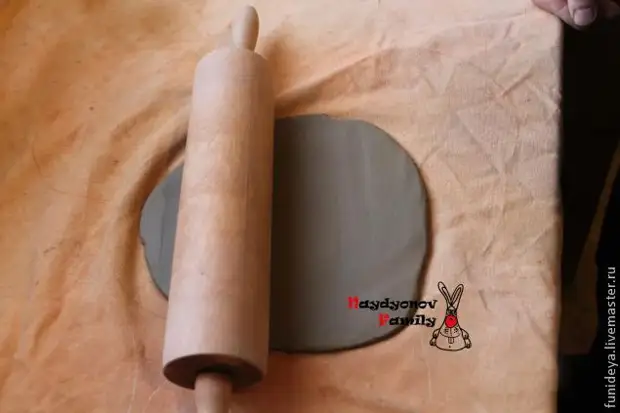
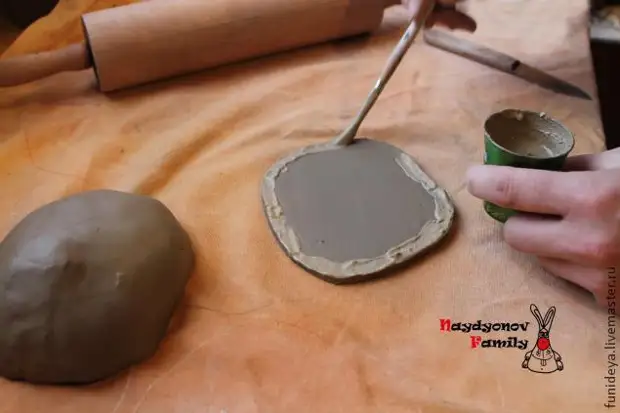
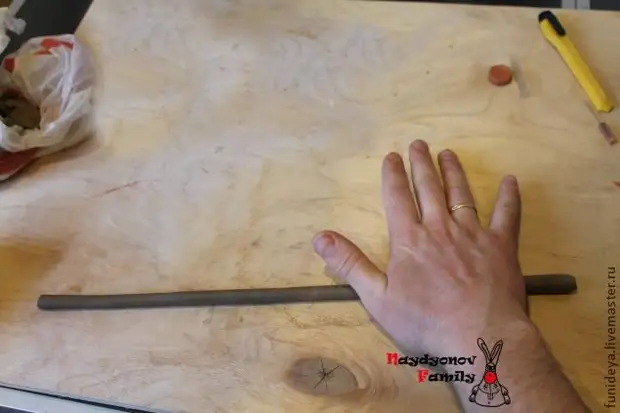
2. Roll over clay into the reservoir, about 1 cm thick
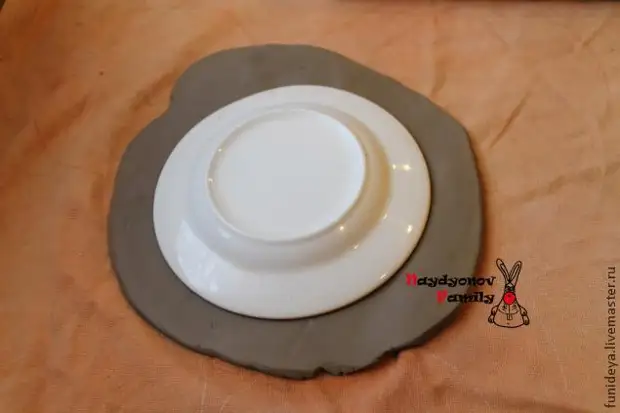
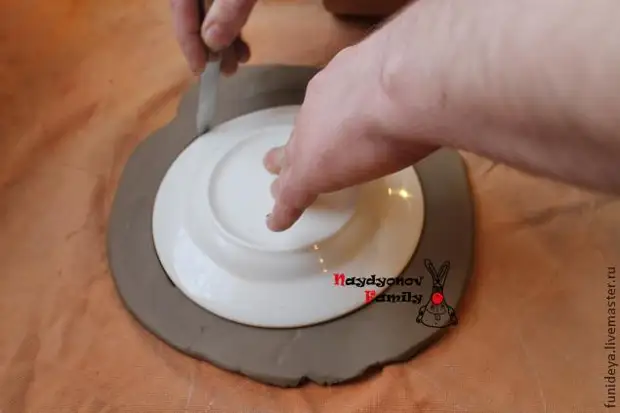
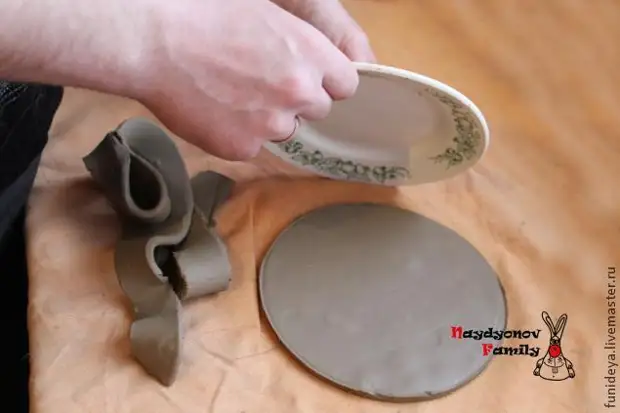
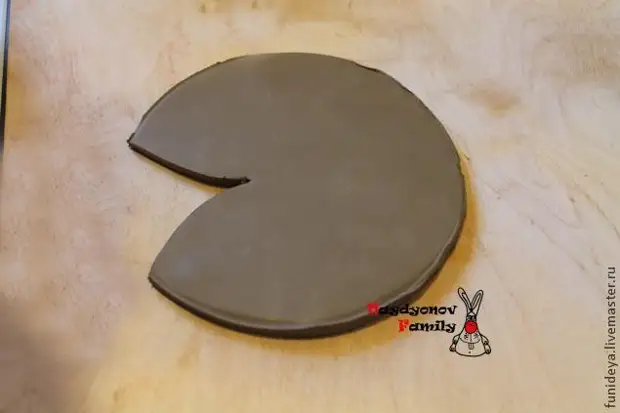
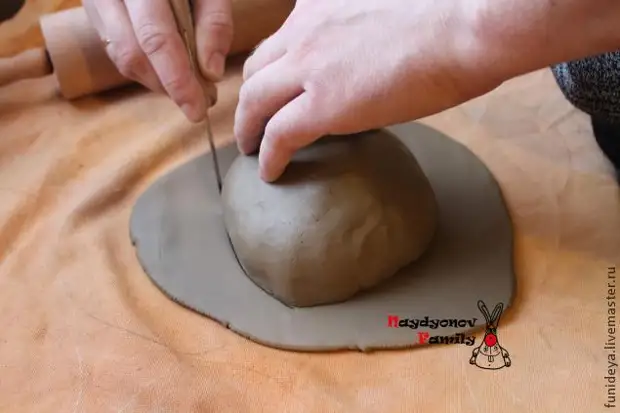
3. With a plate (or circle), we make the pattern for the shell.
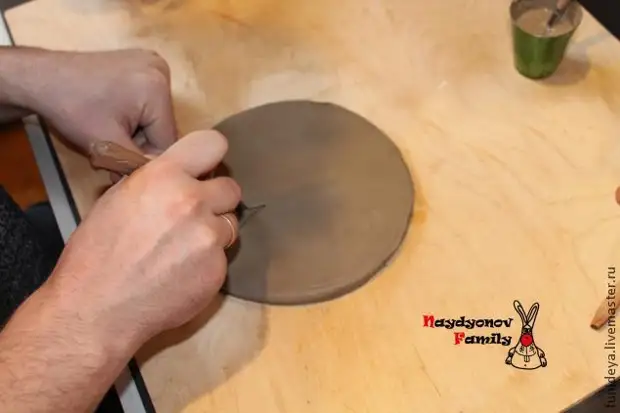
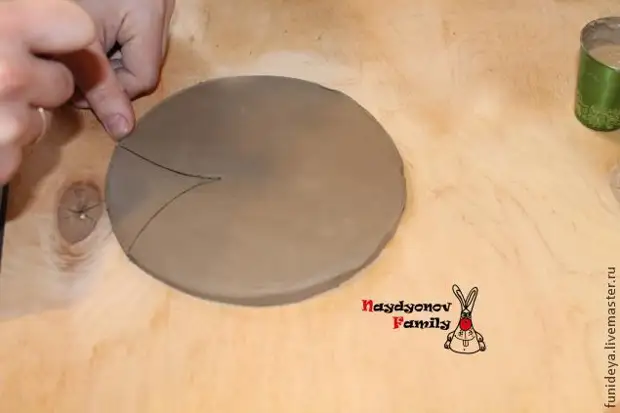
4. Making cuts, as in the photo. It is necessary to give the plaster oval form for the shell.
5. With the help of a slip combine the form.
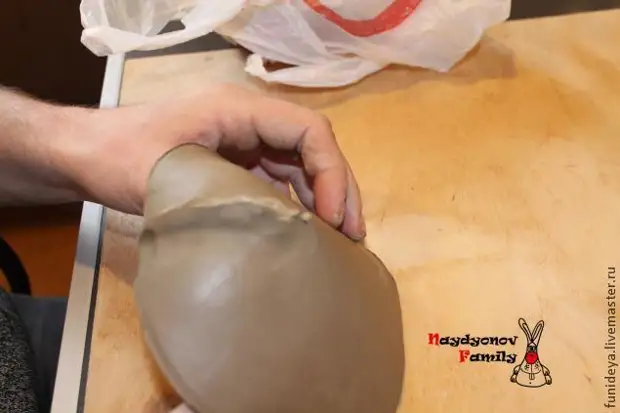
6. Top of the shell is ready. Now we make a bottom from a similar formation.
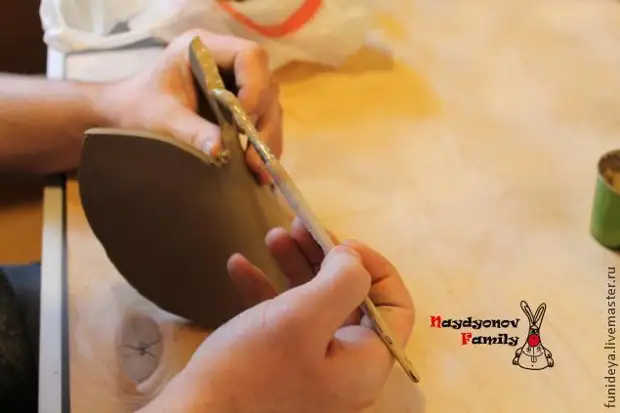
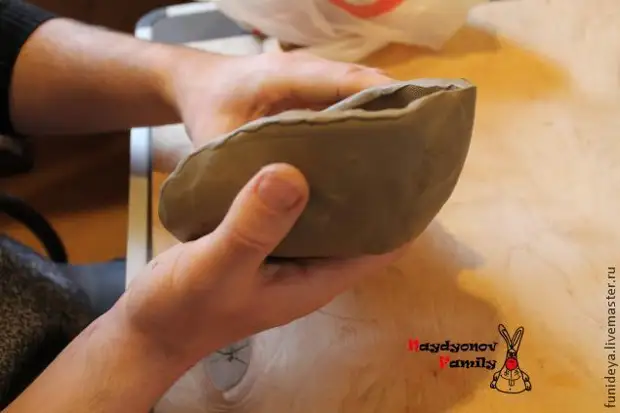
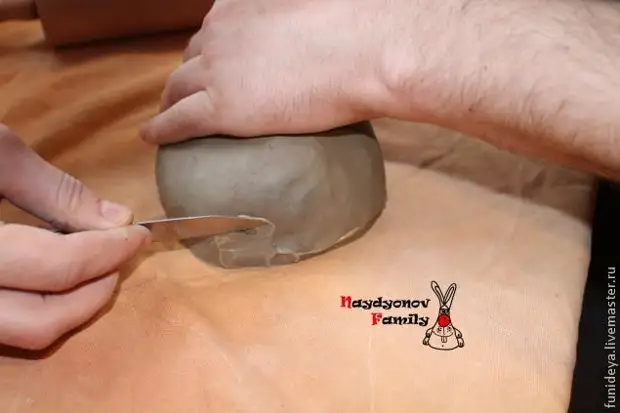
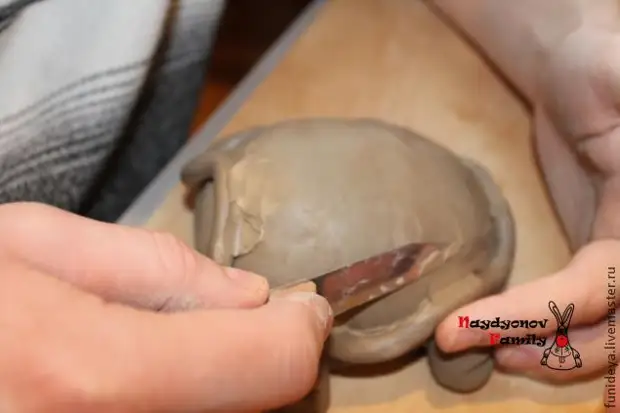
7. From above, we put our shell and supply a knife along the contour.

8. With the help of a slip, connect the layers and rub the seams
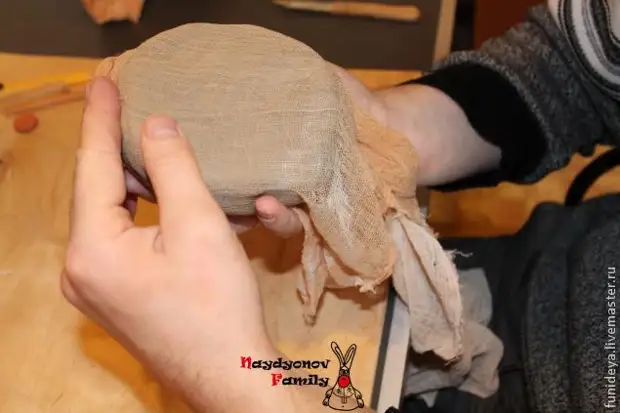
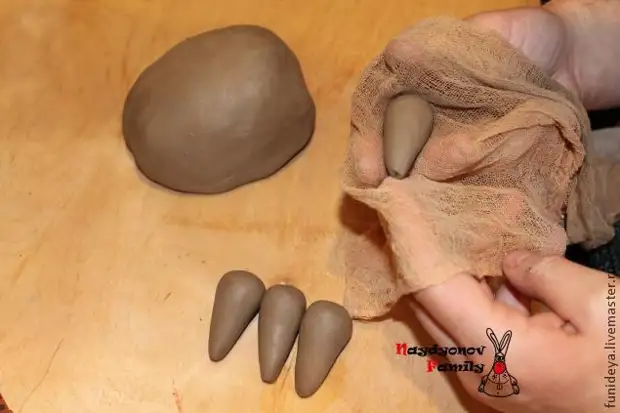
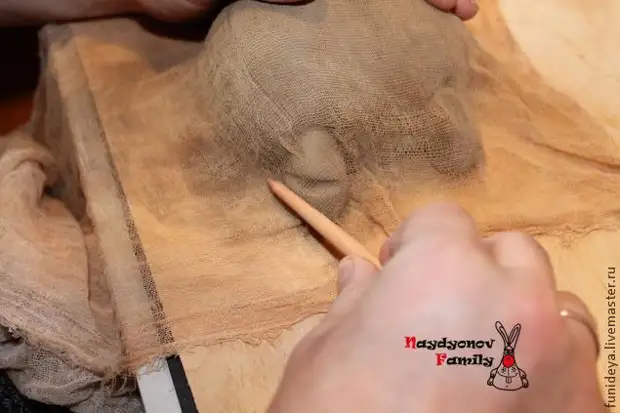
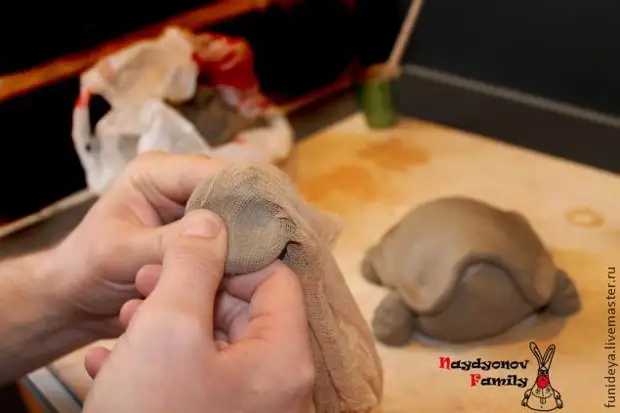
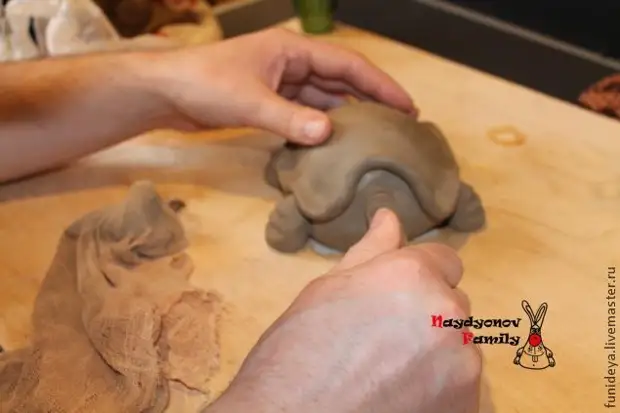
9. With the help of gauze, you feed the texture
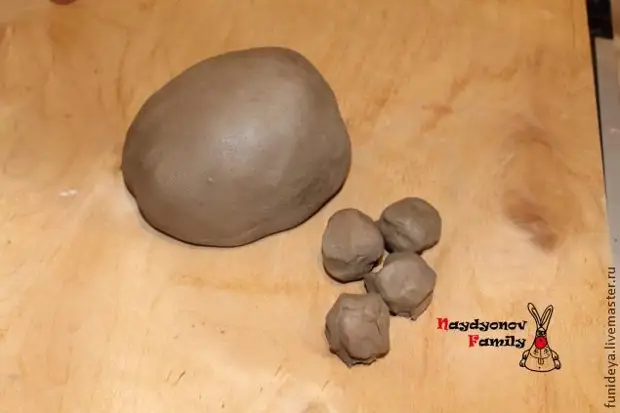
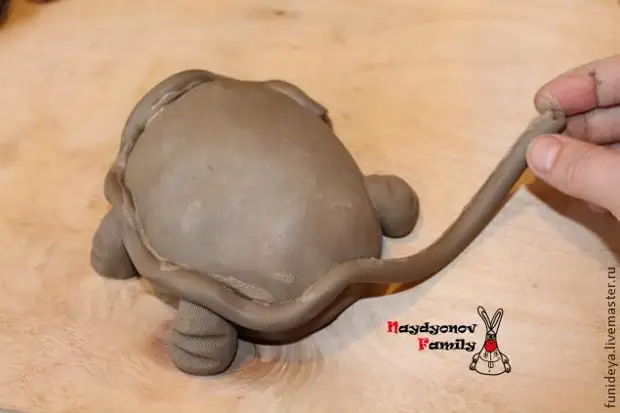
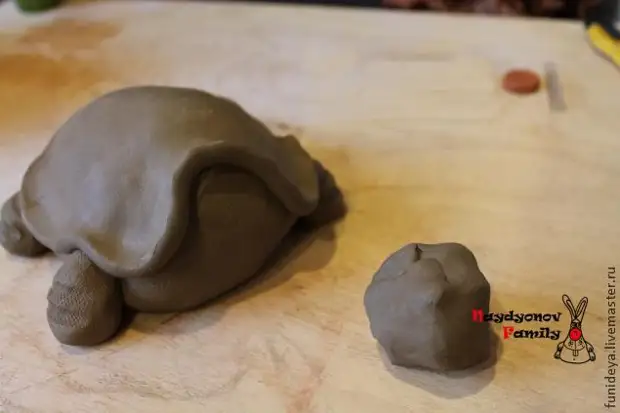
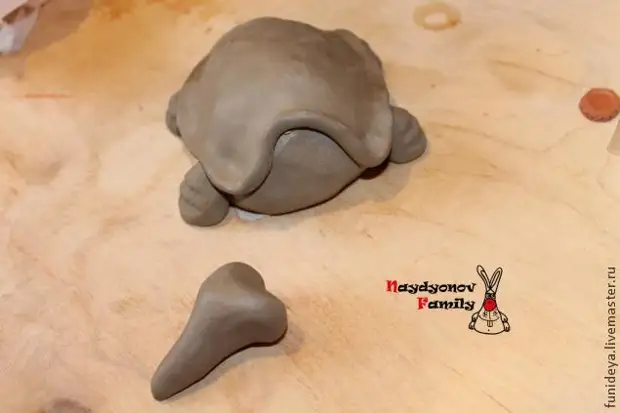
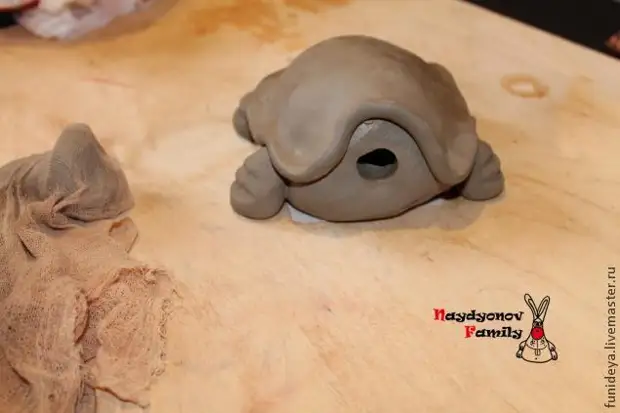
10. Make paws for a turtle
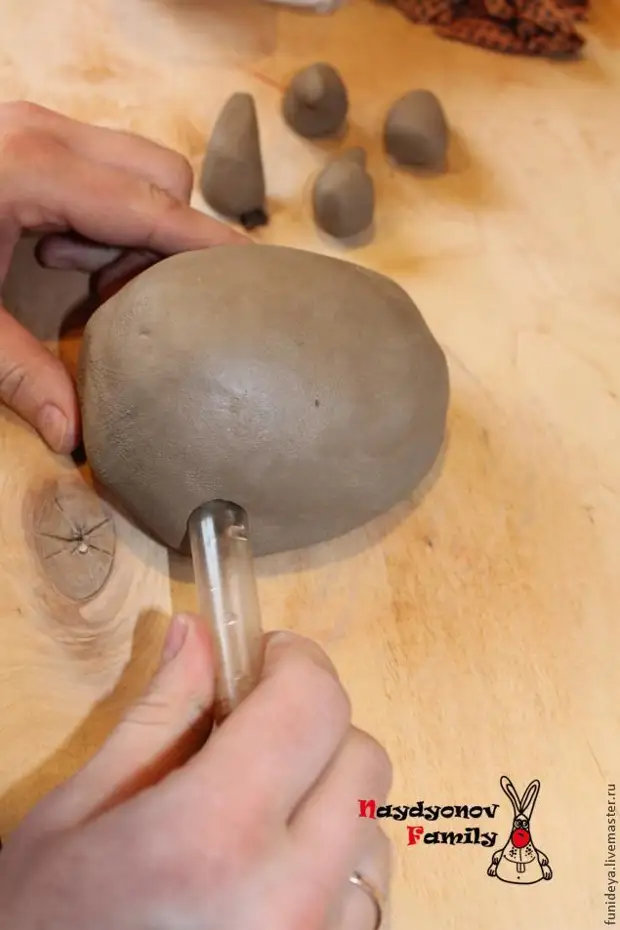
11. With any tube cut out on the shell seat under the foot
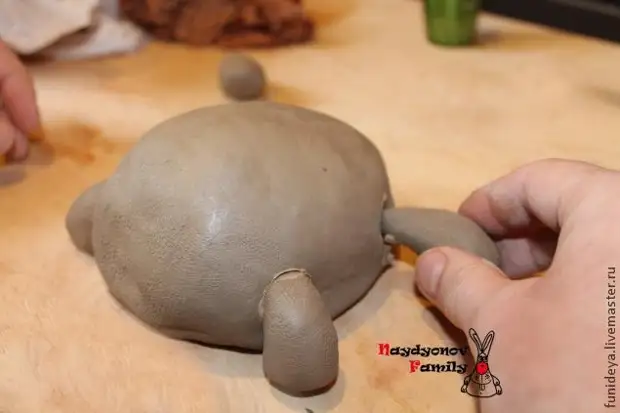
12. After gauze, we roll the stack on the legs of the notches, to give relief
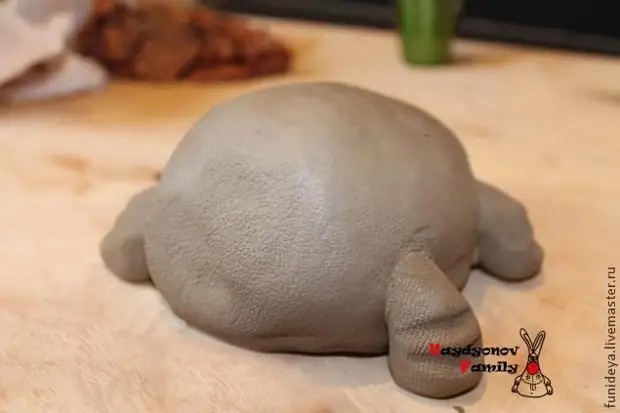
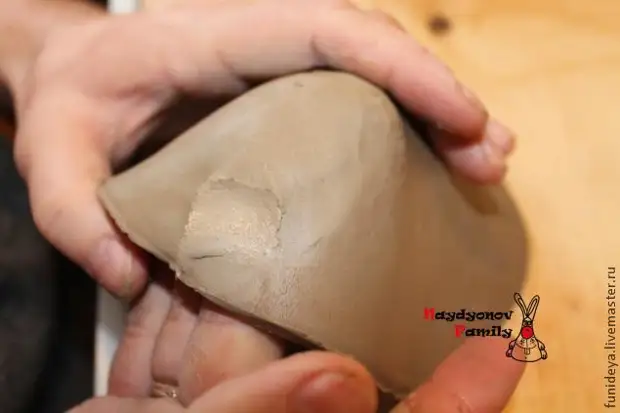
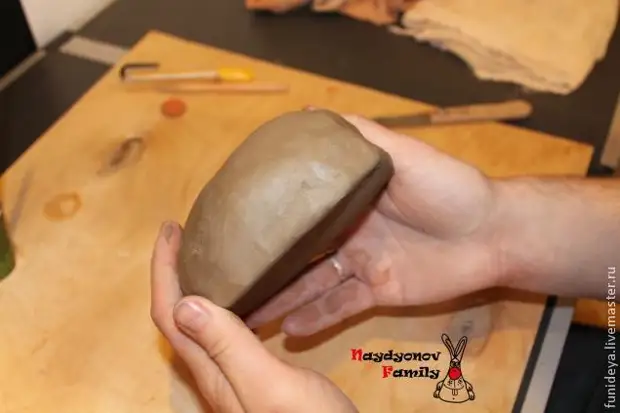
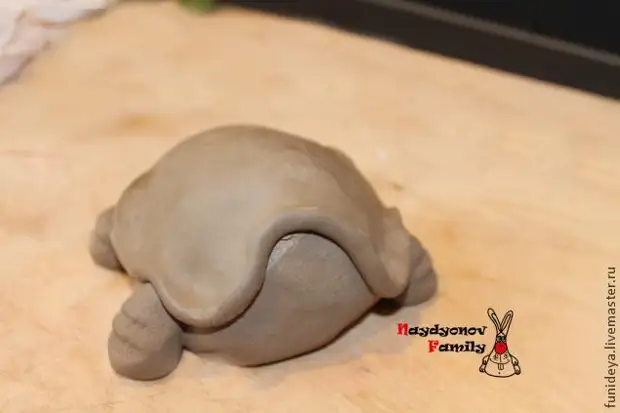
13. We make our shell more pronounced: separate the upper and lower parts
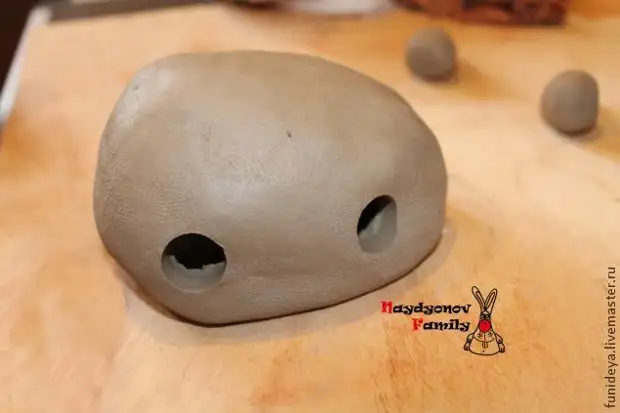
14. We sculpt the face of the turtle. For this we take a small piece of clay and fidd up the form

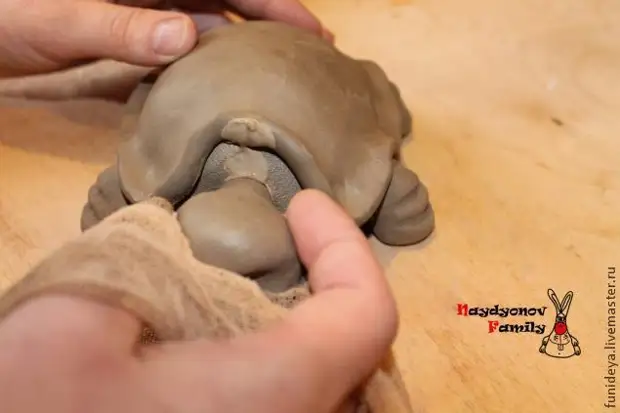
15. With stacks, we make a bug smile, nose and marigolds))

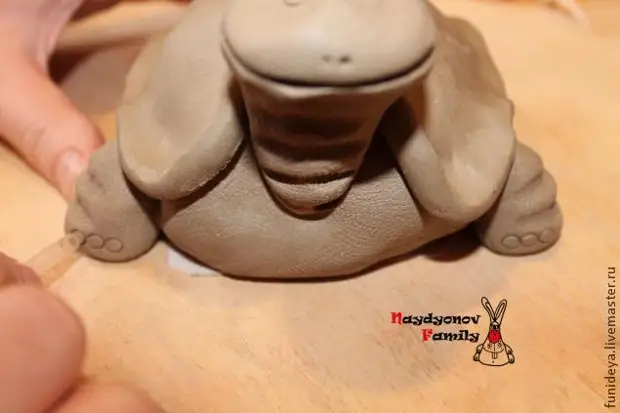
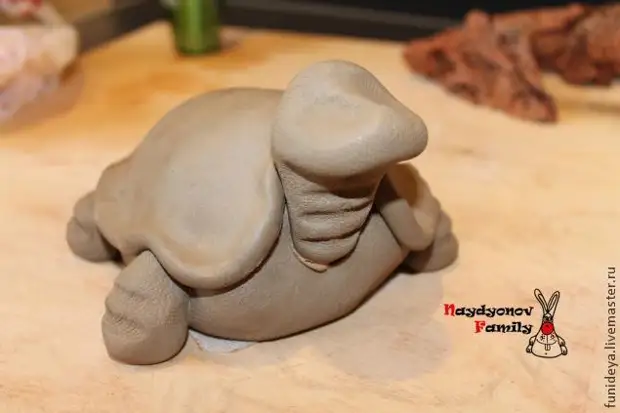
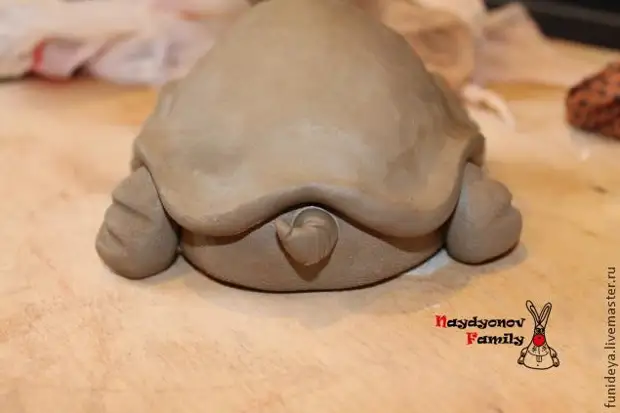
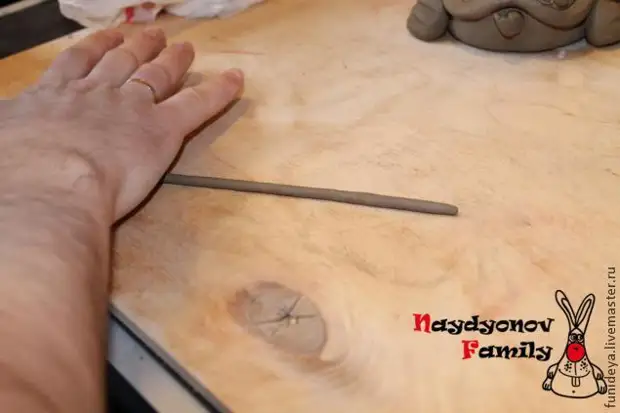
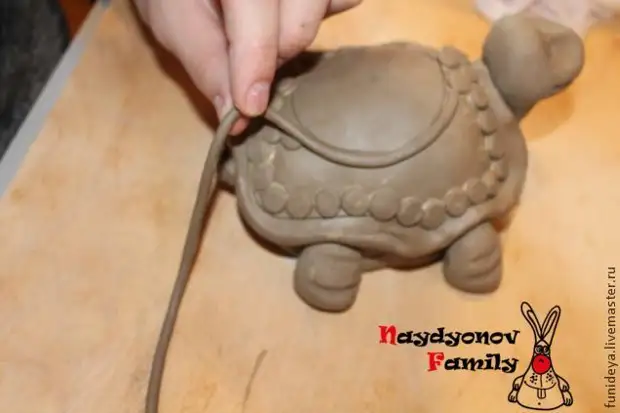
16. Now make a tail
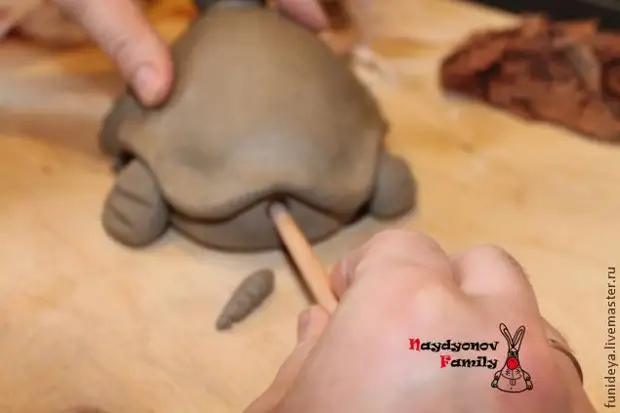
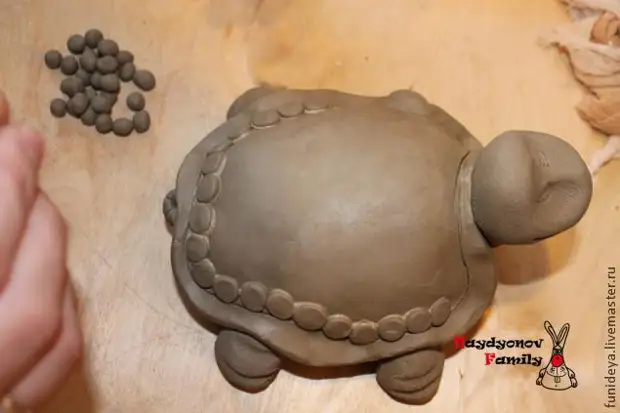
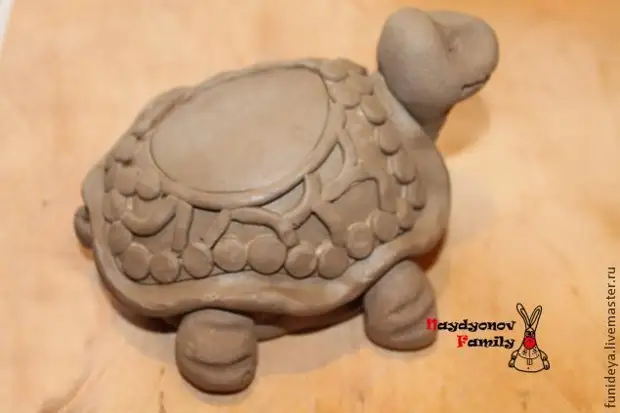
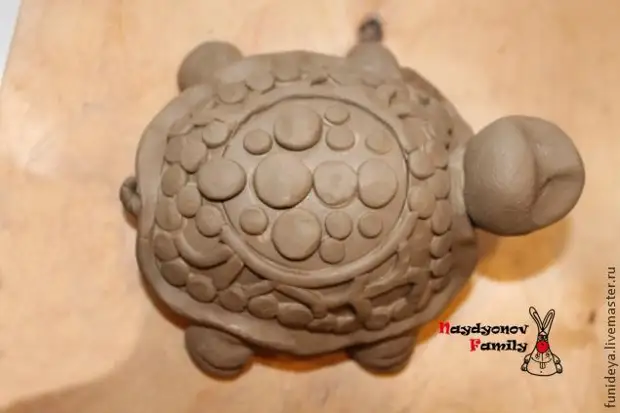
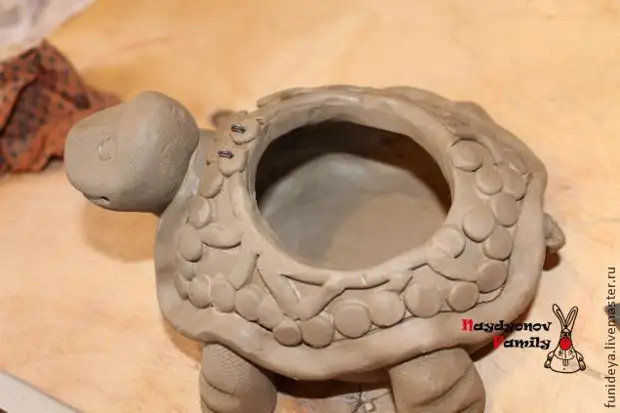
17 Finally, it can be started to decorate the shell. Here you can already fully fantasize. You can come up with your drawing and apply to the shell. We also sofantazed and allocated the shell with "coins", made a mosaic.

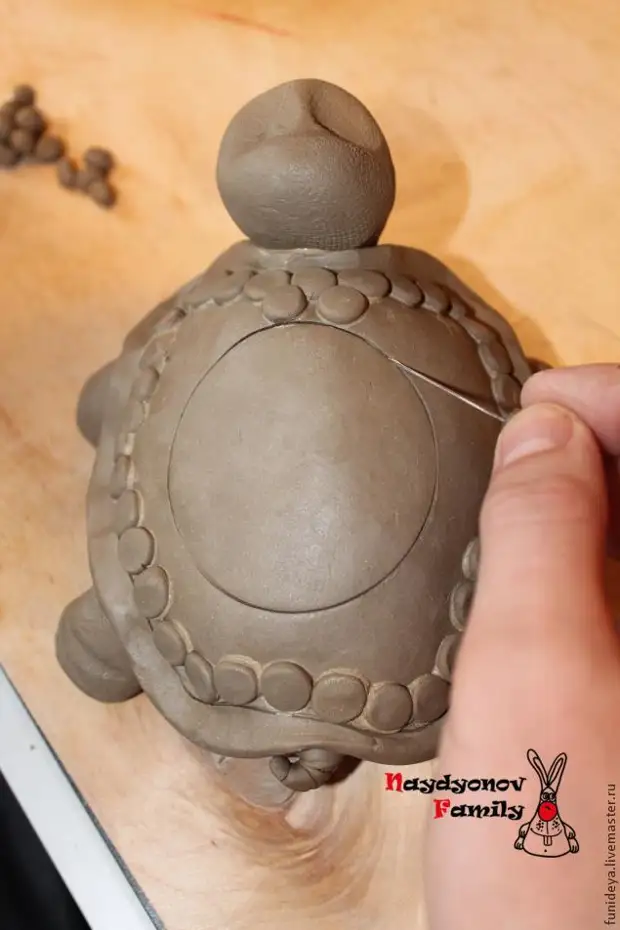
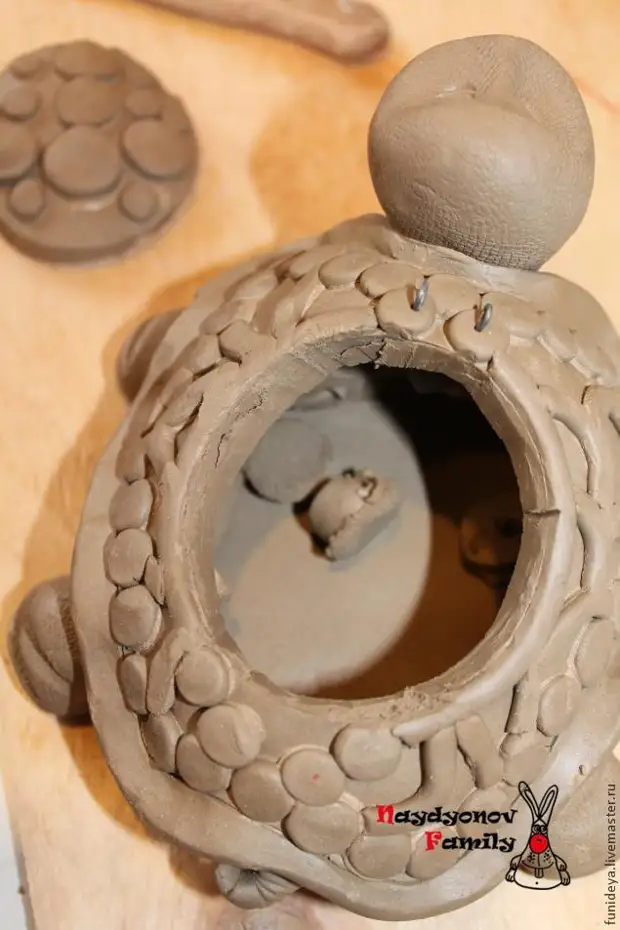
We plan a place where the lid will be
18. Make Mosaic
19. With the help of the blade, cut out the lid
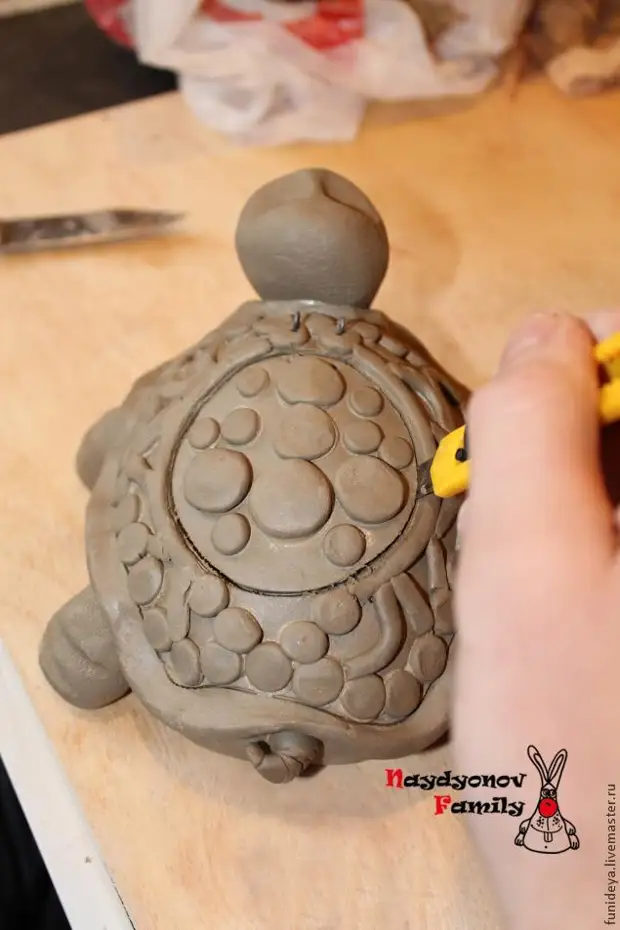
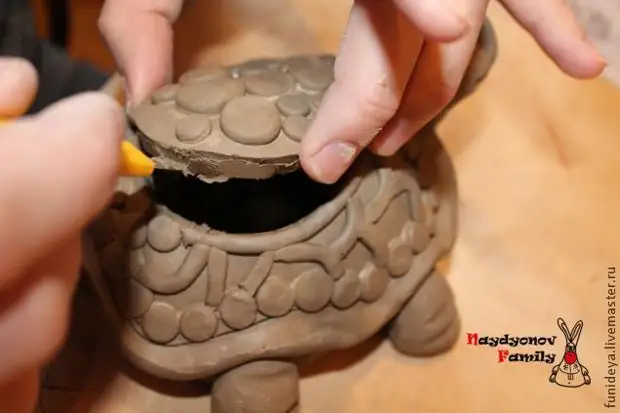
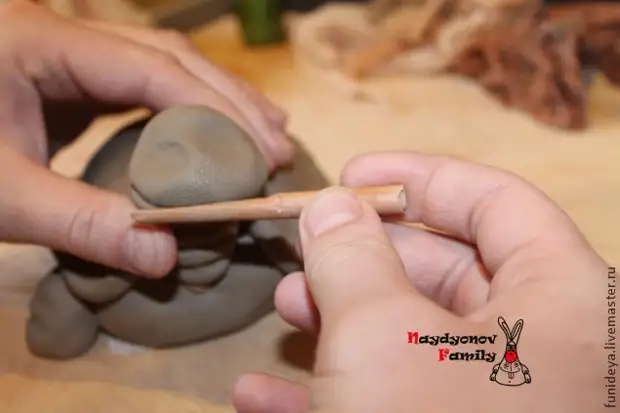
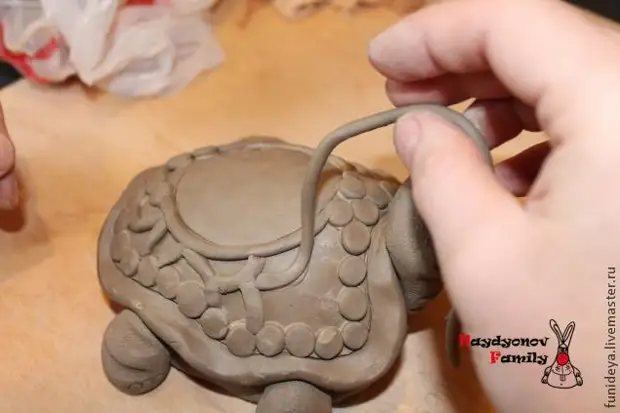
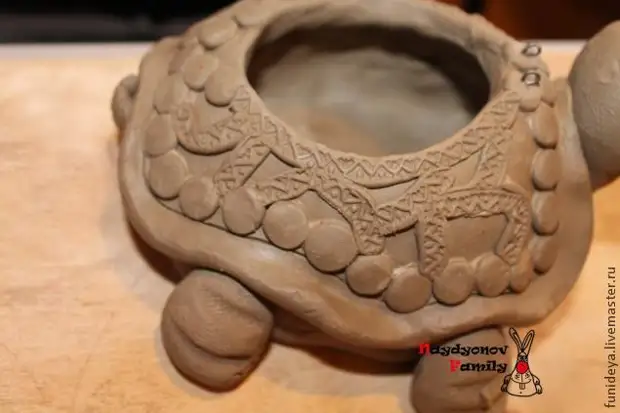
20. Inside remove all the extra pieces of clay and rub away from irregularities
21. To decorate a mosaic, you can come up with any drawing and apply it with stacks. We love to inflict ornament, for which even cut special printing.

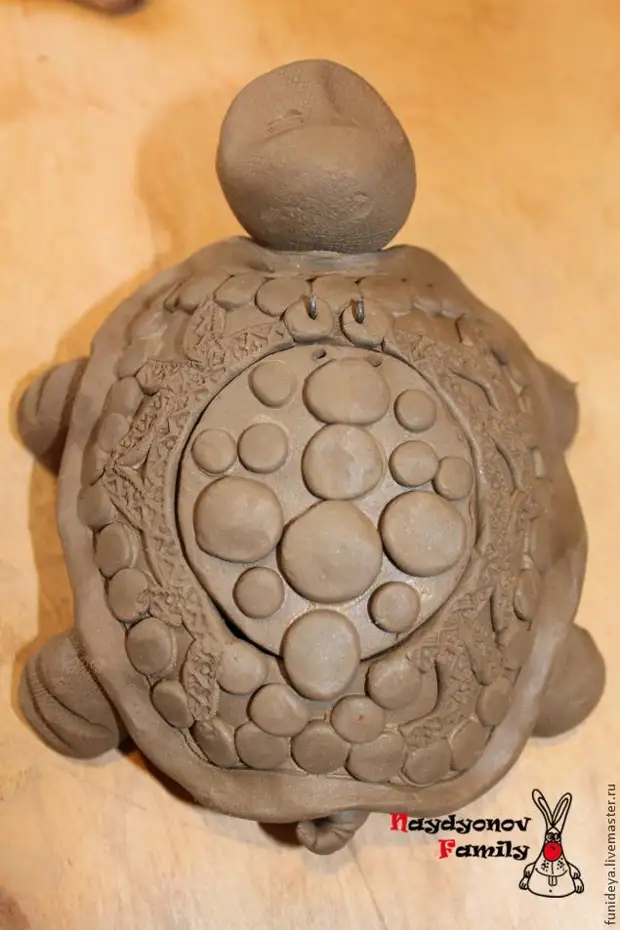
22. It remains only to make beads - eyes
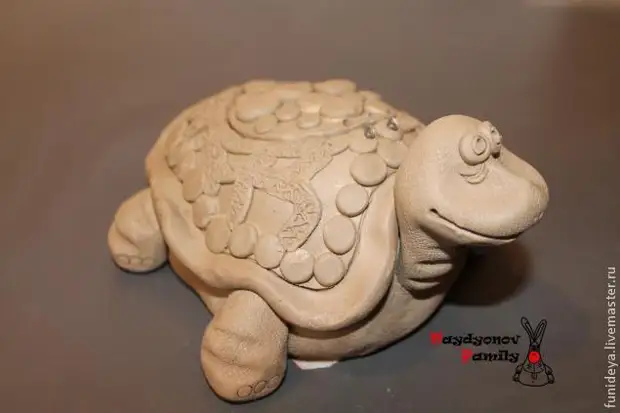
And here is our box ready! Next, it should dry 3-4 days, then firing in the furnace at 1000 degrees, glazing or painted with paints :)

A source