
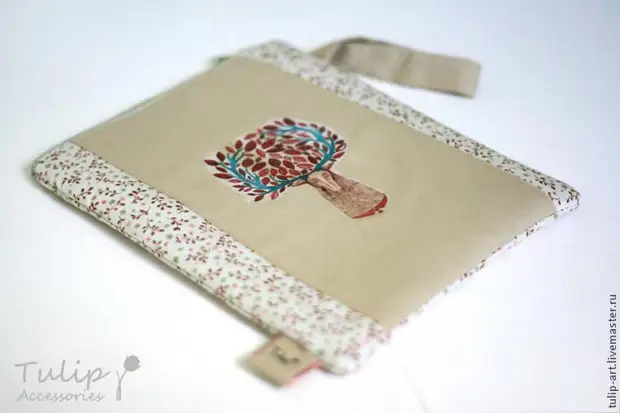
This time we will sew a simple handbag-cosmetic bag-case-for-tablet. It is simple, it is simple, but we decorate it with a pattern, which will be translated using thermotransfer paper.
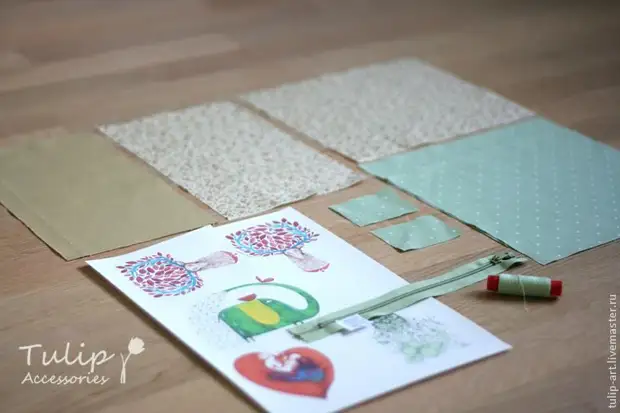
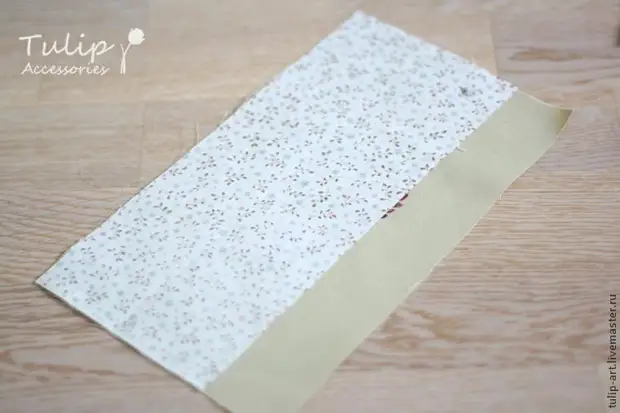
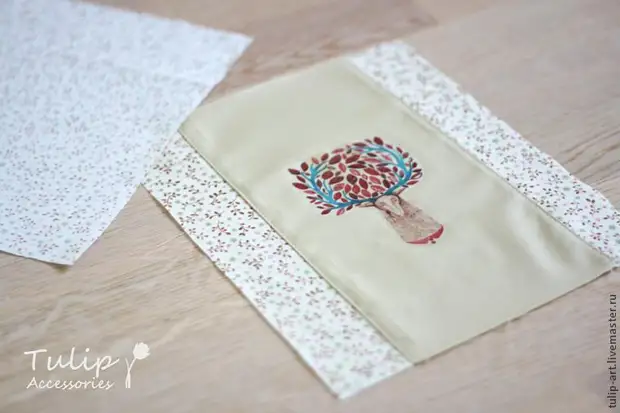
Kra, as I have, elementary. We will need three kinds of cotton fabric. We are determined with the sizes of the future handbag and cut the rectangles of the appropriate size plus allowances for the seams: two of the tissue for lining, one of the fabric for the outside. This one rectangle will be the back wall of the handbag. For the front wall, we cut a narrower rectangle of bright monochrome tissue - it will be a middle of the front wall. Then, from the same fabric, that the rear walls are cutting out two more rectangles. You can calculate their size, taking into account the allowance, I do not bother, I do not like it at all, I got out of the obviously more, then, after connecting all the three parts of the front wall, cut to the desired size, focusing on the sizes of the back. Two more rectangle from the seal. And a couple of small pieces of fabric for processing the ends of the zipper.
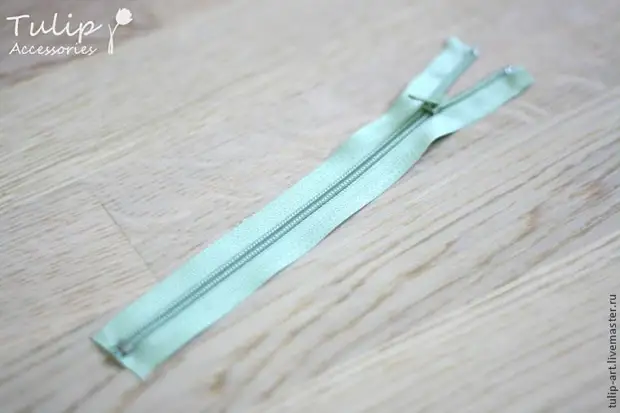
In addition, we will need lightning and thermal transfer paper with a picture printed on it.
Let's start with paper. This is how the sheet looks like, I printed several images at once, for the future.
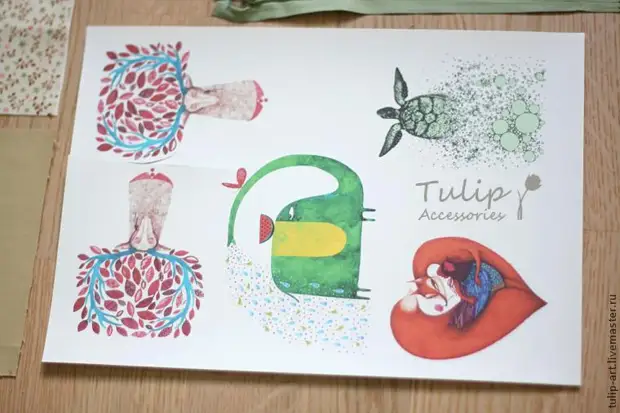
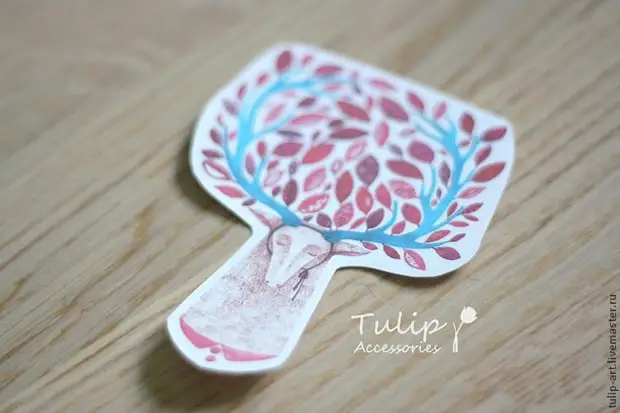
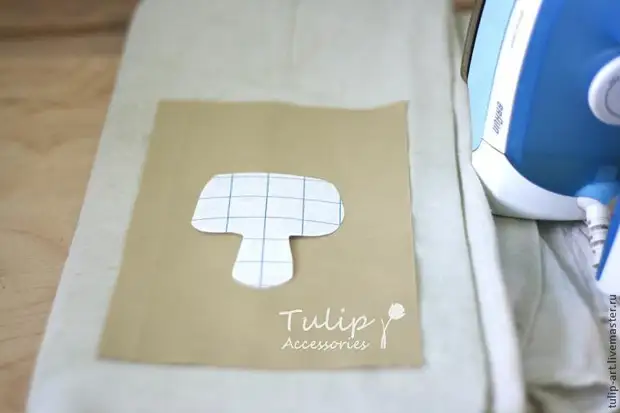
Cut the desired picture, today it is a deer.
Put a picture with a picture down on a monophonic cotton. Gray iron. Be sure to turn off steam.
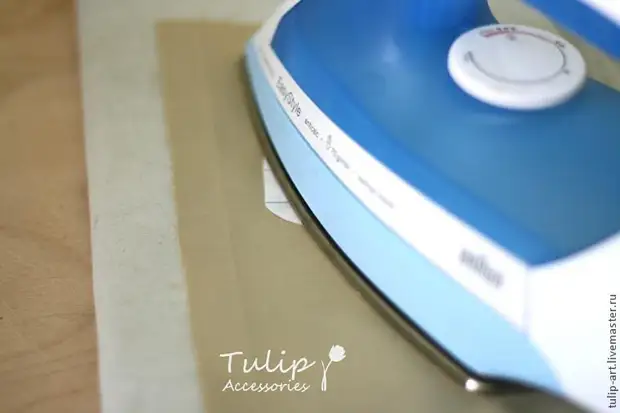
Just stroke the image of the iron on both sides, about a minute for each side. Right on top of paper, you can put fabric. The picture will stick, turn the cloth and speak again.
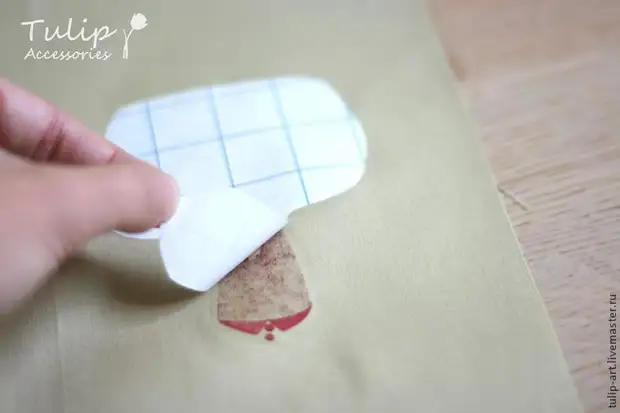
We remove the iron, be sure to wait until everything cools. Then carefully refress the edge of the paper and remove the upper checkered layer.
All, deer is ready!
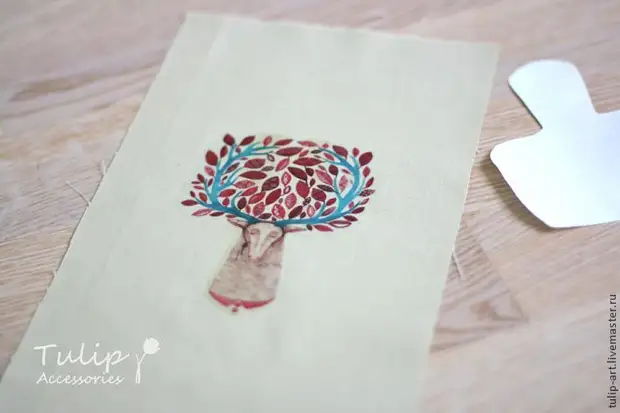
The image is kept firmly, well withstands even a large amount of washes.
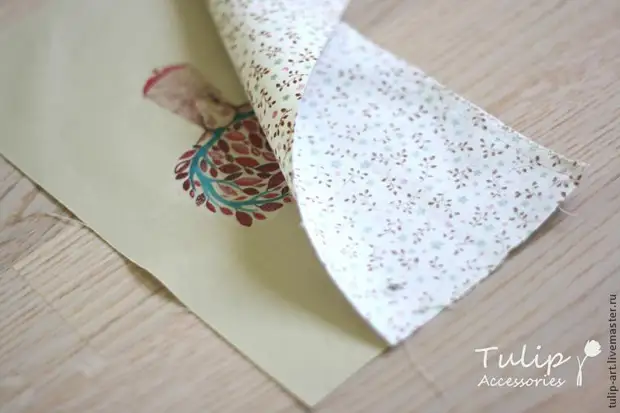
We take the side of the front wall and apply it face to a deer along the edge.
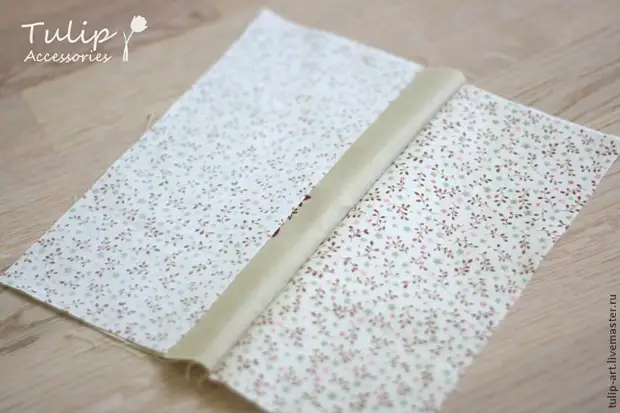
We pass, process the edge.
Also act with the second sidewall.
We are racing, weaning the seams, laying decorative lines along the seams. The deer is not stroking the iron, he is a resident of the northern, he does not like the heat :)
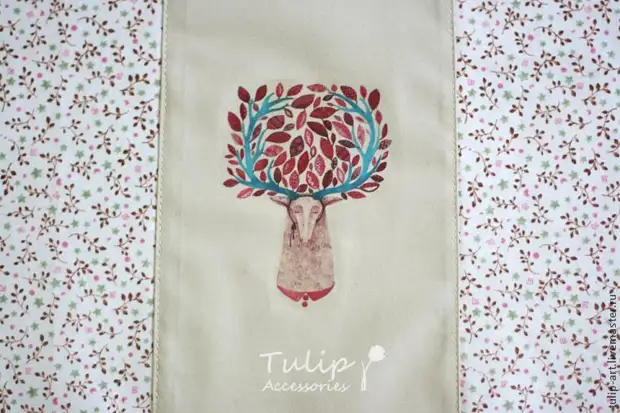
Now you can cut up more unnecessary from the tissue with branches.
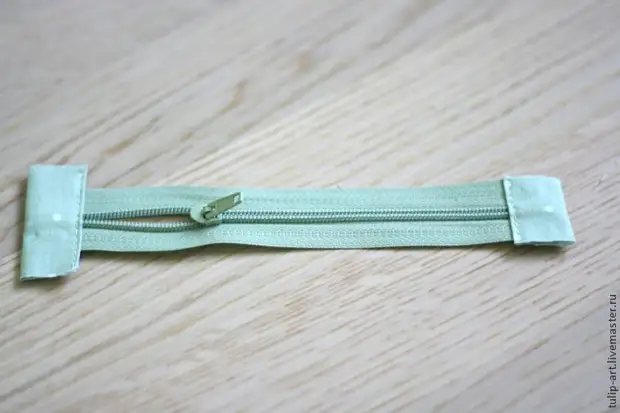
Now it's time to do zipper. Cut the tips.
Little rectangles start as in the photo - first as right, then as left.
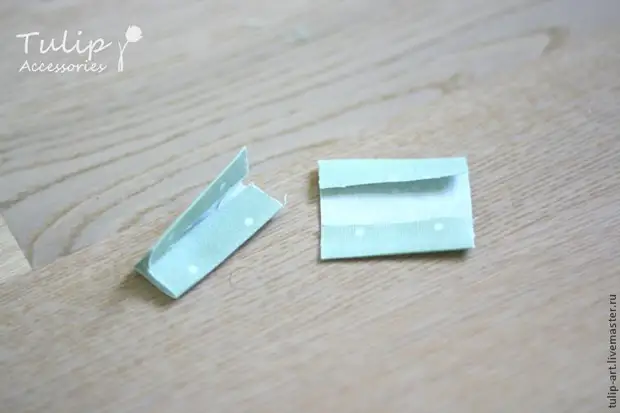
We put them on the tips of the zipper and we spoil.
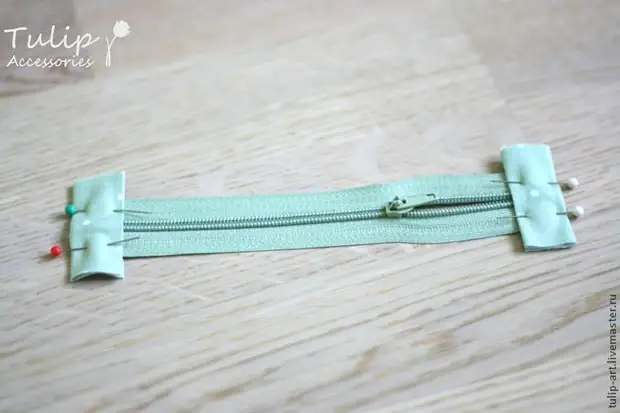
We grasp and cut up too much to the size of the lightning.
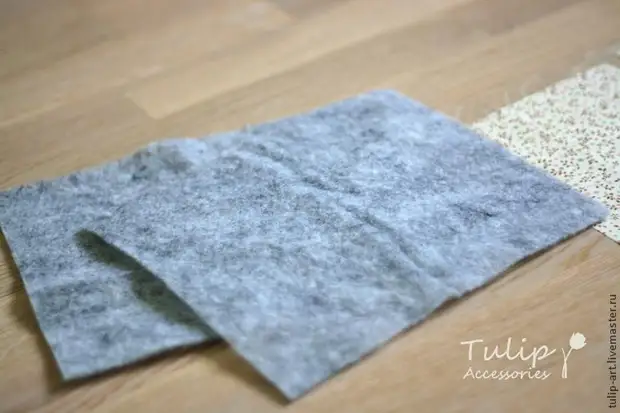
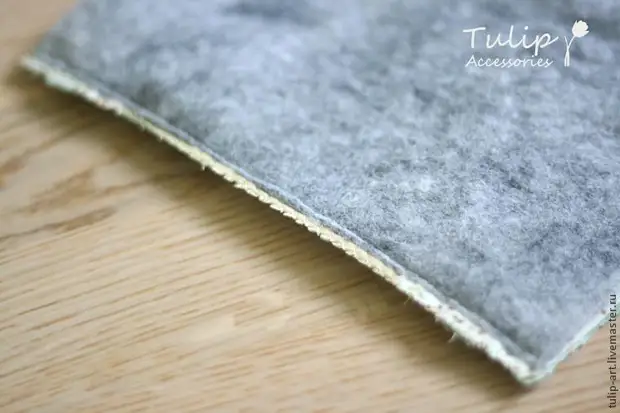
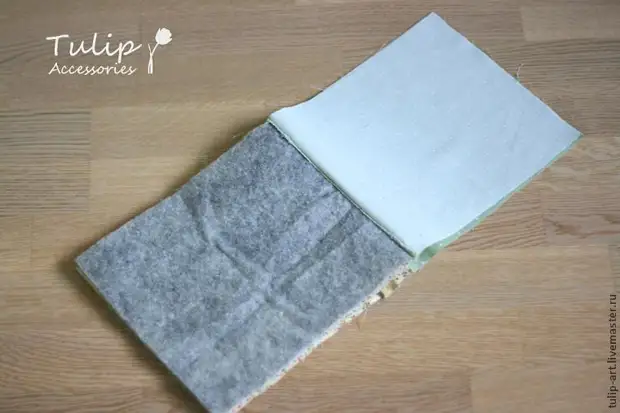
Now we will sew a lightning. We fold a sandwich, do not forget about the seal:
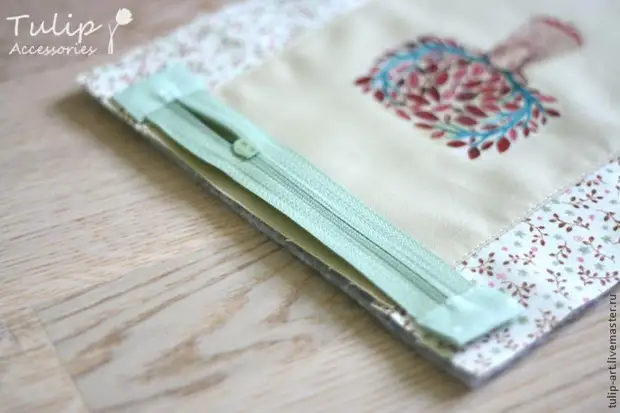
From above - detail of lining face down. We roll pins, pass.
If everything is deployed, it turns out like this:
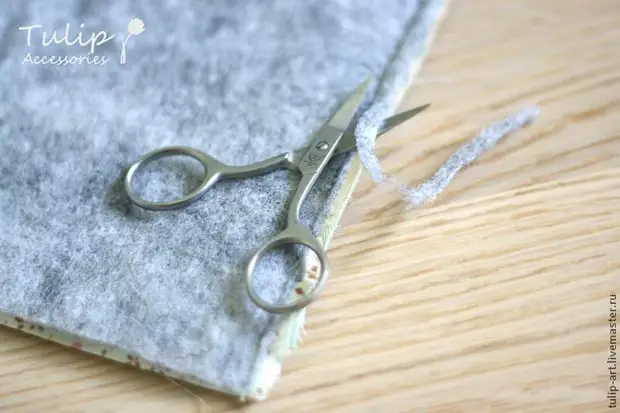
Now we take manicure scissors and carefully cut the filler under the seam, not the assay other details:
After that, you can process the edge zigzag. Also we do with the second edge of lightning and details.
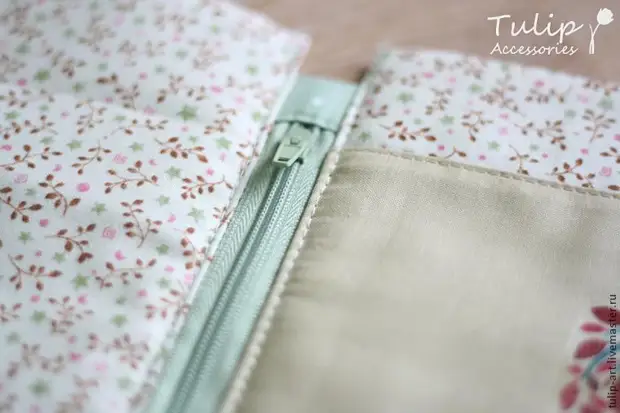
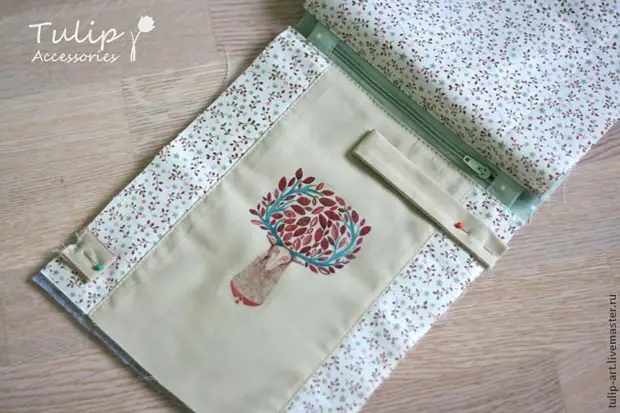
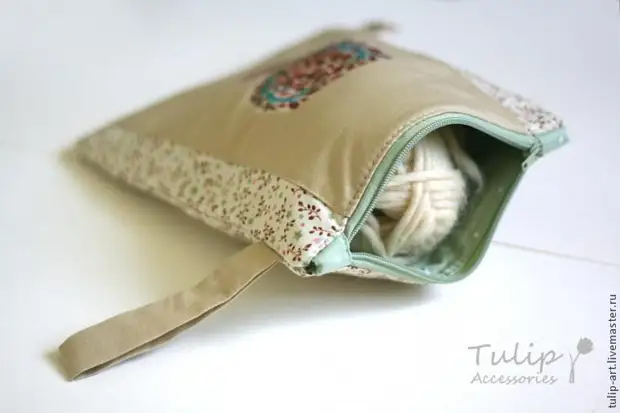
Lightning sewn. Put a couple of lines along it.
At this point, I suddenly decided that the purse simply needs a rope. Therefore, I'll take another tissue strip.
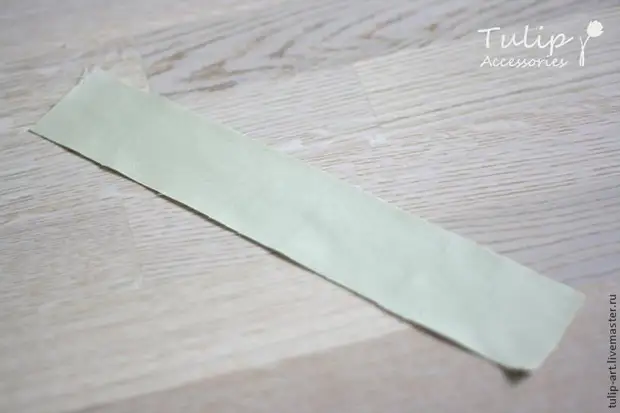
We fold it with a lot of long edges to each other and spend:
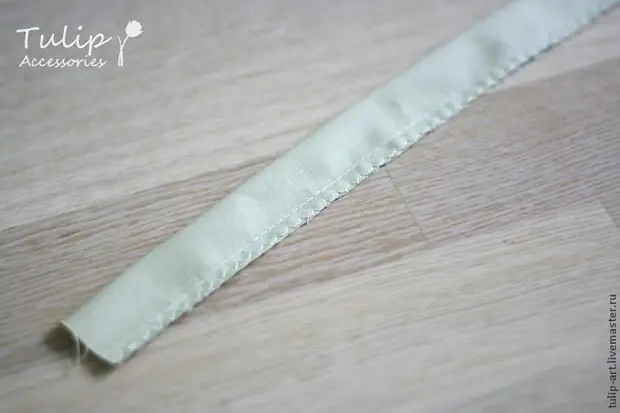
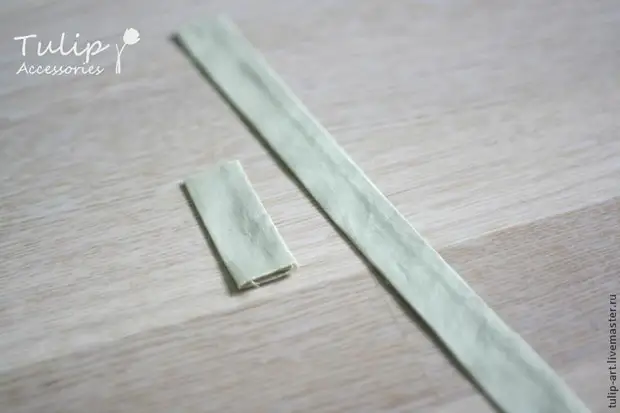
We turn out, we sip and cut off a small piece - it will be a bearing in the seam.
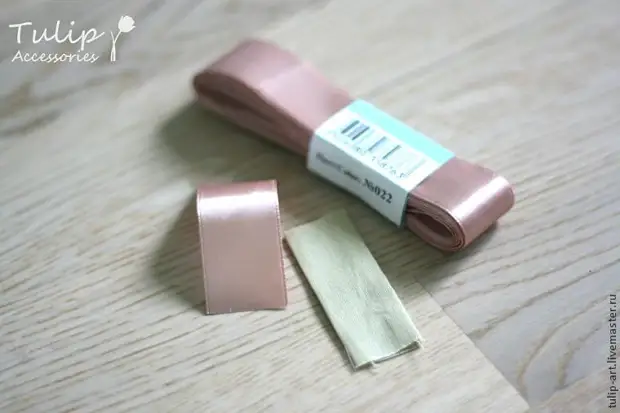
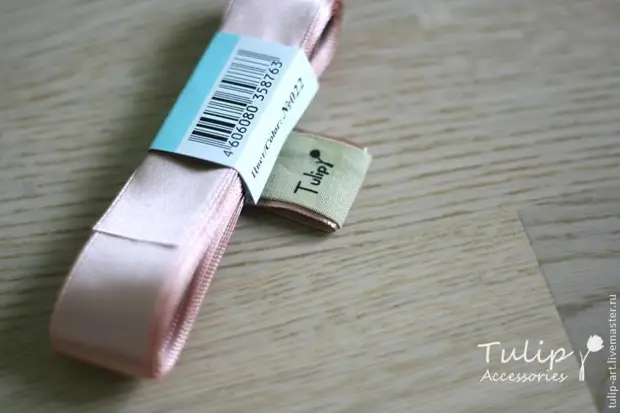
But on this I did not calm down, I took another piece of satin ribbon, such de length as the future tip.
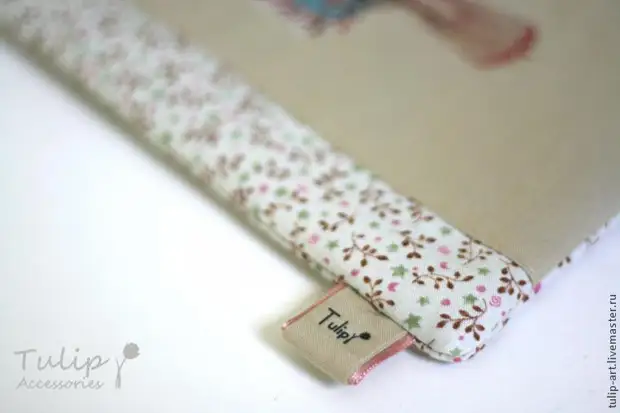
Now time to translate the logo! It is printed everything on the same thermal transfer paper and carved.
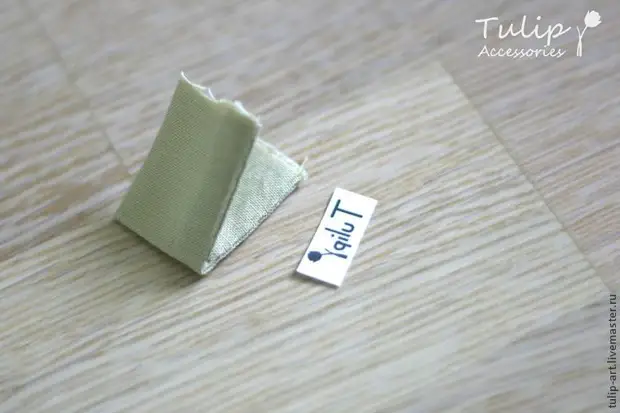
We translate it in the same way as the deer, the Birchka is almost ready!
Insert a piece of satin ribbon inside.
Finally we collect everything. We pin the rope and tag to the front wall with a deer:
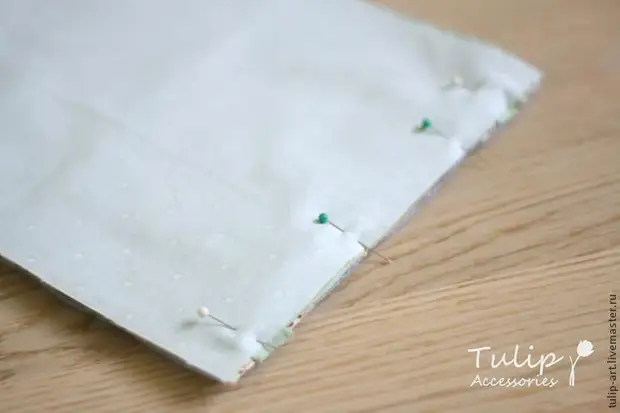
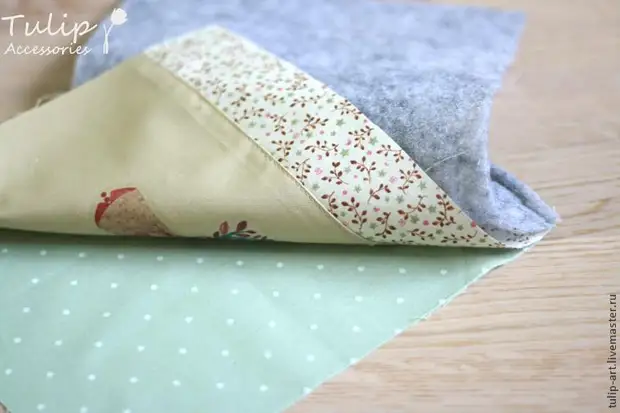
We put each other face to face the front and rear walls and also the lining details.
We shoot around the perimeter, leaving a hole for turning.
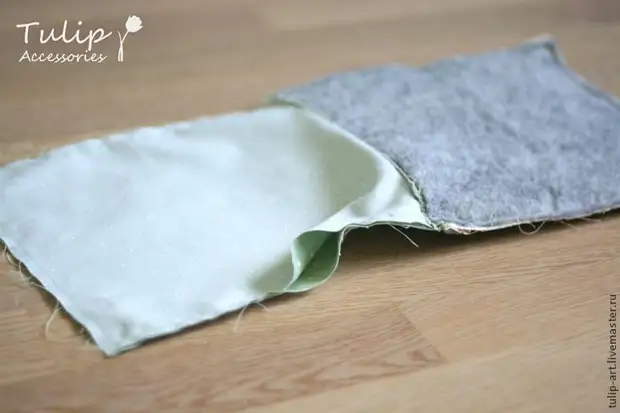
Cut the corners, carve the filler, process the seams, turn out, we move - everything is ready!
A source