
I recently acquired my workplace. And, of course, I immediately wanted to be in place where my work is born, I was surrounded by beauty and inspiration. And I decided to hang pictures on the wall. Honestly, I do not remember where the idea of such paintings appeared in my head. Most likely, I somewhere met the like, so I do not pretend to uniqueness. Just want to tell and show how I did.
So, to create a lace image we will need:
- Yarn (I have white cotton);
- frame;
- watercolor paper;
- scissors;
- stationery knife (perhaps you will cost it without it);
- knitting hook;
- glue.
All collected. Start.
First you need to find a suitable scheme. Since I have a rugged frame, the pattern was needed as rectangular. I decided to make it from two identical squares. Found on the Internet such a scheme

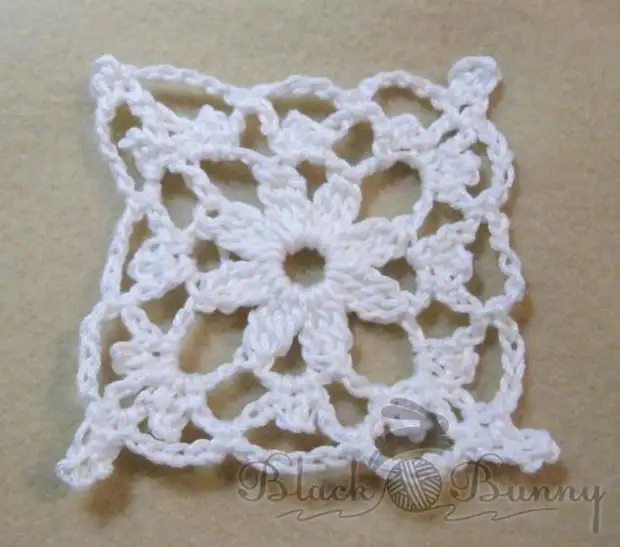
Knit the square, should turn out this
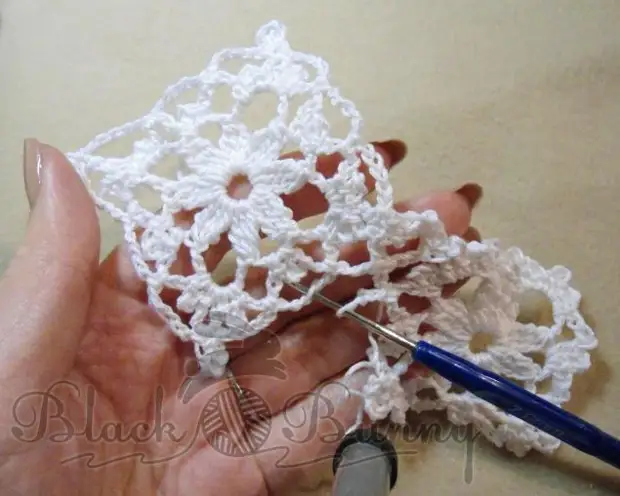
I join the second square to the first right in the process of knitting the last row
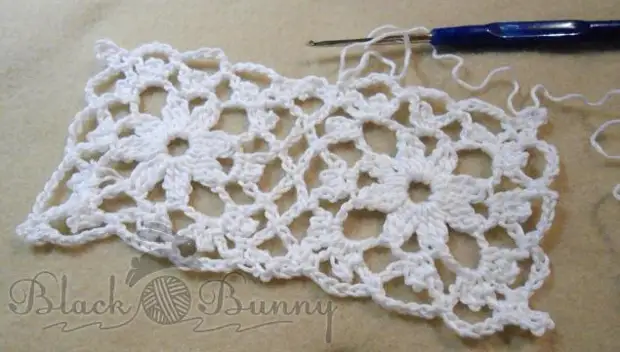
It turns out like this
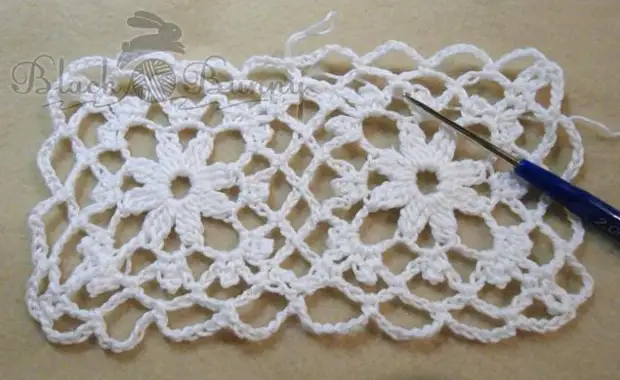
Applying lace to the frame, I realized that rectangles are not enough ... and tied in a circle another row Arch from air loops
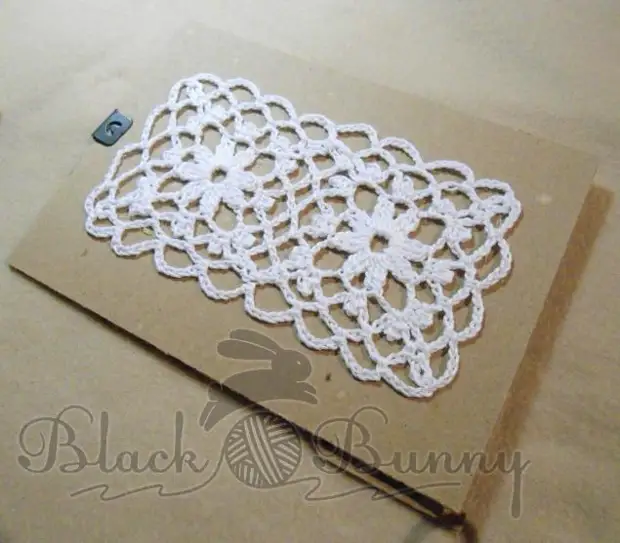
Now we smooth out our lace with an iron with a ferry from the wrong side, and gently glue to the substrate. I have completely arranged a substrate from the frame itself, so I glued straight to it. You may want some other background, then you can easily glue it. I used the usual glue "moment" (not super-glue), applied on the lace dots in a circle along the extreme row.
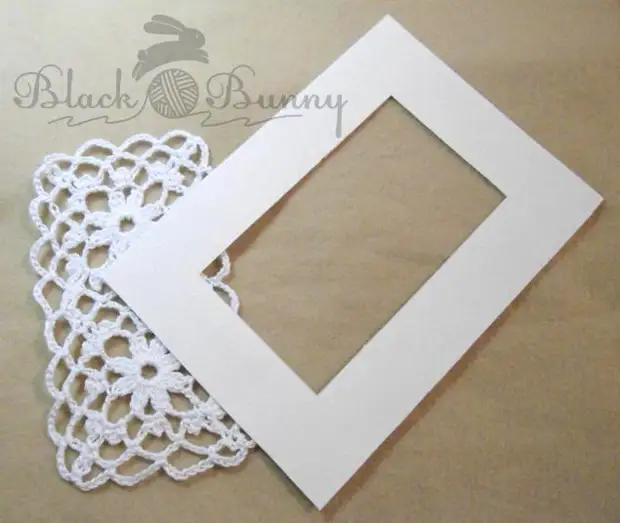
I very much like to make pictures and photos using an additional cardboard frame (it seems it is called a passe). This picture is no exception. Therefore, I cut out of watercolor paper here such a rectangle with the rectangular window in the middle (just this window is convenient to cut down a stationery knife)
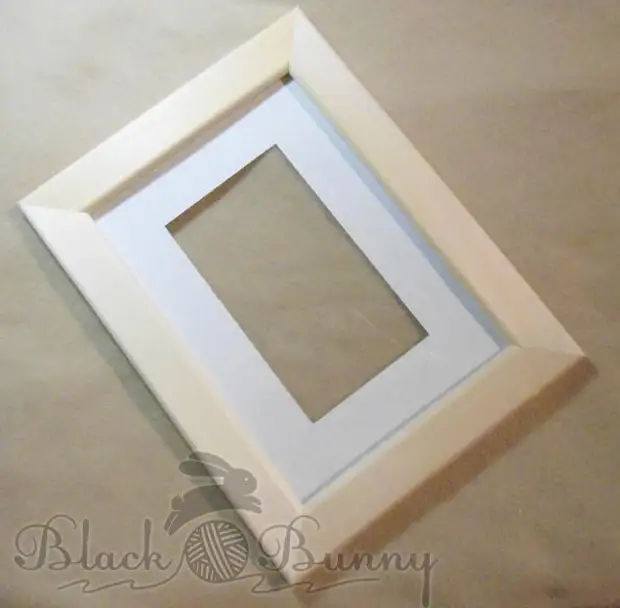
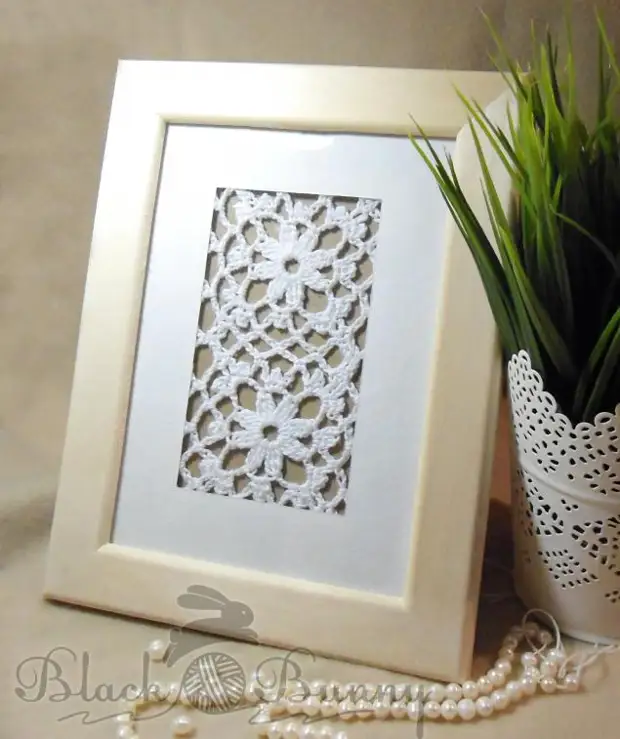
That's how it looks in the frame
Meanwhile, glue on the lace is dry, and you can safely insert it into the frame. That's all, the lace picture is ready!
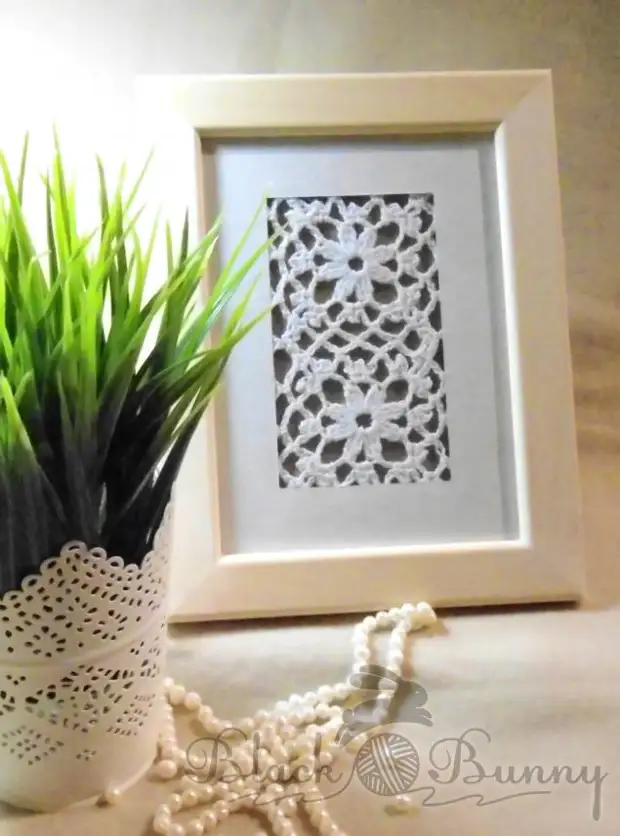
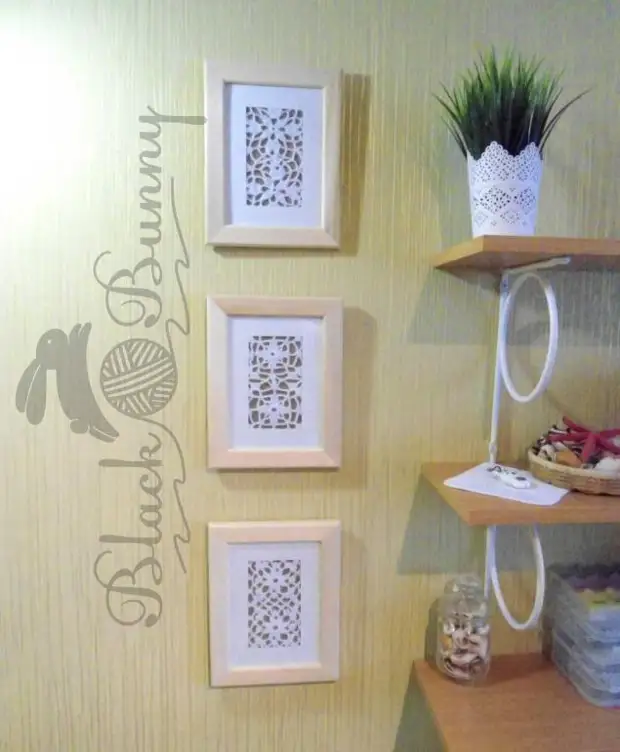
I went further and made a set of three such pictures. Now they decorate my workplace and inspire me to new accomplishments. )
A source