

In this master class, I will tell you how to sew a bag for shoes.
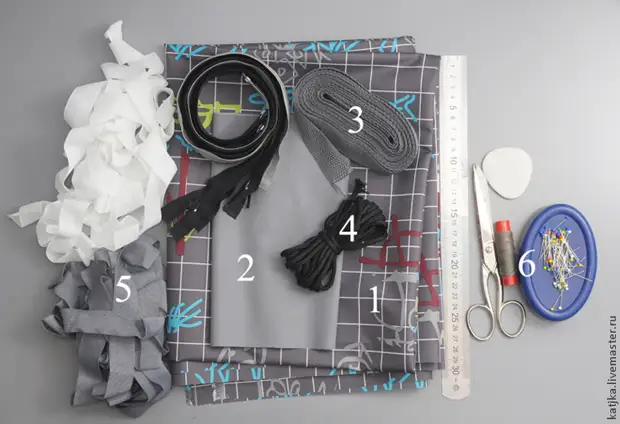
To work, we will need:
- Fabric weeping dense 0.8 m. With a width of 150 cm. I use the Taslan.
- Fabric weeping thin 0.1 m. I have Dusp.
- Strip 2.5 - 3 cm wide. 15 cm.
- Cord 3.5 m.
- Circulating braid 20 mm width. 1 meter. Instead of edging, you can use a pile or repusal tape, oblique plaque from a thin cloak.
- Scissors, pins, threads, ruler, Portnovsky chalk or disappearing marker.
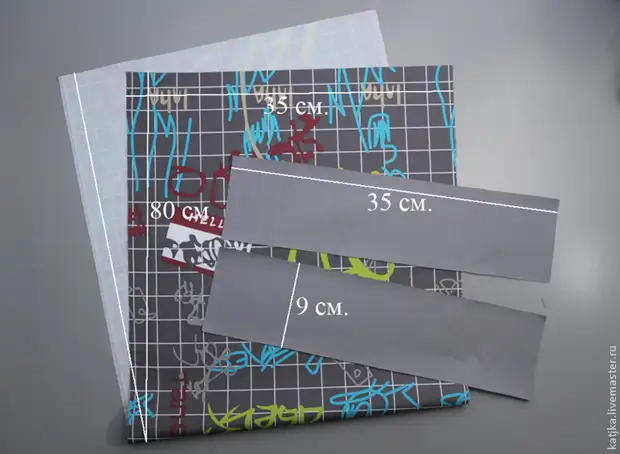
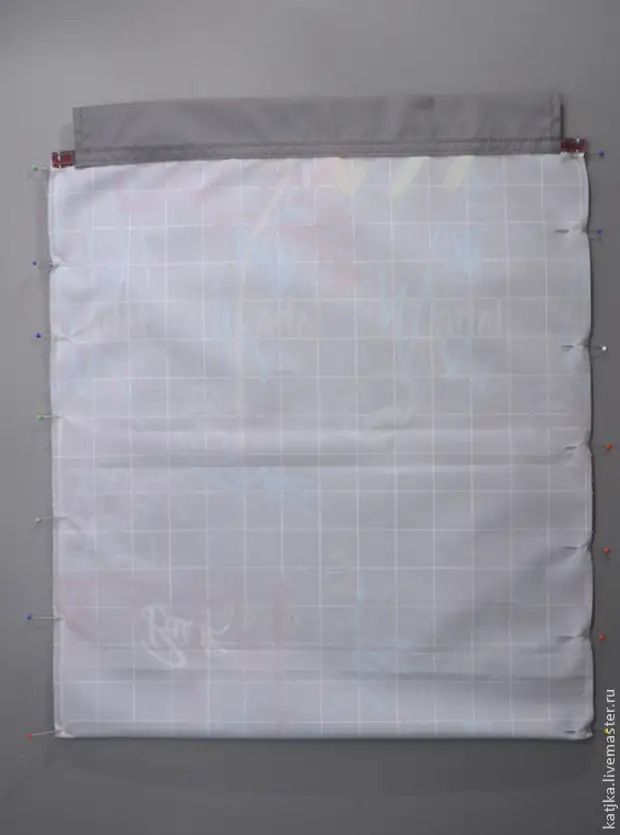
1. From the main fabric, cut the rectangle of 35 x 80 cm. From thin tissue - two rectangles of 9 x 35 cm.
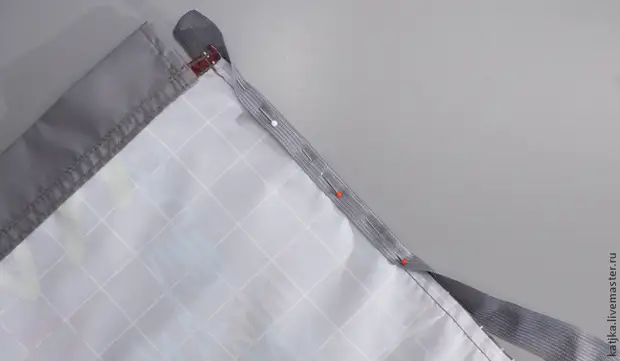
2. Take the details for the top slice of a thin cloak. From each edge, set aside 1.5 cm., Generate, scalp pins.
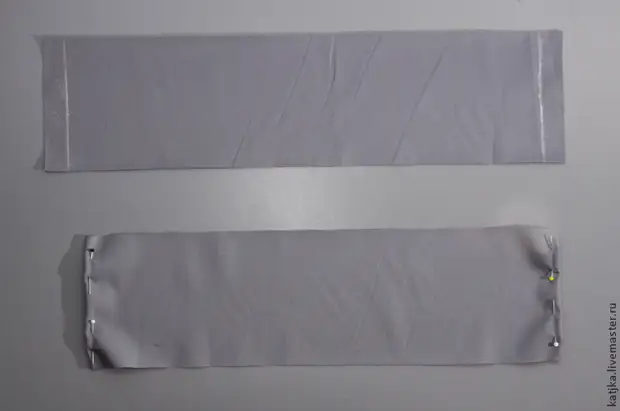
3. The edges of the collapse are revealed. Then bend the edge in half into half. Once again reveal.
4. At a distance of 6 mm. From the edge to launch the line. Purge all the edges on two details.
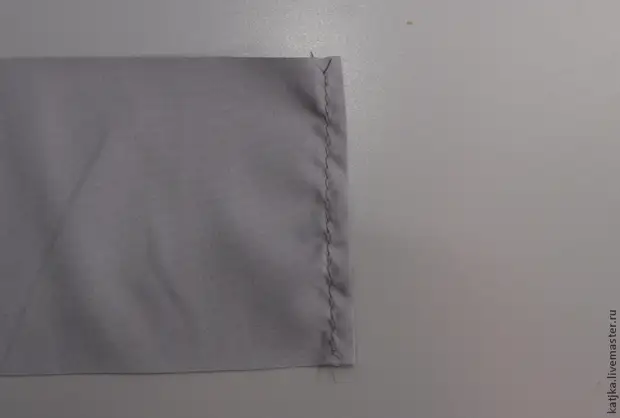
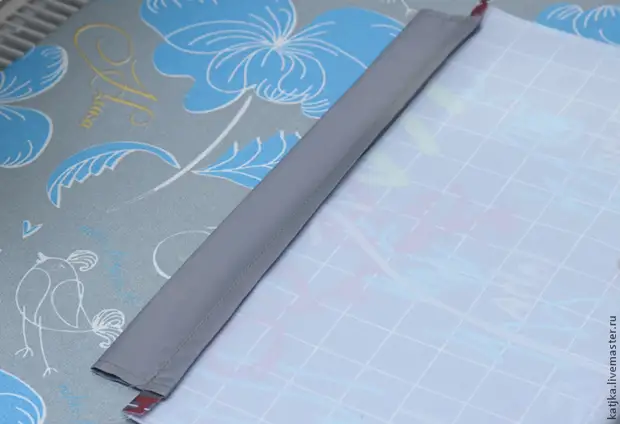
5. From the long side of the detail on the wrong side, draw the line at a distance of 1 cm. From the edge. Bend the lower part of the detail to the drawn line, scalp the pins. Fold reveal.
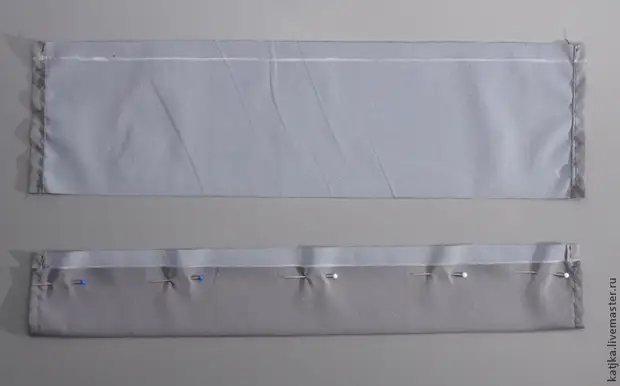
6. Take the part of the scene and the main detail.
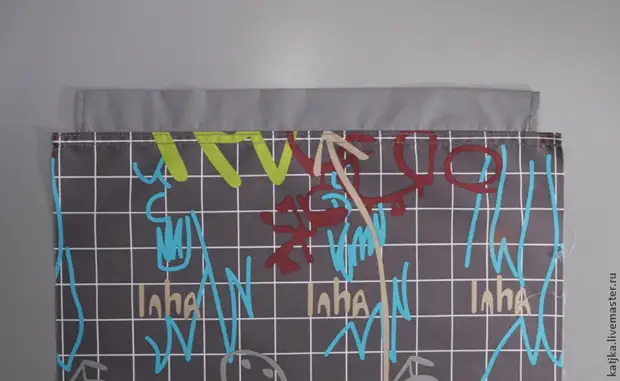
7. Enter the main part to the lower edge of the scenes. Over the edges, leave the same distance. Scaliate parts by pins.
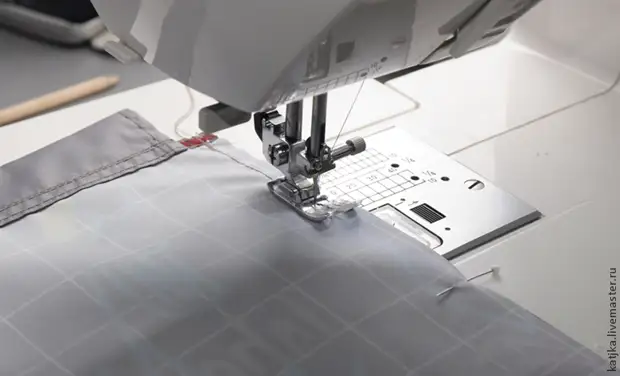
Purge the details at a distance of 1 cm. From the edge. At the ends of the line necessarily make the leaf.

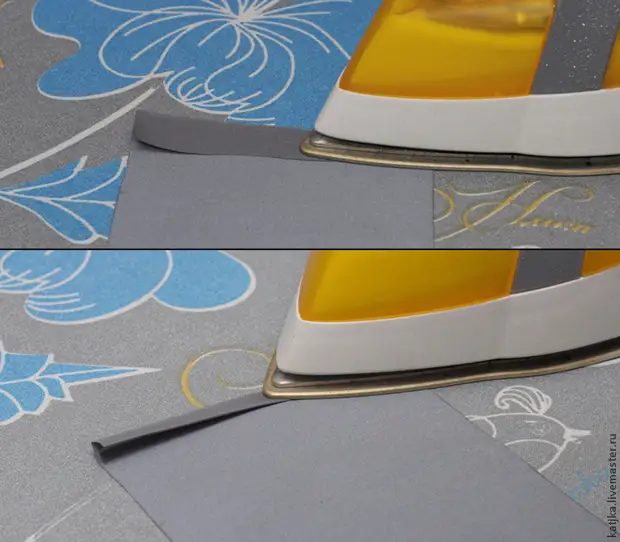
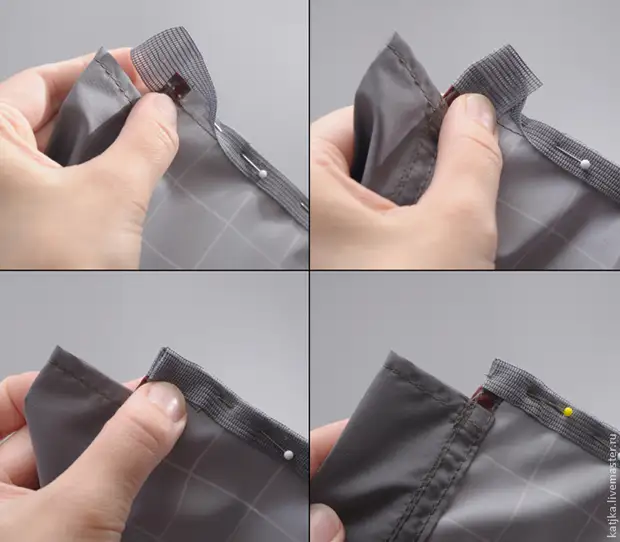
8. Bend the protruding end of the fabric and endure the iron.
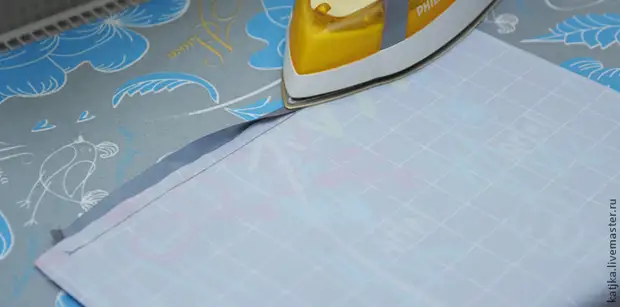
9. Soak up, turn over the fabric on the wrong side. Seam reveal.
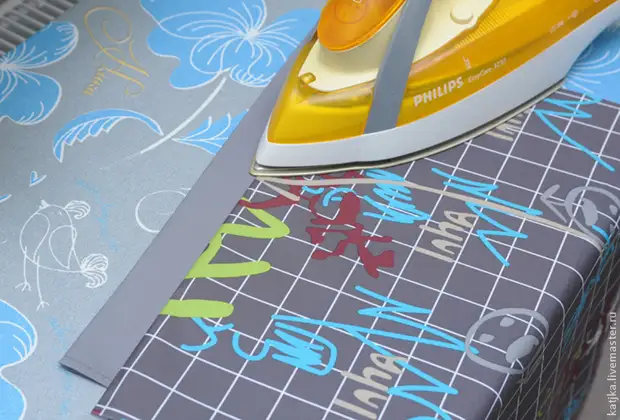
10. Turn the fabric again and reveal once again. Make sure that the edges of the fabric are smoothly bent.
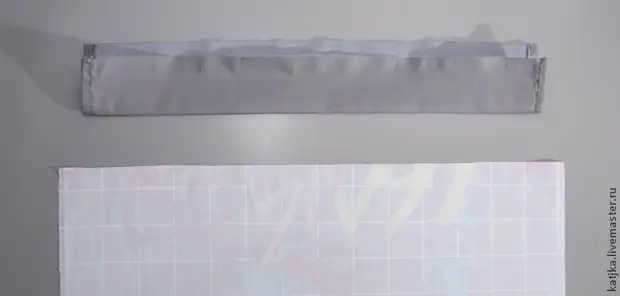
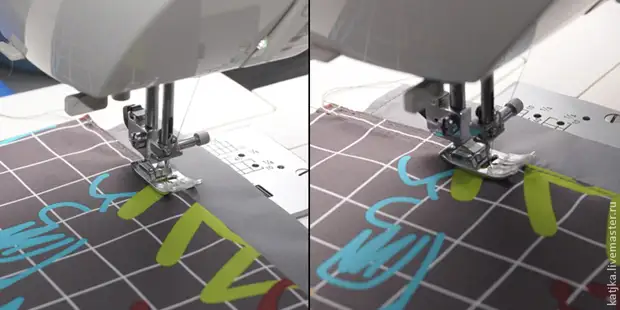
11. Over the facial side at a distance of 2 mm. Route from the edge finishing line. Then laid another line at a distance of 8 mm. From the edge.
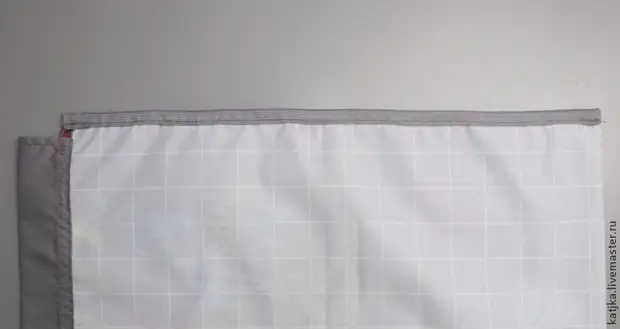
12. In the same way, the scene of the scene to the second side of the main part.
13. Main detail fold in half the front side inside, align on lateral sections and scroll the pins.
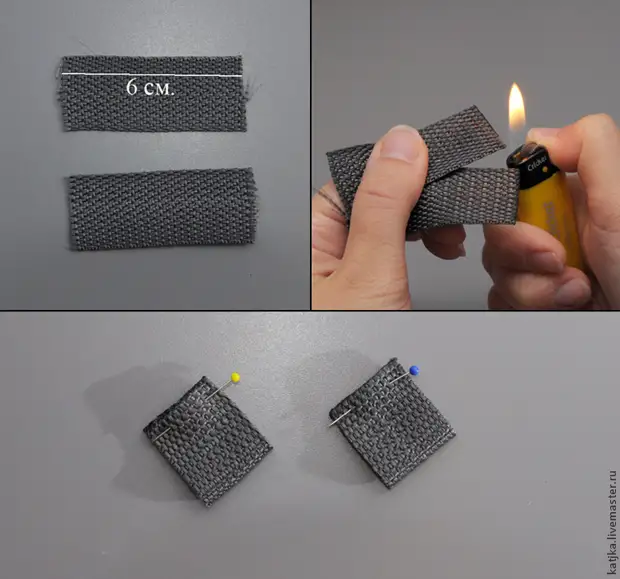
14. Cut two pieces of 6 mm long slings. So that the edges do not appear, treat them with a lighter. Bend the sling in half and jump the pin.
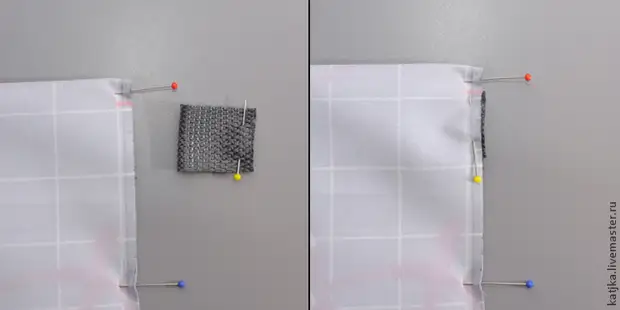
15. Take the main detail. From the bottom edge, set aside 1 cm. Insert the sling inside the bag by the label and secure the pin.
16. Put the bag over the side seams at a distance of 8 mm. From the edge. At the beginning and at the end of the line necessarily make the leap.
17. Take an edging bracket. Start wrapping the edge of the bag with a braid, gradually pinsing with pins.
18. In the edges of the bag, wrap edging, as shown in the photo. Print pin.
19. Then POST 8 mm at a distance. From the edge. Side seams are ready. Remove the bag on the front side. Corn corners.
20. Take the cord, cut it in half, edges to handle the lighter. With the help of a pin, grind one cord into the backstairs. Then grind the cord through the front scene. Shoot the cord in the middle of the slings. Cord ends Connect and tie a nodule.
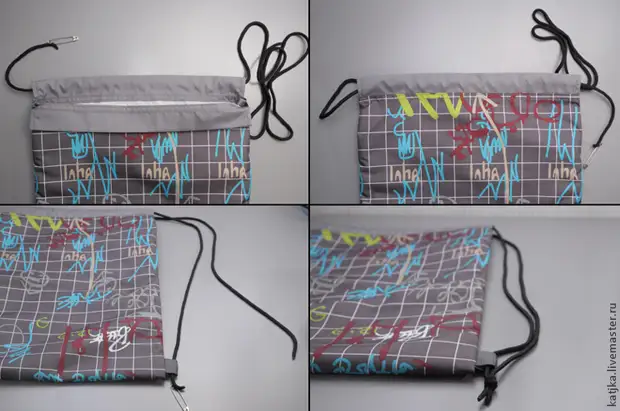
21. The same procedure repeat with the second cord on the other side of the bag. Bag for shoes is ready!

A source