
So, we will need the following tools and materials:
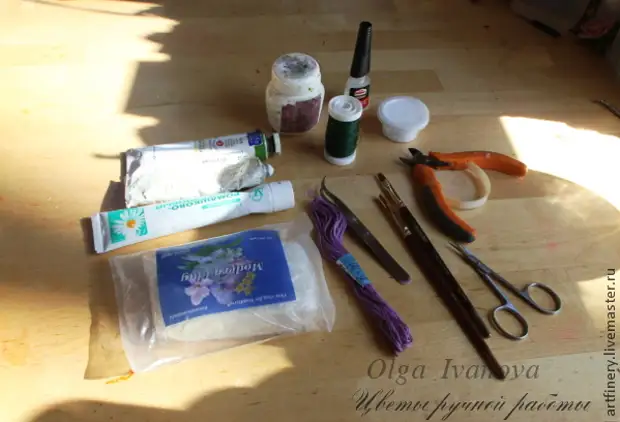
Clay Modern, a pair of brushes, wire, scissors, nippers, plow glue (latex), thread Moulin of a lilac shade, fat cream for kneading clay, paint "Master class" Herbal green, paint "zinc-brake", tweezers, flock powder and Contact glue.
Let's start.
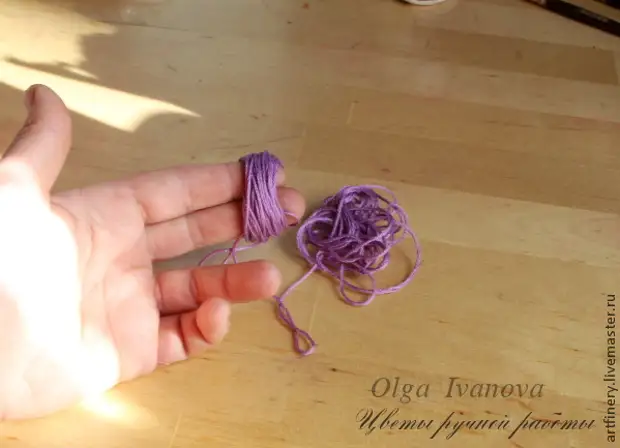
We wake up Moulin for two fingers (about half of the day).
We take a wire (diameter-0.35), fold in half and drag it the thread.
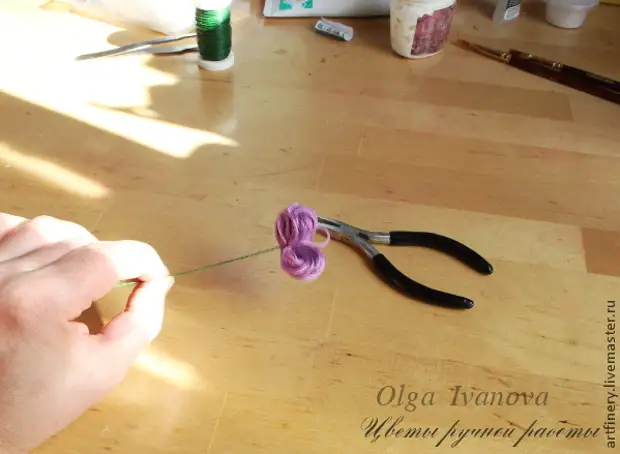
Cut the thread on both sides.
As my youngest, "softening" clay with a small amount of cream, add green oil paint and knead the desired color. Watch into the film so that the clay does not dry. Remember that the oil dries clay, so we work with painted plastic quickly, do not break.
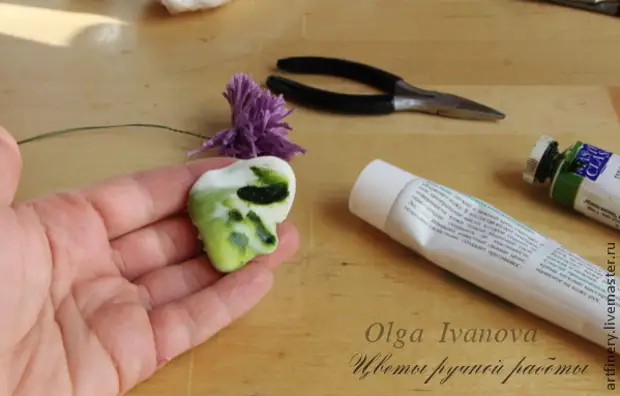
We take contact glue and drip in the middle of the thread, quickly until the glue has absorbed, we connect and squeeze the middle so that it does not fall apart in the future and there was no wire visible.
If you are accustomed to working with a tape ribbon, then it is better to do it now. I use TEYP very rarely, so I will run the stem on bare wire.
PVA glue ("Titan" for wood is a complete analogue of latex glue according to its properties, so it is not necessary to buy a dear Thai glue to work at all) carefully lubricate the base of our flower.
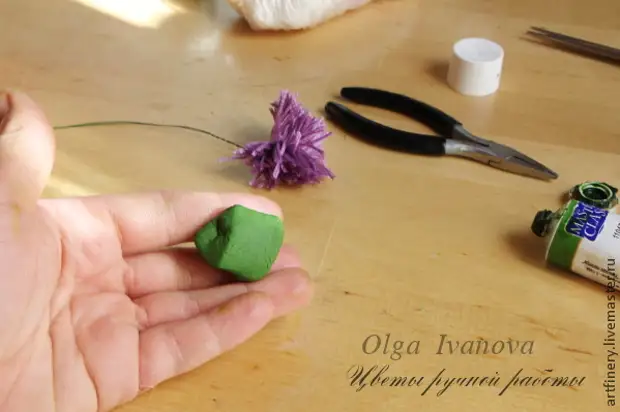
We take a piece of painted clay and, closing the bottom of the flower, form the base.
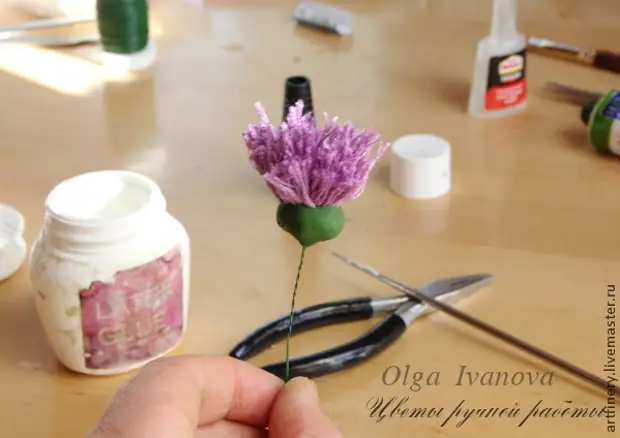
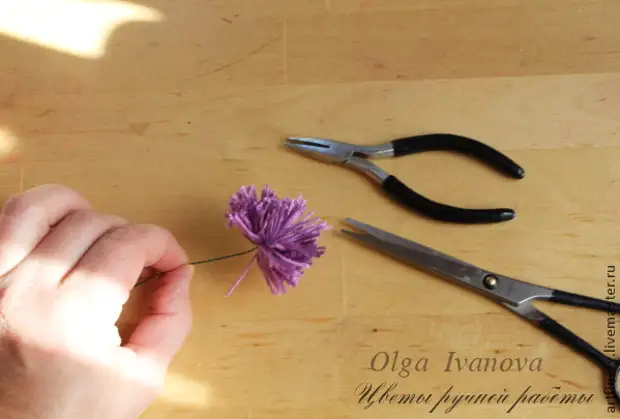
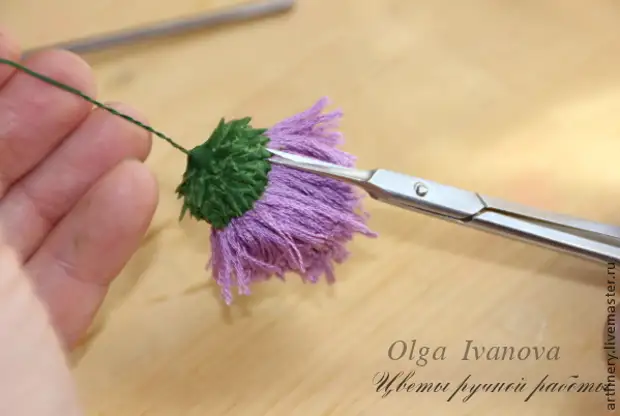
We work quickly, not giving clay to dry. Manicure scissors cut the spines, starting from the edge near the threads. Moving in a circle, gradually lifting up. Spines in the ranks should be located in a chess sequence.
Spines are slightly smiling to the base, so that they do not strongly straw. Hand dry flower. It is more convenient to do it under the desk lamp.
We form the stem. Lubricate the base at the bottom of the flower and run through it.
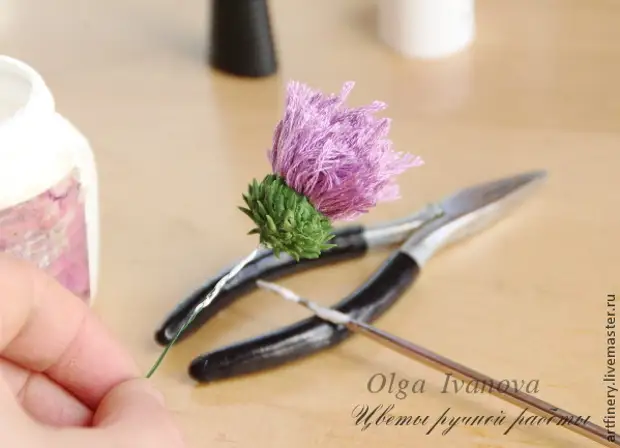
Not giving clay to dry, smooth the flower joint and stem with wet fingers so that the seam is not visible.
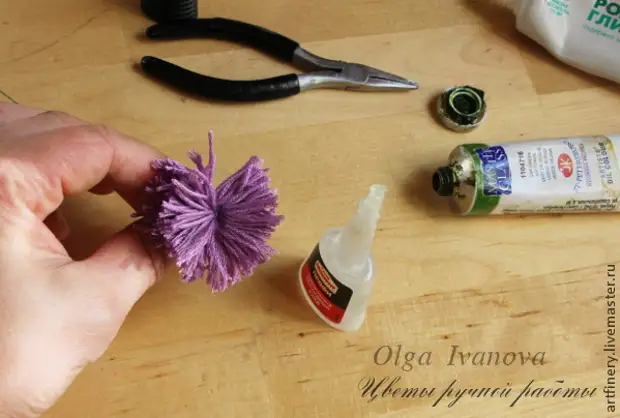
Thistle our too lochmat. It is not good anywhere. So proceed to the haircut. Sharp scissors (I use professional hairdressers) we make a hairstyle. Come in a circle: in the center the wool should be a couple of millimeters longer than at the edges. Strip does not hurry, with feeling, with a sense, with the arrangement. We remember that the new chapelur will not grow up, do not break, carriers and Iroquois are not doing.
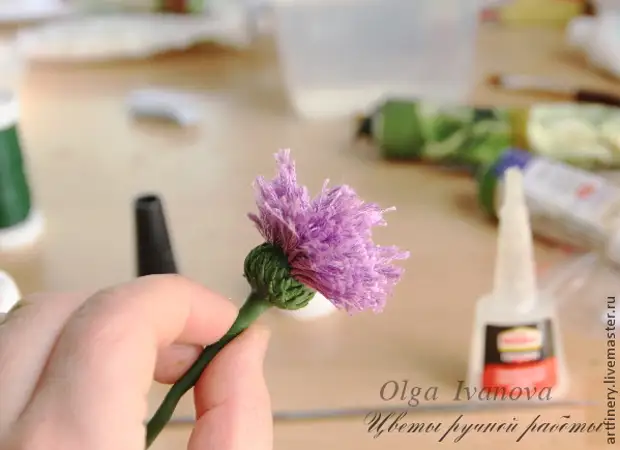
After the haircuts, there is a thread with a tweezers or stack, to whom it is more convenient.
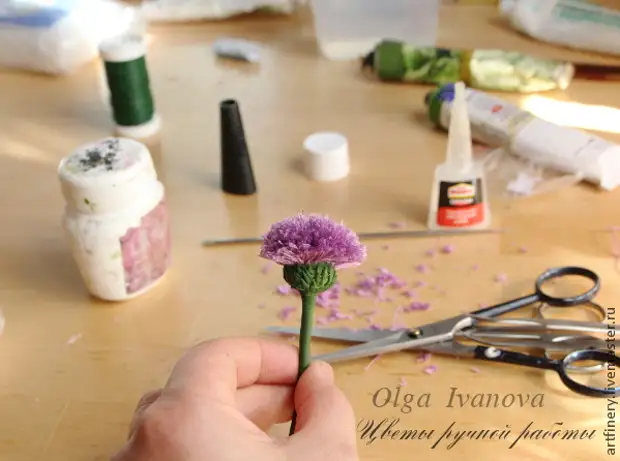
Well, already like a thistle))
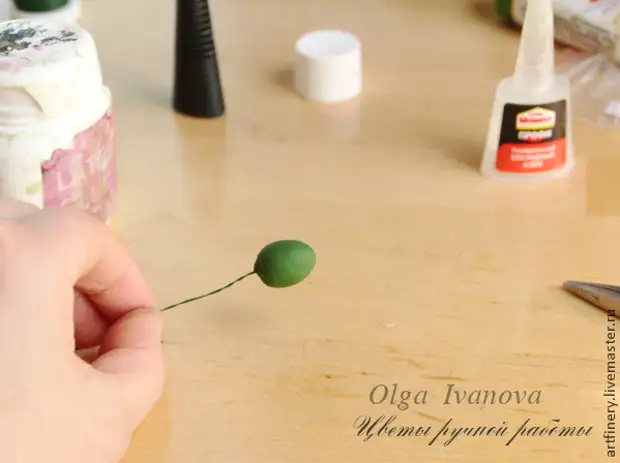
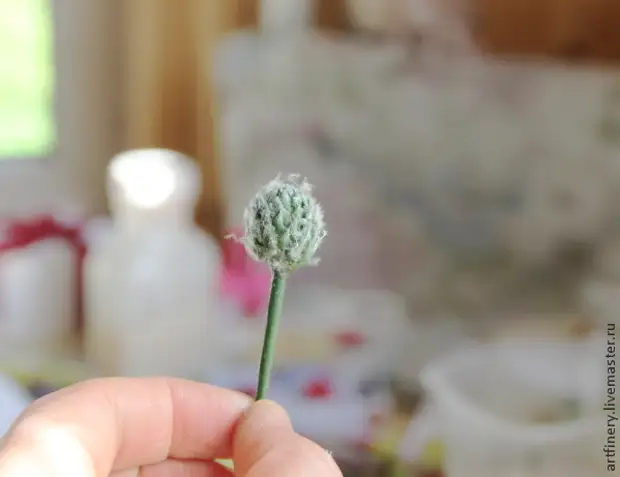
Now proceed to the bud. Skate the ball from fresh clay, slightly pulling it into the egg. Wash the wire tip in the contact glue and make a bud.
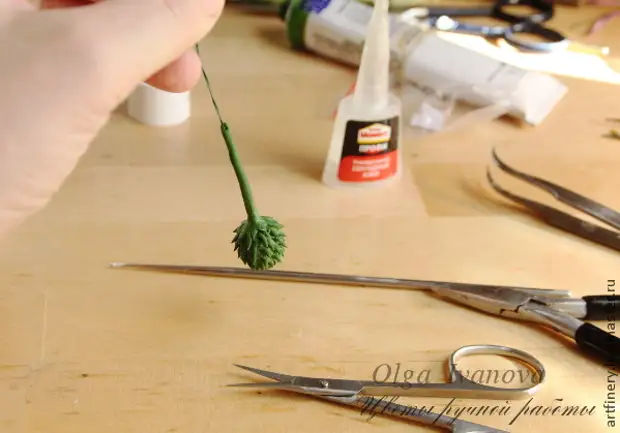
We take scissors and also carefully, as last time, cut the spines, starting below and moving in a circle.
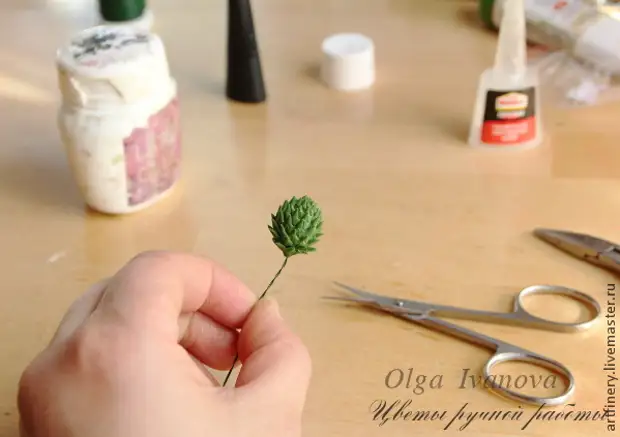
Drink under the lamp and run the clay stem. Everything like last time is a technology one.
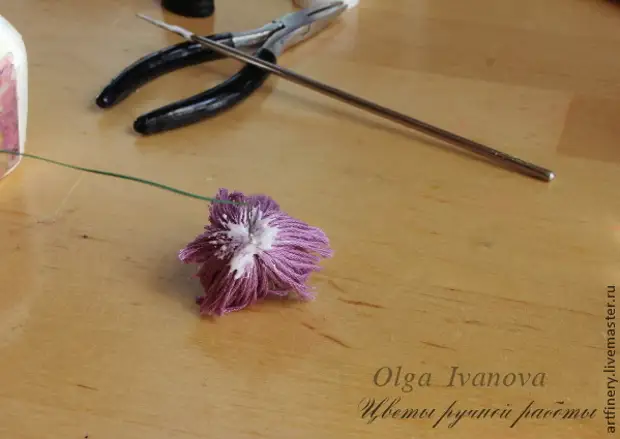
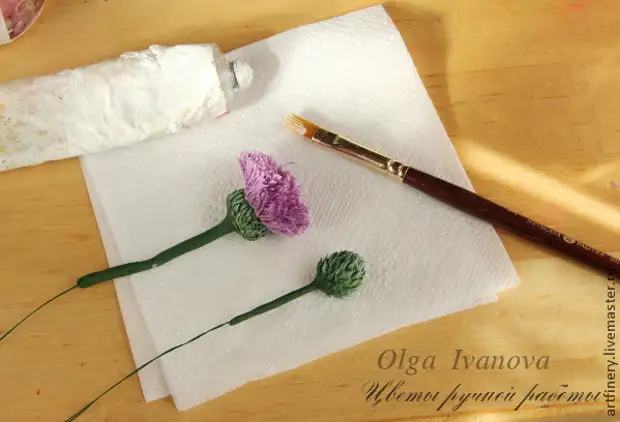
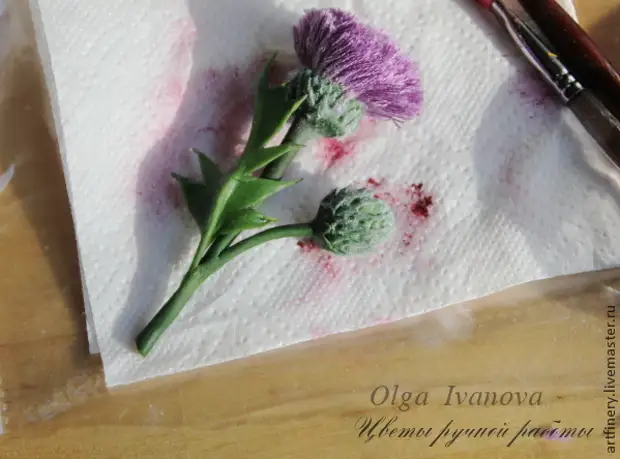
We start painting. We take a little zinc-leaving brush, wipe the surplus of paint about the napkin and a semi-dry brush, we rubbed the spiny.
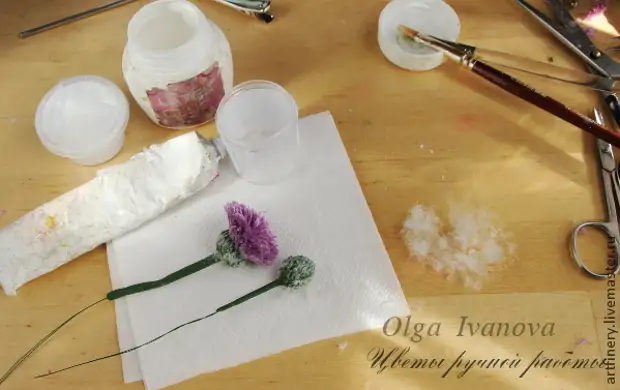
Almost all, but not quite. If you paid attention to, and the burdock, and thistle, both of these flower are often covered with various down, web residues and other natural garbage. In order for flowers to look more natural, we take a white flock powder and white glue. We are divorced by PVA in half with water and slightly pass through the brush with glue over the spines. Without waiting for the glue, the glue is dry, a dry brush in a flock and sprinkle to them.
But I seemed little flock to me - he was too smooth and short pile. Therefore, we take a couple of down alerts (it is a dying, with a soft, gentle down), cut down the fluff into small pieces and glue it as a spiny.
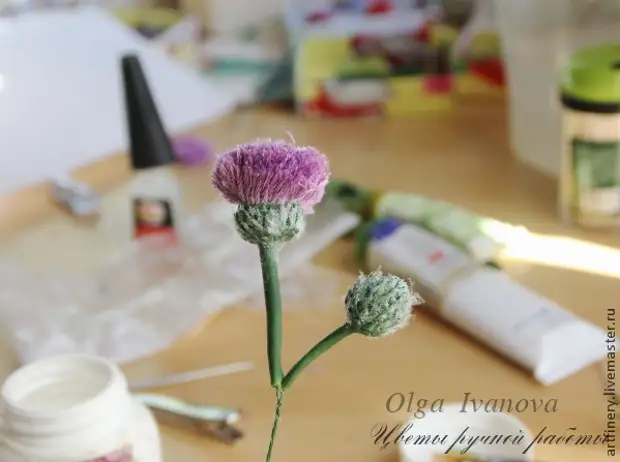
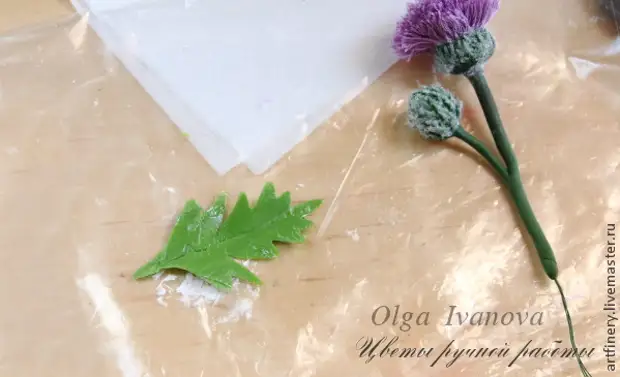
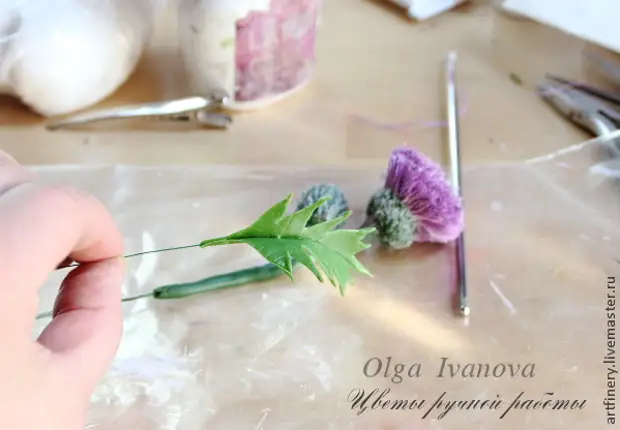
Connect the flower and bud. I'll say right away: the assembly can be performed in different ways. Classic option: Collect on Teip-tape, I just twist two wires and running the clay skeleton, pouring the joints with water.
Now we have left to make a sheet. Cut from rolled clay with a catter of a cosmey sheet with a catter, printed it on any suitable mold and pinch the edges, forming small spines.
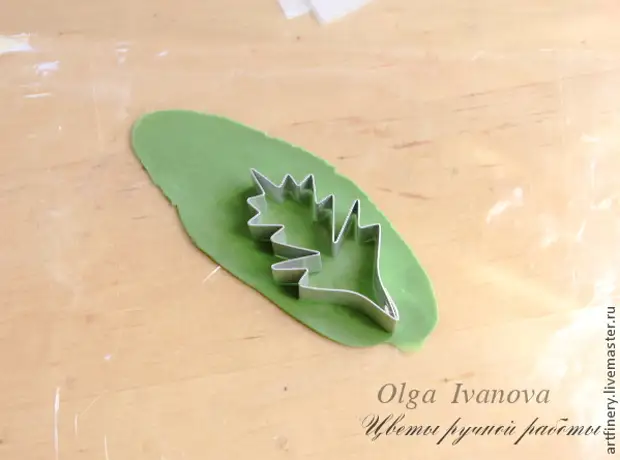
Place a leaf on a wire, we succeed in a lamp, giving the right shape.
Tinet arbitrarily. Sometimes I am painted by pecked like a bud, sometimes follows the carmine.
We collect a twig. There are two ways to build. You can cut off a semi-dry clay from the stem to the place where the sheet will be mounted, climb a piece of teype and close the clay again. And it is possible, as this time, simply insert a wire with a sheet into a short stem with a sheet (the benefit of the stem is quite thick), inserting it at the base with contact glue. And in that, and in another case, the joints of the stem and the sheet must be fastened with water.
I showed you a minimal assembly option. For brooches, it is best to make several buds located next to each other, and three-four flower.
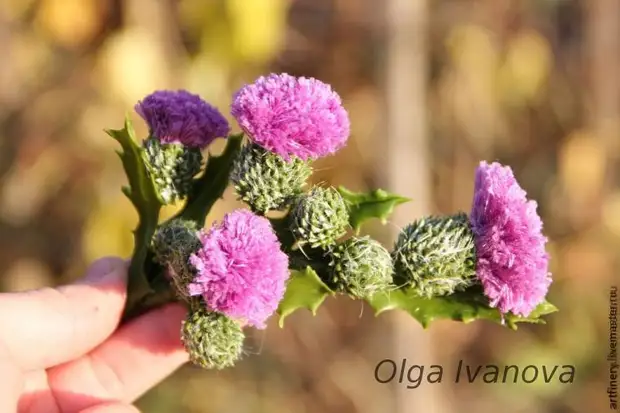
I hope the master class was interesting to you.
A source