
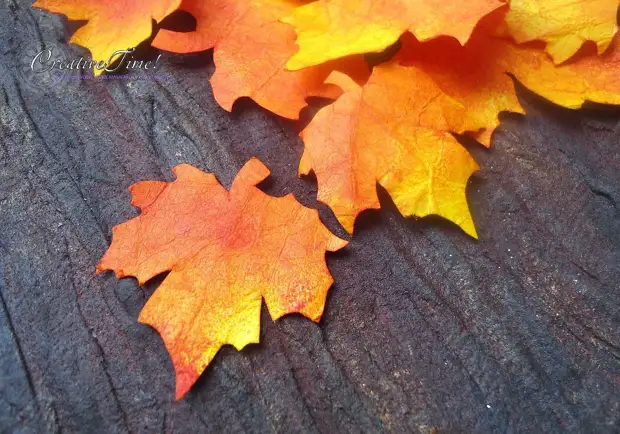
Today I will show how you can imitate wood bark.
We will need materials quite a bit (the number is indicated for a page of 20 cm in size):
- PVA glue (yes yes, do not surprise) - 125 ml
- Medical bandage from nonwoven material - 1 packaging
- Acrylic paints of the necessary shades (I have black, burnt umbra, burned Siena and gold)
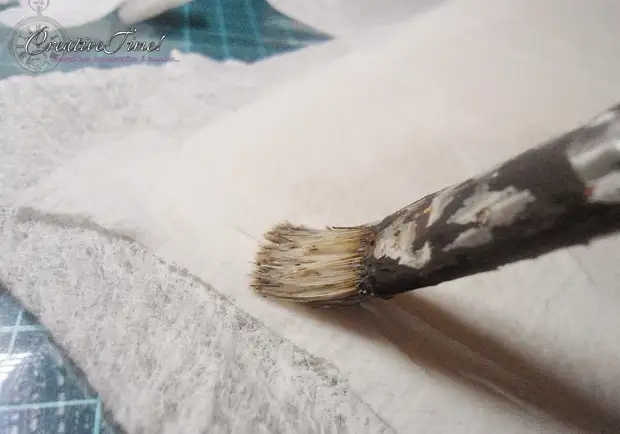
- Brush for glue - necessarily flat of dense bristles
- scissors
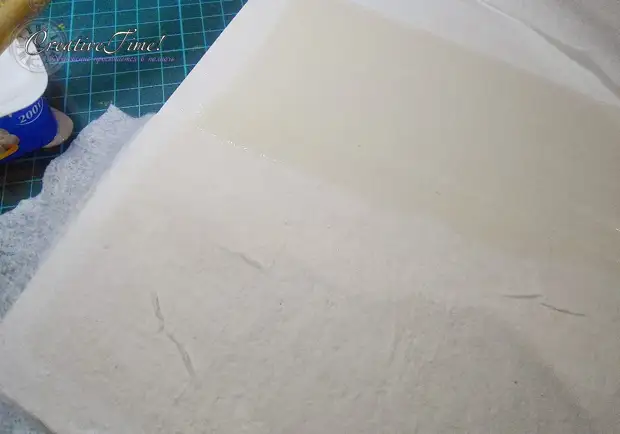
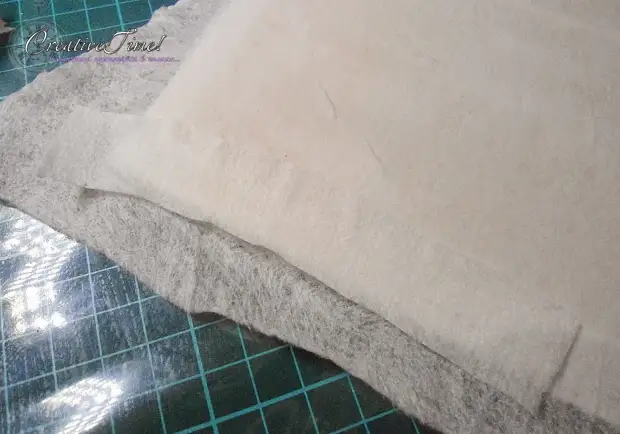
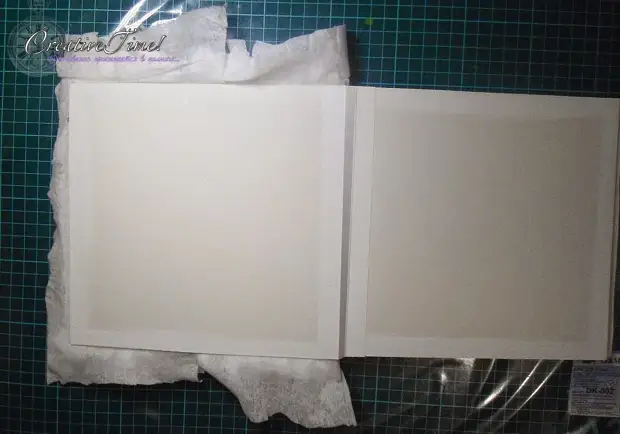
As a basis, I use a beer cardboard 1.5 mm, for this technique it is at least, because the glue of PVA is liquid and it will be necessary very much - even a tight cardboard will lead about the amount of glue, about paper, I think, talk and not worth it. With this imitation, I made a photo album page, so the bark was done right on the finished binding (it was a big risk, I did for the first time, I confess to honestly), you can take anything, similar to the density with the beer cardboard. Well, that ... I will proceed, perhaps.
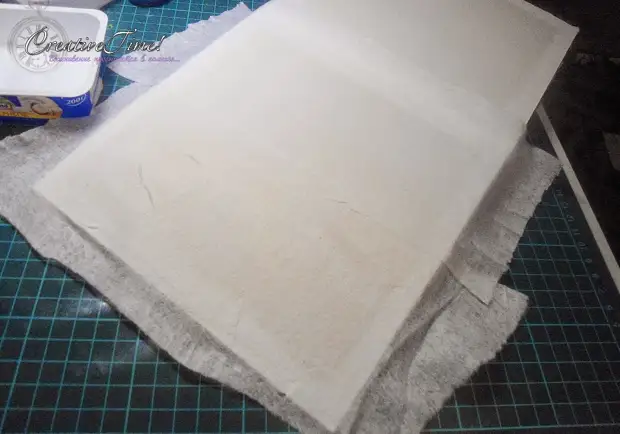
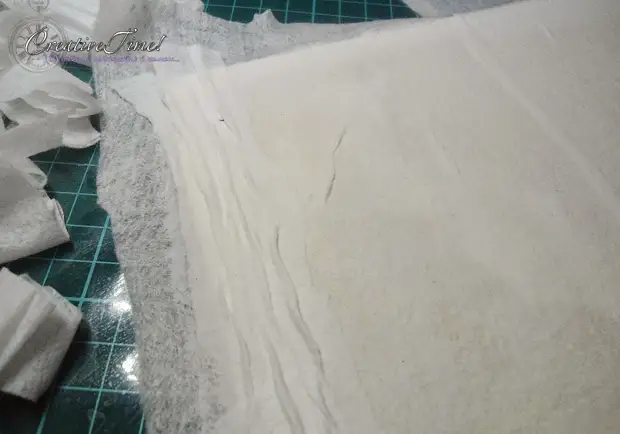
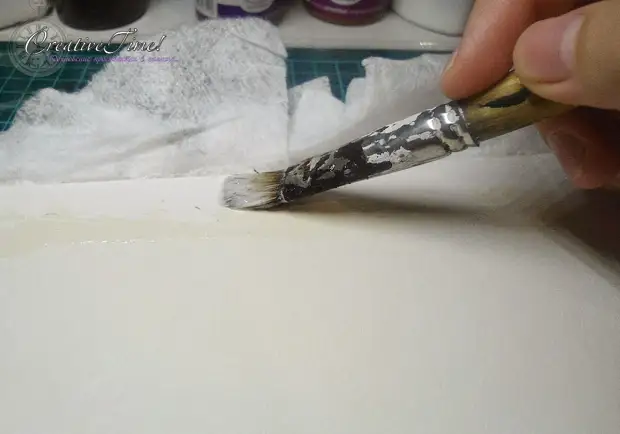
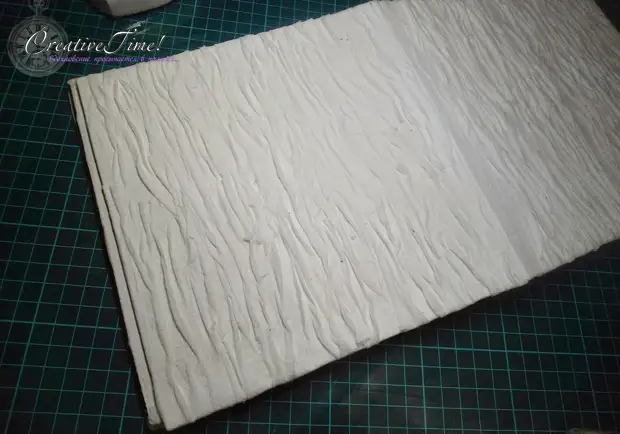
1. First layer we glue our bandage based on the basis and generously with glue. We glit so that our future imitation can be turned on from the reverse side, then you keep the allowance of at least two centimeters. We leave our foundation to dry a little (about half an hour).

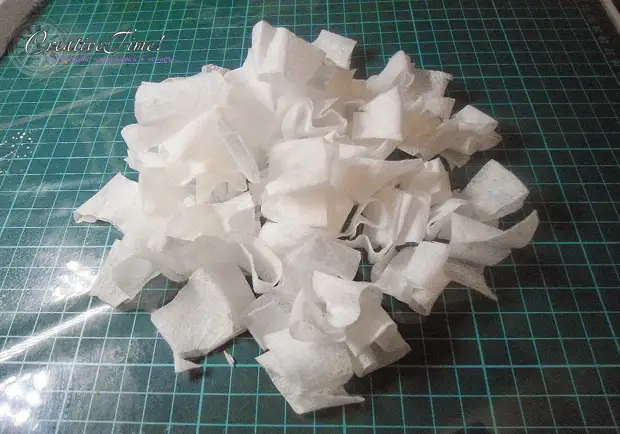
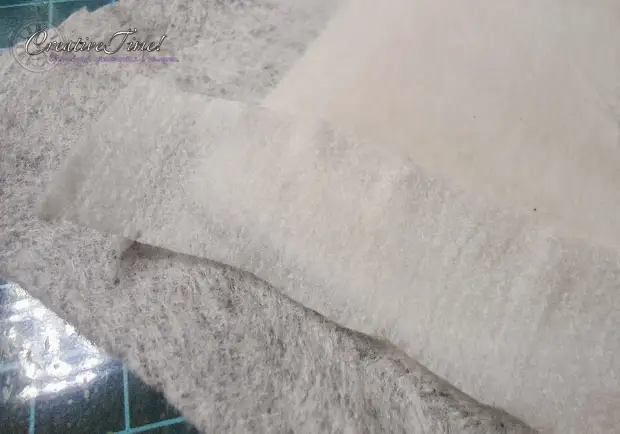
2. The remaining bandage cut scissors to the strips of arbitrary shape and size (but not very broad and not very narrow), uneven edges are welcome, but within reason.
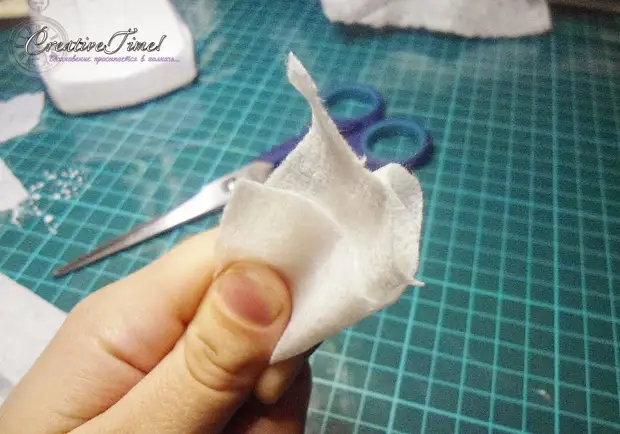
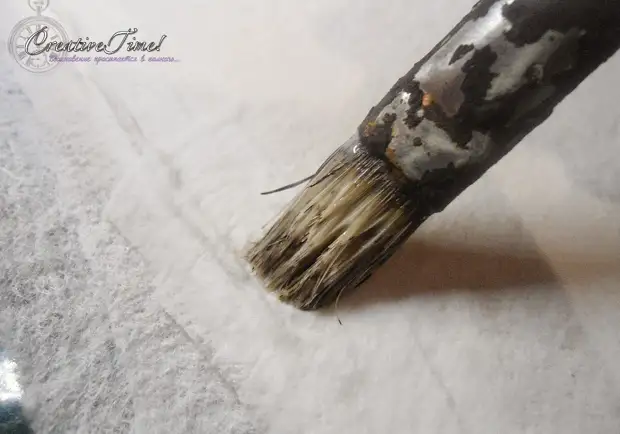
3. Apply the first strip to one of the upper corners. With the help of glue and tassels, we smoothed our strip to the base. The glue does not greading, but it is not necessary to pour the entire bottle. Identify the whole strip to the eye, so that the whole strip is moistened with glue, but it does not "swim" in it.
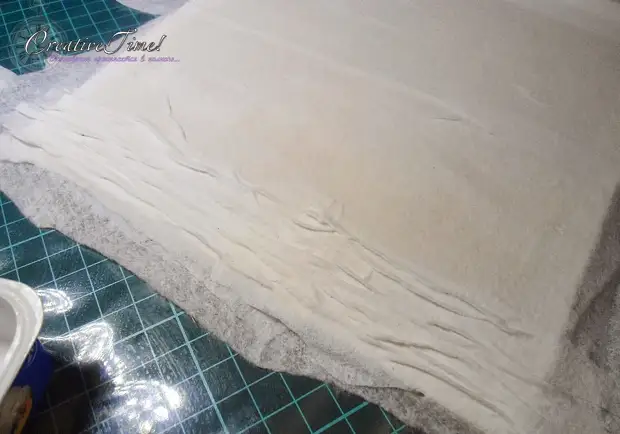
4. With the help of a tassel weching our strip so that it formed a small "wrinkle". This "wrinkle" can be done anywhere, it all depends on how the bandage is shifted.
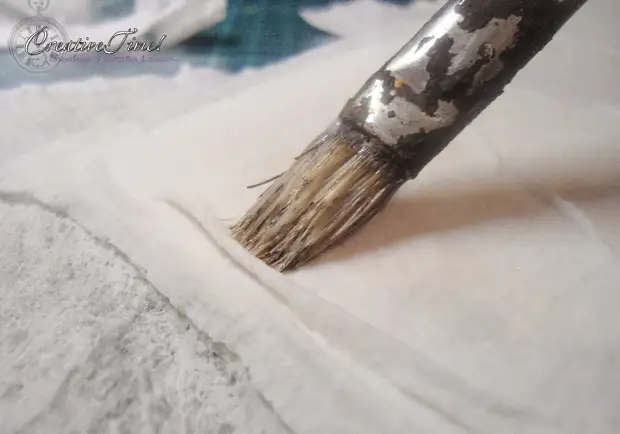
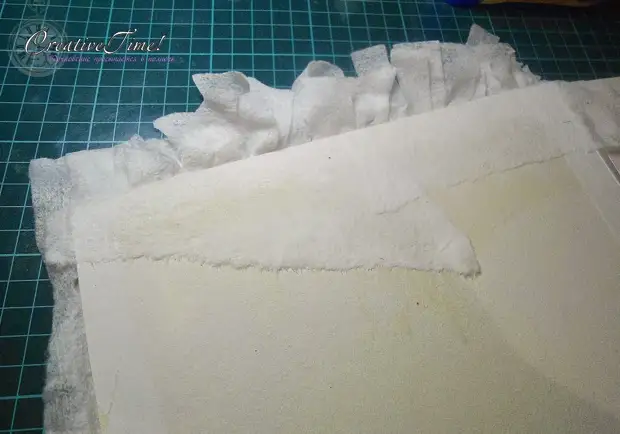
5. Below, a little braziness glue the second strip and just form a "wrinkle". By analogy, we move from top to bottom and left to right, fill in "wrinkles" the entire surface of our base.

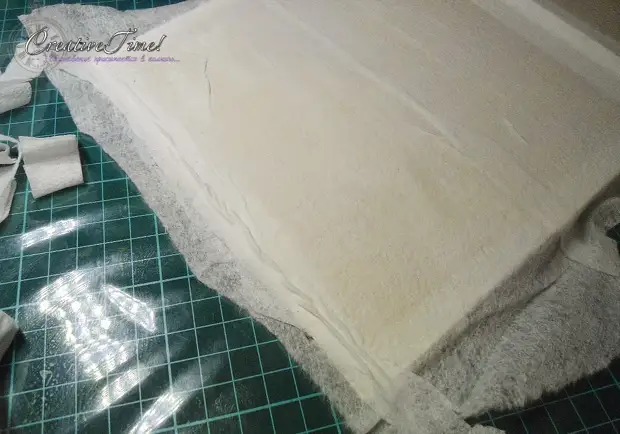
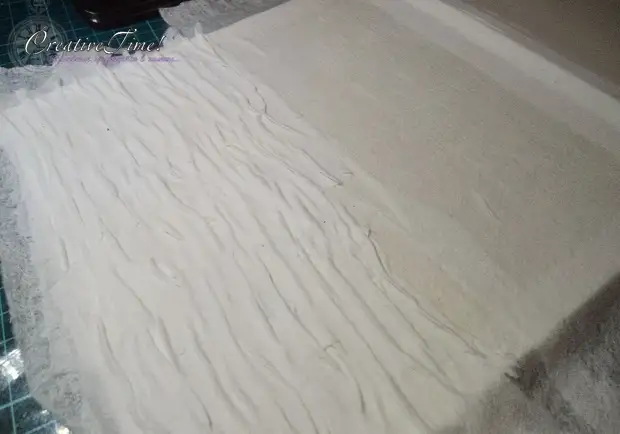
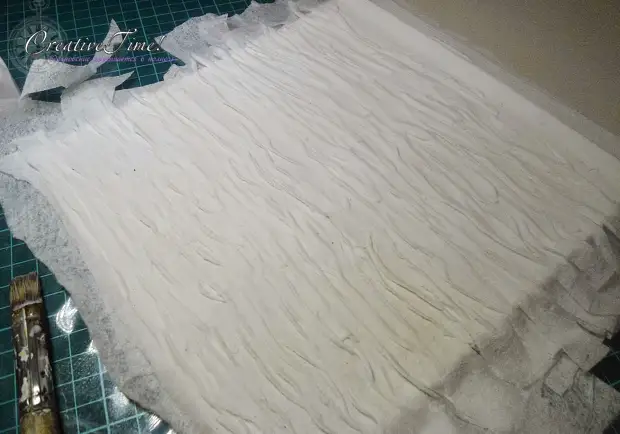
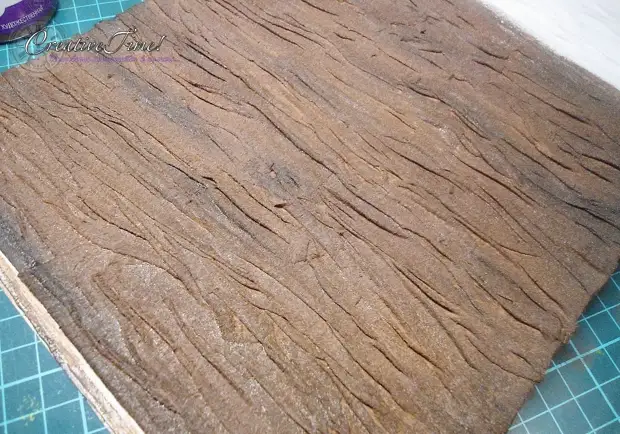
6. As soon as the entire surface of our base is covered with "wrinkles", we leave this business to dry for a day.
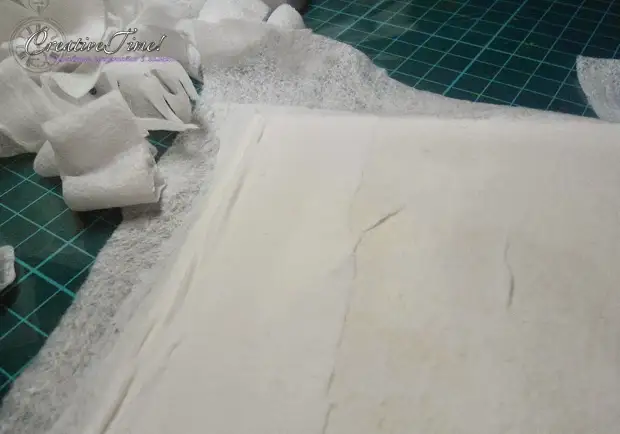
7. After a complete drying of our workpiece, we need to bring it "in the divine look", namely to expose the edges. I turn over our bark on the root side and we glue the edges of the cardboard with a little tension.
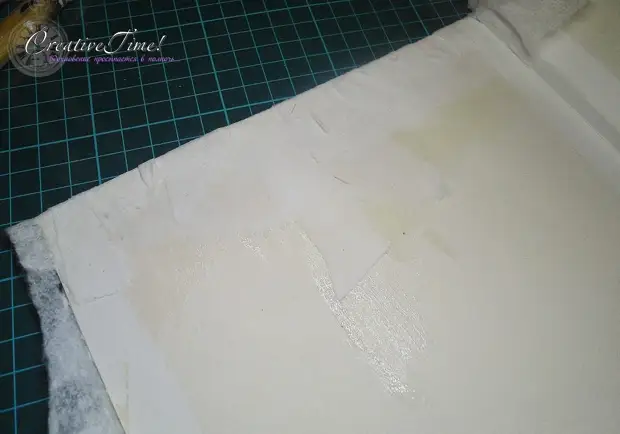

8. As soon as the edges of our bark grabbed, you can start painting. The first layer is applied the main color, I have a quiet Siena.
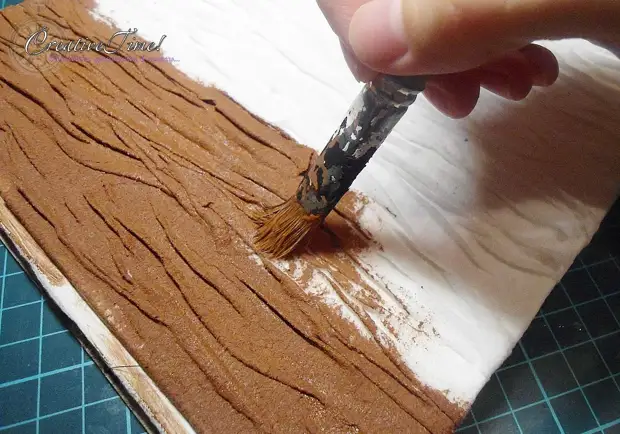
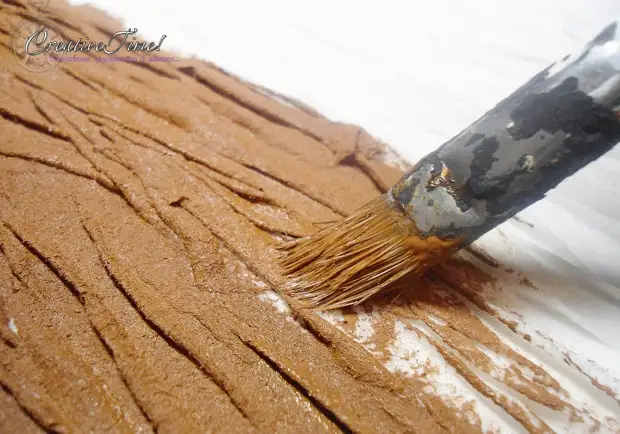
9. Do not wait for drying the first layer, immediately apply the second, darker - I have burned umbra. If the first layer we miss very carefully - each fold, then the second layer is applied "in Russian" - on top, clean for sight, which is painted here. The bottom layer must be shone.
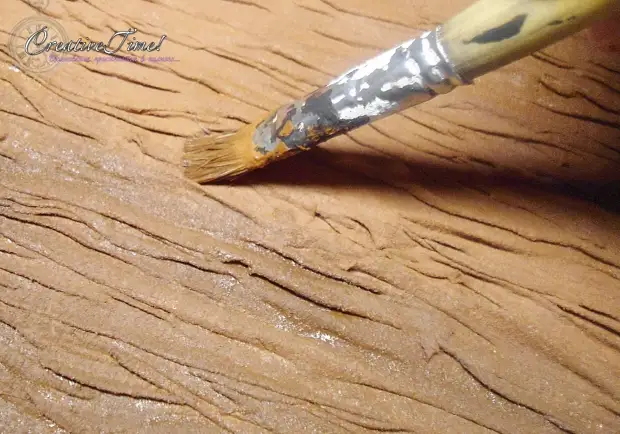
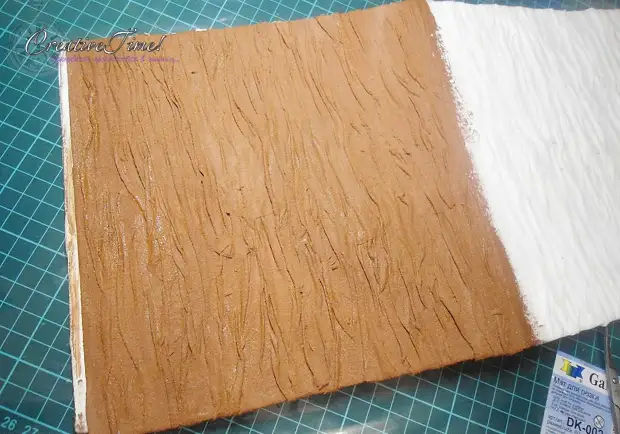
10. Again, without waiting for the drying of the second layer, we impose the third - shadows on our crust. We make this black paint. Due to the fact that the underlying layer is wet, we will achieve a smooth transition of shades. We score places - I painted the largest folds and recesses, slightly in the corners and perimeter.
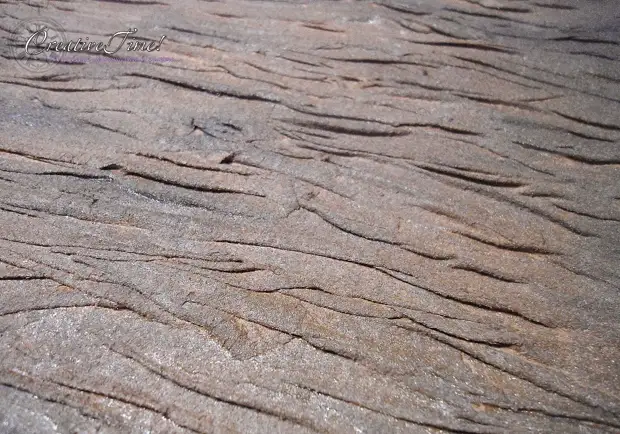
11. On this, in principle, it is possible to finish, but since my Tree Magic - I decided to leg a little bit - a dry tassel, slightly moistened in the paint we go through the right places - I was spent on the spectrons on the crust and in the edges. As soon as the painting is over, we leave our Cora to dry for a day, after which it can be further decorated or applied as a background to photograph your work (here it depends on the scale of the work done). After drying, acrylic paints darkens a little, consider this property when choosing shades for staining, so that in the end the bark did not turn out completely dark. The texture is very pleasant to the touch, a little silky, I really liked the end result:

A source