

Cold came and I decided to share with animal lovers, namely dogs and dogs, their experience in making a vest for our friends! I have never had a dog, but I was lucky enough to sew for a very good person and master with the fairs of masters, suddenly and you come in handy ...
To work, we will need:
- Camping fabric
- Syntheton
- Fleece
- Thread gum and just threads
- 2 clamps, luberers and hats (not required)
- Lightning
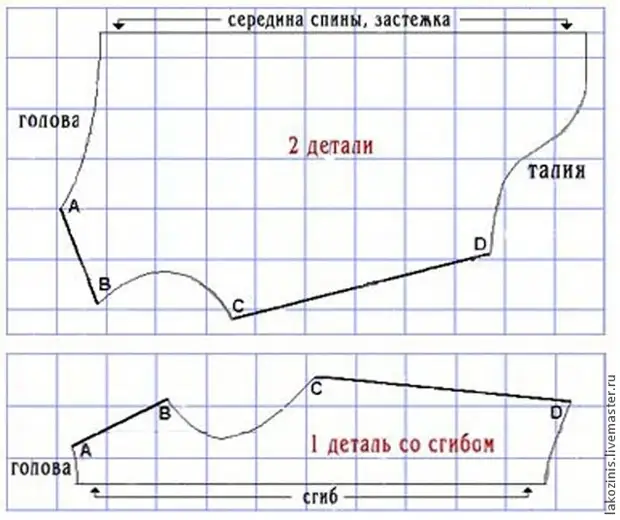
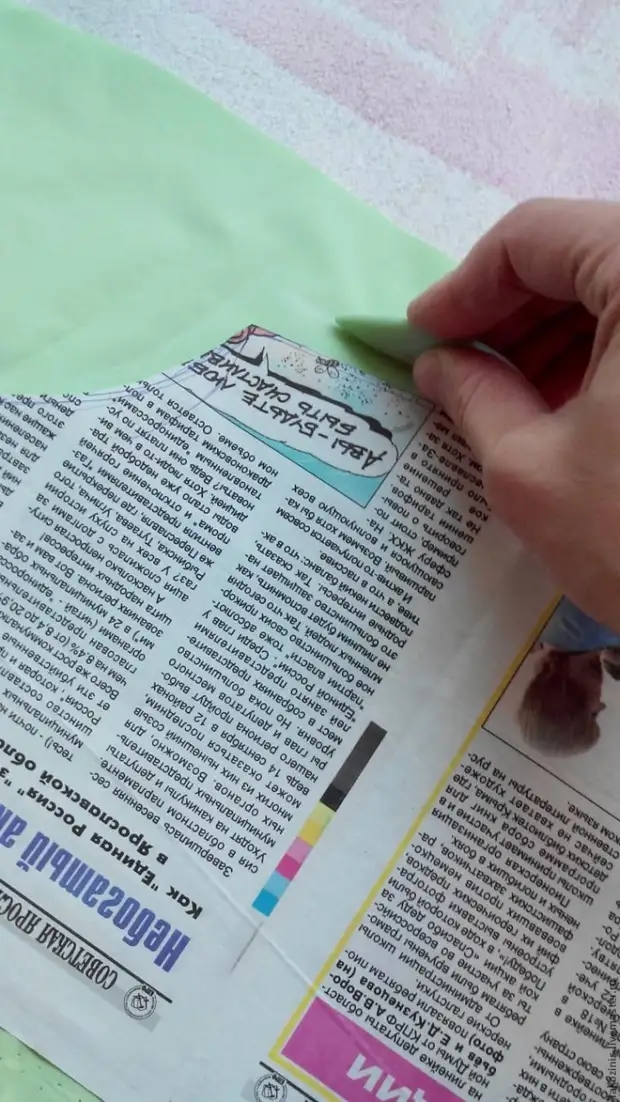
I found on the Internet here such a suitable scheme and made it patterns from newspapers:

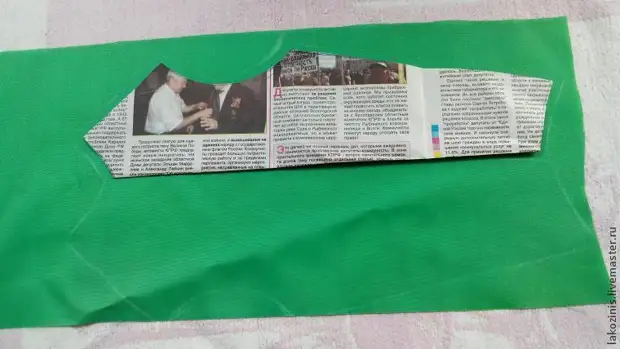
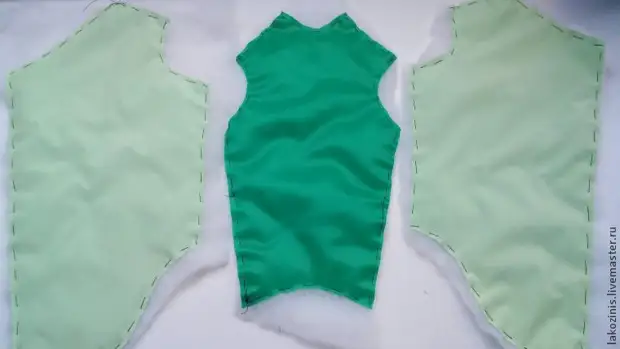
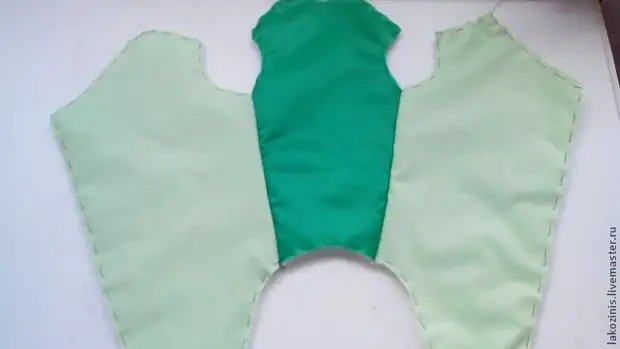
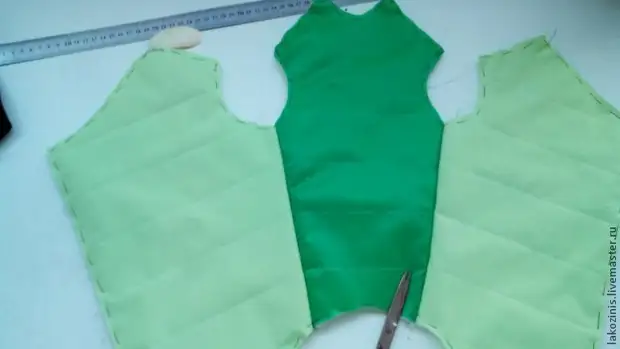
We transfer to the fabric, I have two color from the remnants of the cloak, with a viscosity on the seam in 1 cm. I made a pattern with a reserve, since the thread of the gum will make his business and the vest will sit in the figure.
We transfer to a cloak tissue with an allowance on seam 1 cm:
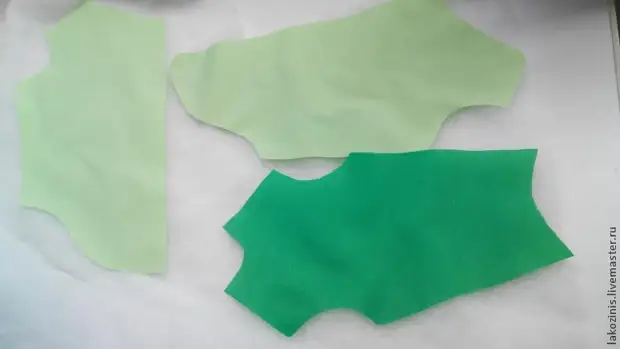
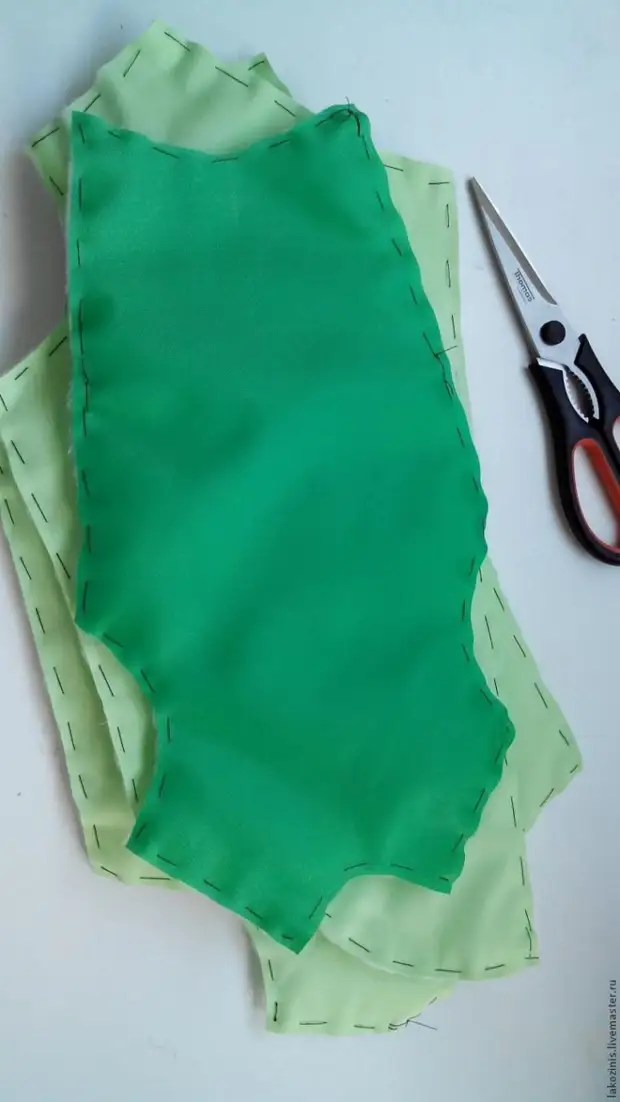
Fabric I have two colors, tummy and gate dark green:
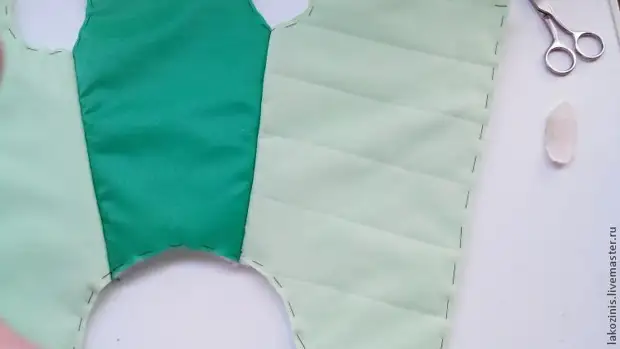
Then goes down on a synthet board:
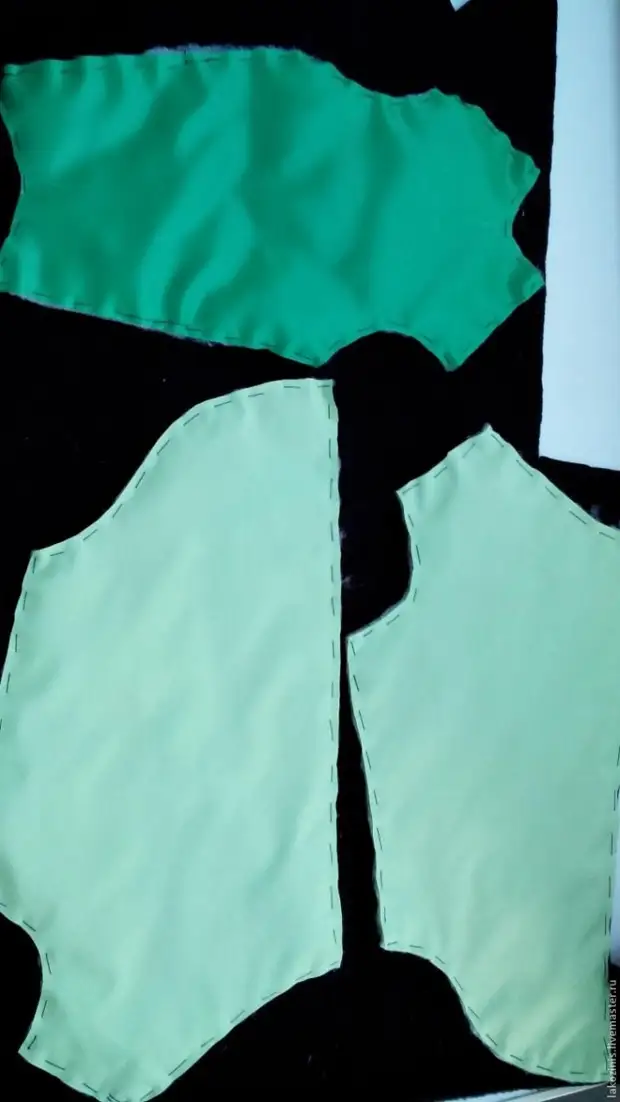
Sut off the sintepon with a margin, we take a raincoat to the SingyDona:
I strongly recommend rolling on a flat surface to avoid skewing.
Sut off the sintepon on the contour of the plating.
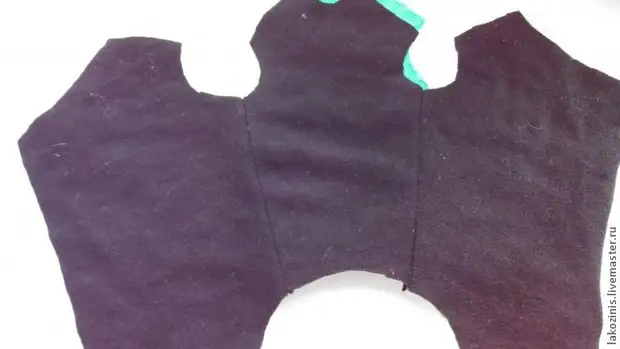
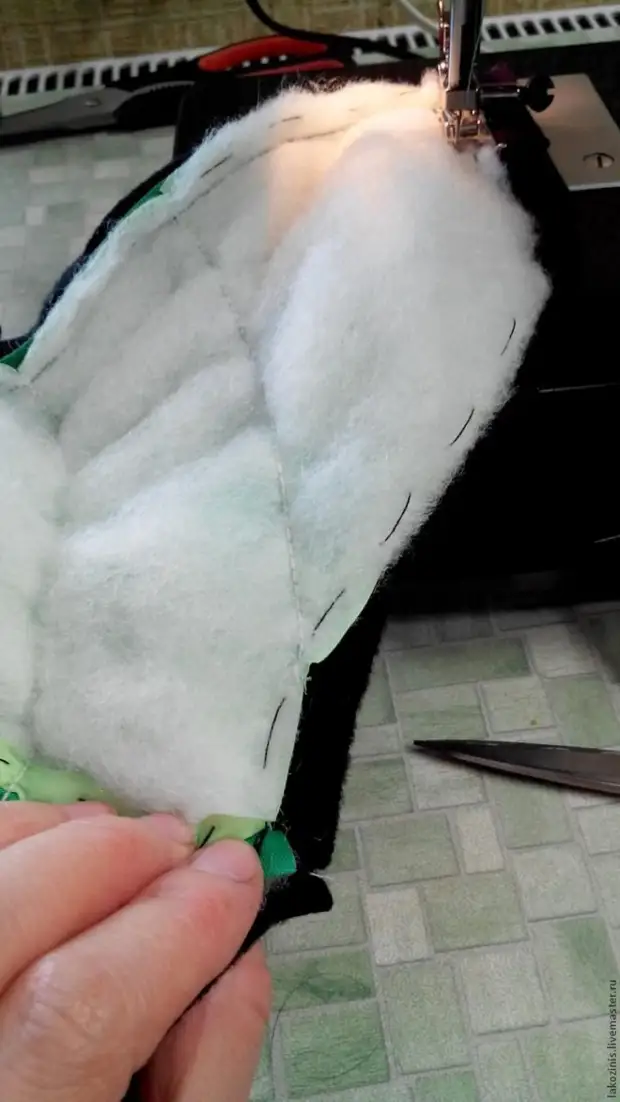
And carry parts on the fleece.
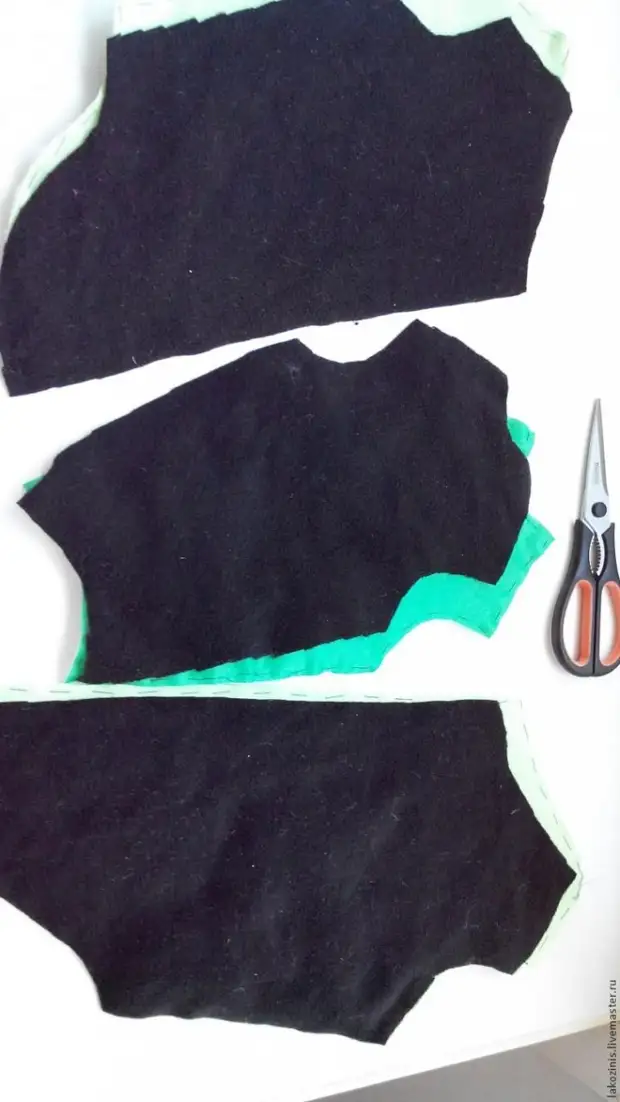
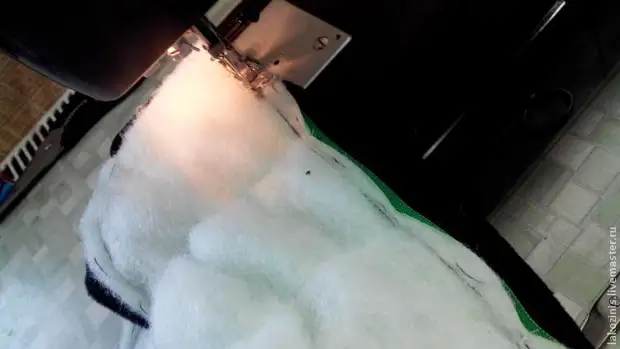
Stitching a barrel.
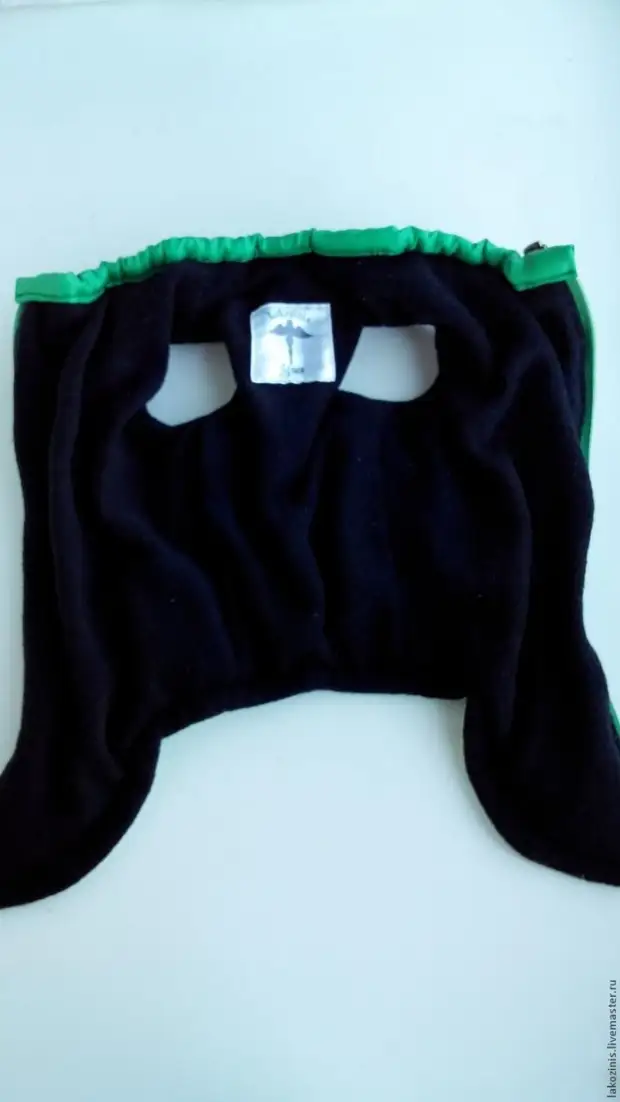
And immediately PA lining from fleece.
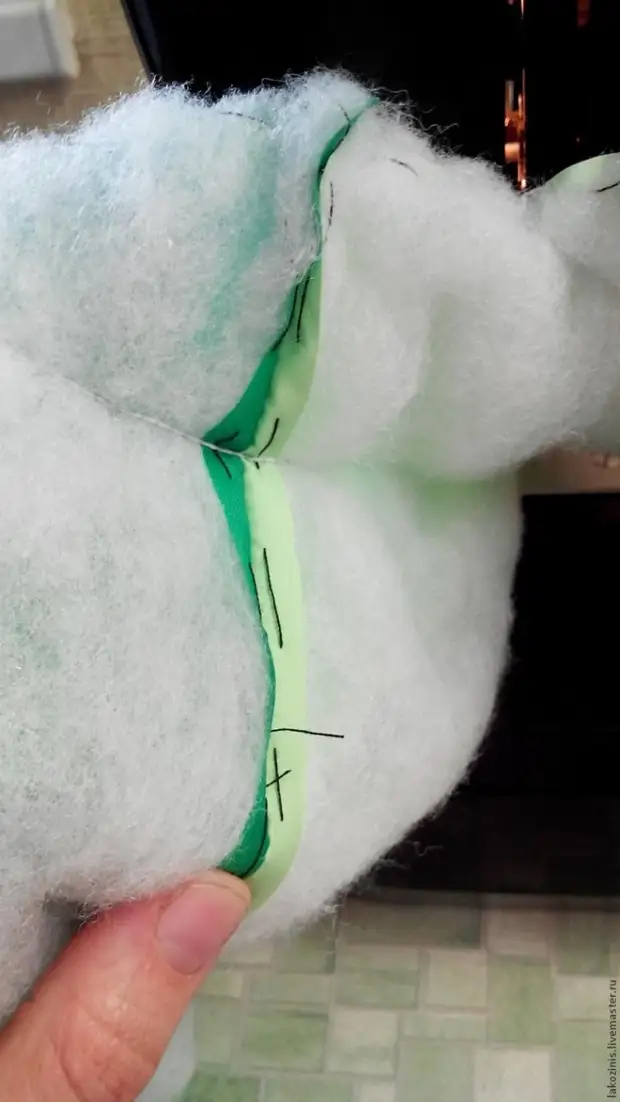
From the edge of the part, we note the future tent at an angle of 90 degrees to the tummy
Having folded the detail in half. String the beginning of the line by making on the other side of the insane scissors, there should be 03-04 mm no more.
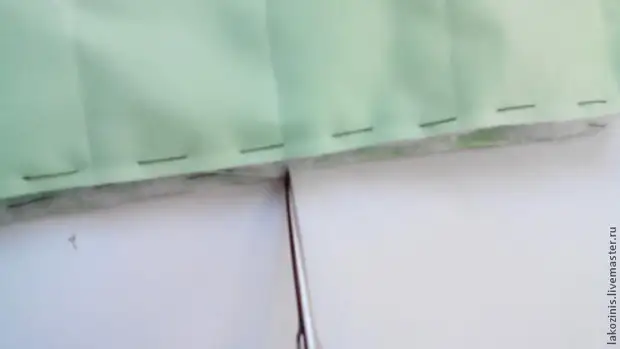
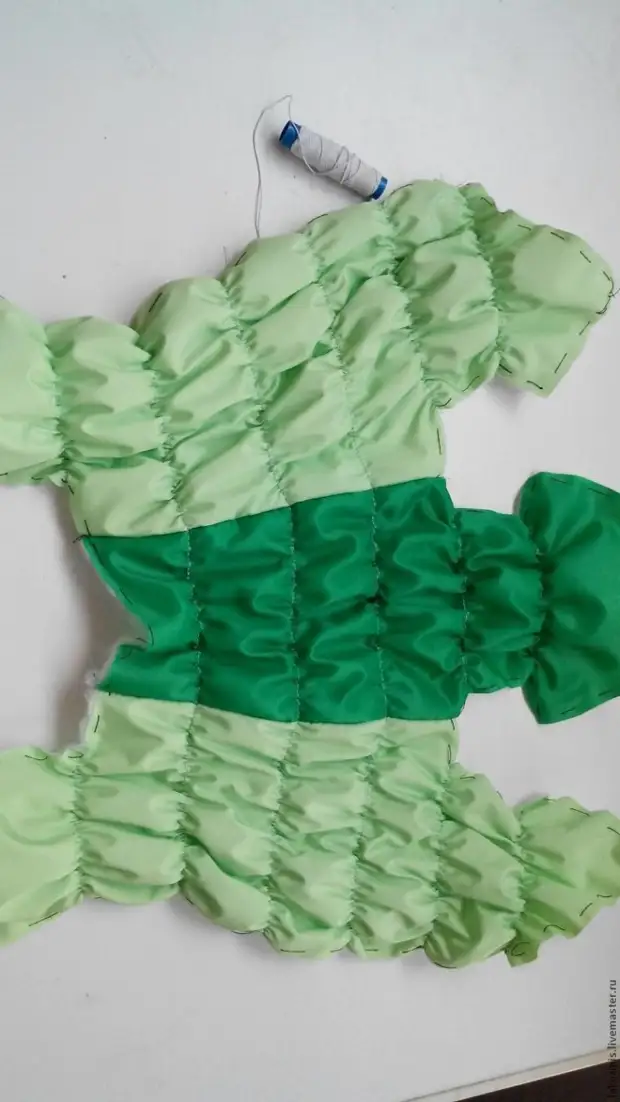
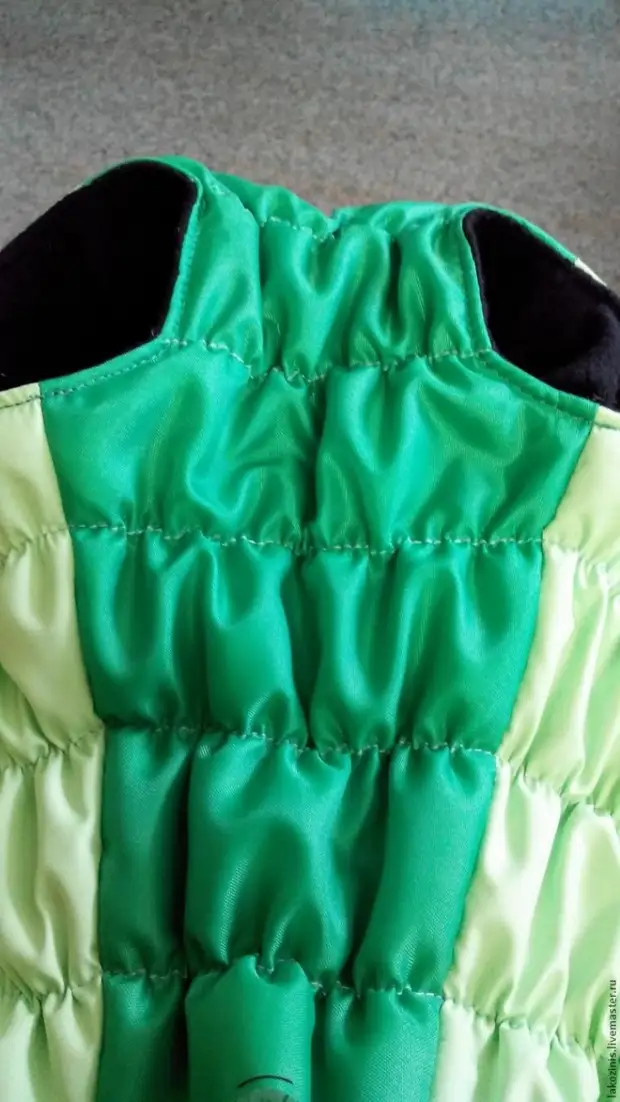
The lines of tummy should turn out direct:
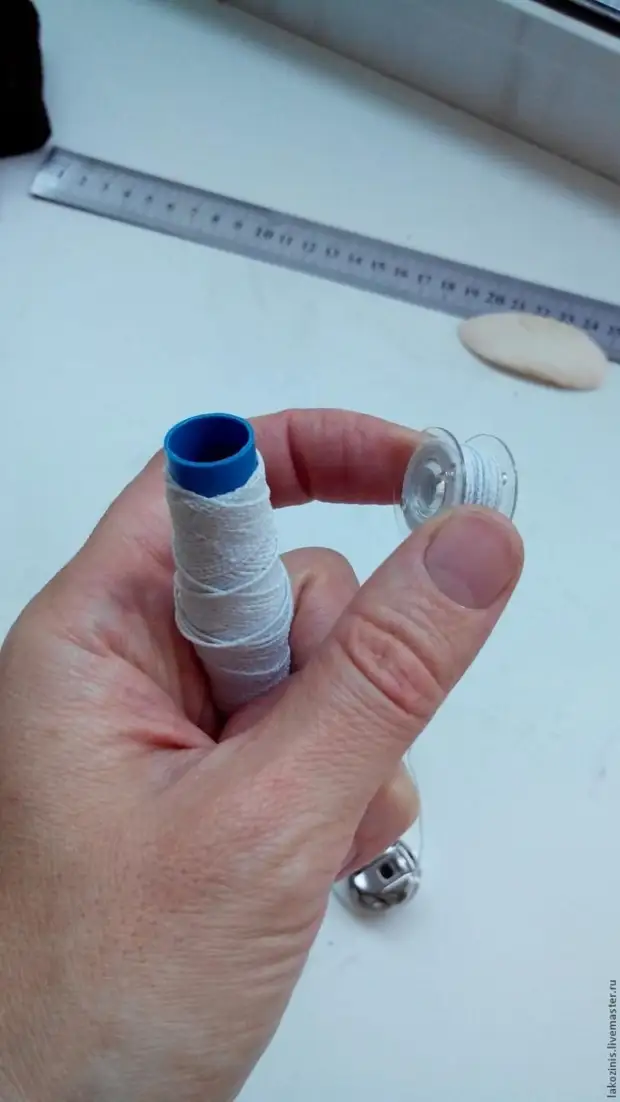
Take rubber threads and score on a bobbin, like ordinary threads:
And rocking on the typewriter on the outlined circuits:
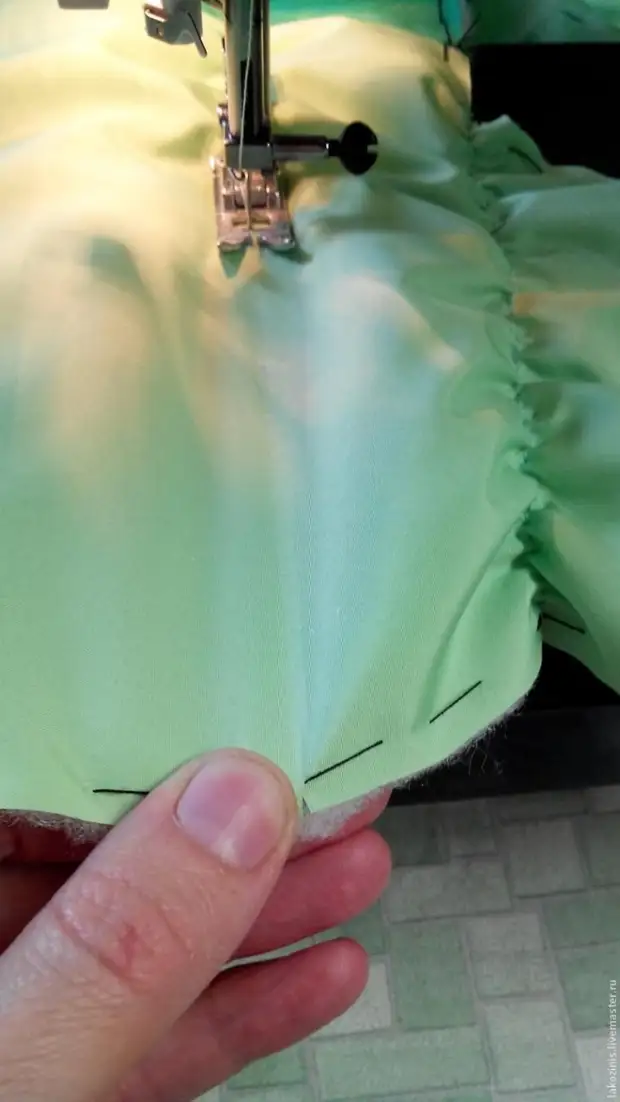
On the involvement to the seam allowance:
That's what we did:
By changing the rubber bands on ordinary threads connect the shoulder seam. And on the lining too.
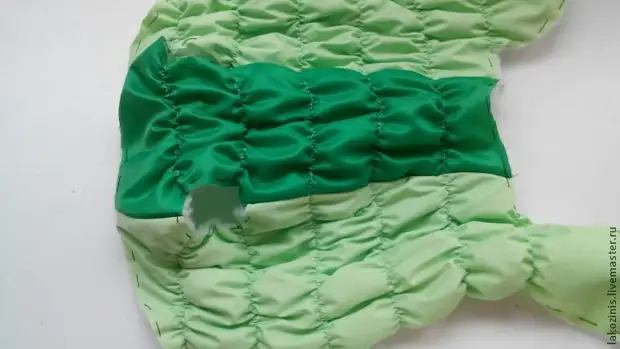
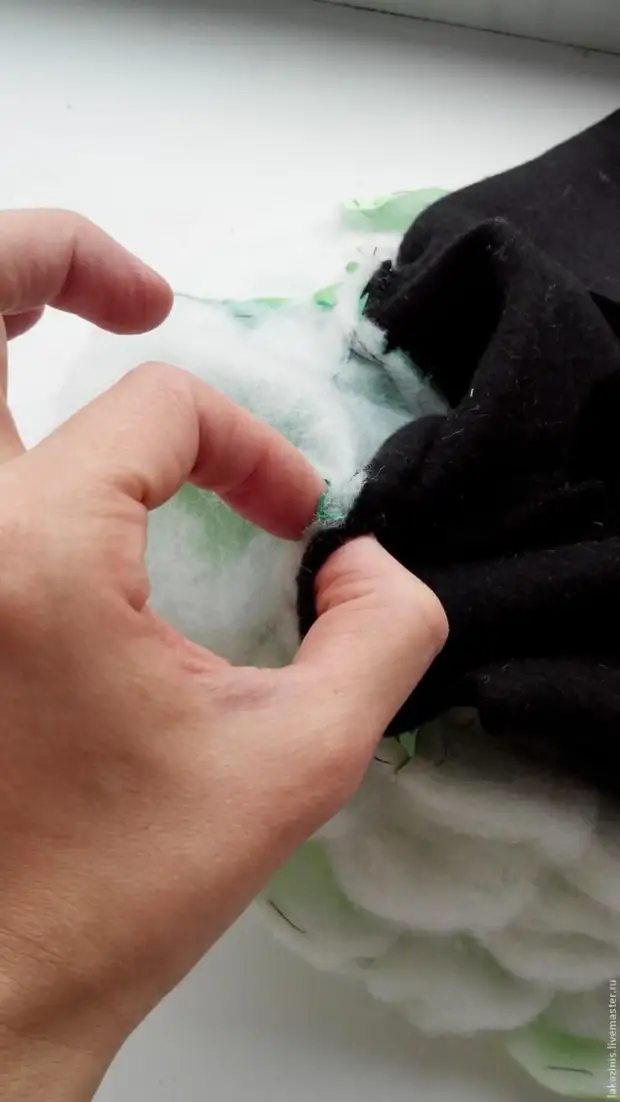
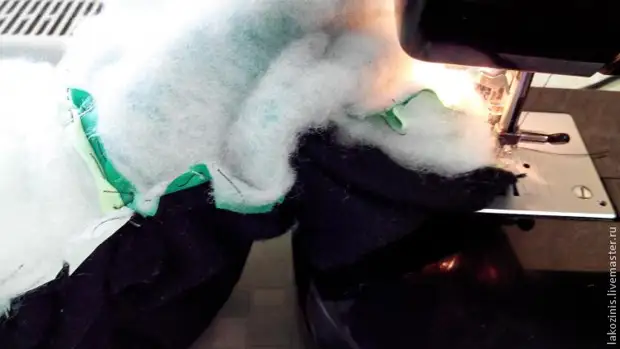
We connect one slice of the sleeve, a cloak with a fleece of the front sides together:
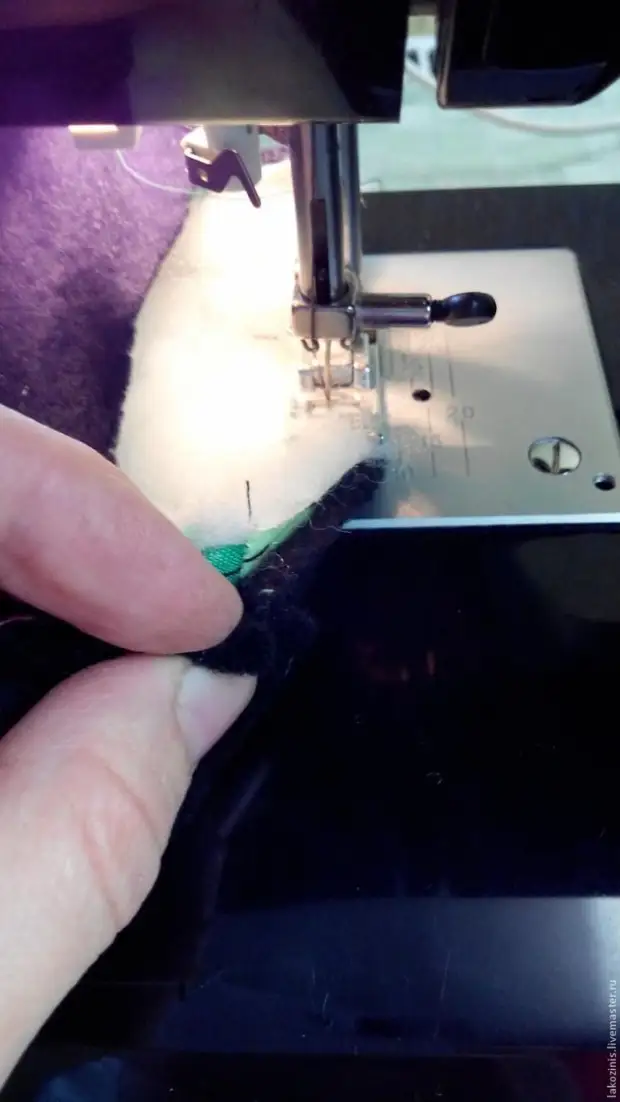
We will make peckers on the point on the seam after 3-4cm and extend through the hole:

Here is one sleeve almost ready:
Moving the second sleeve face to face, only now on the wrongness, not quite a convenient operation, as it were, with a twist, do not confuse, just focus on the shoulder and side seam:
Put the line and make the peckers:
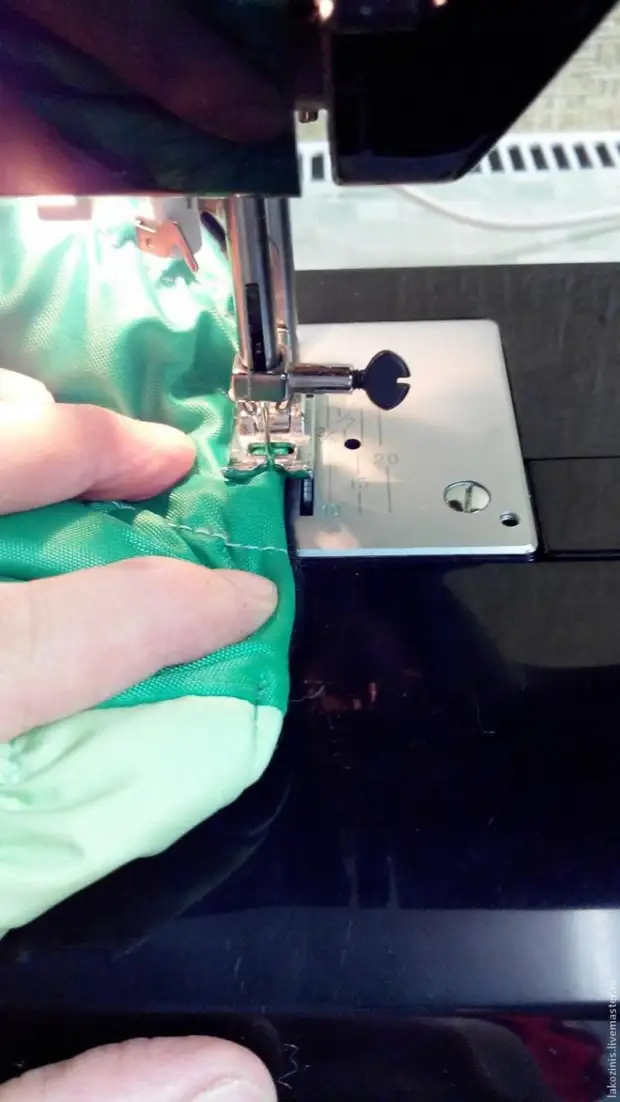
Now we carry the finish, I have 0.3cm from the edge:
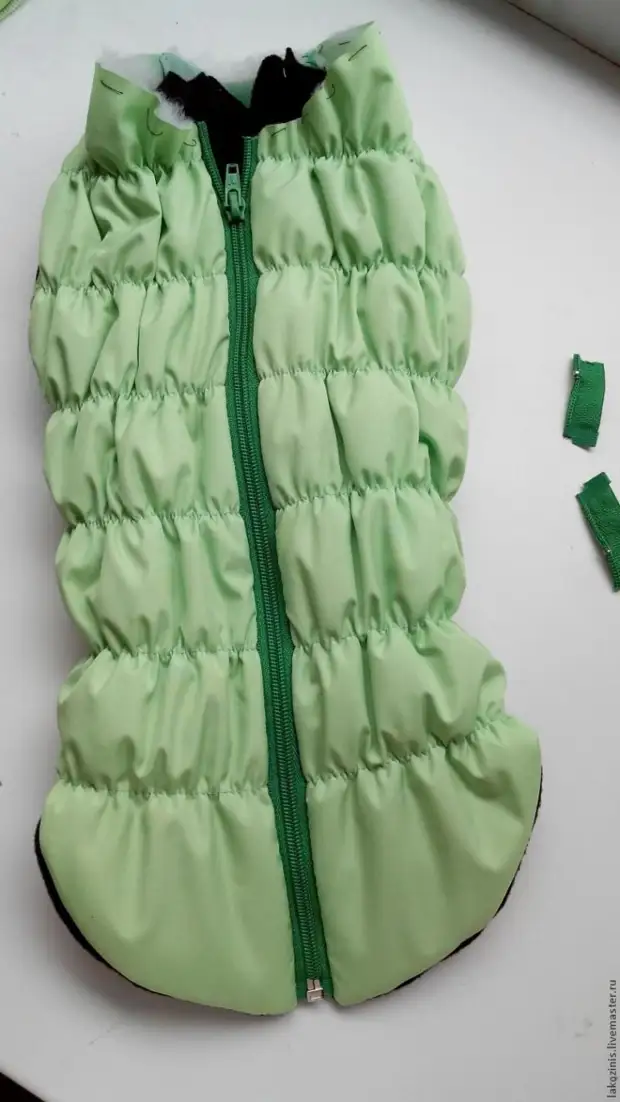
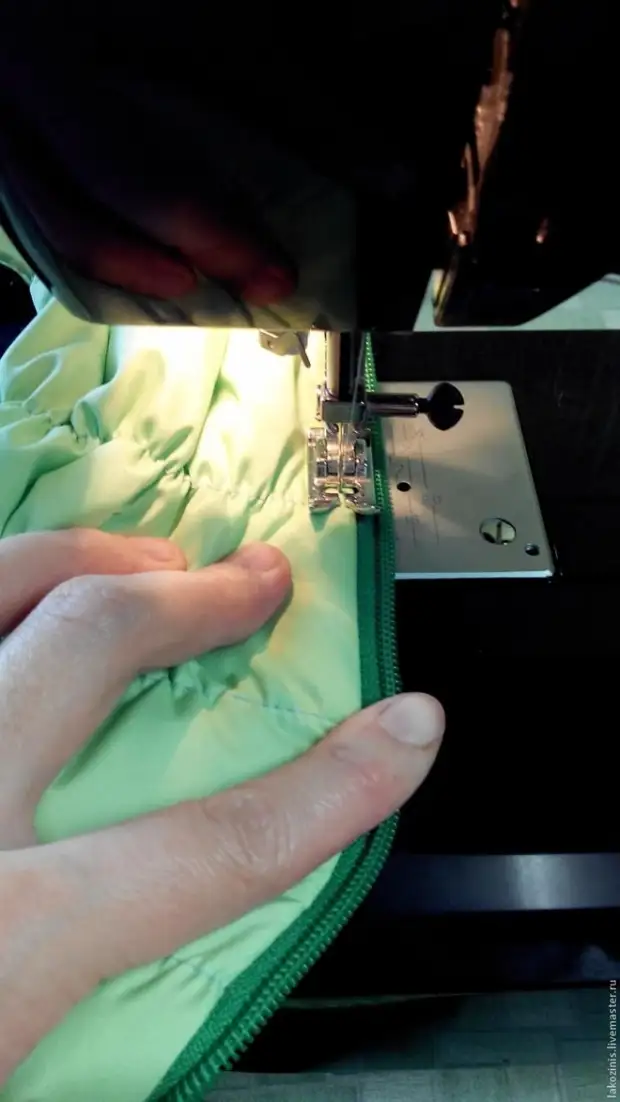
We sew a zipper on one side, with the bottom renewing from the nose of a vest 1 cm:
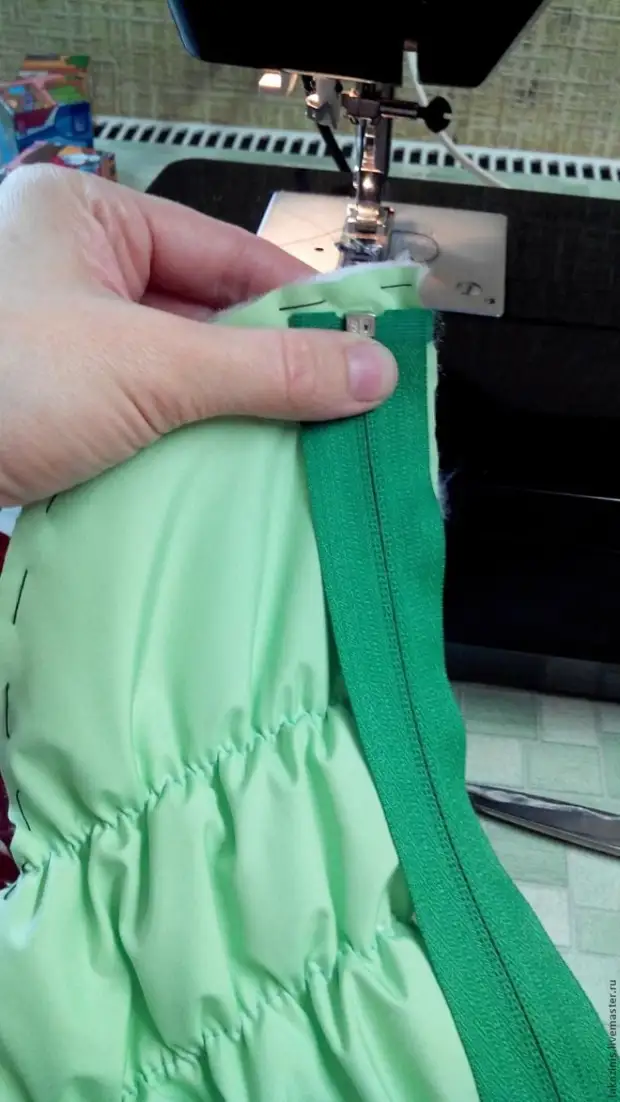
On the other hand, it is also only from above by saving 1 cm below:
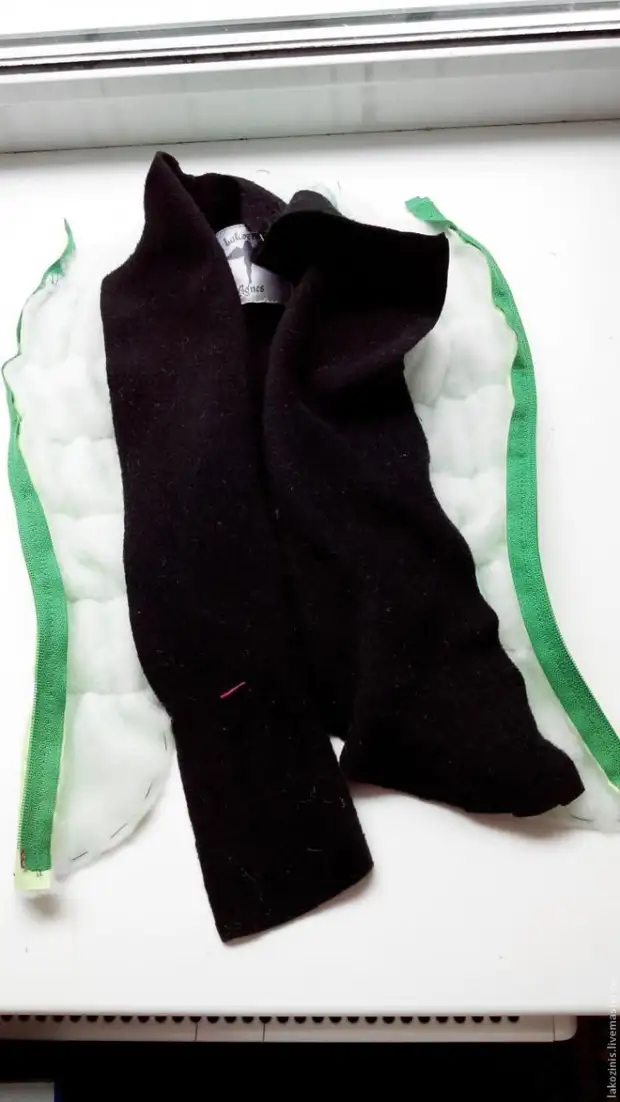
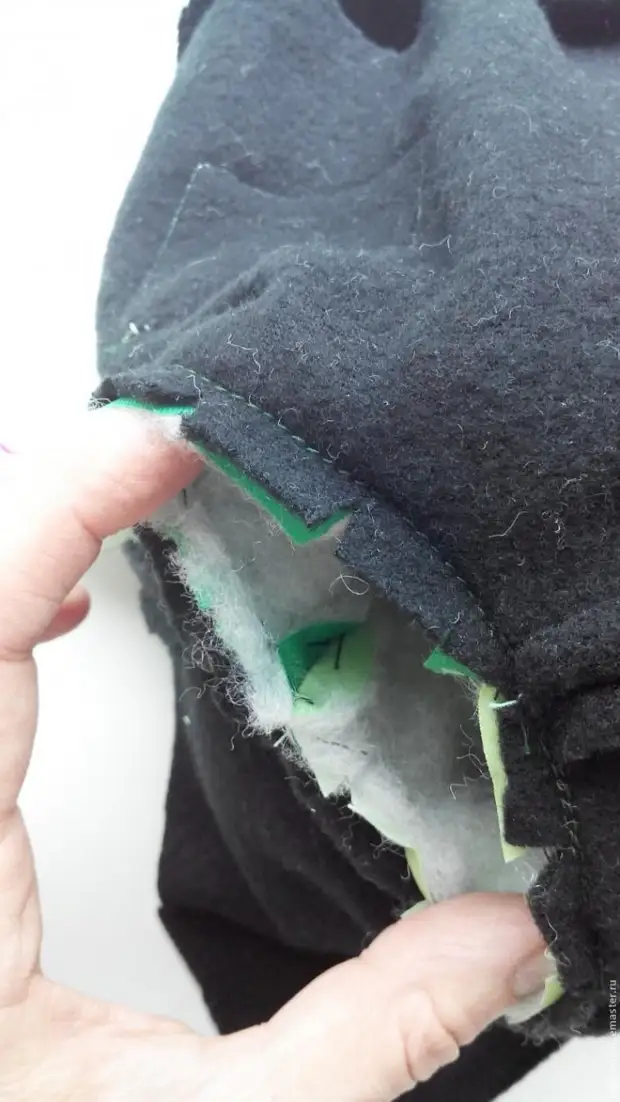
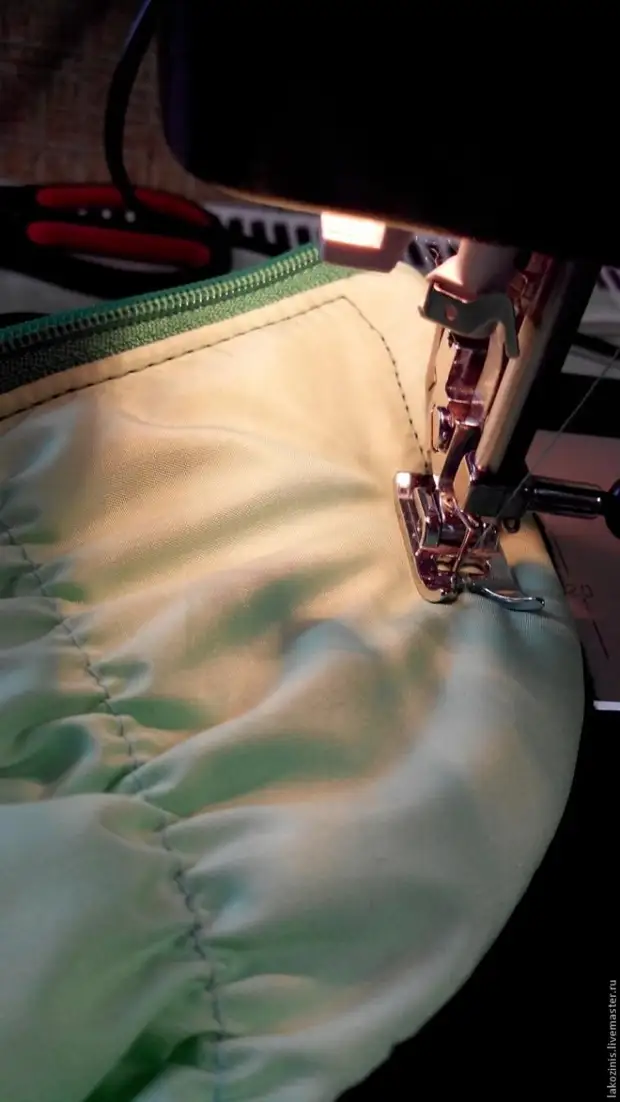
Now we connect sections with a zipper with a fleece and connect one side with a zipper from above, wrapped and having paved the line on the bottom of the vest, wrapped and connecting the fleece with a zipper from the bottom to the top,
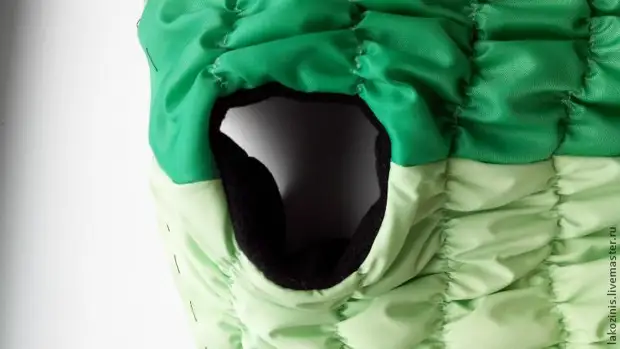
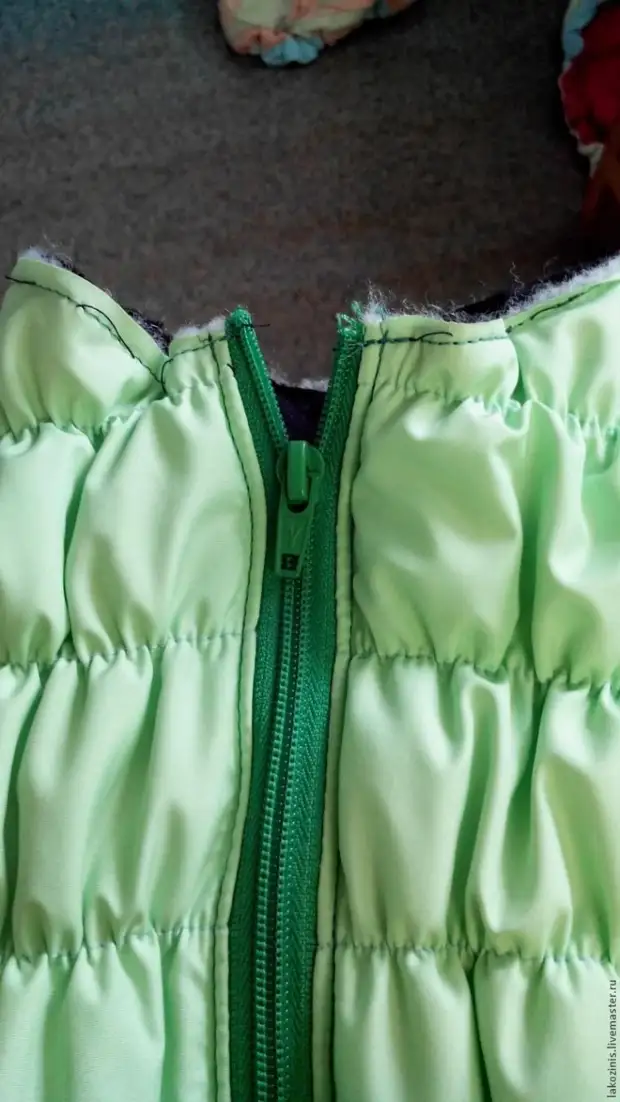
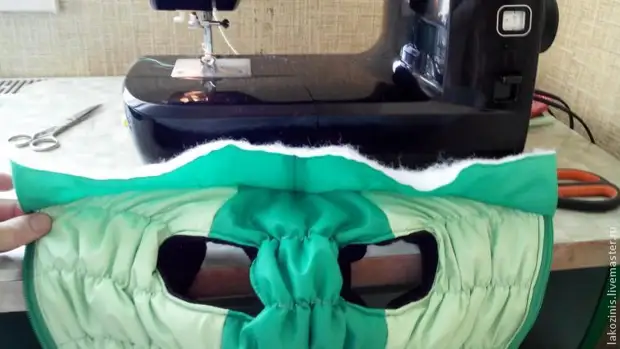
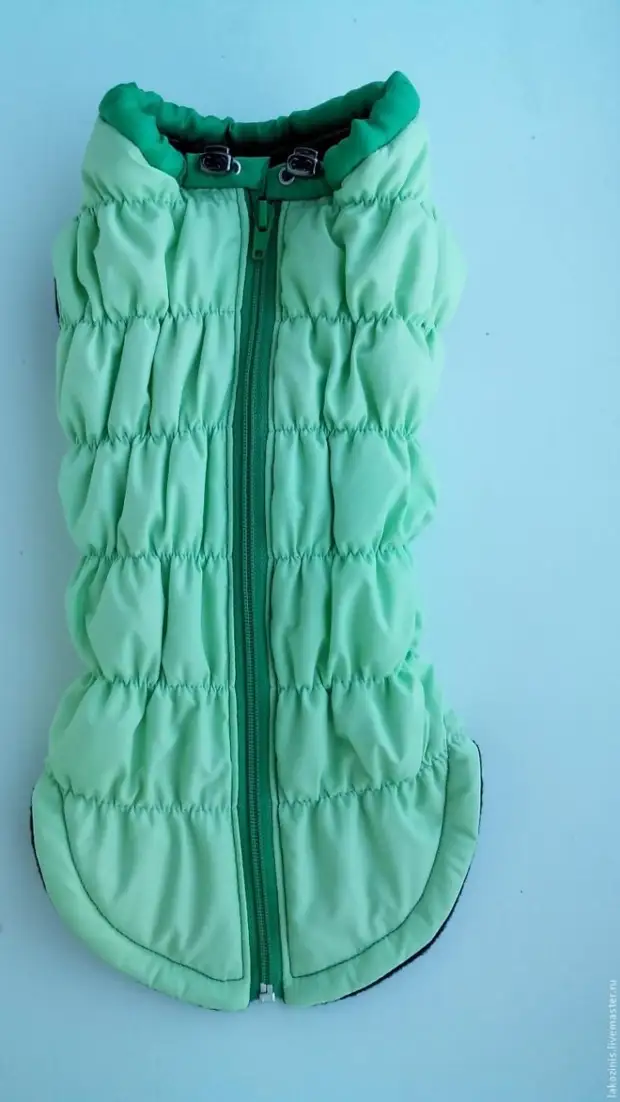
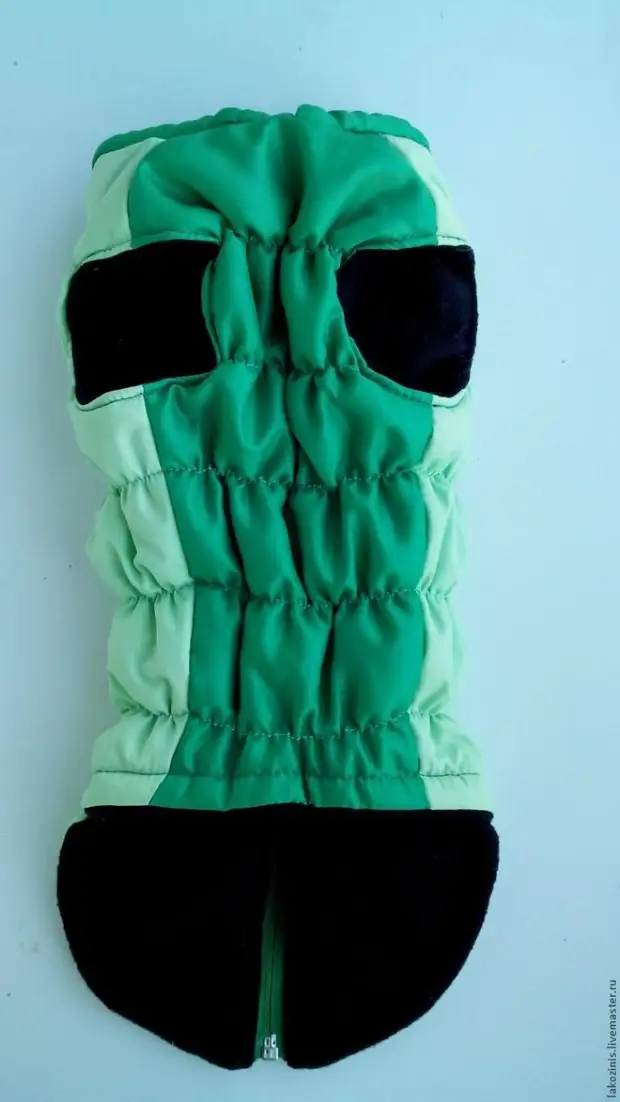
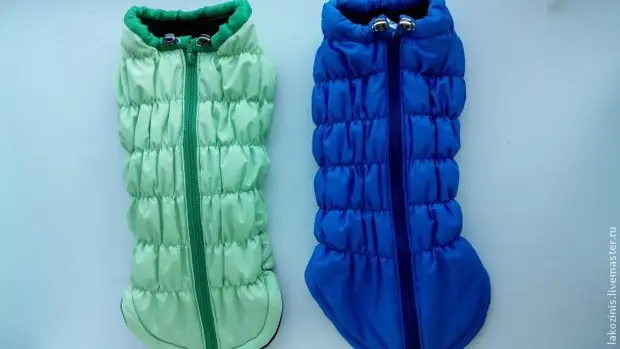
We get this beauty:

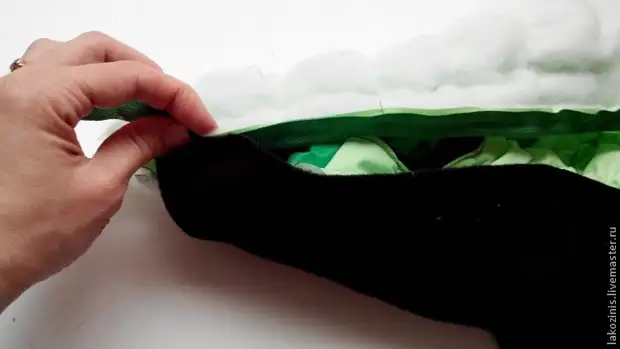
Soak through the neck, we cut off the extra lightning, whether the finishing line was checked and just admire, because it remains quite a little bit.
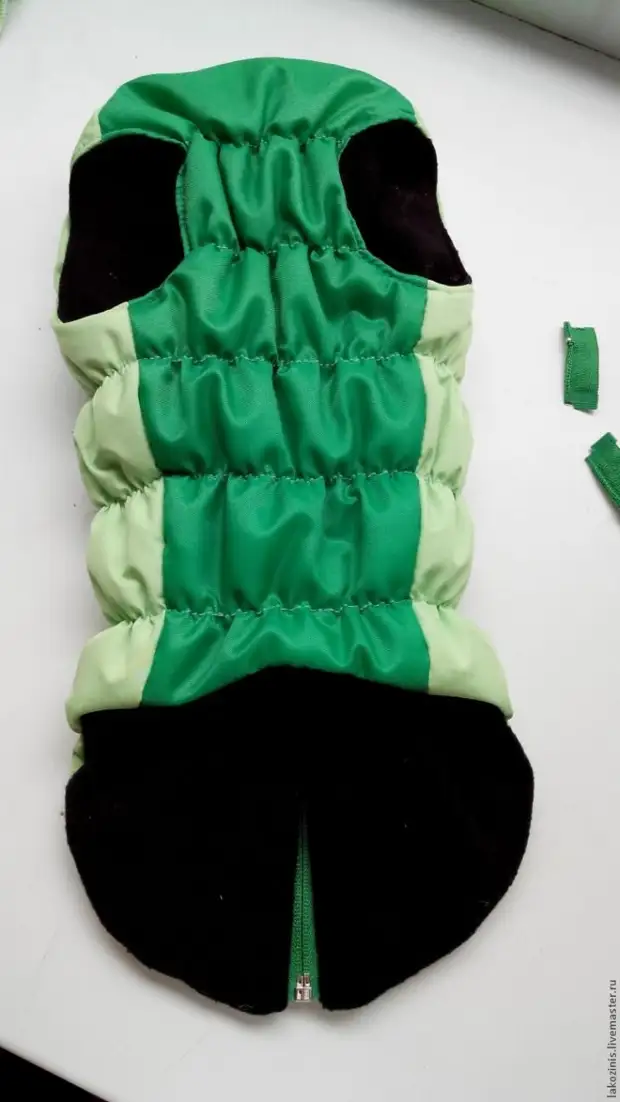
Then we carry a finishing line starting with the top of the zipper, wrapped on the bottom and climb the zipper to the neck from the reverse side:
Connect the neck of the top of the vest with lining Fleece:
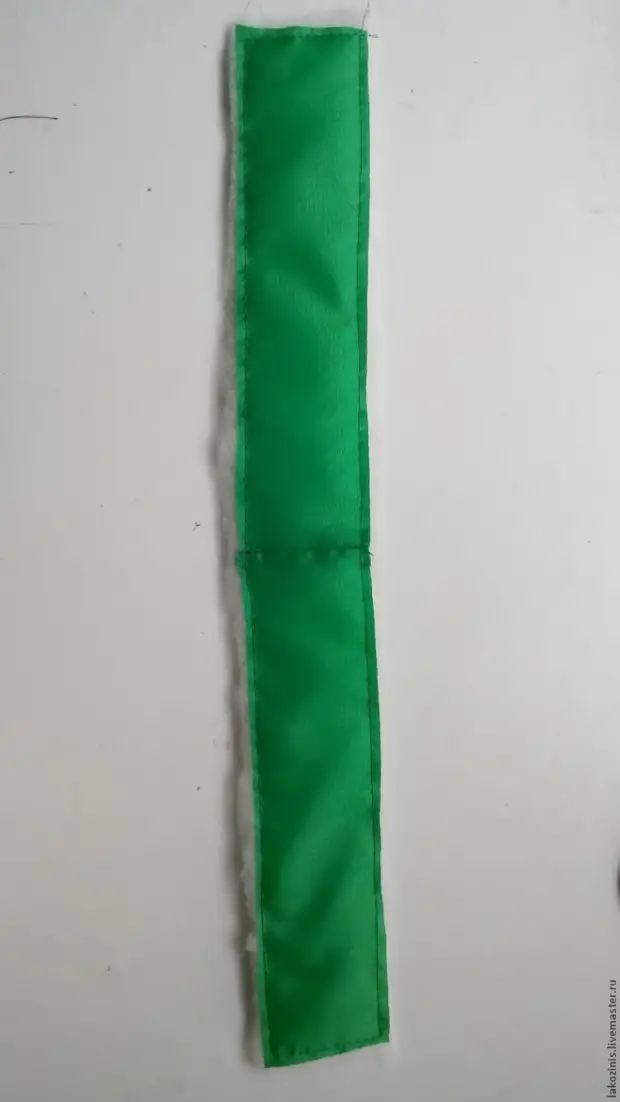
We measure how much gate centimeters and add 3 cm on each side.

Clear the gate, press the syntheps:
Stripping to the main detail, bending at the ends like this:

I have a press for installing chalks, but you can do without it:
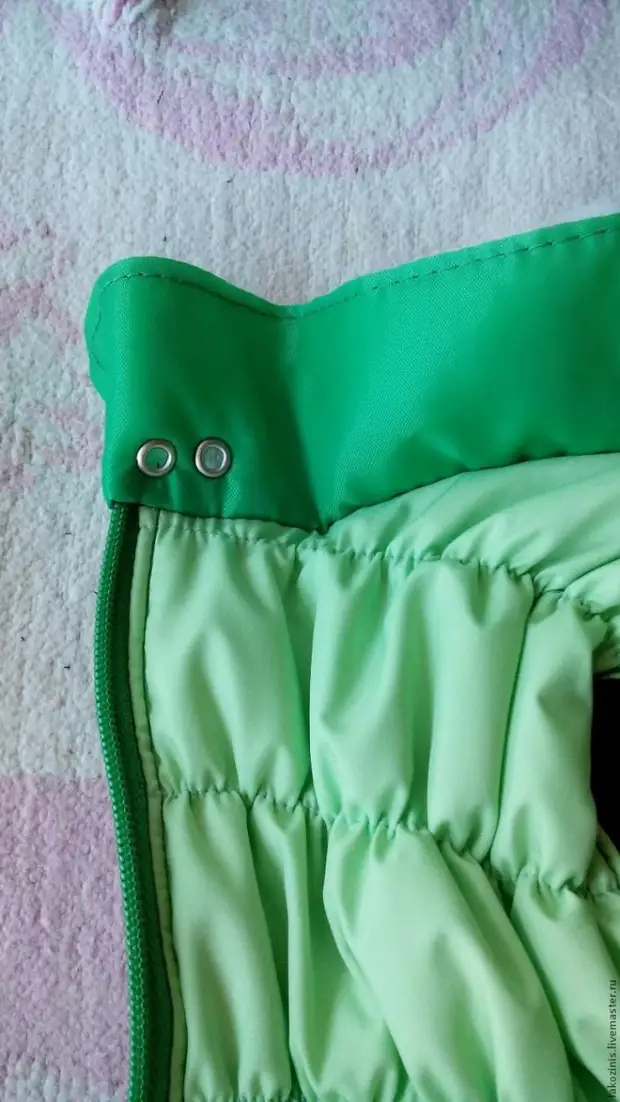
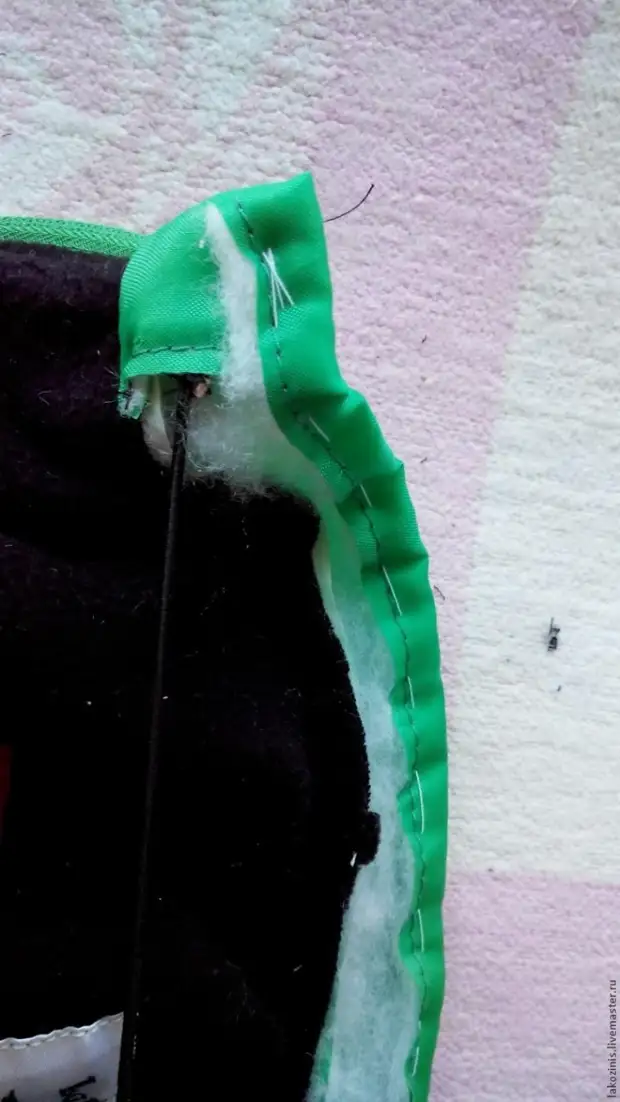
Insert the lock with a hat with a rubber band:
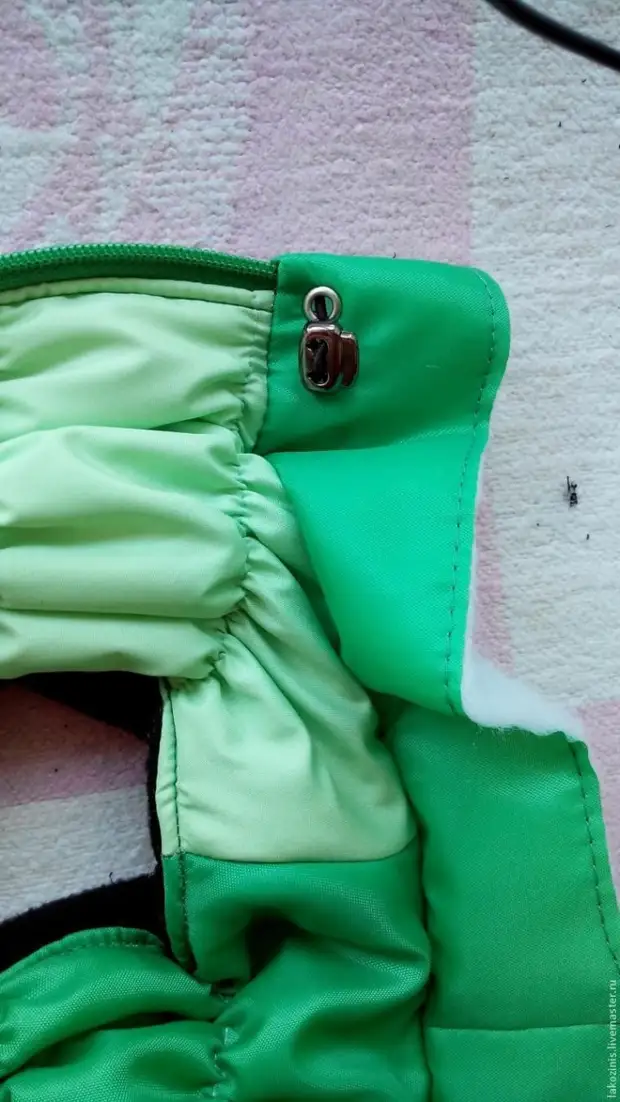
From the reverse side, we fix the gum on the line by the assault:
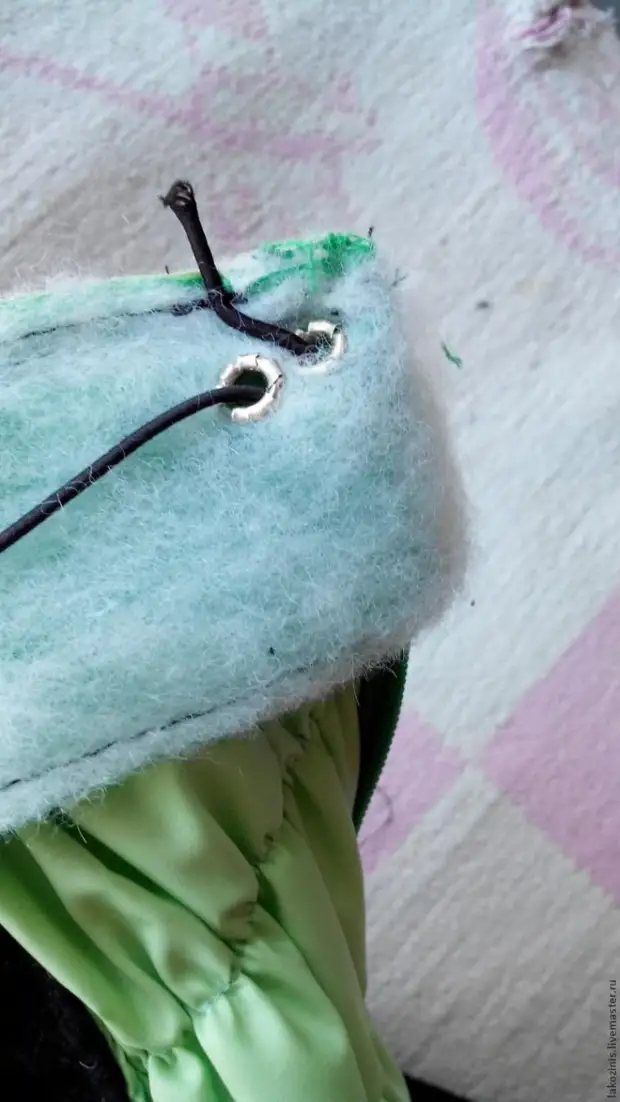
Note the collar:
And put on a vest. All is ready!
A source