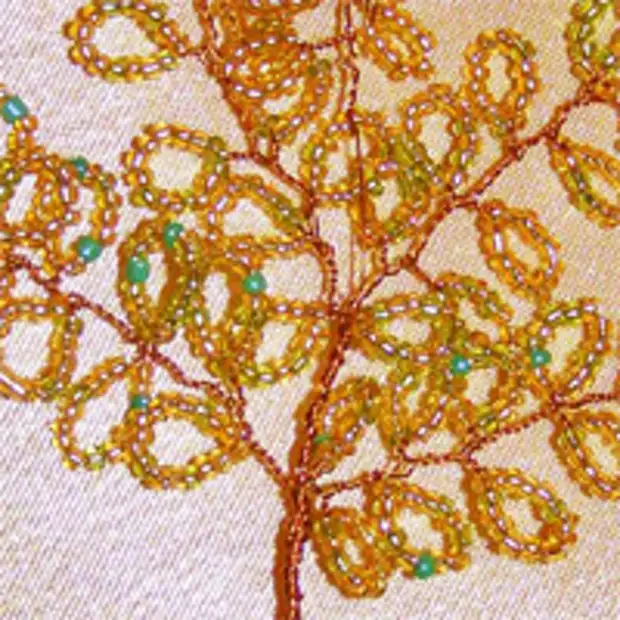
To work, we will need:
Several bags of golden, light green and bright green beads. Copper wire with a diameter of 0.3 mm, construction plaster, scissors, knitted fabric flap, wire in braid of different diameter, furniture varnish (you can any other), gold powder, glue, black, green and white paints, two brushes, small and medium size.
1. We start with weaving sprigs. First we mix all the beads, we ride it on the coil with a wire as much as patience is enough. I have such a Soviet coil.
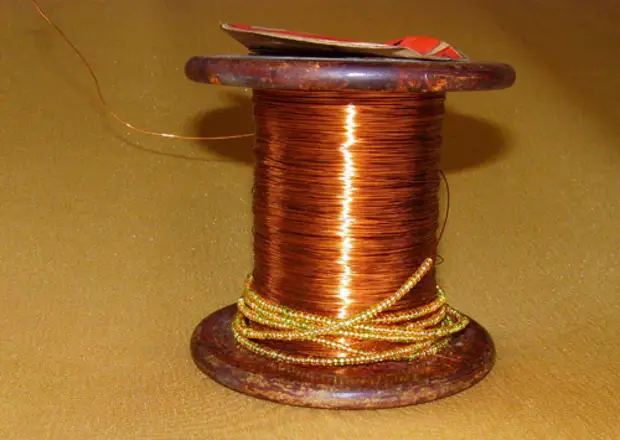
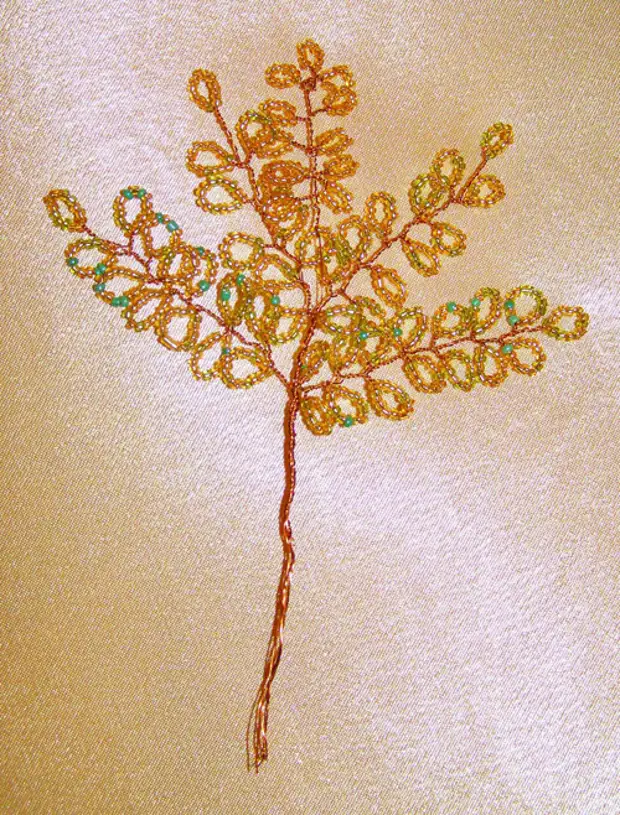
2. We take the wire for the initial end and start twisting the leaves. To do this, count 5-7 beads and twist the wire four times. Then retreat approximately more centimeter and repeat the action. I try to keep the distance to one centimeter, then the sprigs are flat and neat. In my photo, my first branch, did not immediately come out as it should. But with experience everything will turn out.
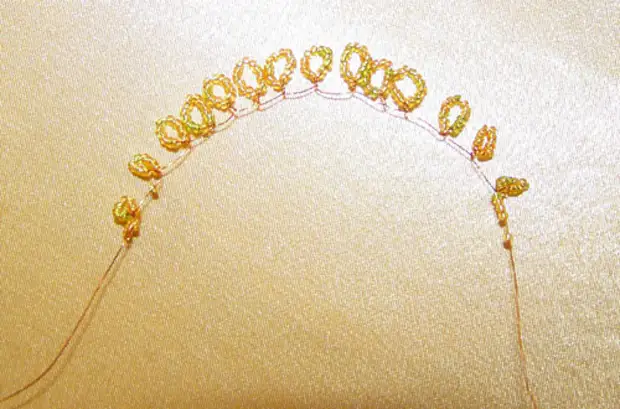
3. We fold the necklace in half and tighten all the gaps between the leafs in one direction. It turns out such a branch.
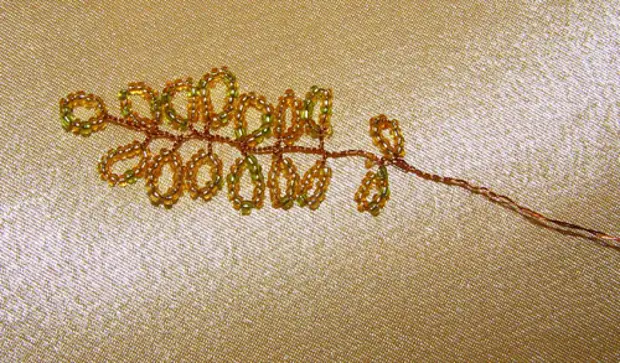
4. We need such twigs to push as much as possible (I got thirty-five pieces). It is best to lay out in size, from the shortest to the longest. Birch is a little and high, the book expands. We will follow this principle. We associate the branches together five pieces.
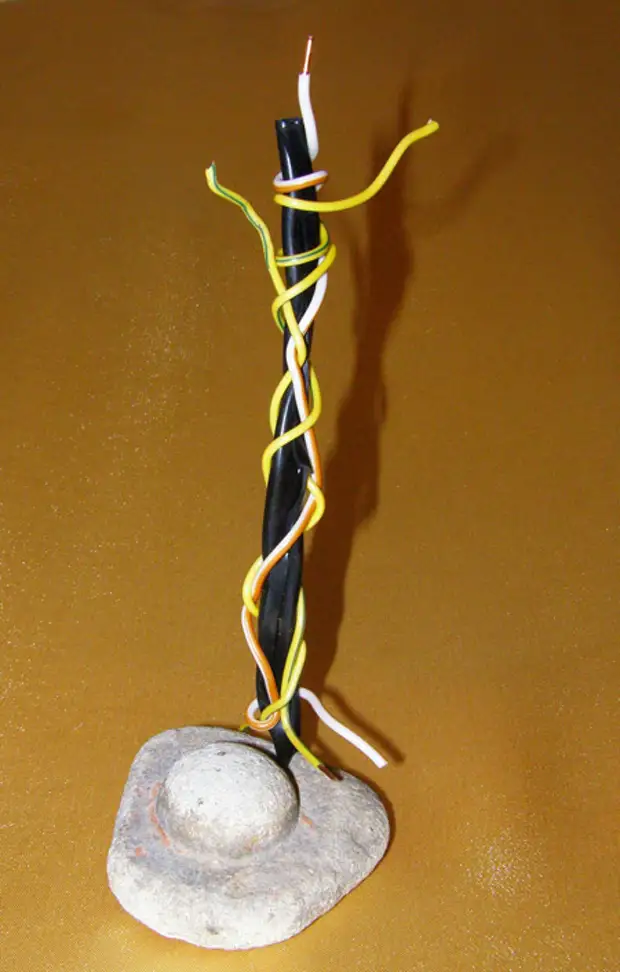
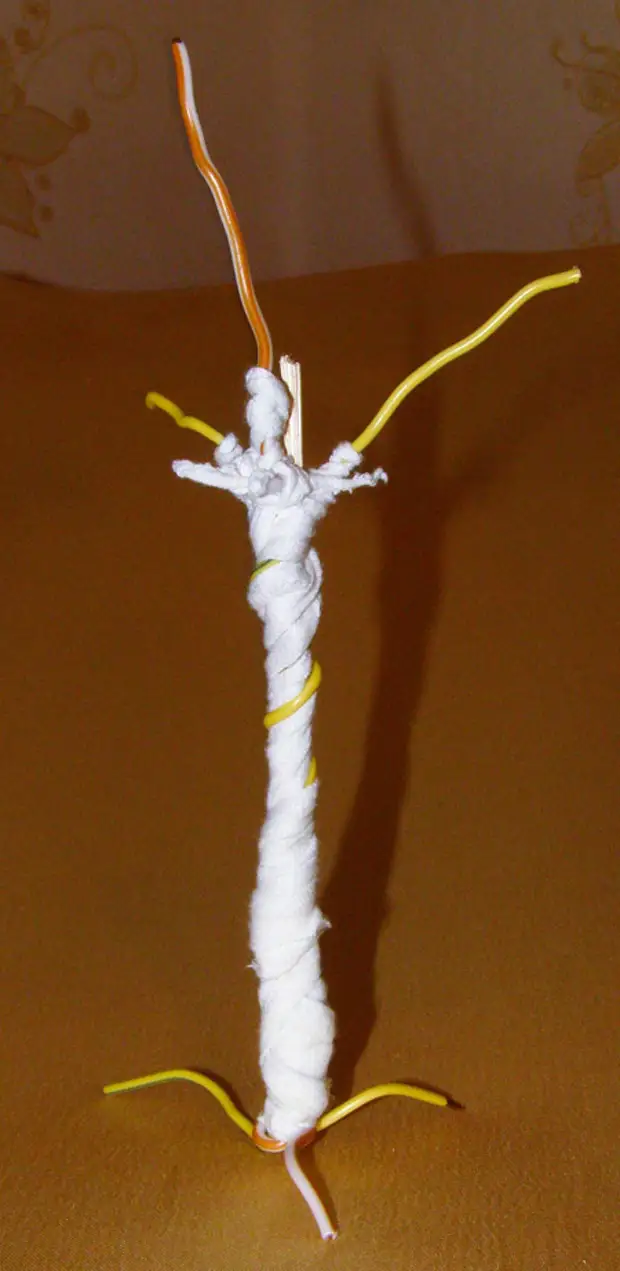
5. If you get tired of weave - can be distinguished to the manufacture of the trunk. Twisting wire trimming in the similarity of the birch trunk, that is, thin, slightly expanding the bottom. We take knitwood flap (it stretches better and twists, and folds similar to the bark of a tree) and wind all our tree. From above, leave free branches, bottom - roots. I didn't have enough branches, I wanted to make a penny, and I inserted a piece of wooden skewers in the center.
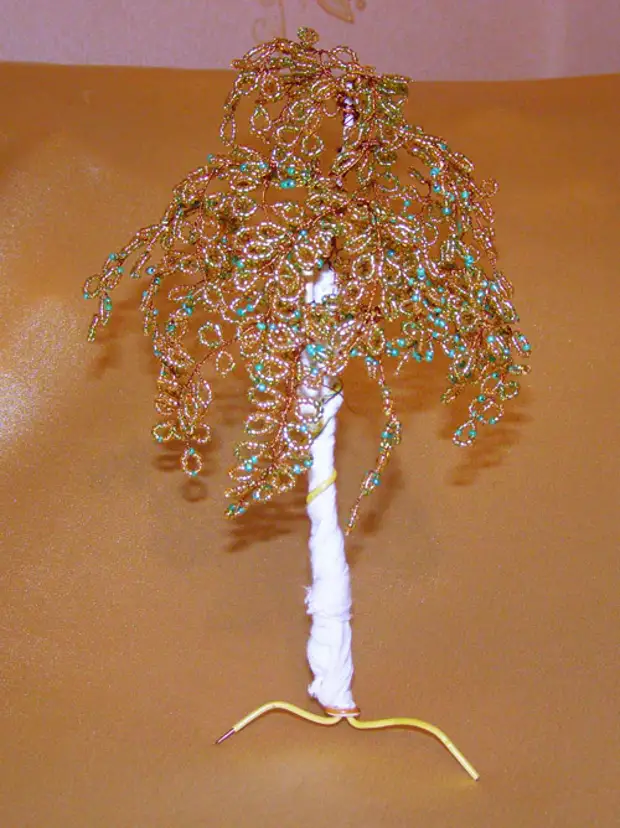
6. We are screwed onto the wire ready (five pieces) branches. Uniformly straighten. If the emptiness remained in the crown - you will still stand up.
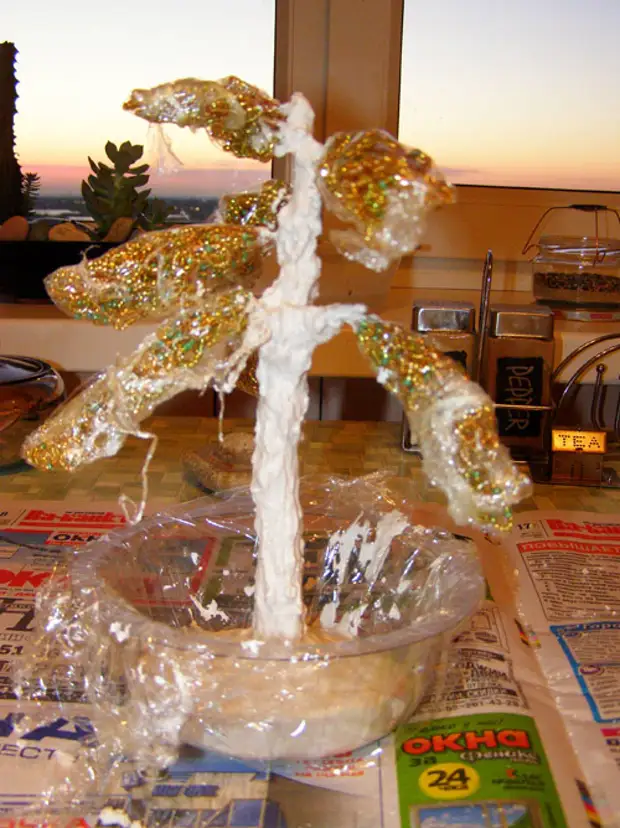
7. Now we need to form a real trunk and arrange branches. We will delate all this with plaster, and so as not to be stained beads, we put the twigs to the flop and wrap them into the film. Best of all in the food roller, she sticky and will not bloom at the most inopportune moment. If there is no one in the house, then you can still use foil for these purposes.
We divorce the plaster to the depletion of sour cream, take a flat cup, put on the bottom of the food film or a bag, pour a couple of centimeters and put the tree there. It is best to hold so a few minutes until the trunk will enaches. The medium-sized brush is failing the barrel and branches. We close all the locations of the connection and leave to dry.
8. We start color. A small brush with black paint, starting from below, draw vertical lines. This is a stump. The above is horizontal, and the higher - the thinner. Green paint is well crossed by the base - the clearing.
9. When the paint dries, take transparent varnish and cover the base of the branches, trunk and glade. Golden powder, too, mix with varnish and semi-dry brush on the protruding parts of the clearing.
10. And finally, the last touch. Since the birch of us is autumn, on the gland on the glue Sadim Golden beads, imitating the fallen leaves.
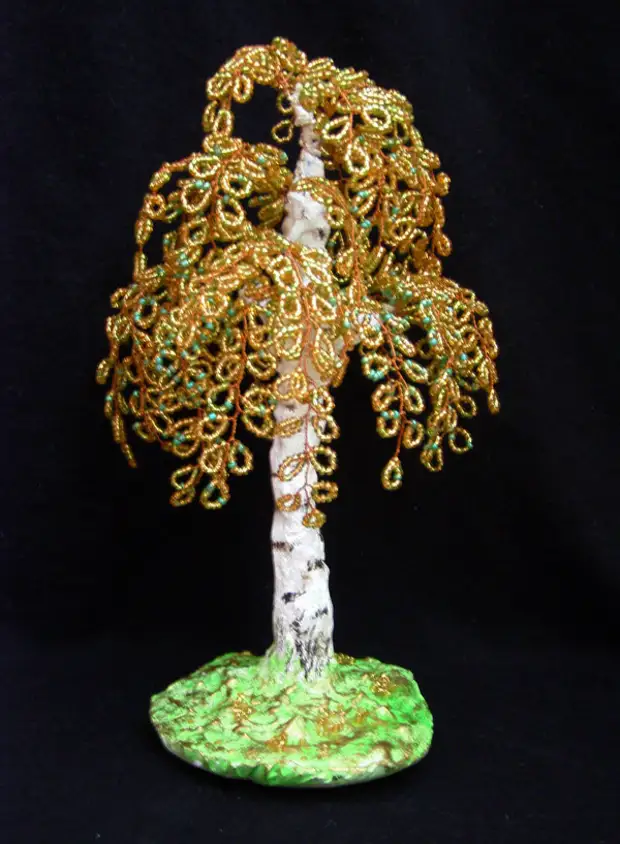
And here she, our beauty - Birch is ready!
A source
