The author of the work - Anna Krivosheev.
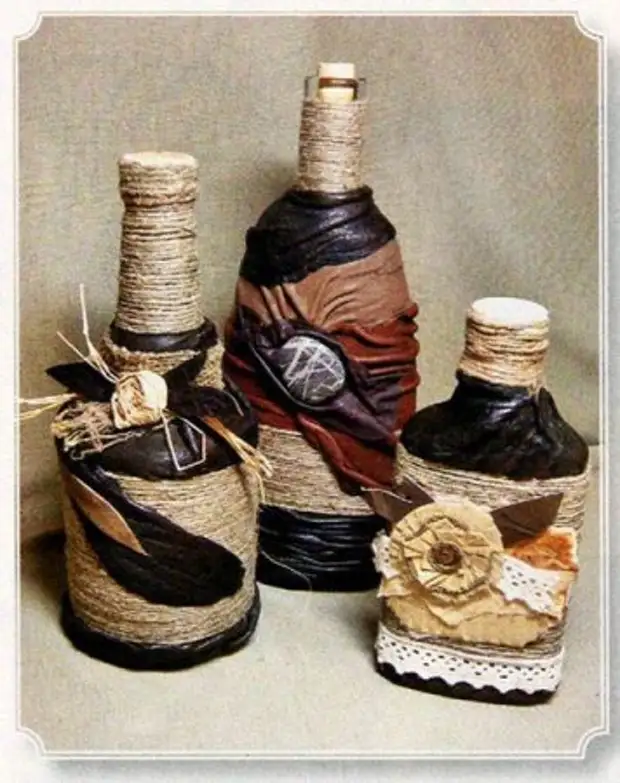
The topic of decorating bottles rose more than once and not two, had to see them decorated and skin, and twine, and lace. I decided to mix all these techniques. I propose a decoration option, which uses both leather and twine, as well as some scrap elements. I have not been spent on the materials, I used what was turned up to hand, so the costs were minimal. Film readers invent their decisions using those techniques that are closest to them.
Materials:
• bottles of different shapes;
• twine;
• Skin pieces;
• PVA glue;
• Glue "Moment";
• trimming of wrapping paper;
• stones;
• lace;
• Cardboard pieces;
• Pencil;
• Vodka for degreasing and wool.
Progress.
To start, take some kind of pretty bottle. Previously, it must be cleaned of labels and degrease, although I left the label for a better adhesion of glue with the surface. With the rough texture of the decor, it is not very critical, however, with a more subtle work, the labels are better to wash off.
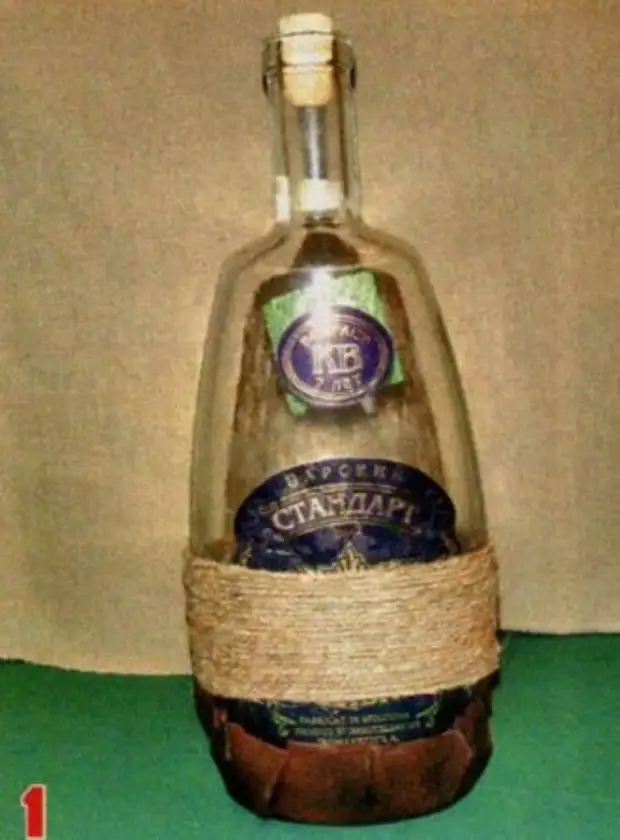
We put the bottle on a piece of the skin, supply the bottom, add 2-3 cm from all sides (depends on the bottom of the bottom) and cut out a piece of skin. We glue it to the bottom of the "moment" glue: start from the center and stretch the skin slightly, evenly distributing the folds, we try so that they are too thick. With the help of the PVA glue, we glue with a bottle with twine, tips neatly hide (Fig. 1).
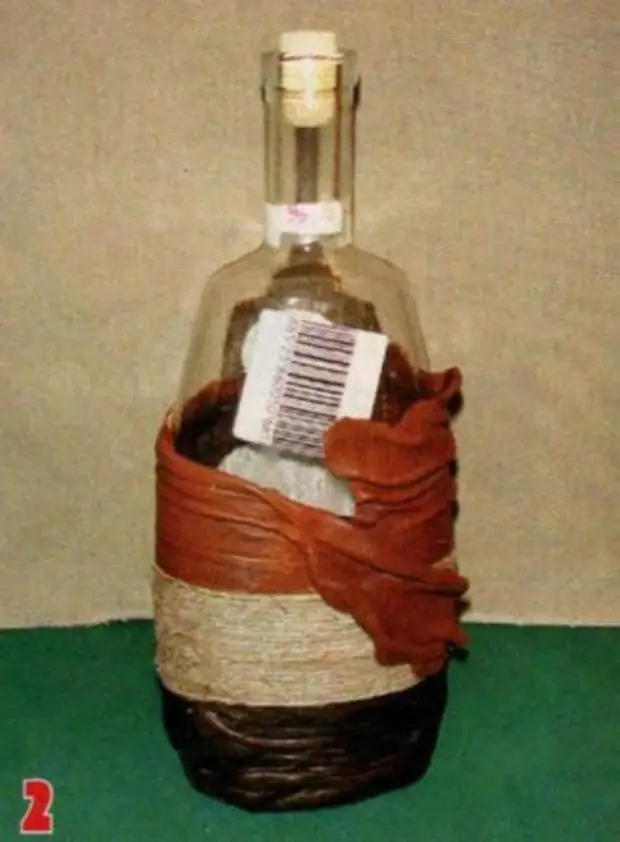
In the future, the twine is glued on the PVA, the skin is on the glue "moment".
Manicure scissors neatly cut off the resulting skin glands, we wash the site between the bottom and the twine "torque" and wait until it snacks. During this time, cut out a piece of skin, in length slightly larger than the circumference of the bottle, in the width of about two times the distance between the bottom and the twine. Prettyly miss the "moment." When it gets dry, glit, converting cuts. Previously, they can be sophisticated with the blade. Similarly, we do with the top of the bottle. We drag the skin according to your aesthetic representations (Fig. 2).
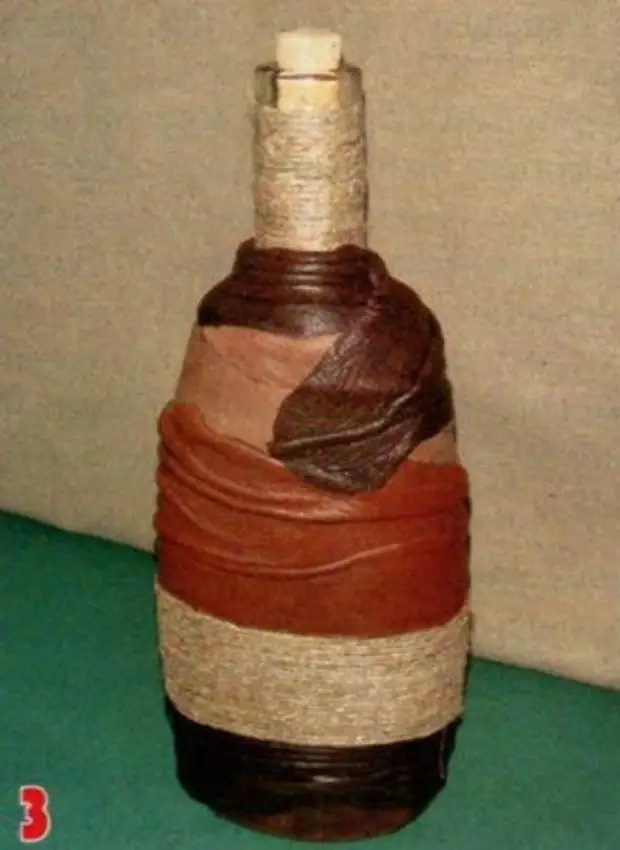
The neck of the bottle is decorated again with twine. This is what happened on the one hand (Fig. 3).
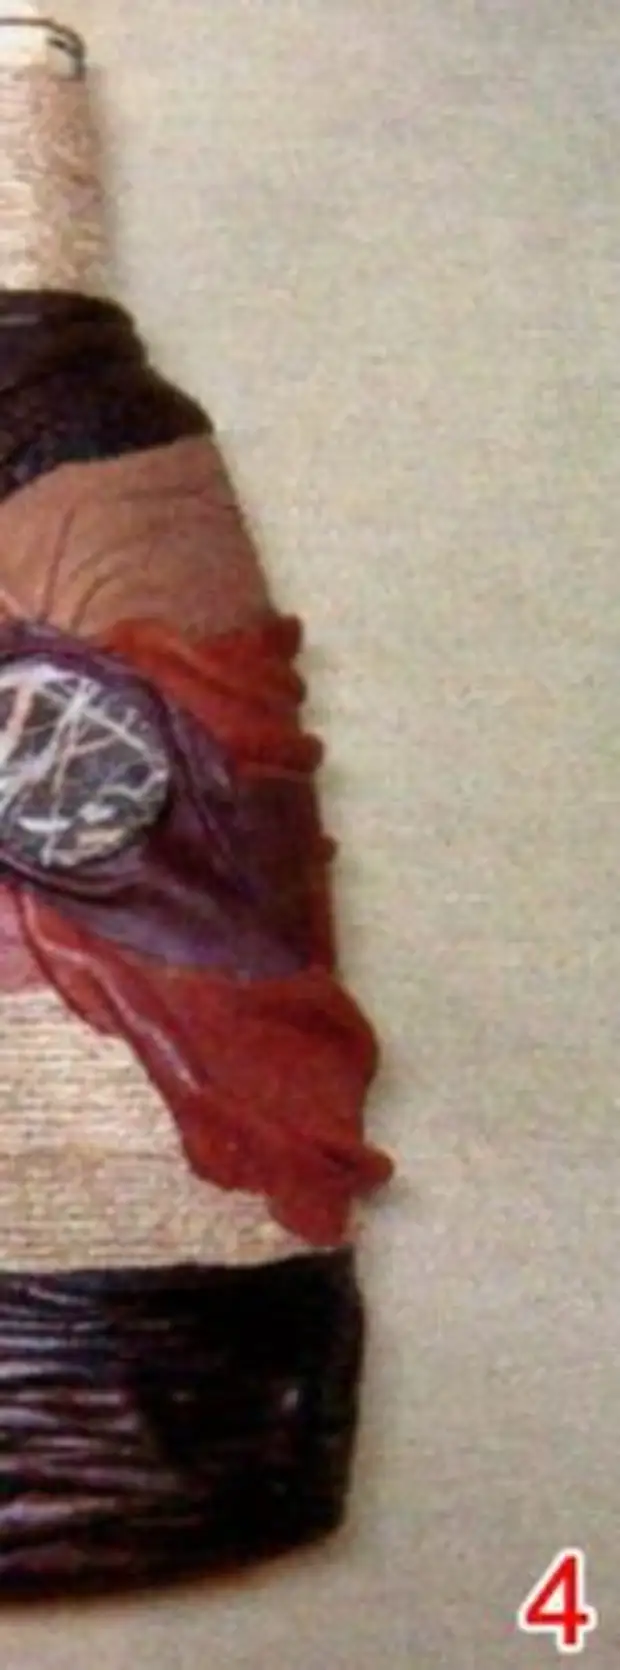
From the reverse side, we glue the appropriate stone in the skin drapery, it is better to cover it with a transparent varnish, it is possible for nails. That's how the bottle looks on the other side (Fig. 4).
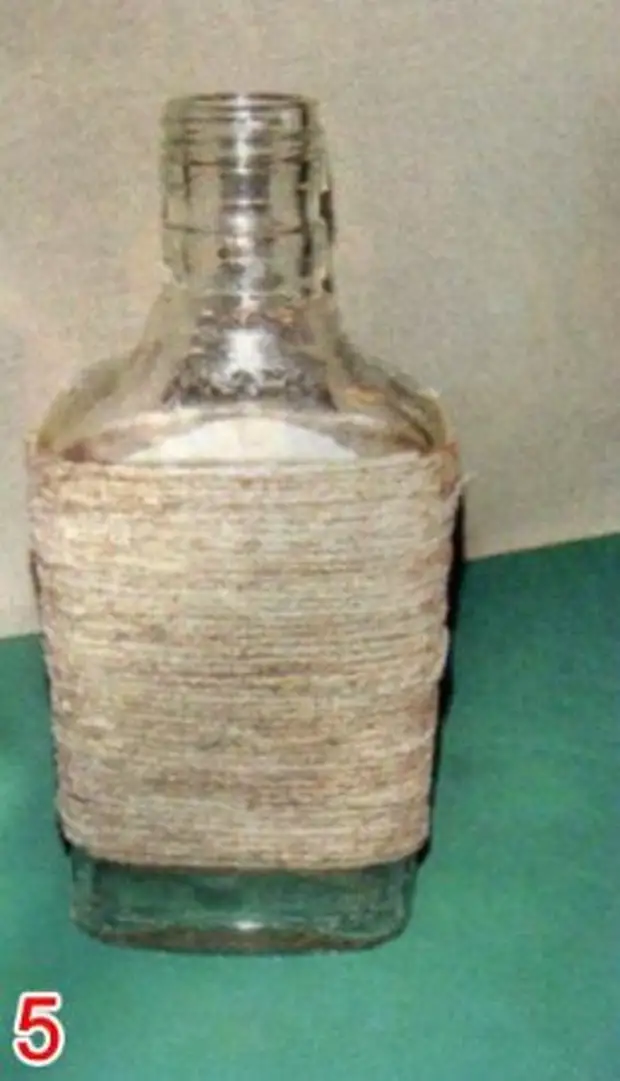
Another bottle is issued with scrap elements. First, we glue a flat bottle with twine, tightly pressing the coils to each other (Fig. 5).
We are waiting for the glue dry.
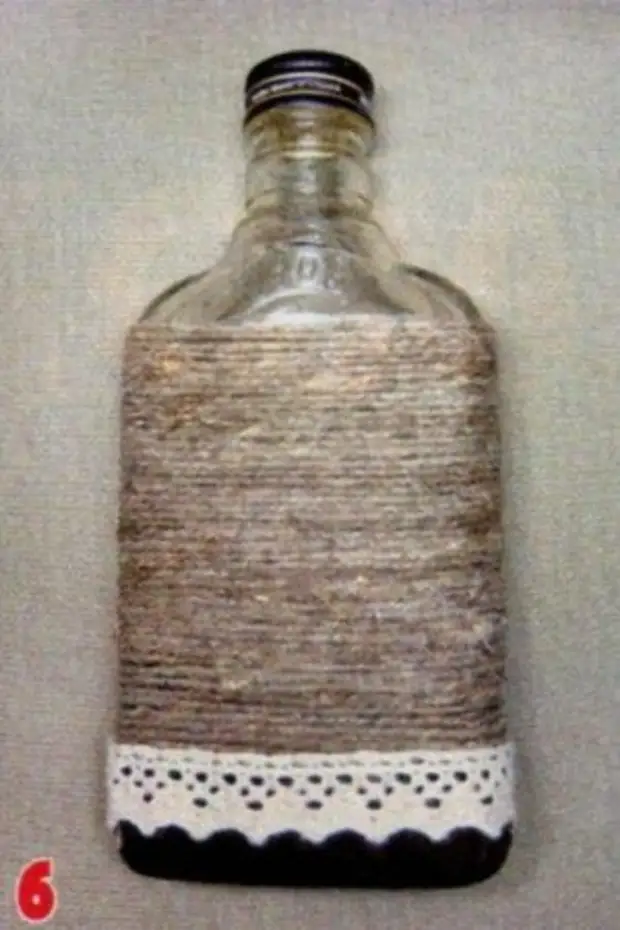
As in the first case, we glue the skin on the bottom. The junction place is closed by lace, gluing it to rinse to the twine (Fig. 6).
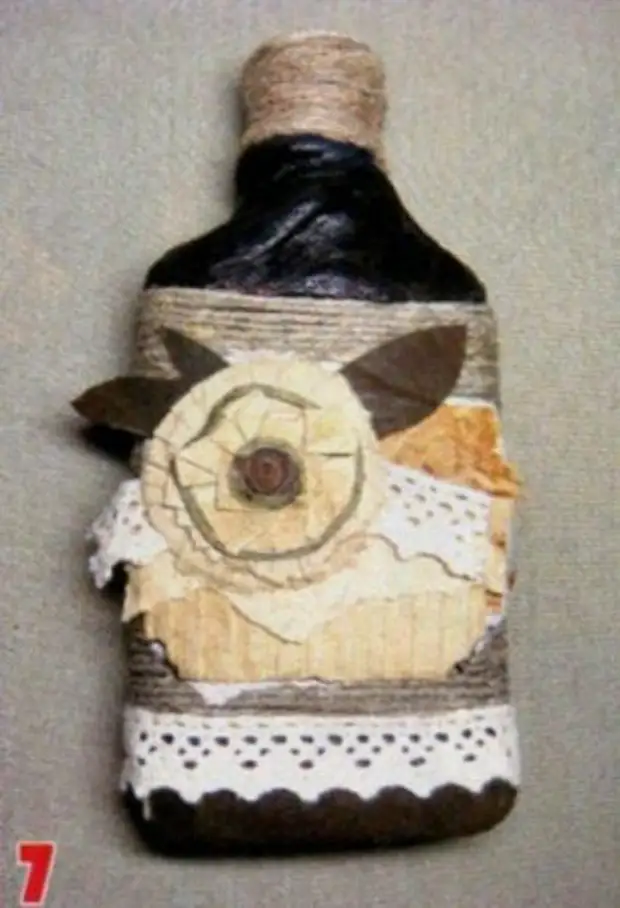
The upper part of the bottle is dragging the skin, the neck is wrapped with twine. The surface of the bottle is decorating in accordance with its fantasy, using the remains of lace, wrapping paper, leather. I also used the fragments of tea bags and packaging from the light bulb (RY7).
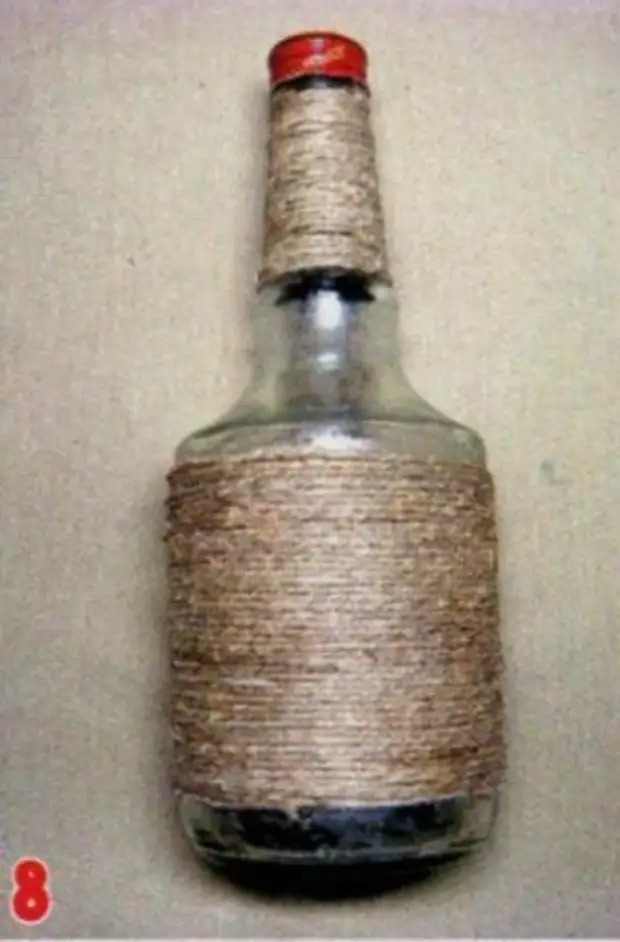
Similarly, we make a third bottle: first we glue the desired plots with twine (Fig. 8), then fill the gaps between the skin.
We draw up the covers for two bottles: on top glue wrapping paper, the decor can be glued on the paper, the sidewalls also decorated with twine (Fig. 9).
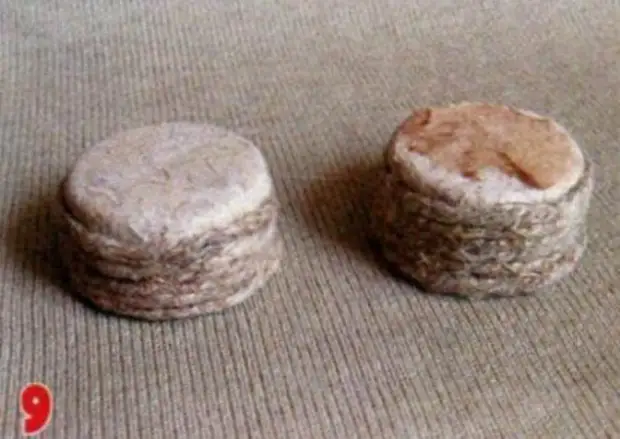
We screw the covers to the bottle. The cover of the lid and the bottle is almost impaired.
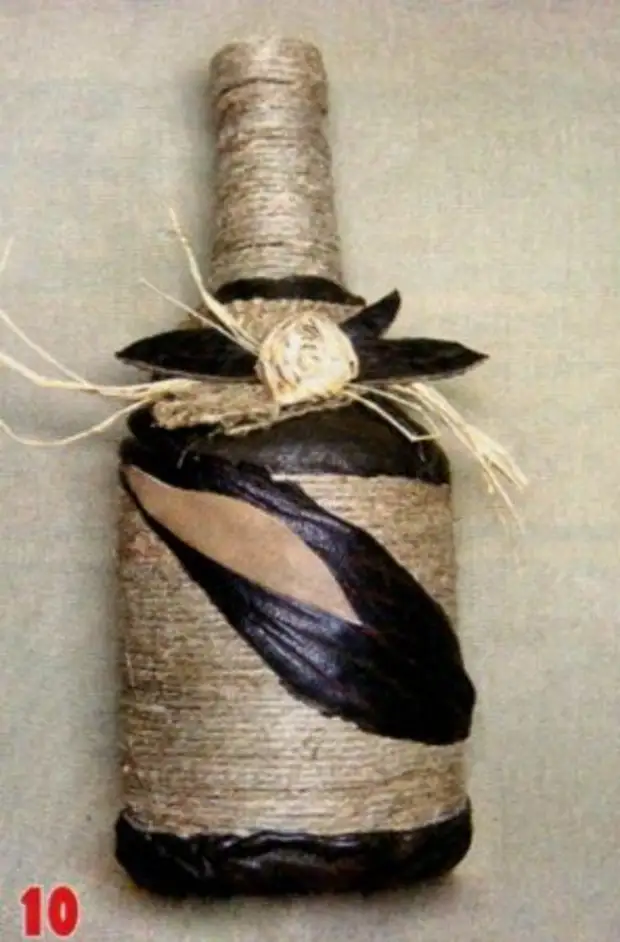
The top of the bottle, I designed, sticking to the skin a piece of burlap, on which the leaves, sisal and paper flower fastened cut out of the skin, rolled from cropping of wrapping paper (Fig. 10). That's all!
A source
