
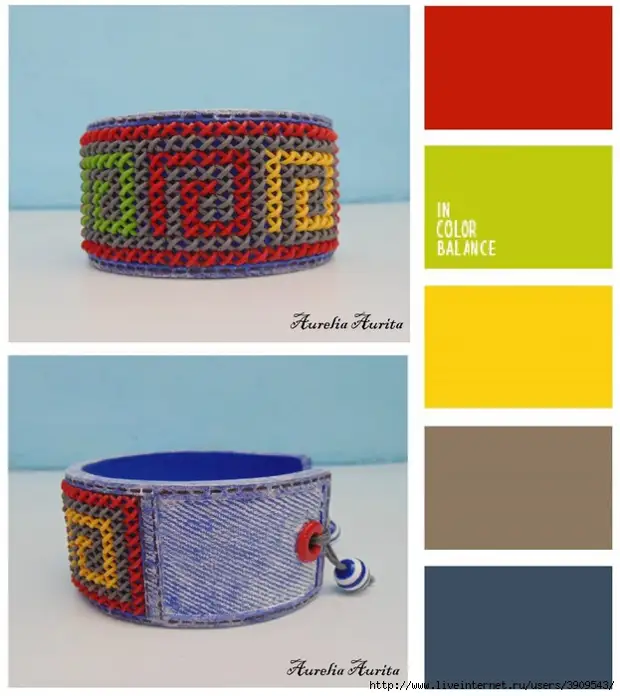
It has long promised to make a master class on imitation cross-embroidery. I'm speaking promised)
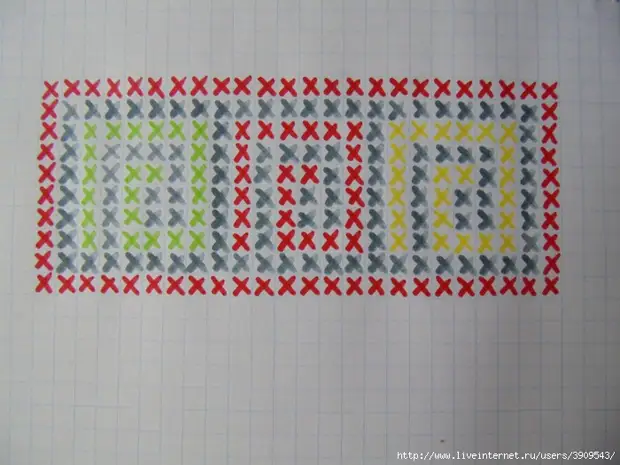
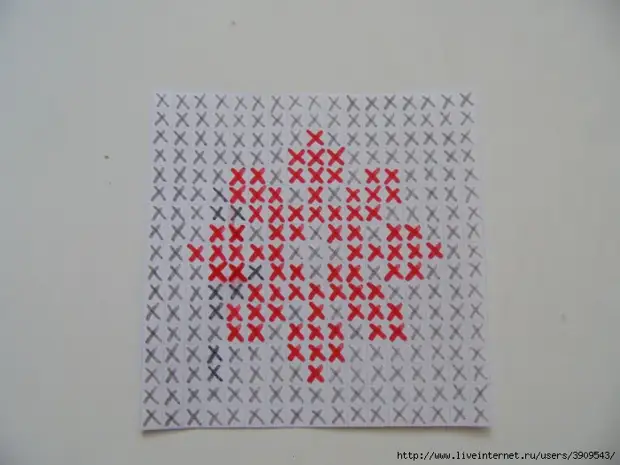
1. Select the scheme of the future "embroidery".
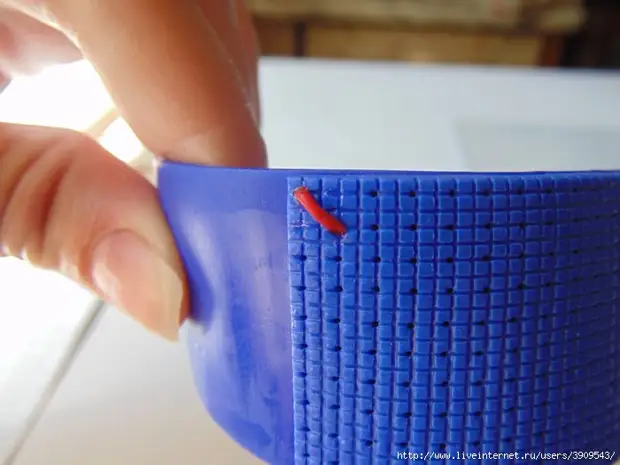
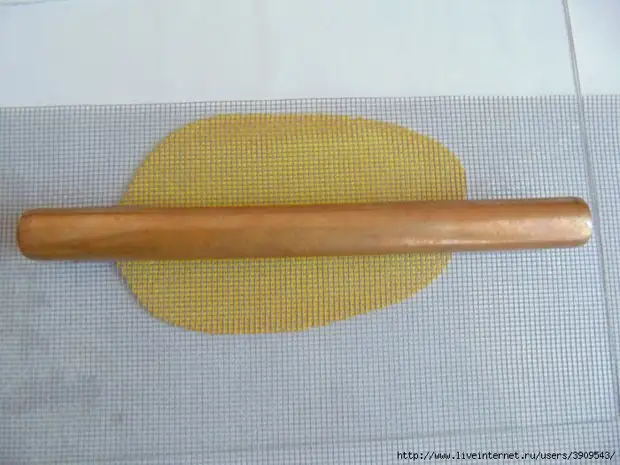
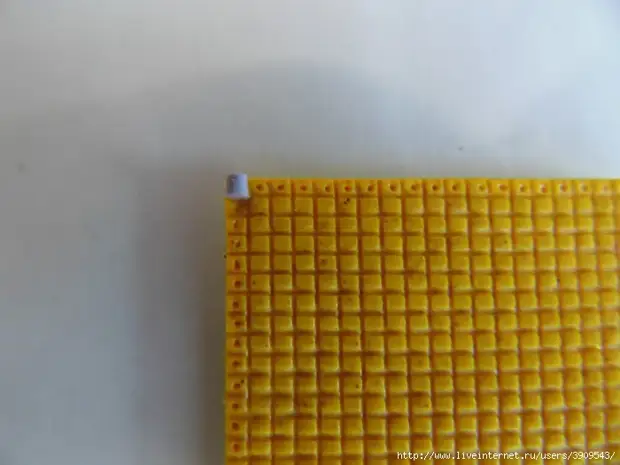
2. Cooking "canvas". To do this, we put a mesh on the polymer clay layer (I have a regular mosquito net), pre-slightly moistened with water (so that the grid does not stick to the plastic), press the roller. Watch that the grid does not move.
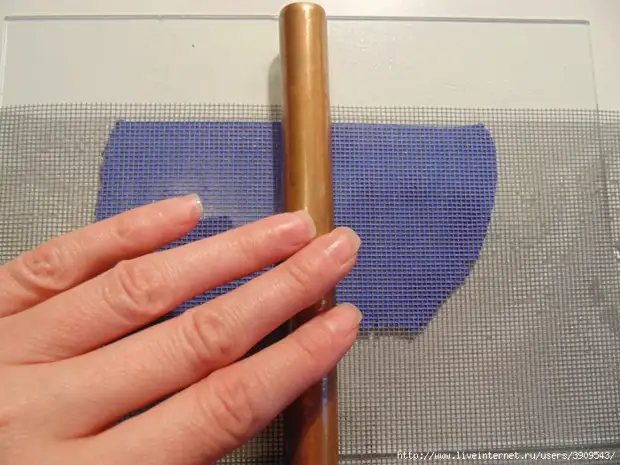
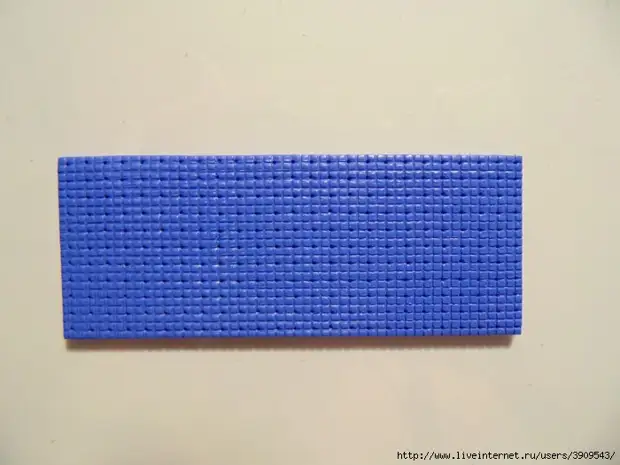
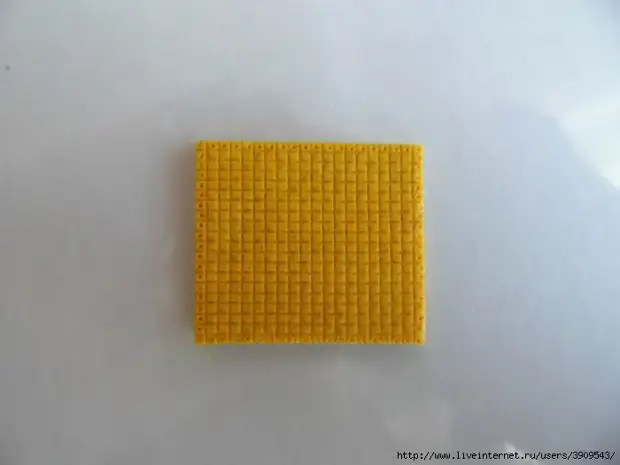
3. Remove the grid. The clay remains the imprint - small cells, which resembles a real canvas.

4. count the required number of cells. My cage for one stitch is equal to four small cells on "Canva". Cut up too much.
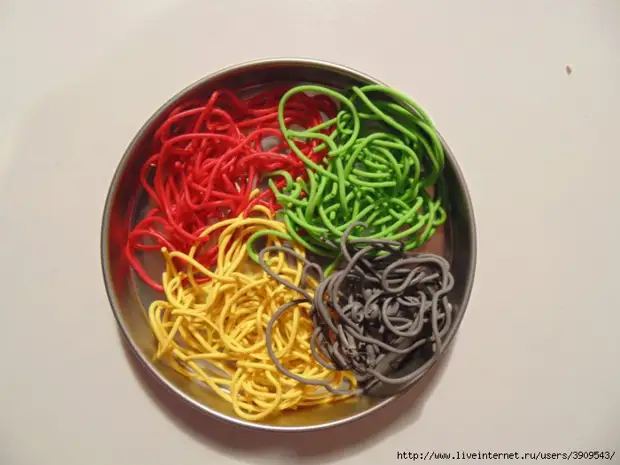
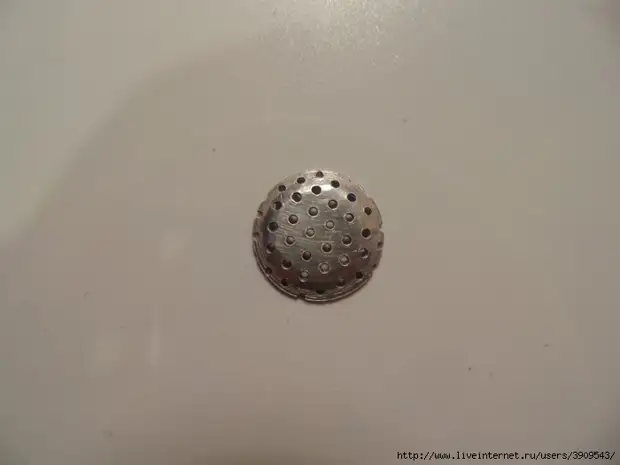
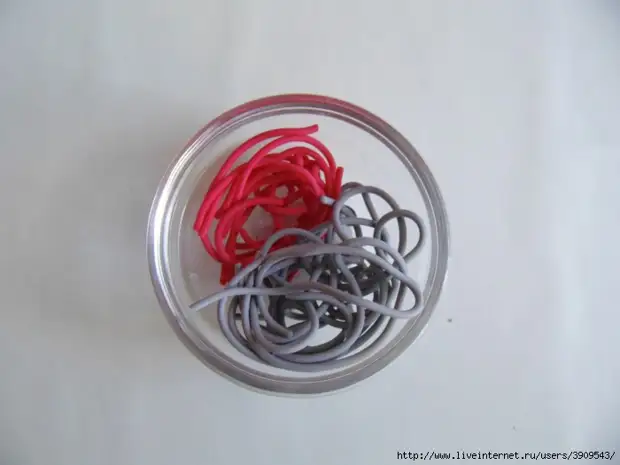
5. Prepare "Threads." I use an extruder for this. It is better to take the nozzle with the smallest holes.
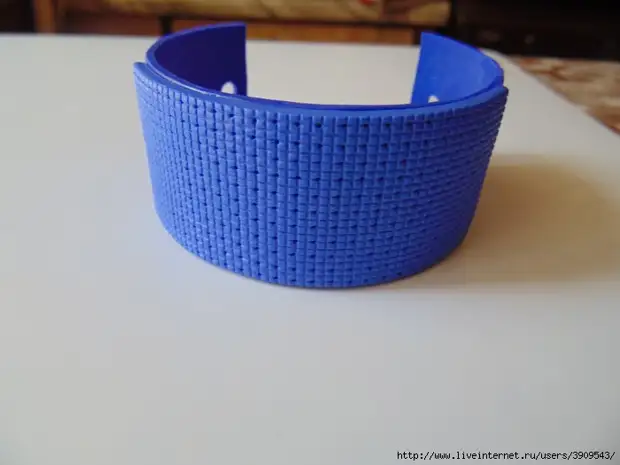
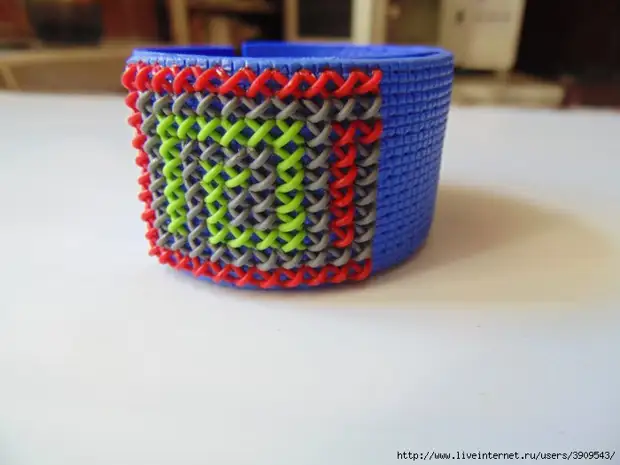
6. Next, "canvas" is transferred to the blank for the bracelet. If "embroider" on a flat surface, and then finished "embroidery" transfer to a round bracelet, then "stitches" - crosses can be deformed.
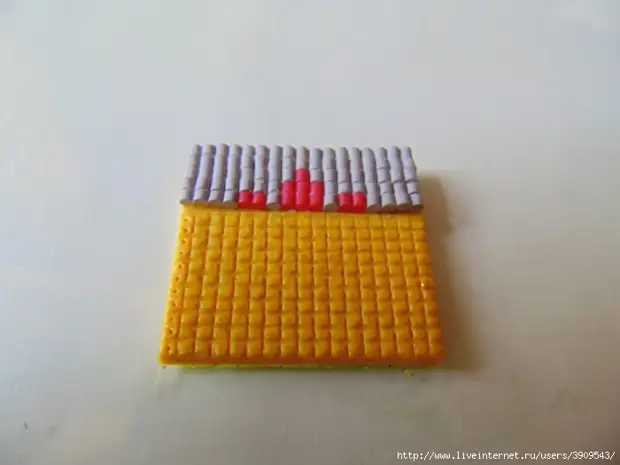
7. And now the most interesting! We apply a phimo gel to "canvas". We take the "thread" of the desired color, we place it in the cage diagonally. Cut up too much. A needle gently press the ends of the "thread" to "canvas".
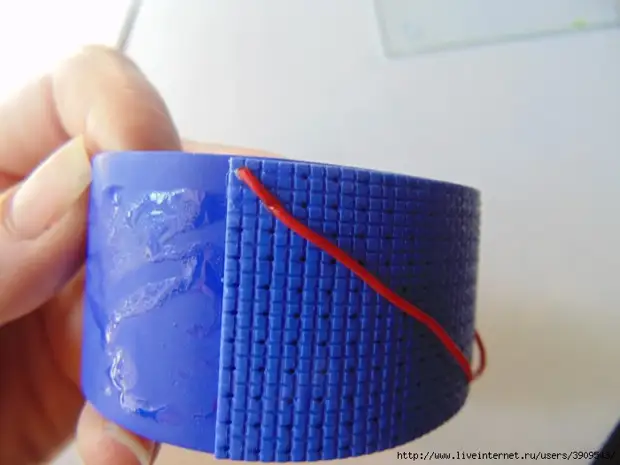
8. In the same way, we form the second half of the crossed.

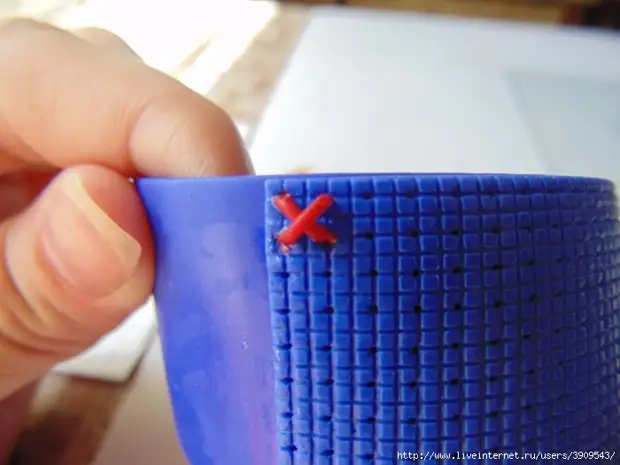
9. And then "embroider" according to the scheme. However, we take into account the important point - the "stitches" must lie in one direction.
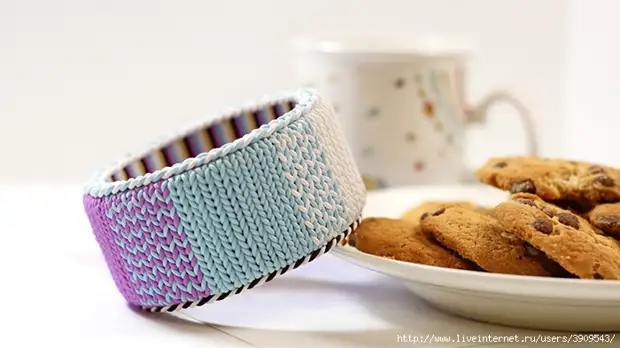
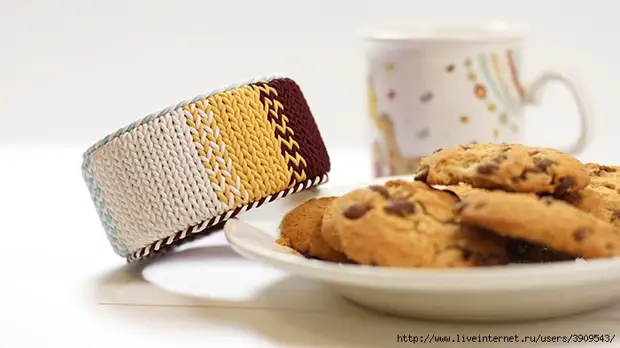
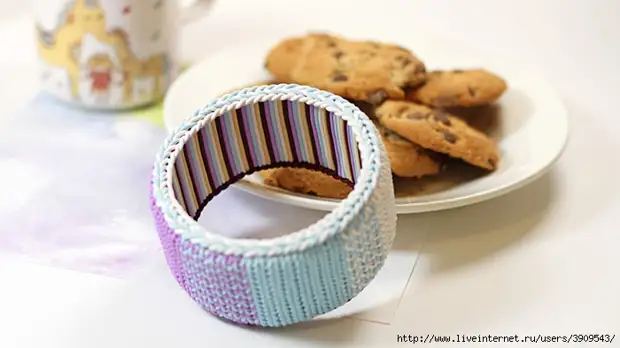
Product and lesson "Knitted bracelet" Author MK: Annaiona
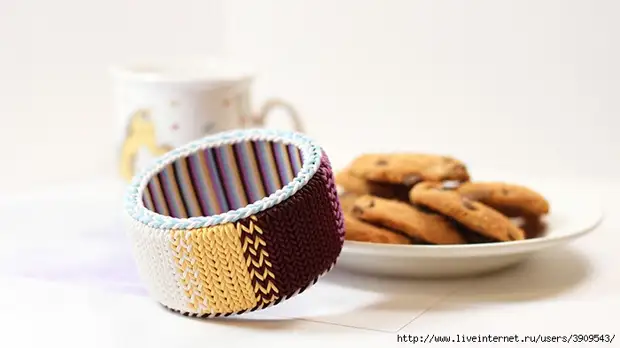
When viewing, I recommend choosing the quality 1080 and deploy a full screen to view all the details.
Creative success!
Mosaic author MK: Wikapapsheva
So, proceed.
1. Draw a scheme. You can use the finished circuit from the crossing journals.
2. In order for the ranks of the squares to be smooth and neat, make marking. I do this to my favorite way. Rolling the layer of clay, I apply a mosquito net (pre-slightly moistened with water so as not to stick to the plastic), I press the roller. IMPORTANT! The grid at the same time should not move, otherwise the ottisk will be blurred, not clear.
3. Remove the grid. On the clay, the imprint remained - small cells. It is very important that they will be as clear as possible, then lay out a neat mosaic will be easier. We count the right amount of cells. Cut up too much.
4. In order for the elements of the mosaic to be the same size, we use the extruder. It is important to choose a suitable nozzle. The thickness of the extruded tube must match the width of the cell on the markup.
5. Getting out the layout of the mosaic. Lubricate clay reservoir with a fimo-gel markup. Apply the tube, cut off the excess in the cell.

6. And so on, according to the scheme. IMPORTANT: Mosaic elements must fit tightly to each other. There should be no gaps between them.
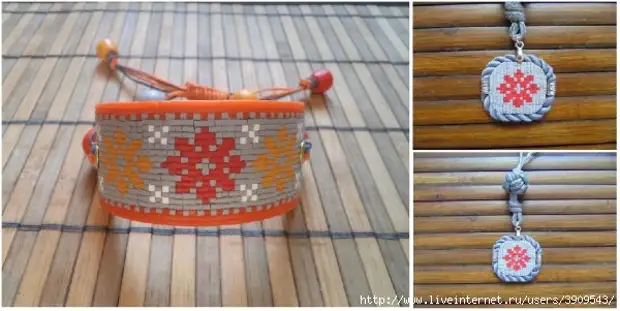
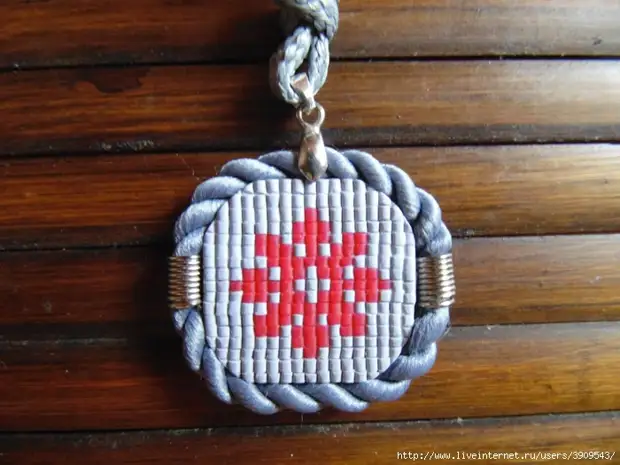
7. Finished work with baked, without removing from glass. We collect the decoration (before baking, I rounded the edges with the help of a catter to give the desired shape to the pendant).
A source