
The author of Idhthyander.
Meet a new resident of my collection - Golden Turtle. In this blog, I will tell about the stages of working on it and share the Councils of Stained Painting.
We will need a computer disk and plastic packaging (transparent).

Draw a sketch of the turtles, patterns on the shell.

Thin, barely noticeable lines, I set out the details of the picture on the disk with a light brown felt-tip pen, and then covered with a gold circuit. Let's dry the contour for about an hour.

From plastic packaging, I cut out small rectangles. We apply them to the sketch and begin to circuit in the contour.

Head, paws, tail. Also, we give the time the contour to gain.

Gently cut out the part, leaving the place (2 cm) to the gluing area. We will glue them from the back of the disk.

Cut out. Pre-company turtle.

Establish a disc-shell disc. Initially, I used the stained glass paint "Gamma" on a water basis. These paints are odorless. Let's squeeze the droplet straight from the plastic tube. Watch that the air bubbles are not formed. If such appeared, you can pierce their needle.

We evenly distribute the paint with a thin tassel inside the contour border. If you need to eat paint more.

It is desirable that each applied color "grabbed" and only then apply another to avoid mixing of paints.

It passed somewhere 40 minutes and now proceed to painting with different color. Here I used stained in paints of the French firm "Pebeo" on the solvent. They have a sharp smell. Tassel must be flushed after work in the diluent (White spirit).

Just neatly Makazi brush in a jar with paint and transfer to our disk. Distribute. The solvent paints differ from the other greater color brightness.

To give the Turtle of the Golden Tint, I mixed up the gold paint and okhru in a special palette.

Intermediate stage of work. The shell is ready, we paint the details of our turtle.

Foot. After the painting is finished, the details should dry for 8-9 hours! It is necessary to gain patience and wait, otherwise the stained glass paint will not have time to frost and we can damage the work.

Time passed and I applied a point drawing with a gold circuit. Also used green pearl and red on edges of the shell.

The shell is almost ready!

After drying the shell (1-2 hours), you can proceed to the collection of turtle parts. We apply a layer of glue and glue to the reverse part of the disk.

That's what happened. We give glue to frost. But we have a hole in the middle of the shell. I found the next way out.

Cut from plastic square and glued it from the back in the center.

And already from the front side with the help of an adhesive gun, I glued a glass pebble.

Poles in general.

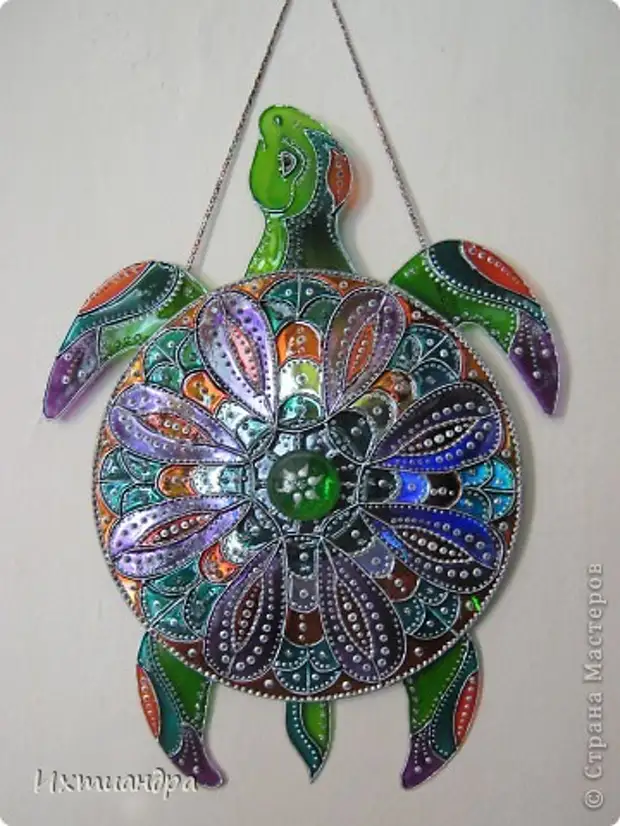
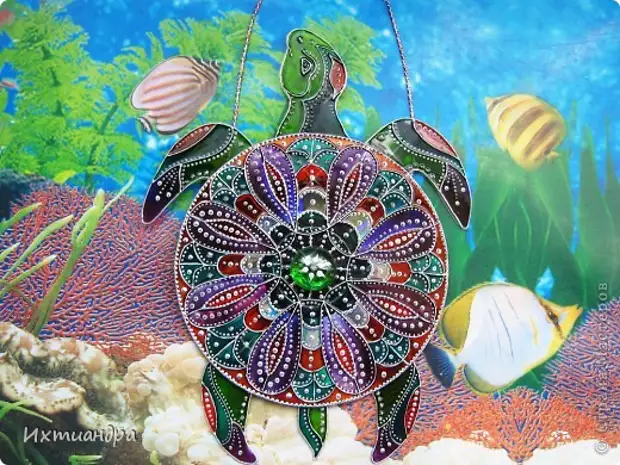
Now I'll show my turtle with different lighting.

I decided to make a turtle in the form of a panel and rearly built her loop from the gold braid, fixing it with a glue gun.

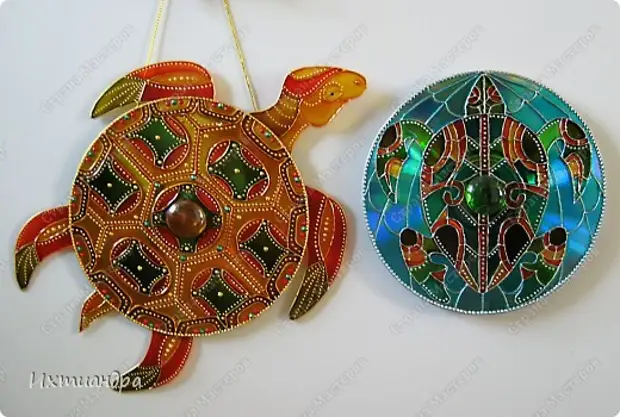
The advantage of the disk is that the paints play on it with all the shades of the rainbow!

Now there are two of them! )) My first stained glass turtle on the disk here http://stranamasterov.ru/node/343469
A source