
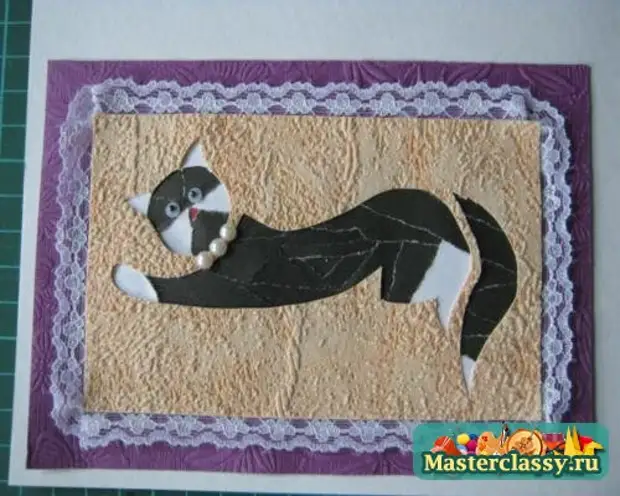
Each of us has favorite pets. We like to watch their behavior, games ... You can capture these moments using the photo, and you can make a postcard with your own hands. I propose to perform a postcard in technique Iris Folding (Rainbow Folding)
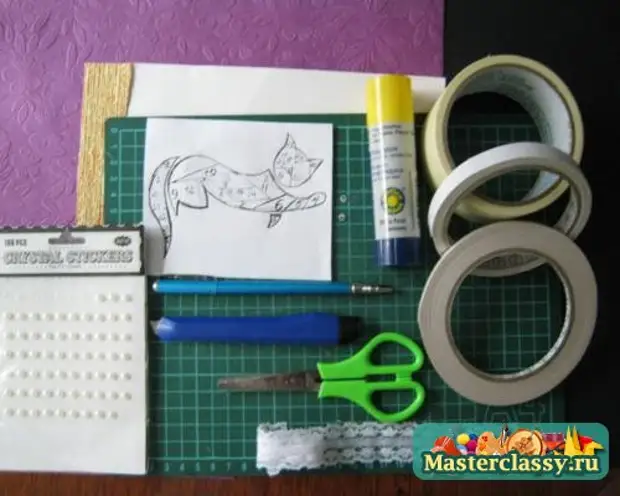
For work, we will need materials: watercolor paper (frame base), for scrapbooking (purple frame), wallpapers (orange), black and white paper; Scotch: Paint, bilateral, on a foam basis; lace, eyes, beads or pearl stickers, pencil glue.
Tools: scissors, ruler, stationery knife, pencil, knob without pasta
Devices: rubber rug or linoleum slice.
Work plan:
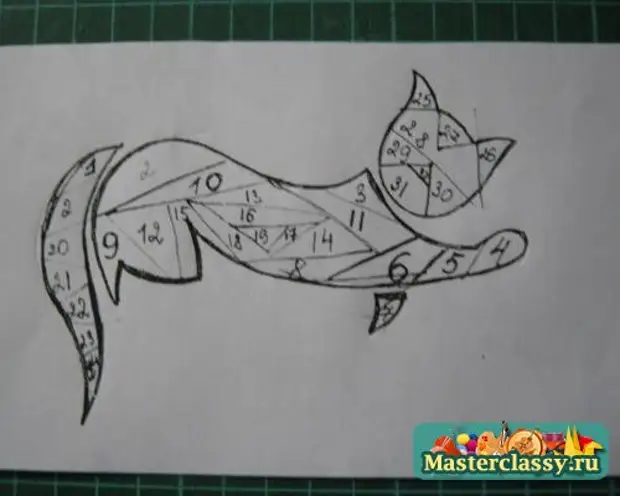
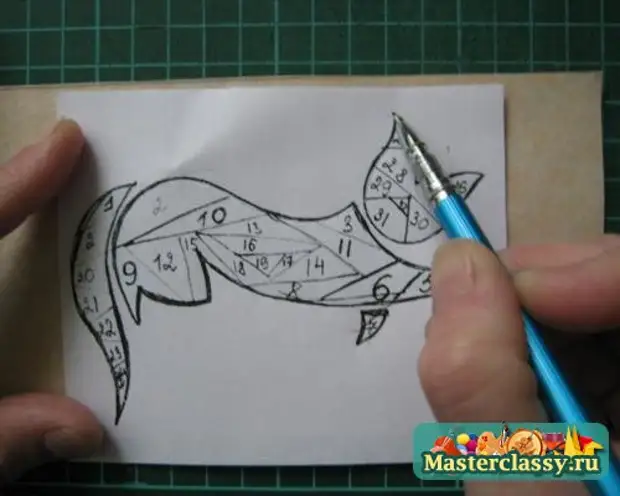
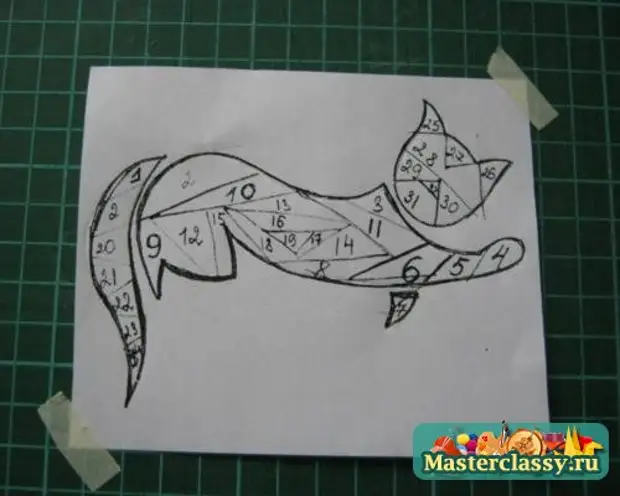
1. Place on the wallpaper rectangle 13x 8 cm. Put the wallpaper on the rug color side down, on top of the scheme. Cut the drawing along the contour with a handle.
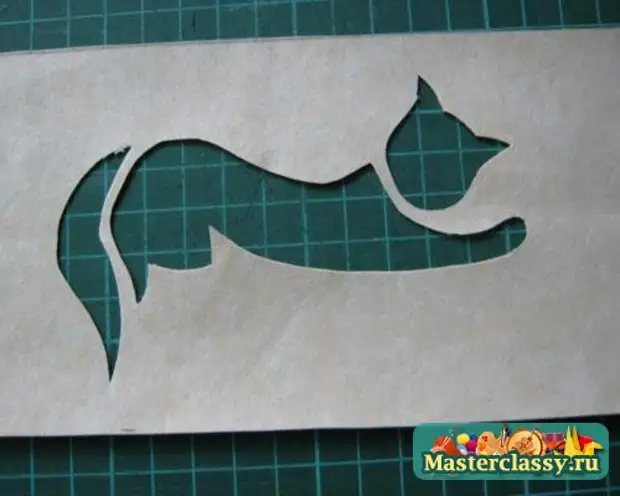
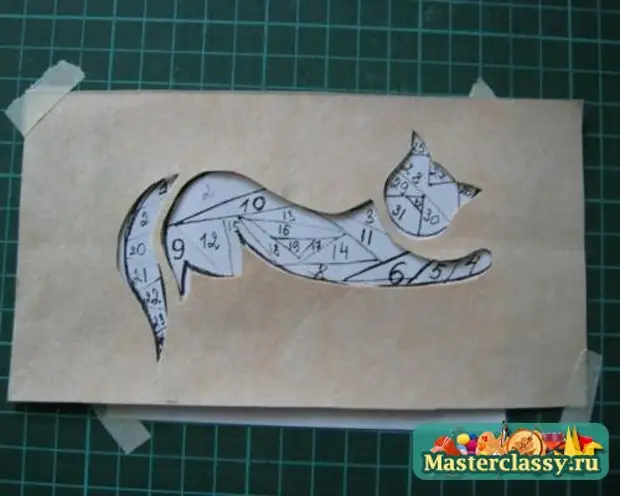
2. Cut the stationery knife on the wallpaper of the cat. If difficulties arise, when working a knife, use manicure scissors.
3. Production strips of painting scotch 5mm wide and stick the tips to the rug
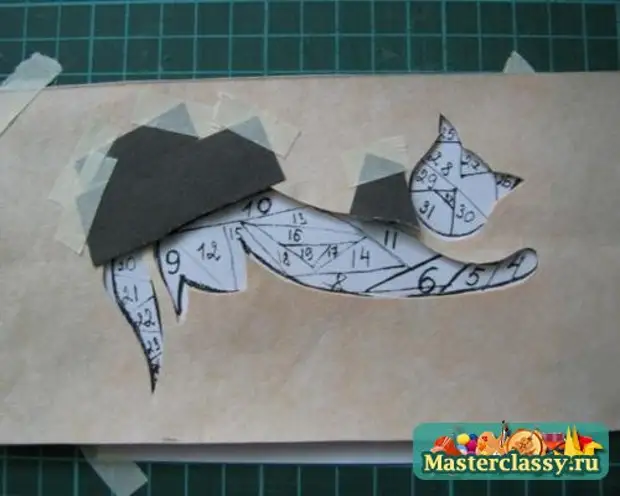
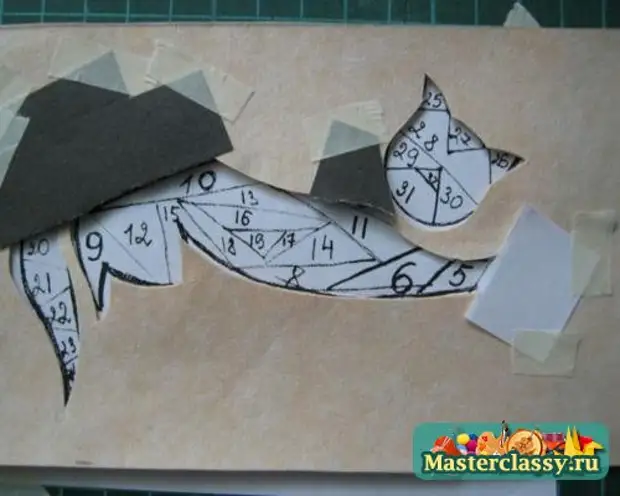
4. Fasten with a scotch on the mat diagram, to put a blank from wallpaper from above and also fasten.
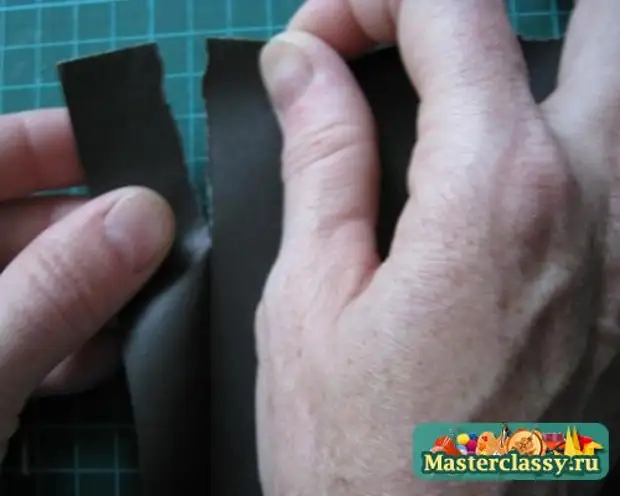
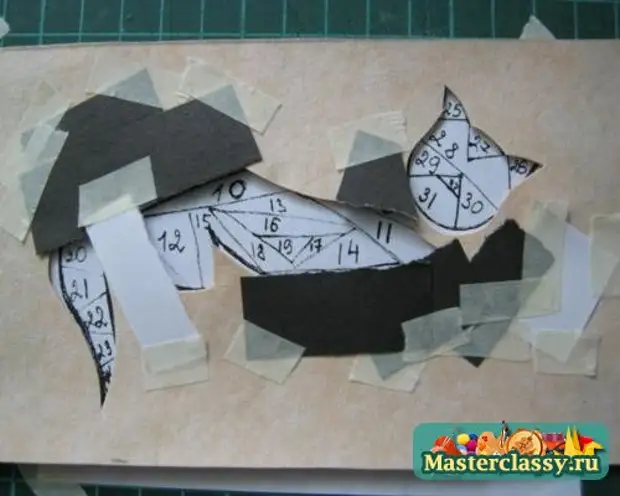
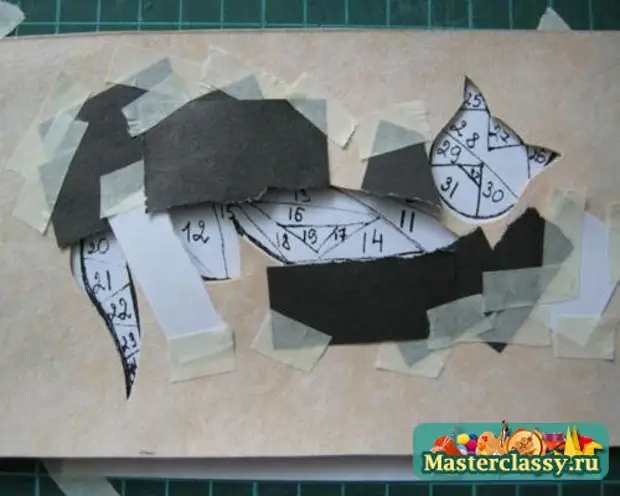
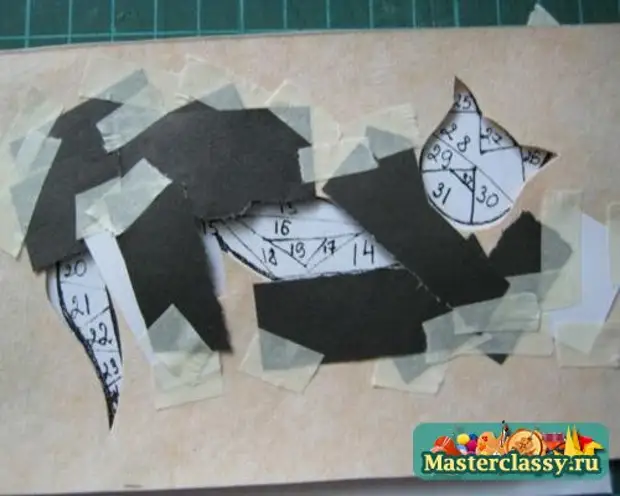
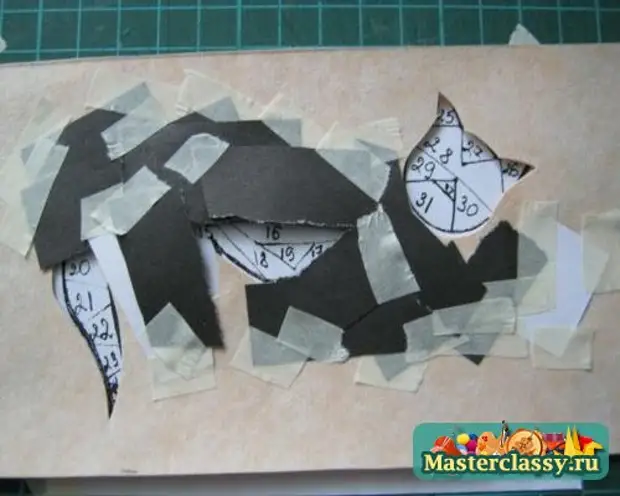
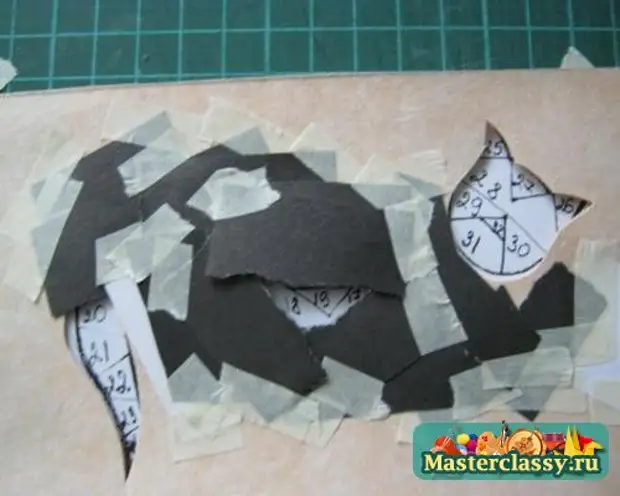
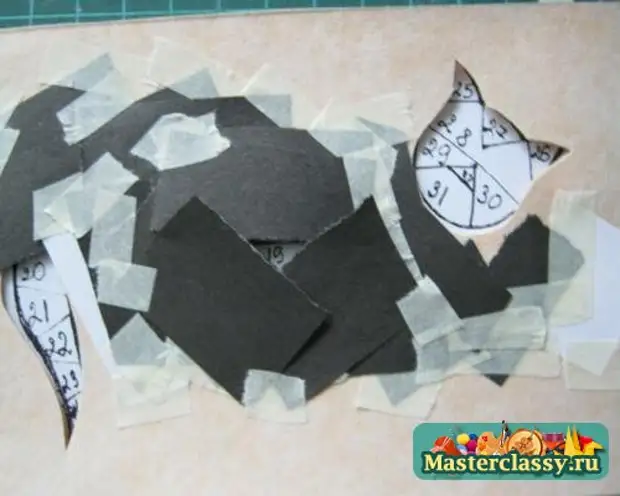
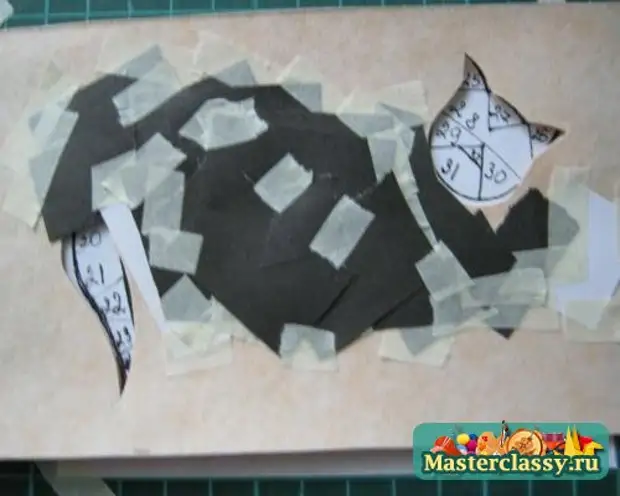
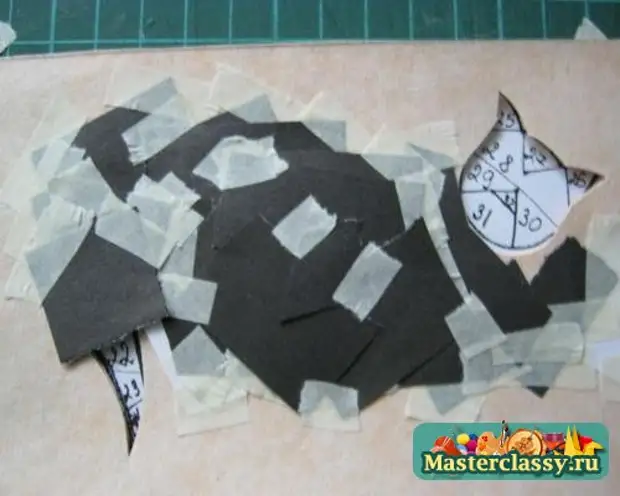
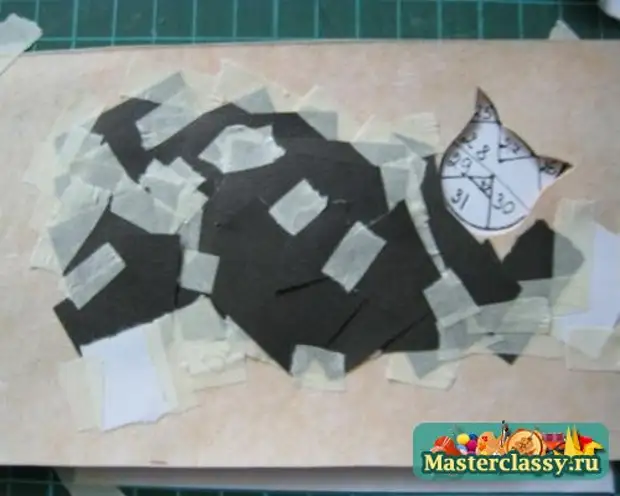
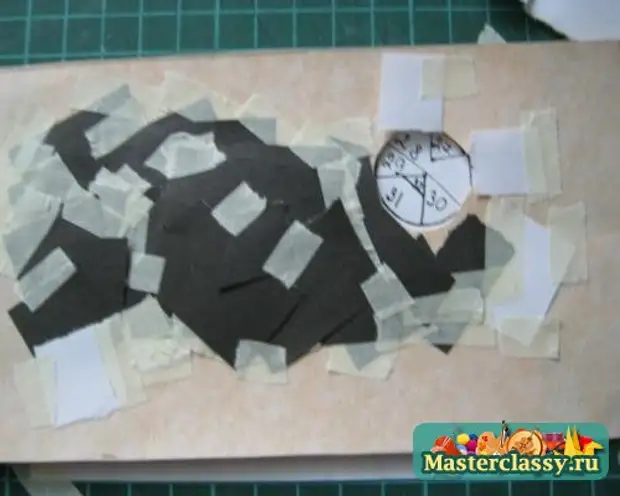
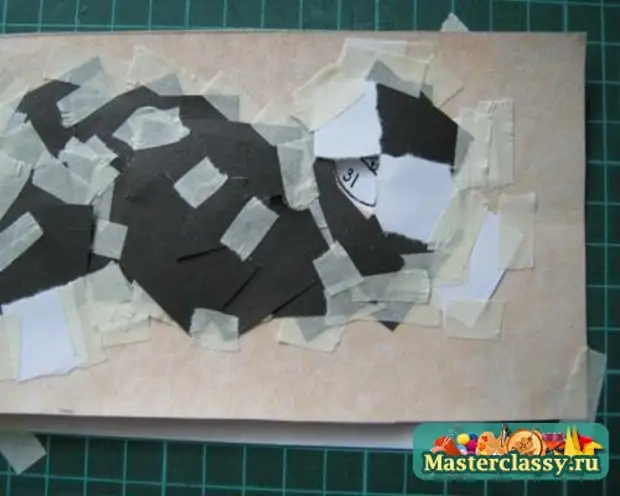
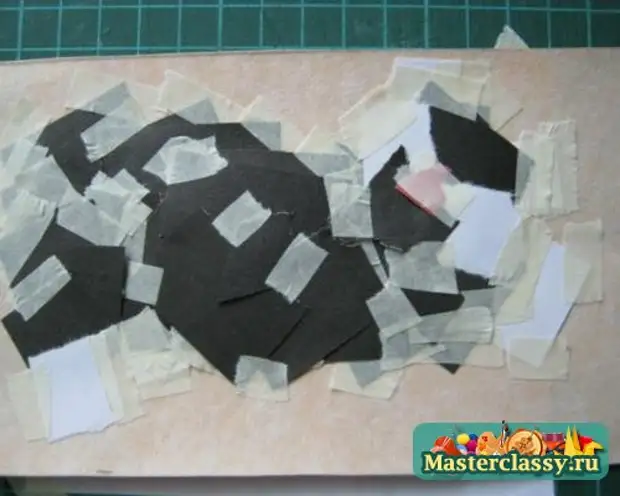
5. From the black and white paper to post strips 2 cm. On the first line of the strip of tear (the simulation is obtained) on the second cut off. Such strips need to make white two, black five.
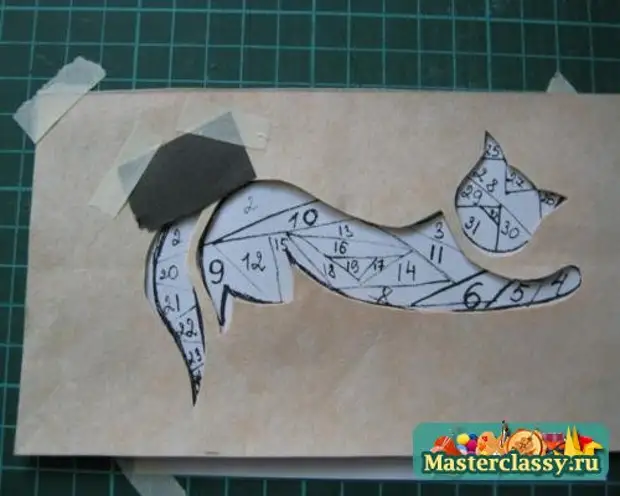
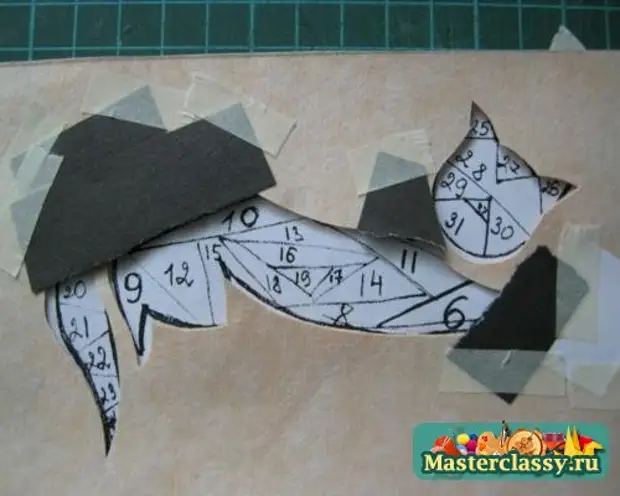
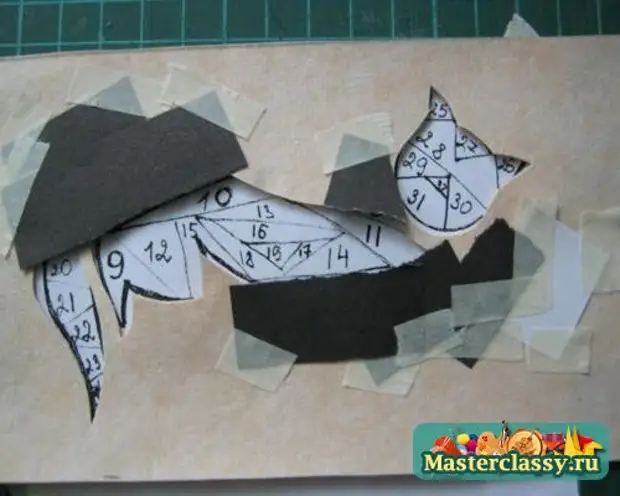
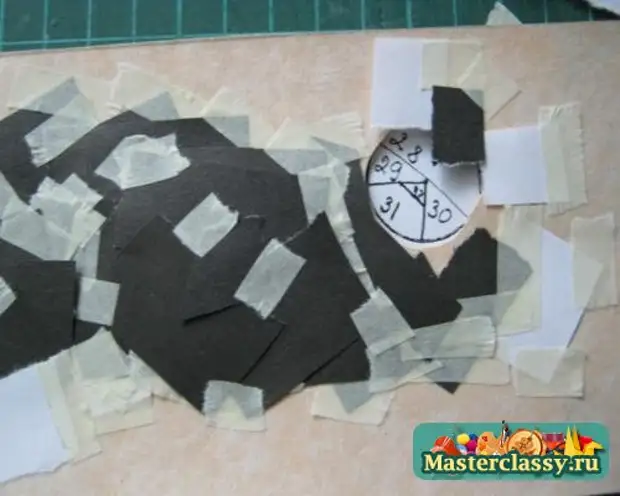
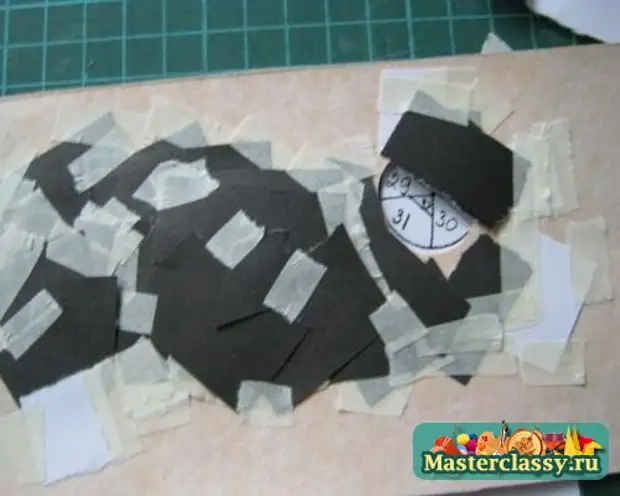
6. In the scheme, find the number 1 and close it with a black strip so that the break is over the line, measure the length of the strip so that its edges came to wallpaper, cut off and consolidate the corners with the help of blanks from painting tape. Next, it goes a digit 2 to close the black strip part in the diagram, measure the desired length, cut off and secure the corners. Continue to work according to the scheme. Figures 4, 7, 9, 24, 25, 26 29.30 Close by white stripes, and the rest are black. Triangle No. 32 can be closed with a piece of red paper.
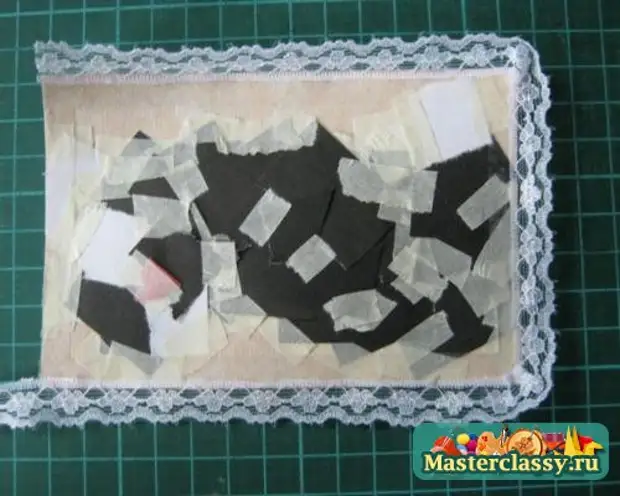
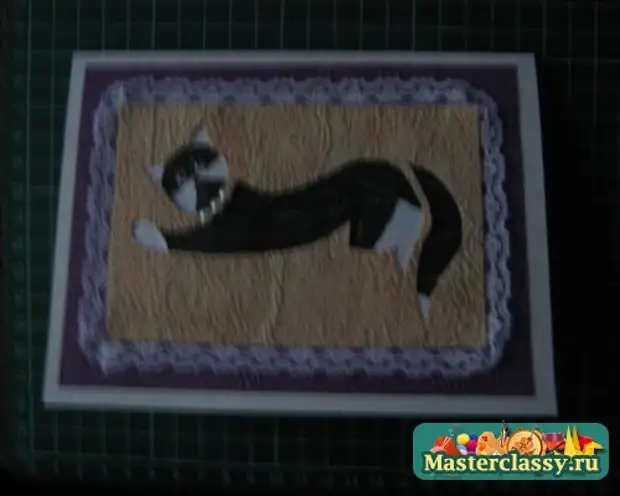
7. Secure down the wallpaper contour double-sided adhesion and glue lace to it.
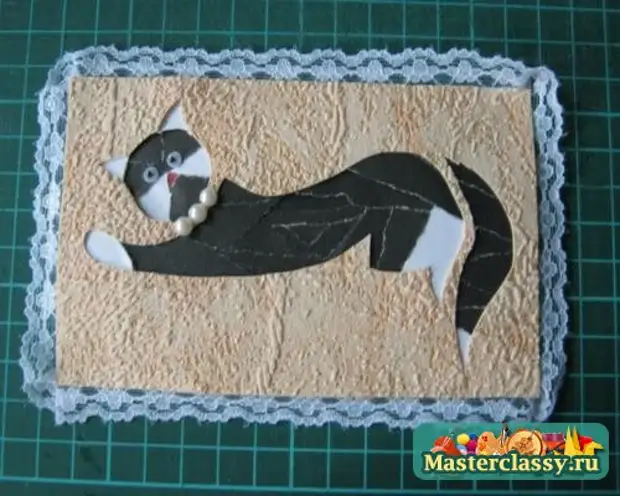
8. To the picture of the cats, glue your eyes and beads.
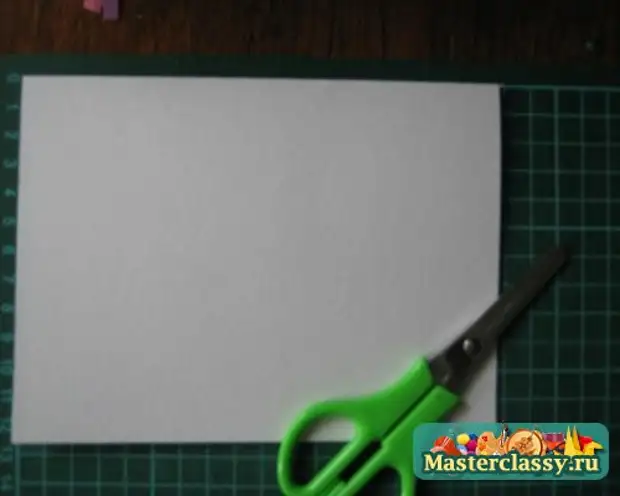
9. On paper for scabing, place a rectangle 16x11 cm and cut. Printed a blank with a cat.
10. On the watercolor paper, place a 25x 17.5 cm rectangle and bend the blank of the postcard in half.
11. A rectangle from scrapbooking along the contour to glue two-way tape and glue the workpiece to the middle of the Basics of Postcards.
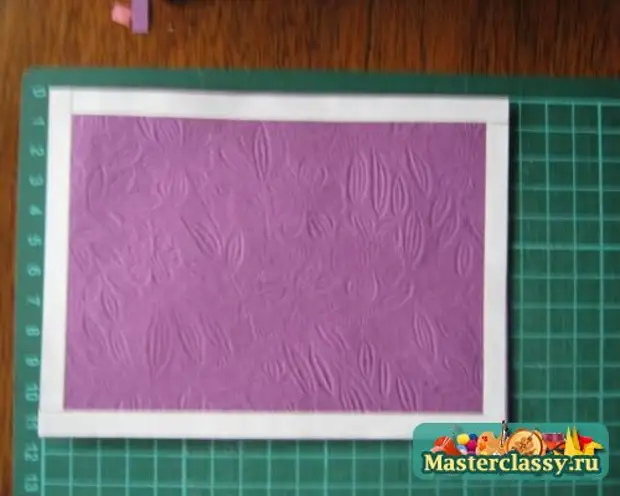
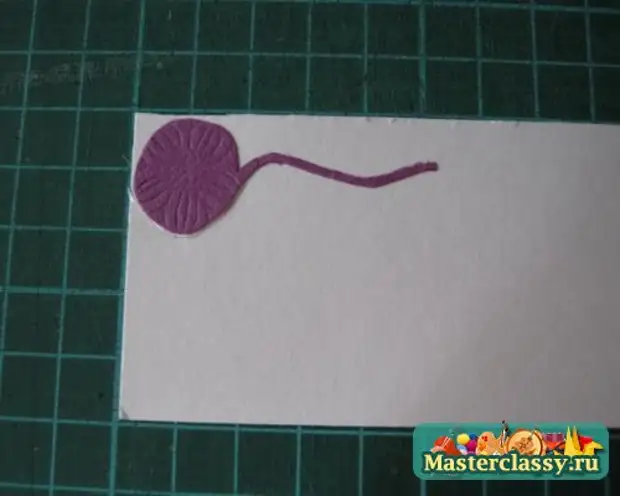
12. Place and cut on paper for scrapbooking a tangle, glue it to paper for watercolor and cut, fix foaming sticks and glue a blank to a postcard.
A source