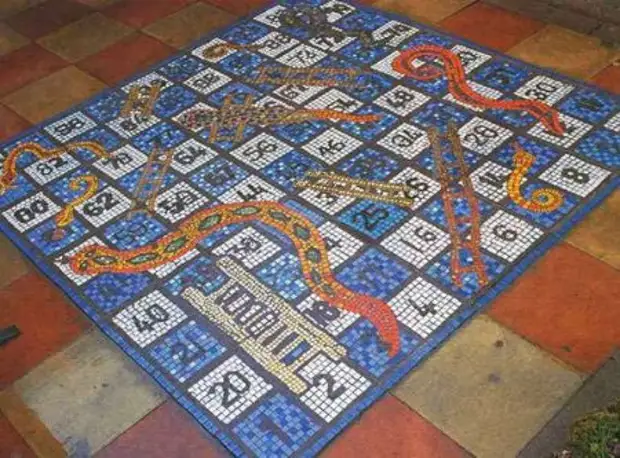
An ancient tradition is to depict the game mosaic, paths and puzzles gave this simple, but throwing the scent of antiquity and unfading freshness. The background is made easily and quickly, and in the image of the snacks are used very bright tones.
You will need:
• paper;
• markers;
• centimeter;
• scissors;
• Transparencies;
• Mesh of fiberglass;
• Tiles of glossy mosaic glass of various colors and matte black;
• plugs for tiles;
• PVA glue (white);
• brush;
• Patio harvesting agent;
• Black cement paint;
• adhesive for tile;
• crawl trumpet;
• sand;
• cement;
• Sponge.
Progress.
Draw a plan of the whole mosaic. Play on it to make sure all the cells are in place. Measure one of the tiles in the yard, where you lay out this mosaic. Cut from paper 25 stencils in size tiles.
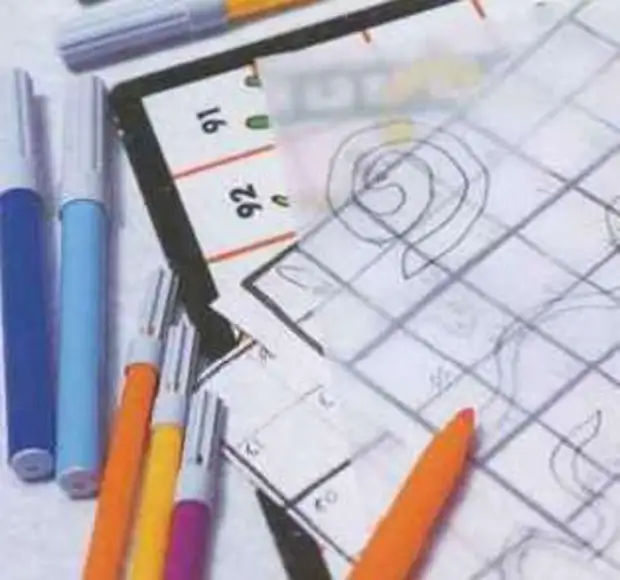
Fold each stencil four and spend the lines dividing stencils into squares. Now at your disposal of 100 cells required for the game. Copy the pattern for all 25 squares with a thick felt-tip pen.

Each square cover with a transparent film, and then cut into the size of a piece of mesh or fiberglass.
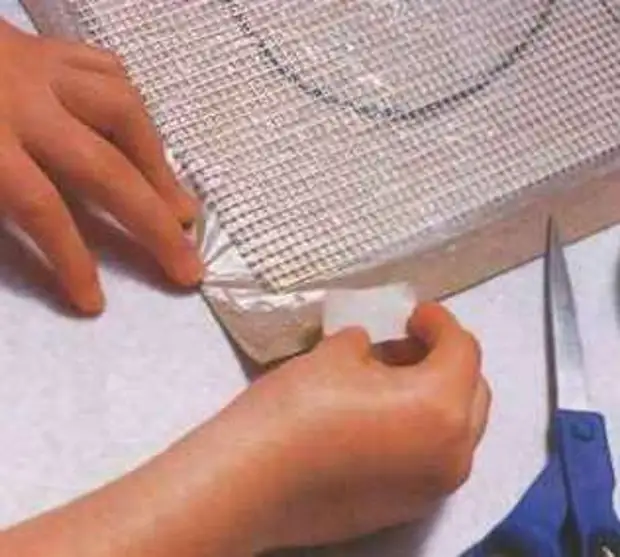
Each of the 100 cells should be separated from the adjacent matte black tiles, divided by half. The trafficks are laid out by quarter tiles, and use halves and quarter tiles for snakes. For the image of snacks and stairs, use brilliant bright glass tiles.
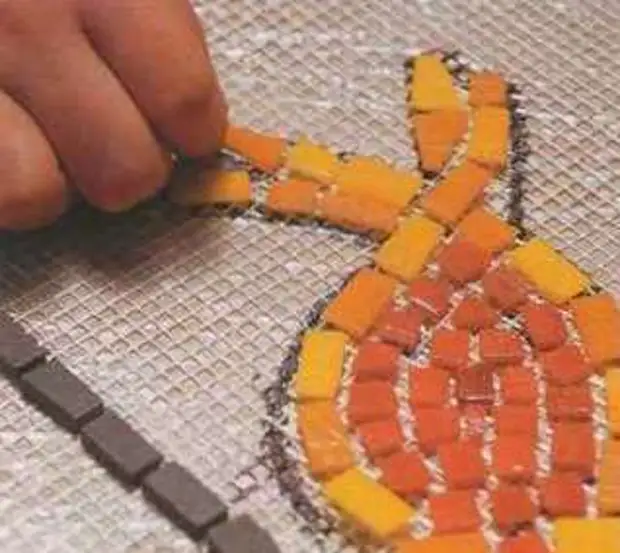
For the background of even and odd cells, use different tones. Give the squares to dry until the morning, then turn them over, remove the paper and transparent film (it was used to make the mosaic and cubes of mosaic to paper) and leave the mosaic to dry. Make sure that all mosaic cubes glued to the mesh of fiberglass.
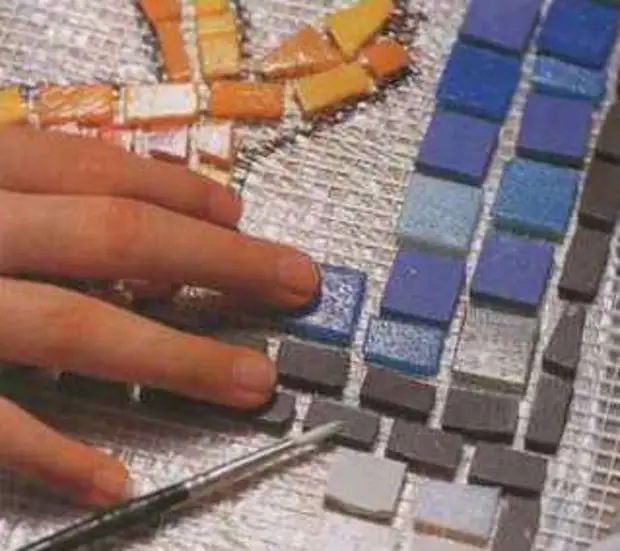
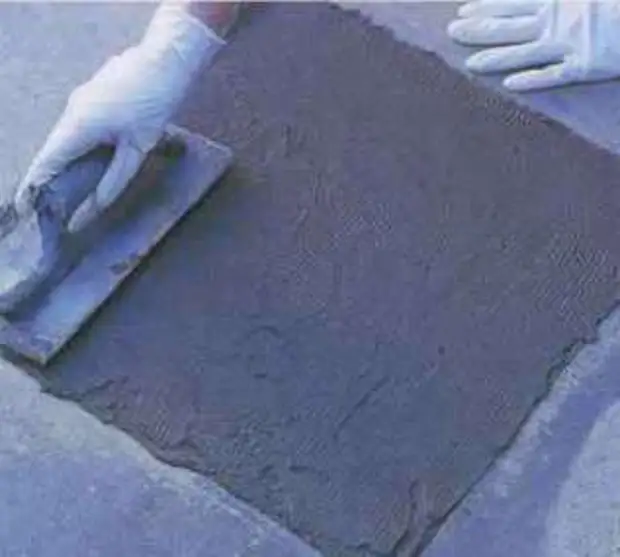
Wash all tiles with a special makeup for cleaning the patio and rinse the tool with plenty of water. Add ferrous cement paint to adhesive for tiles, following the manufacturer's instructions. Take a trinker with a gentle edge with a slim smooth adhesive layer for each tile.
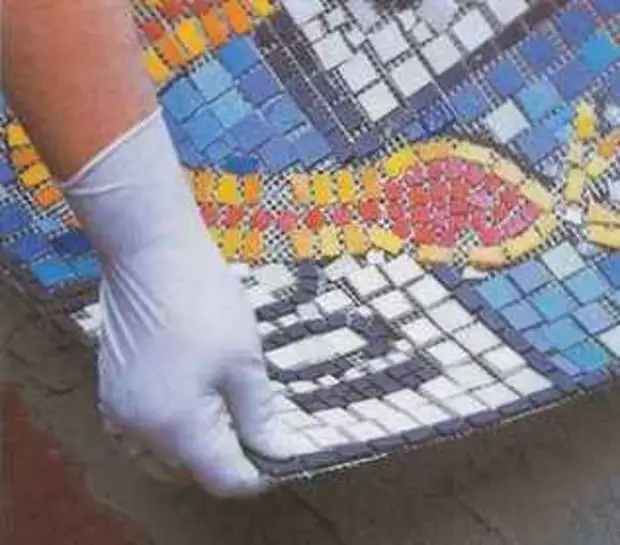
One square lay out the mosaic, leaving the gaps between the plates. Land all the squares and all the time check with the plan when you spread them. Gently and smoothly sink squares. Leave the mosaic to complete drying.
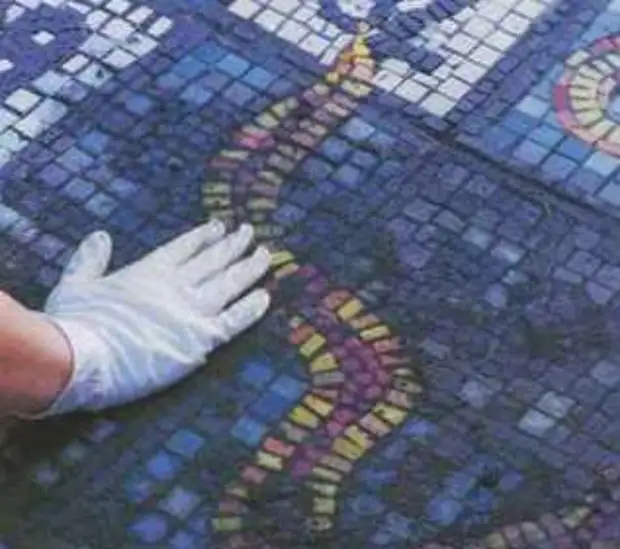
Speak mosaic with a mixture of sand, cement and water with the addition of black paint. Wipe out excess grout wet sponge. This mosaic will dry for a long time.
A source
