
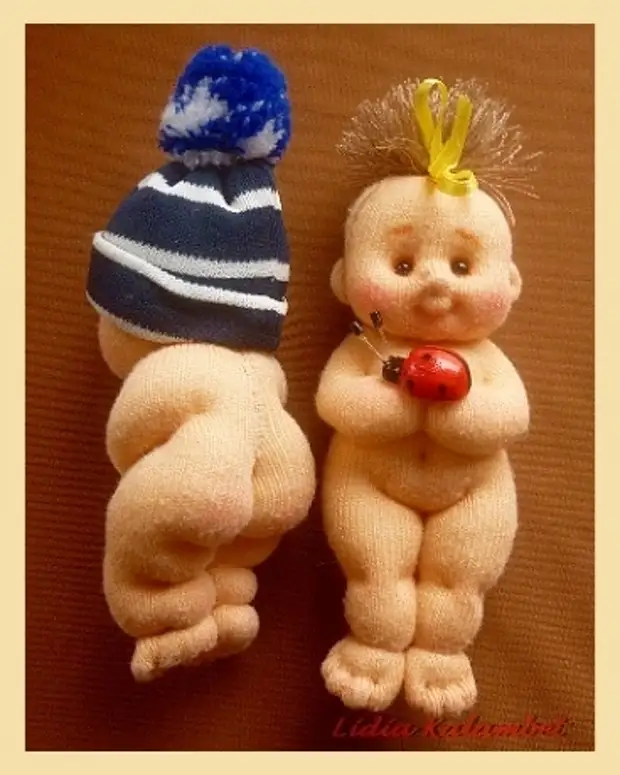
The technique of such creations is called different-textile doll, stocking equipment.
For this master class, the fabric was taken by the small structure, but photographed from a close distance and, so it seems to knit large.
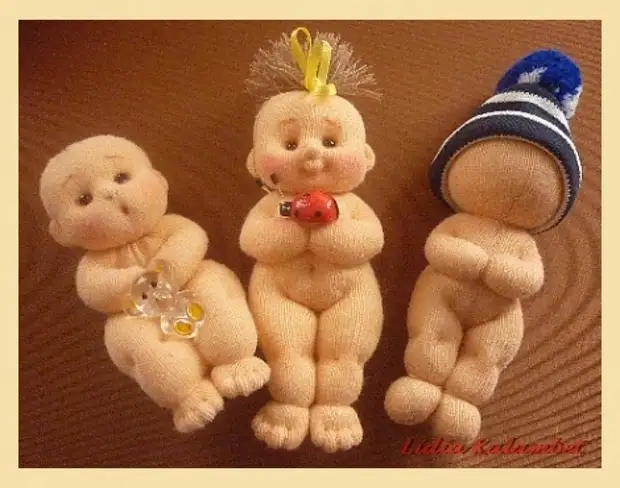
You can sew the wings on the back of such a baby and it will be angel, you can sew pigtails, tails and much more. As you already understood, only one small piece of knitted fabric is enough for such a doll. It is good to make such embarrassment to those who make pupae from the Kapron Tights. Minimum seams, only tuya.
It's not difficult to make such a doll, it will take an hour - one and a half.
Scissors, thread coil in color, needle of medium length and filler (holofiber). "href =" http://www.liveinternet.ru/journal_proc.php?action=redirect&url=http://www.liveinternet.ru/app/ fotograf / index.php? s = photo_viewer & eV = photo_view & uid = 3599638 & bid = 3599638 & pid = 864054 & ID = 2785317 & MODE = THIS "REL =" NOFOLLOW "TARGET =" _ BLANK ">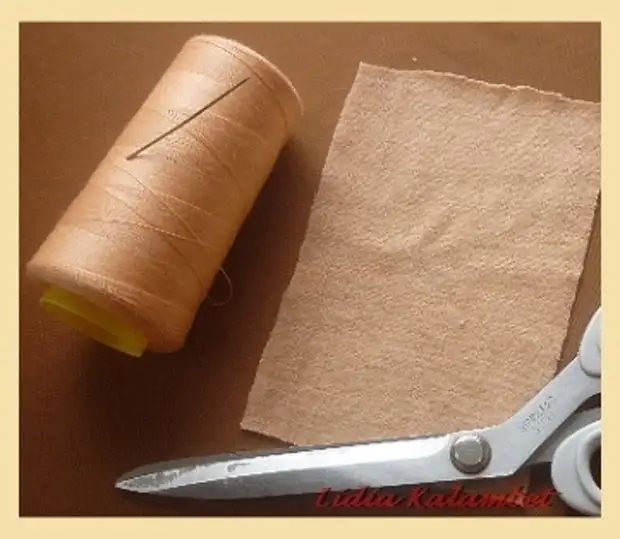
To work, it will be necessary: a piece of tensile tissue 10/15 cm, scissors, thread coil in color, medium length needle and filler (holofiber).
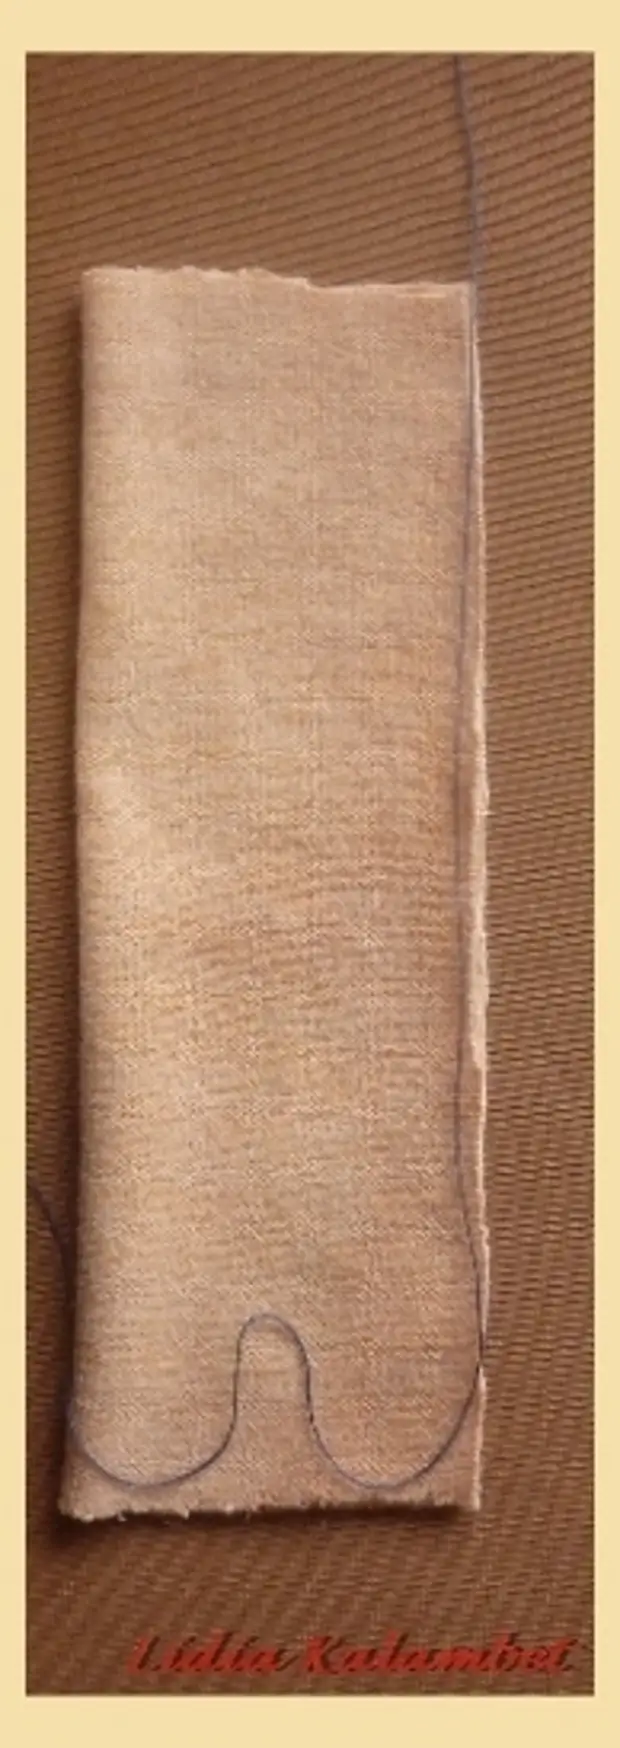
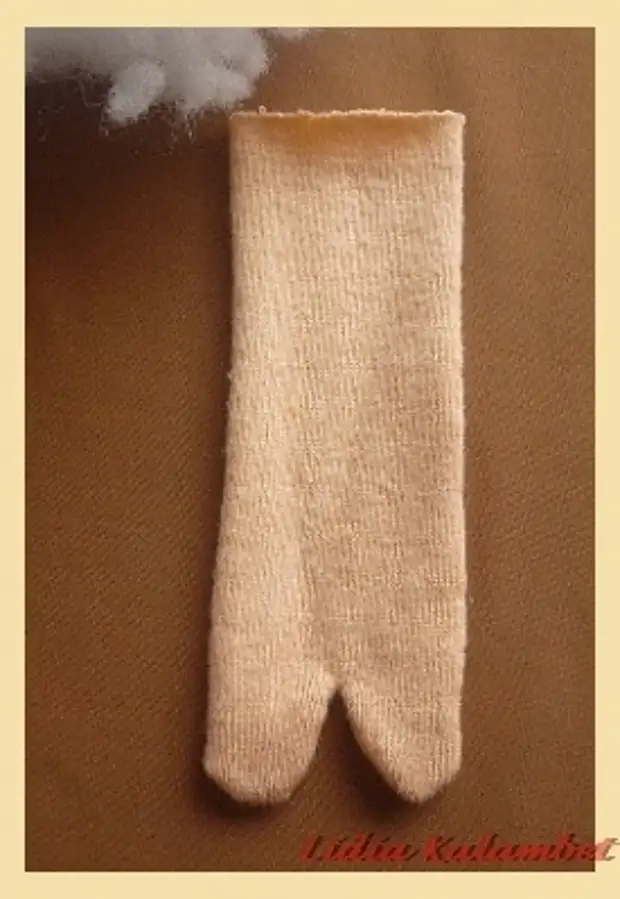
We put a piece of knitwear along and deposit the machine line. In the photo, I just put the dark thread in the place of the firmware, so that it was more visible. Cut up too much close to the seam and make a slot at the point of figure sow.
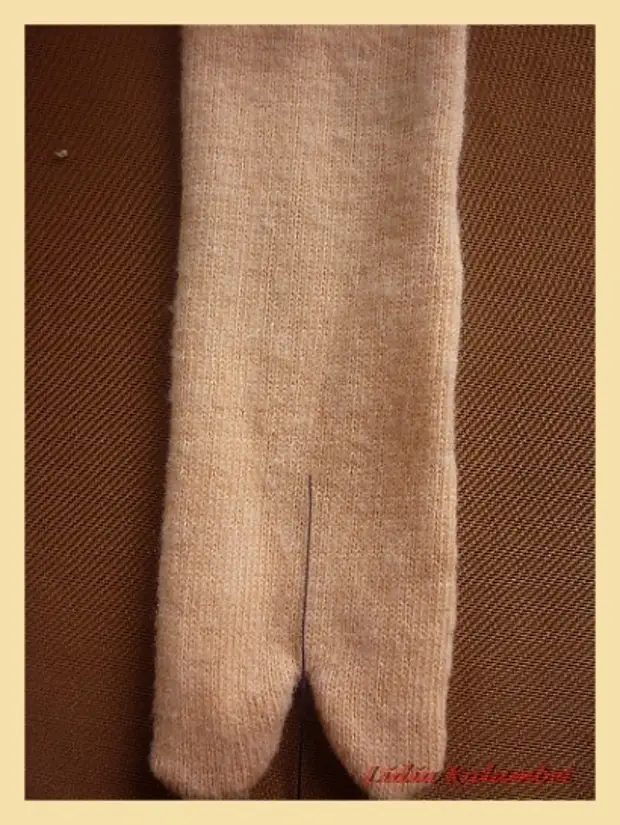
Soak the workpiece and already on top we make a small line, as if we extend the legs. I put the dark thread where we stood. Only handmade.
Fill the blank with a hollowberry.

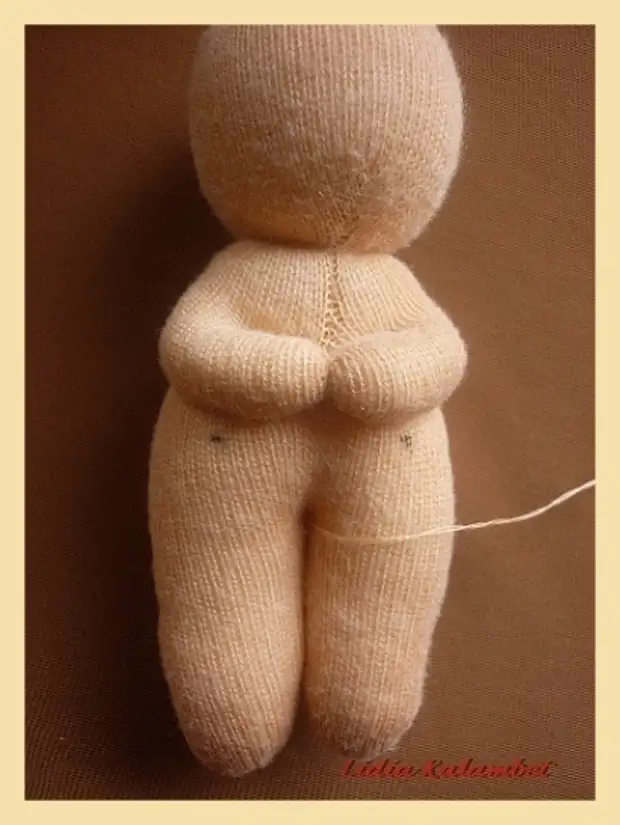
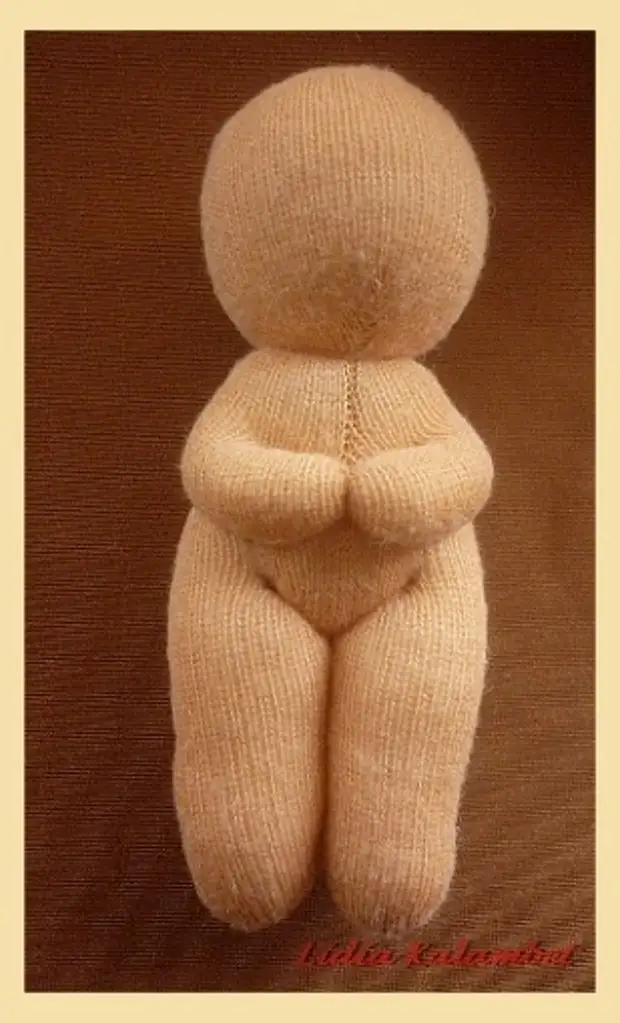
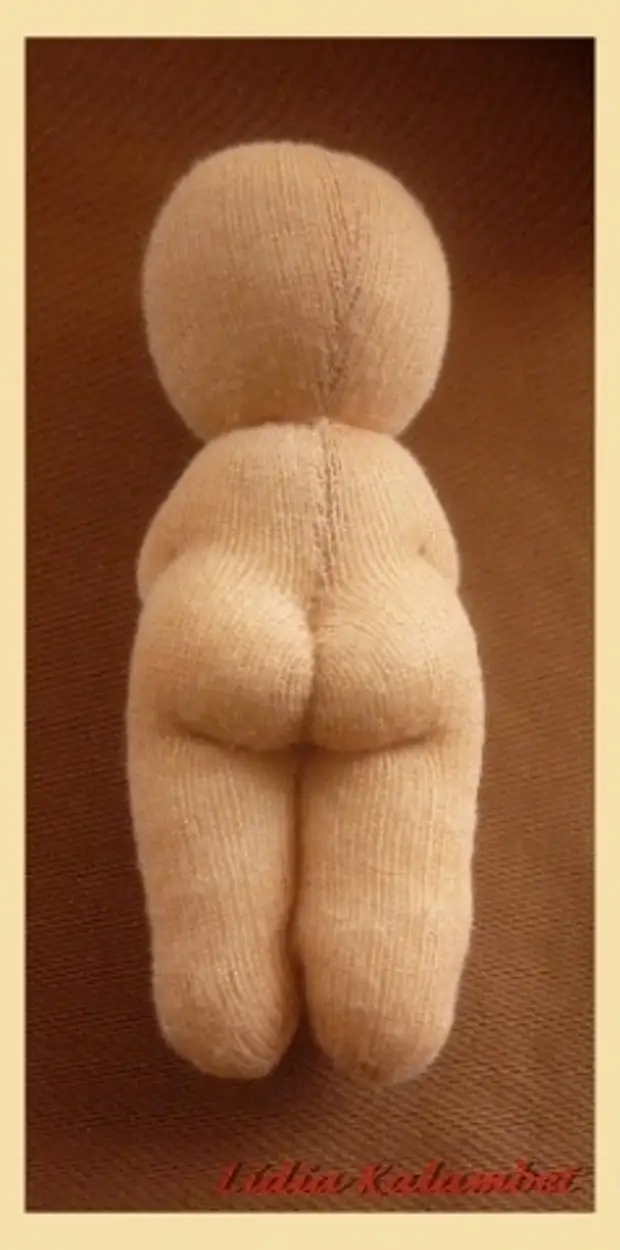
It turns out such a puppet blank.
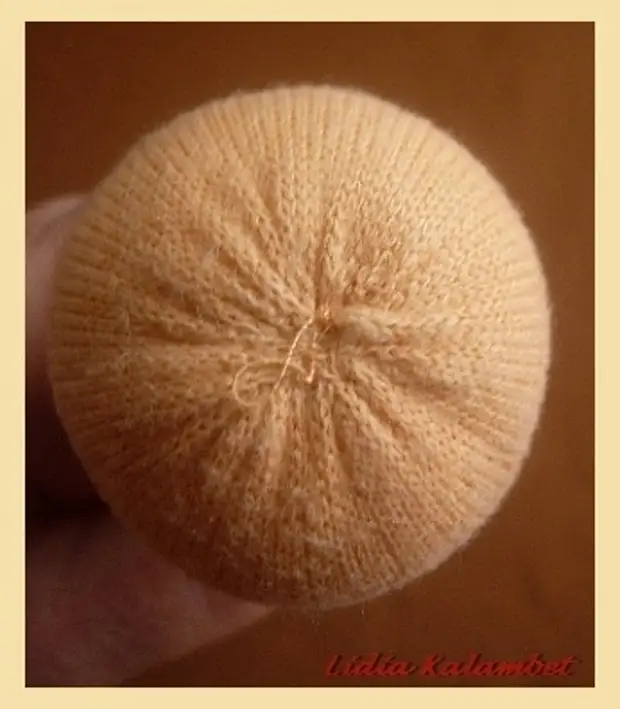
Yes, the top is sutured manually in this way (collect on the contour with small stitches and stroll).
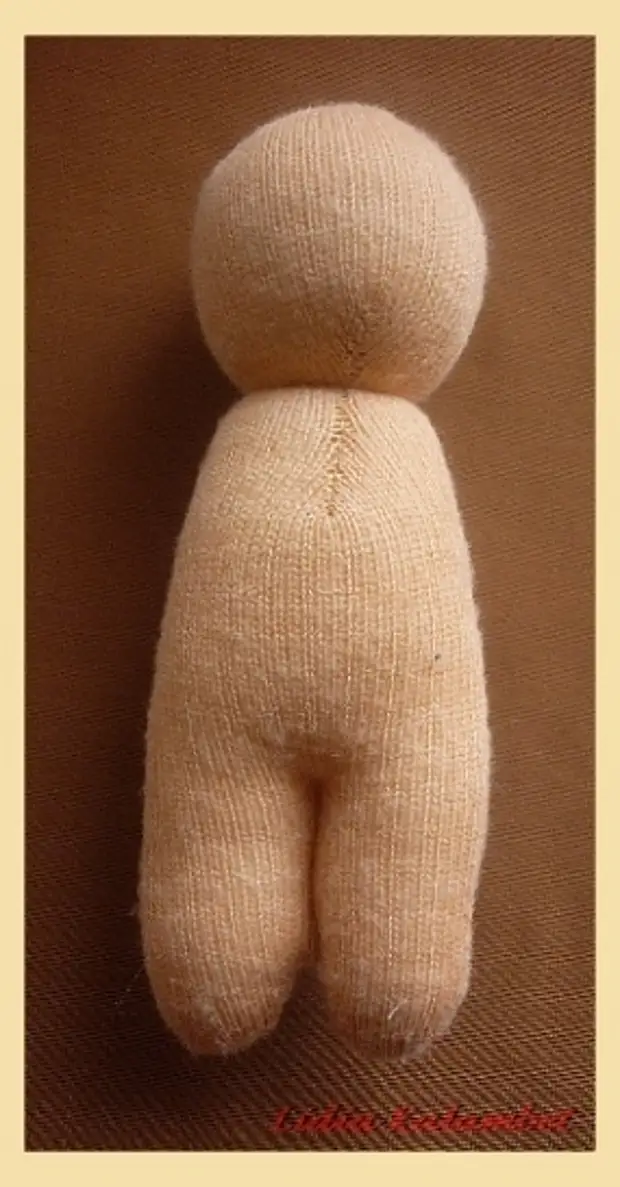
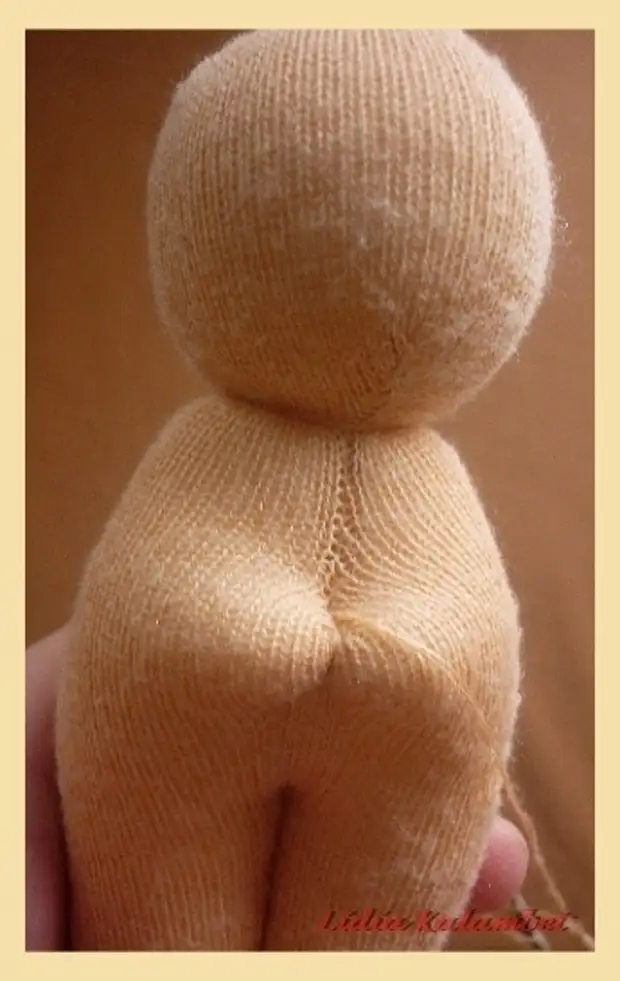
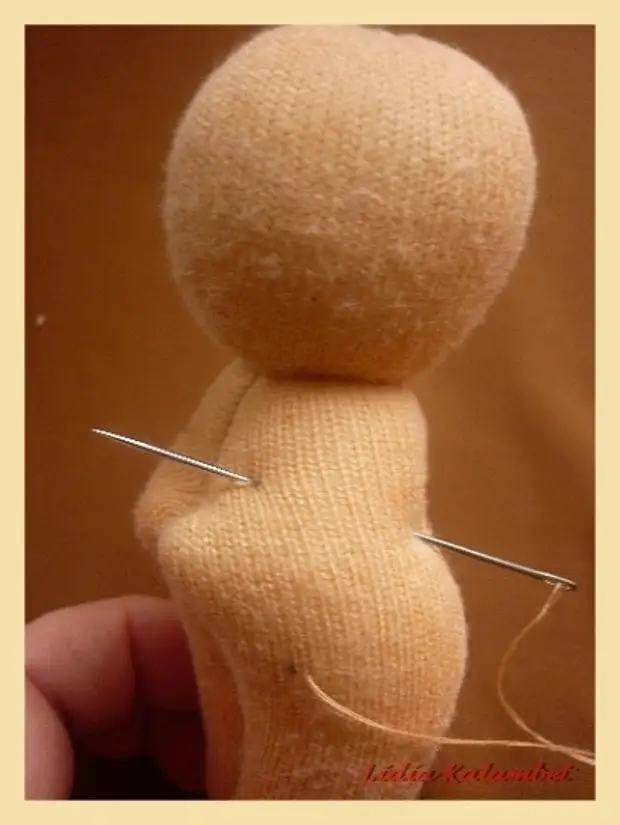
Separate your head, having dragging the thread in a certain place.
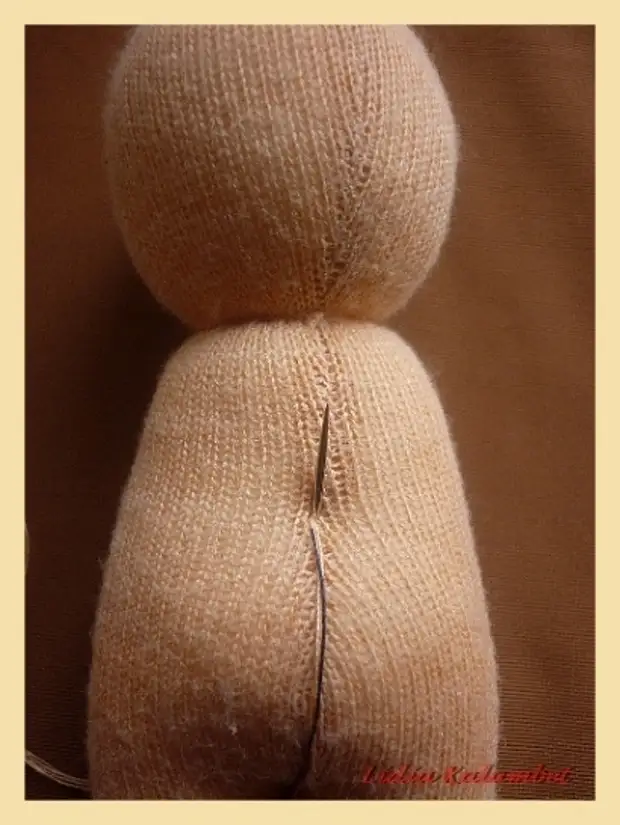
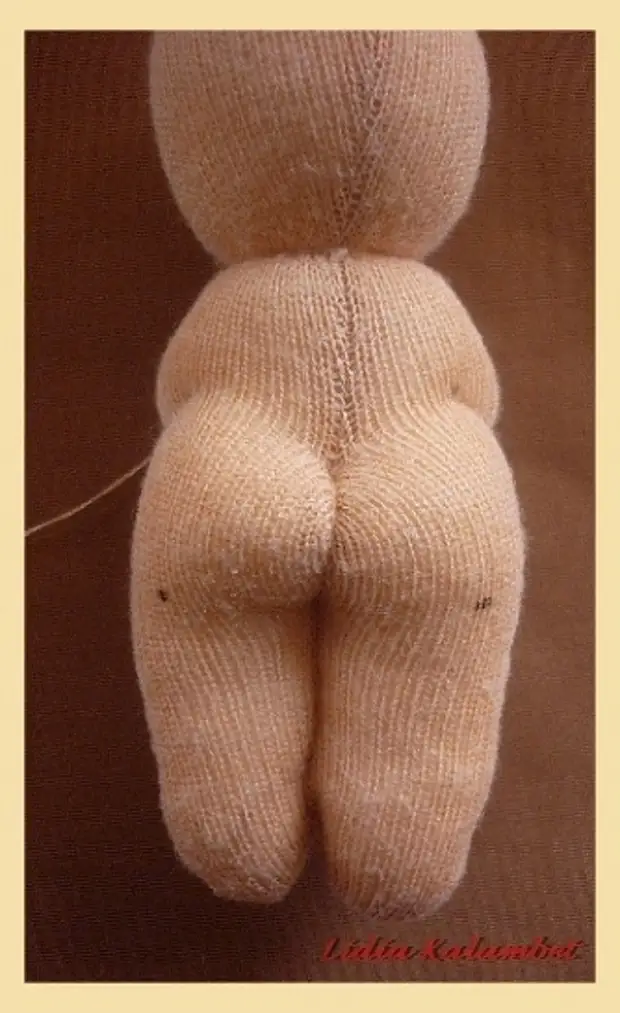
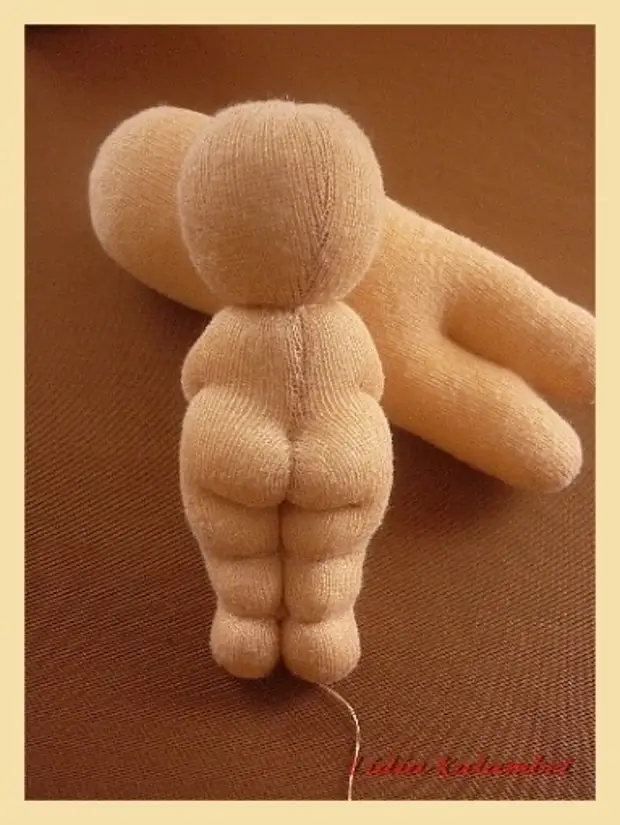
Turn the doll to yourself the backrest and make the ass. To do this, fix the thread between the legs and and remove the needle with a thread in the middle of the body. And so twice, then we are tightened and fix the thread.

I want to note that after fixing the thread I do not leave, but I turn to the next operation by pulling inside the body.
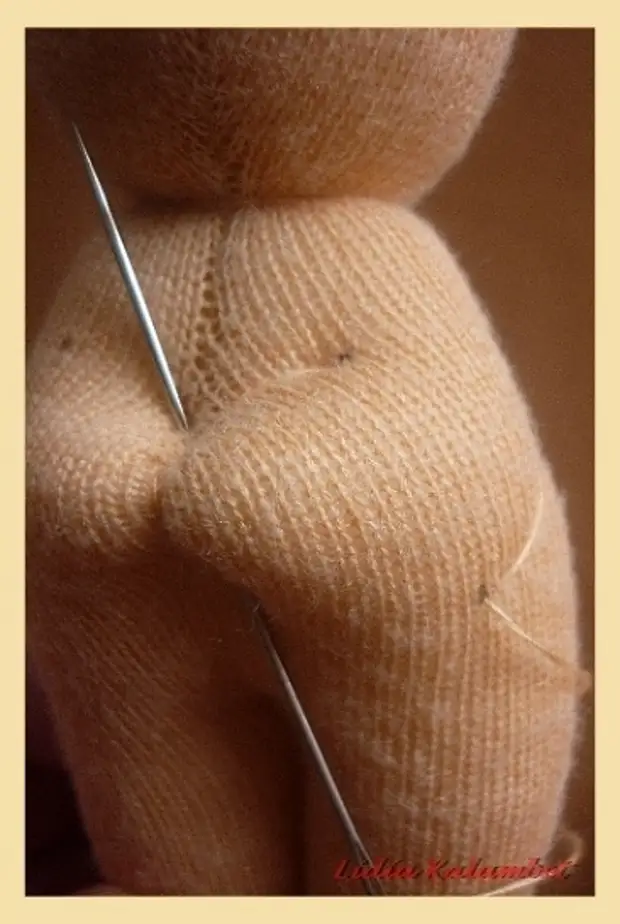
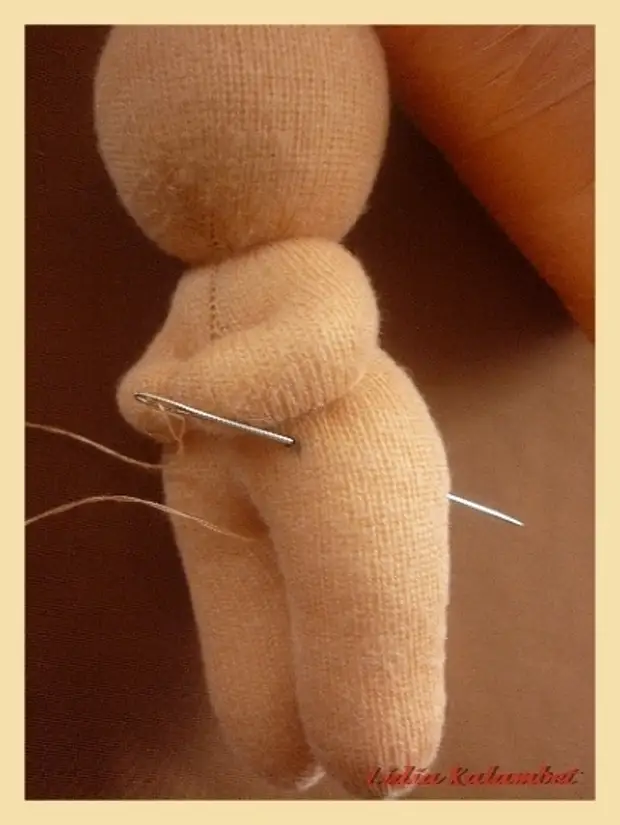
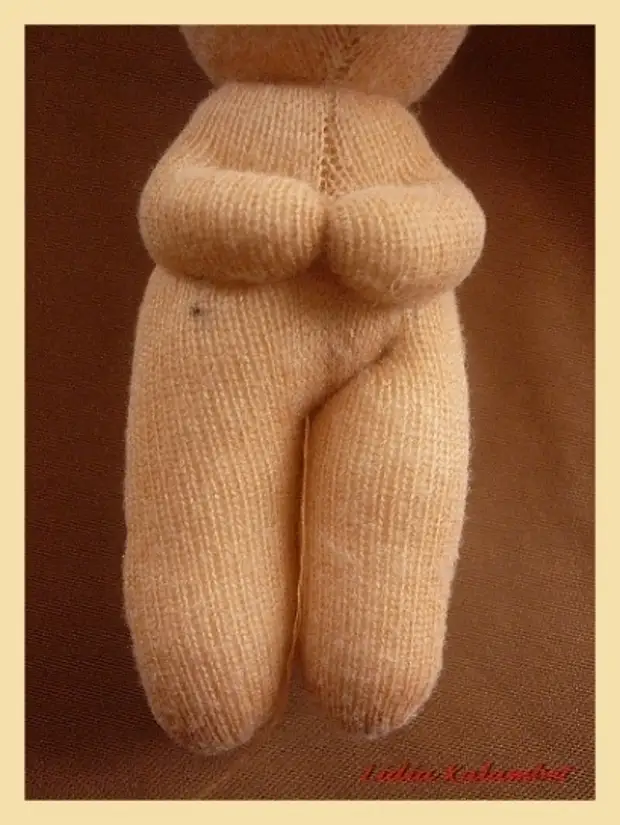
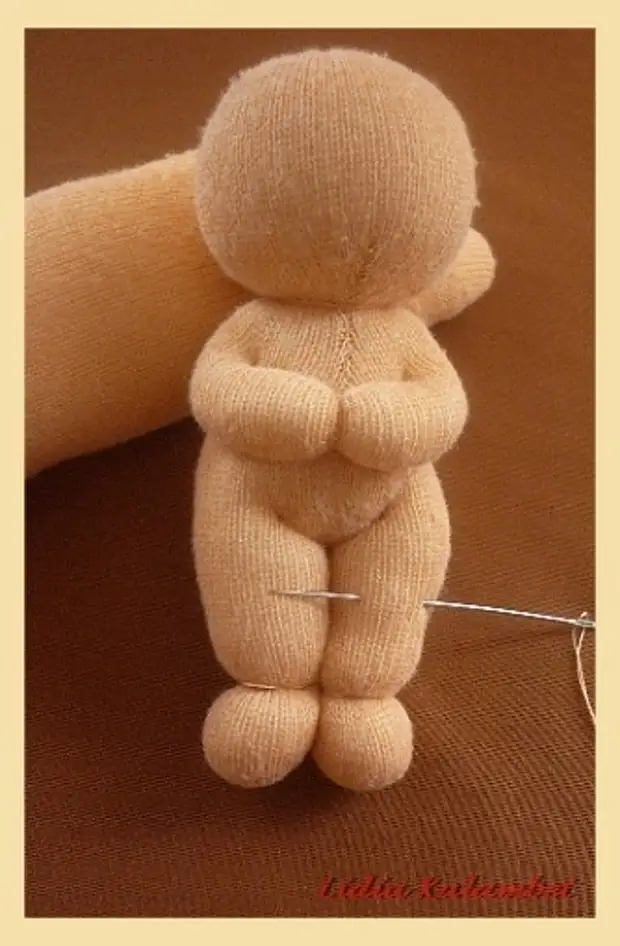
Turn the doll to your face and make a tight at the chest level. These are the hands of future, although more like the chest.
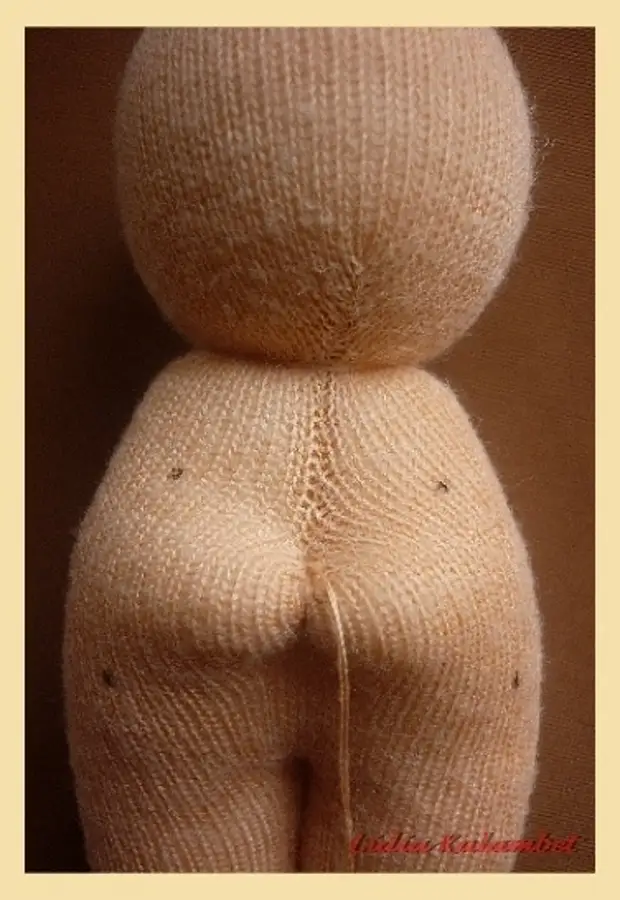
Thread fix and put points in the following places. In the photo of greasy black dots. You can put the pins, but then it is not convenient to work with them and unsafe. You need to put points barely noticeable, three on the one hand and three on the other.

Side view, all three points are visible here.
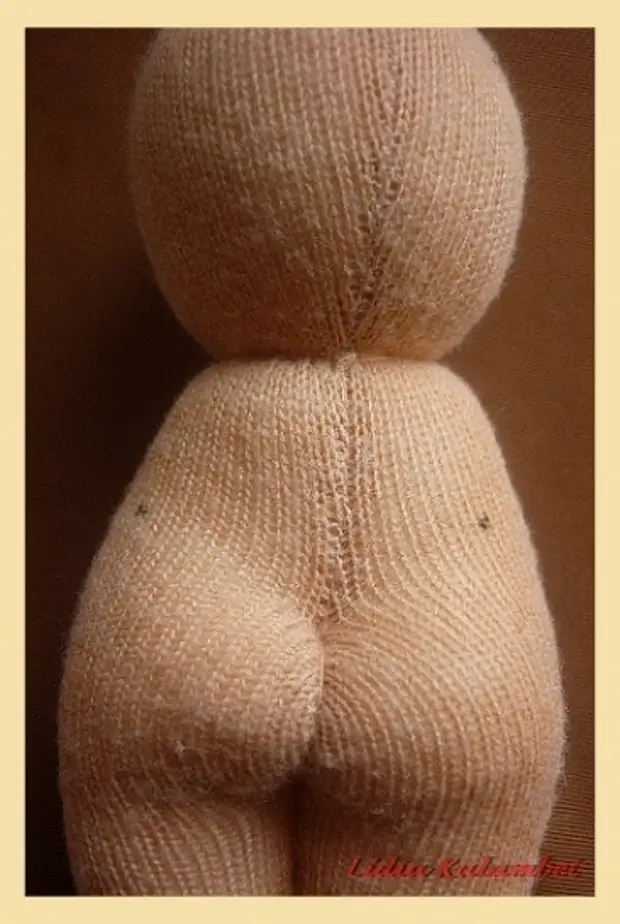
This third point is a bit hidden on the back, as in the photo.
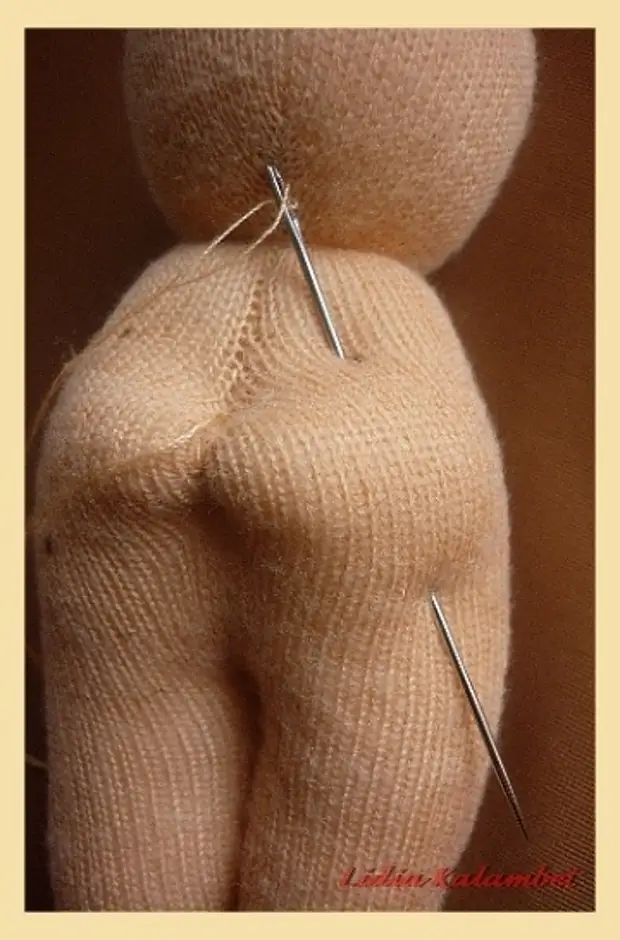
I did not leave the thread and it comes out in the middle of the chest. Next, we make the right handle of the proof needle at the top point and pull out in the bottom.
Having pulled out the needle at the bottom point, we make a needle puncture at a point that hid on the back and pull it out to needle in the upper (first) point.

Recovering 1 - 2 mm From the same point, we again make a puncture in the bottom ...
And from the bottom piercing on the chest from the bottom up.
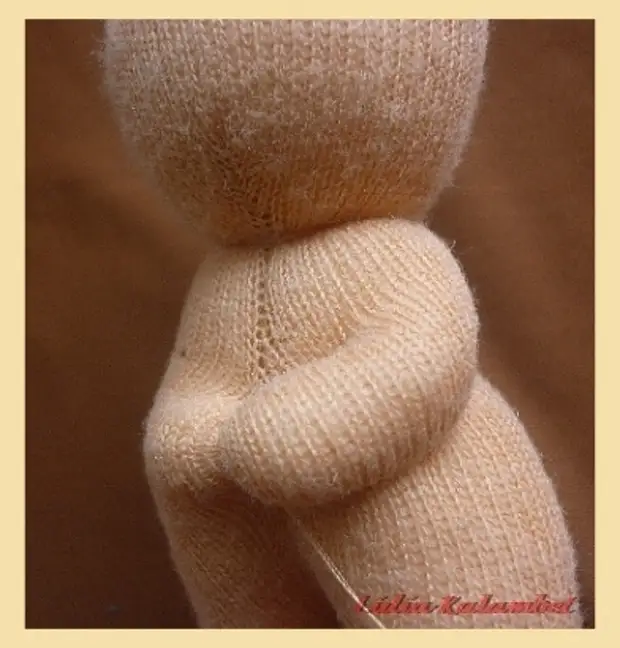
Now we are tightened and it turns out such a small handle. To make it clear, then pull the handle on the principle of eight.
Similarly, we make an army of another hand. Fix the thread on the chest (under the palm).
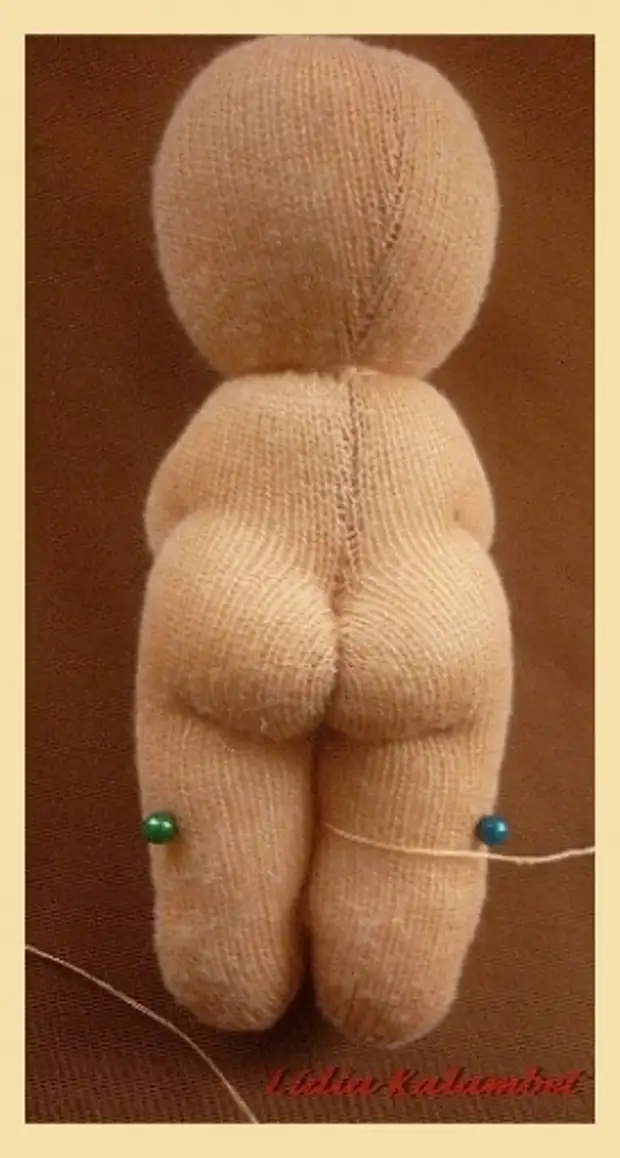
We do not tear the thread, but remove between the legs. We put two points as in the photo.
... and two more points, but behind.
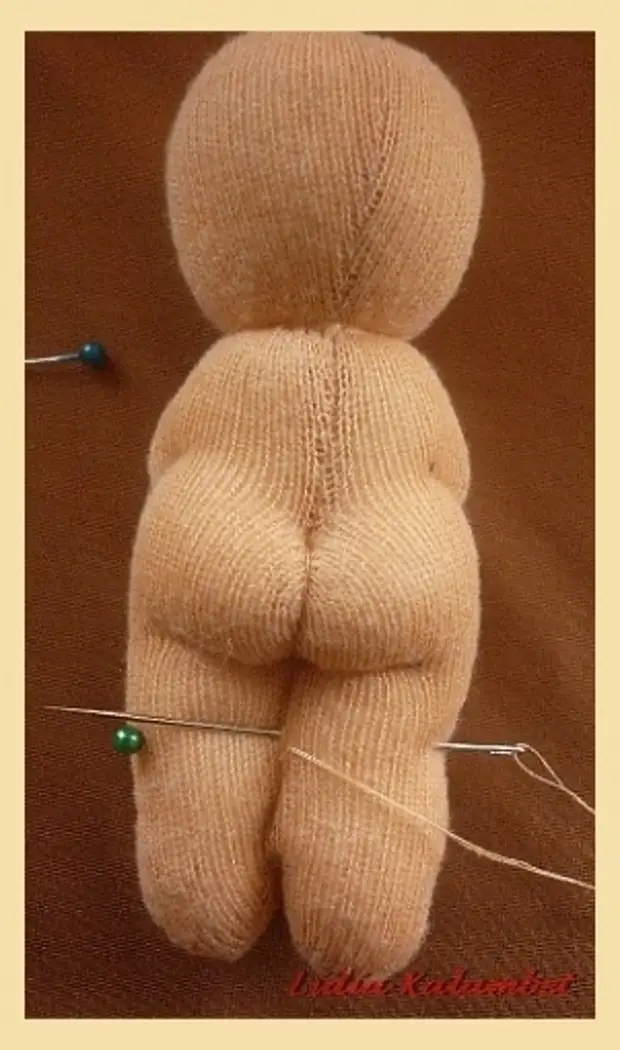
From the front point, we make an internal puncture ...
And pierce between the legs on the feather.
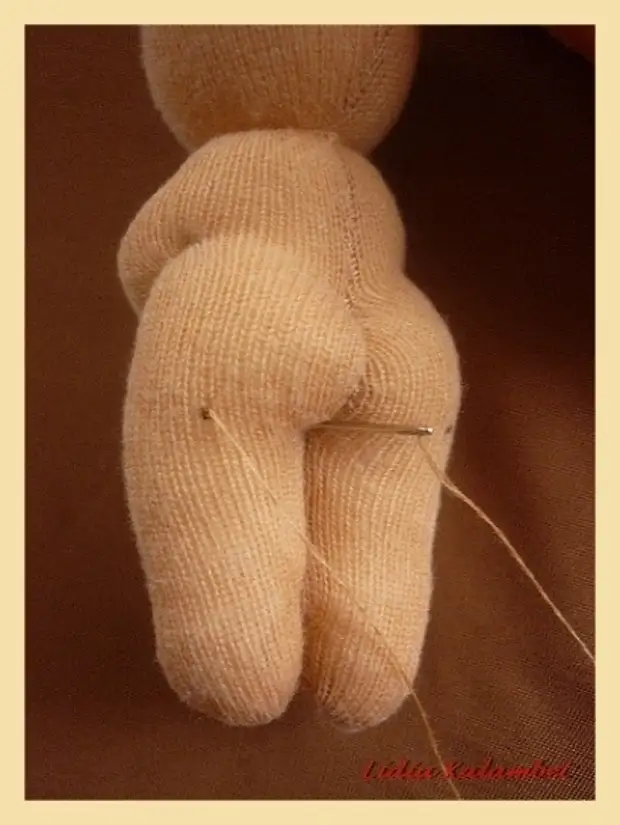
We are well tightened and fixed. It turns out so.
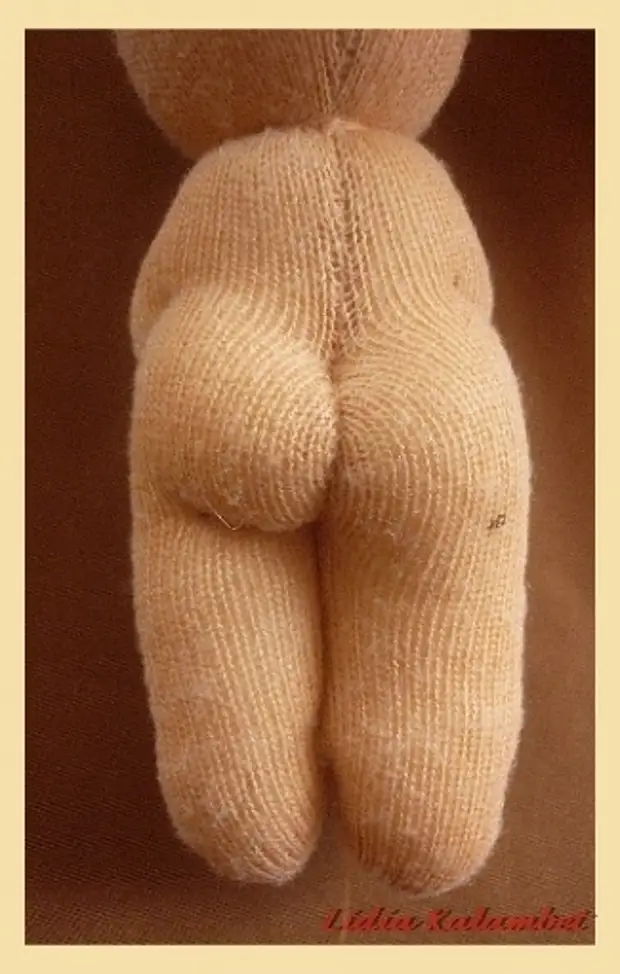
Rear view after tight.
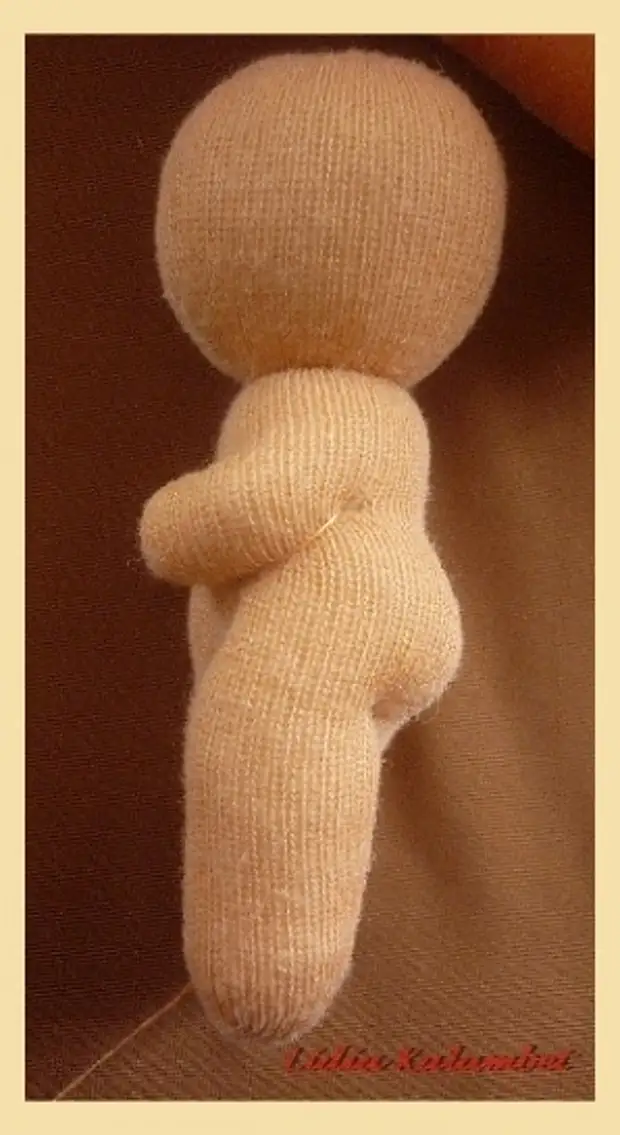
And this side view.
...
...
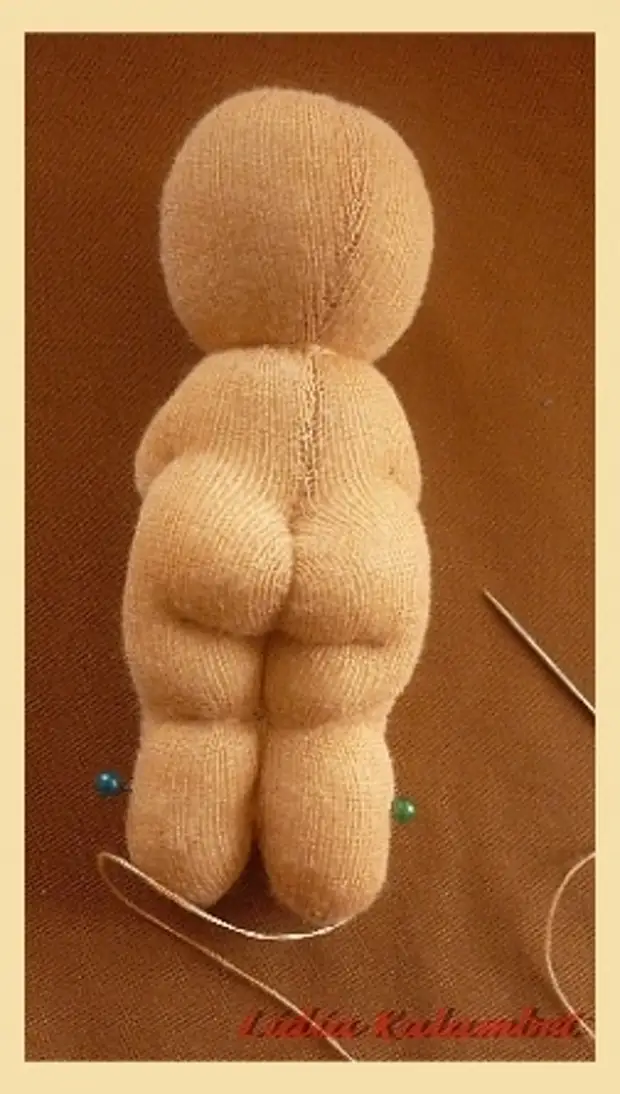
We derive thread at the knee level and put two more points or mark the folds of the folds of the legs.
Thread put on top and make puncture as in the photo. We are tightened by fixing.
Similarly, we do on the second leg. And we remove the thread even lower to separate the feet.
We are stitched in the way described.
We flash knees.
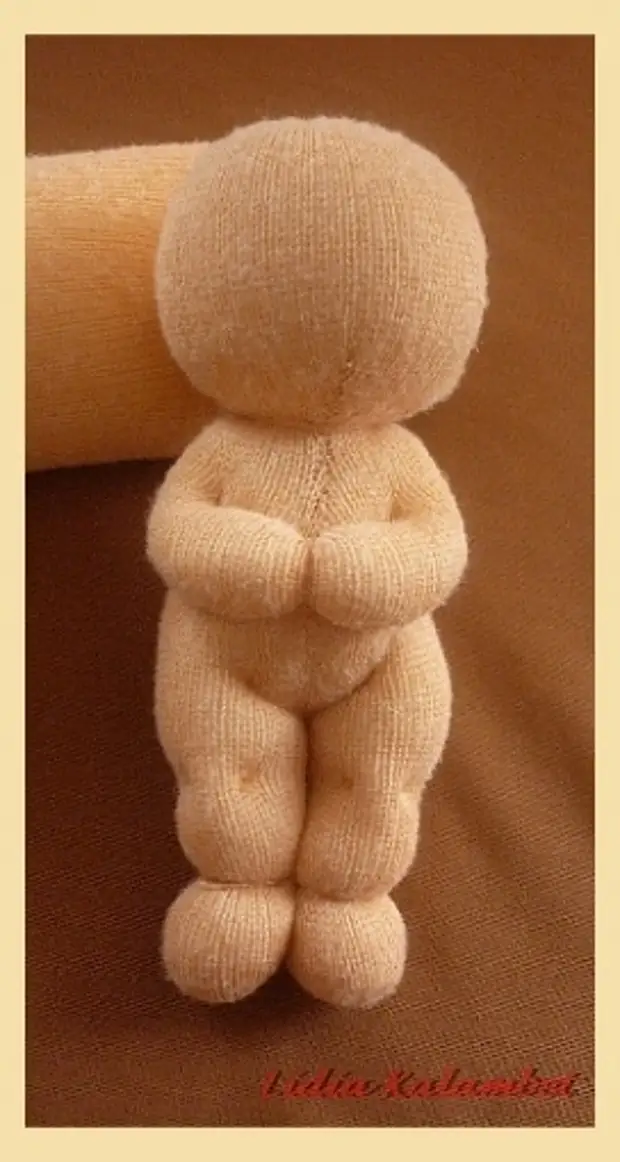
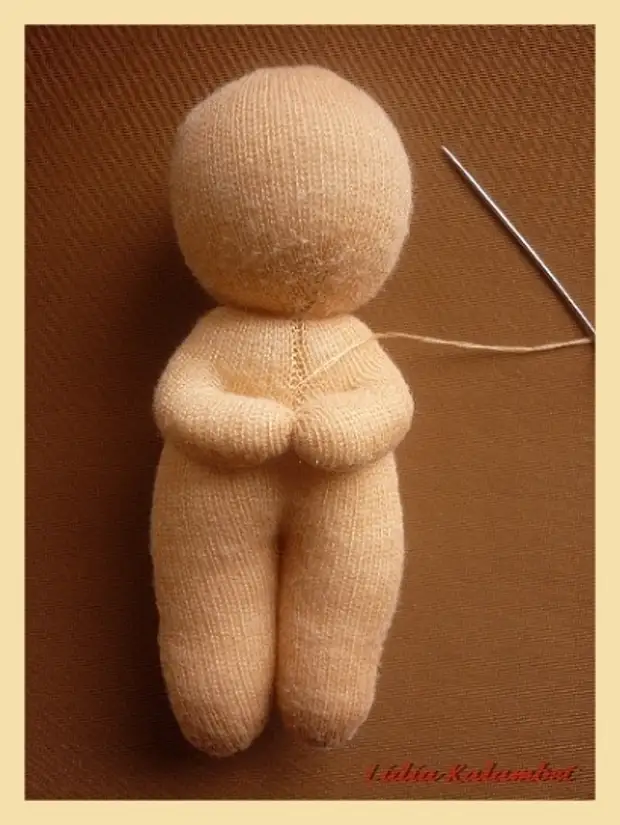
... doll is ready. Front view.
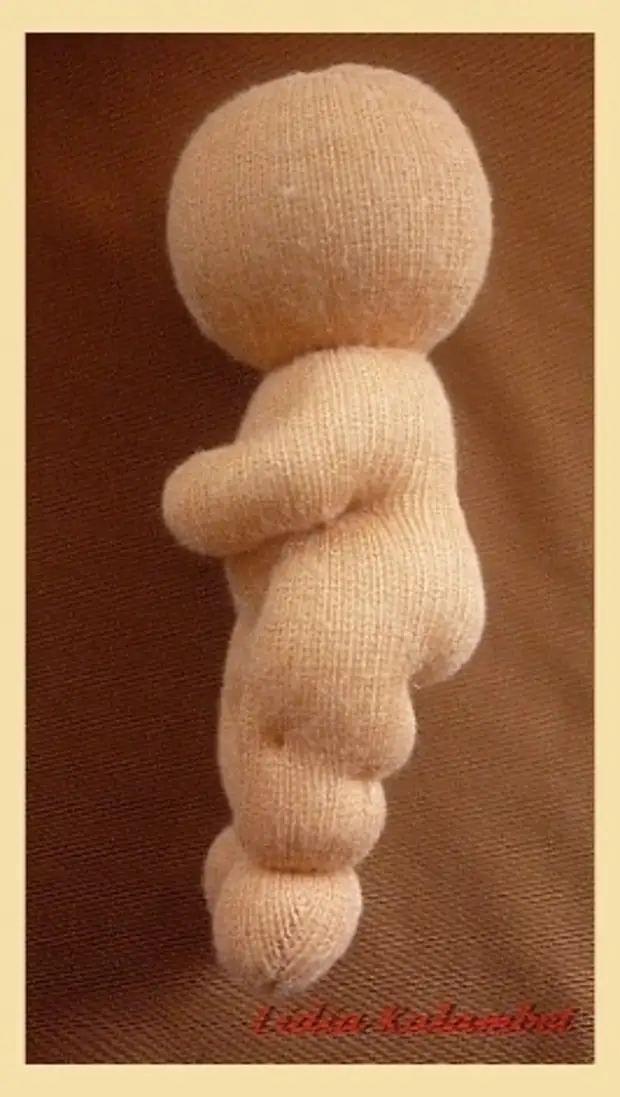
Side view.
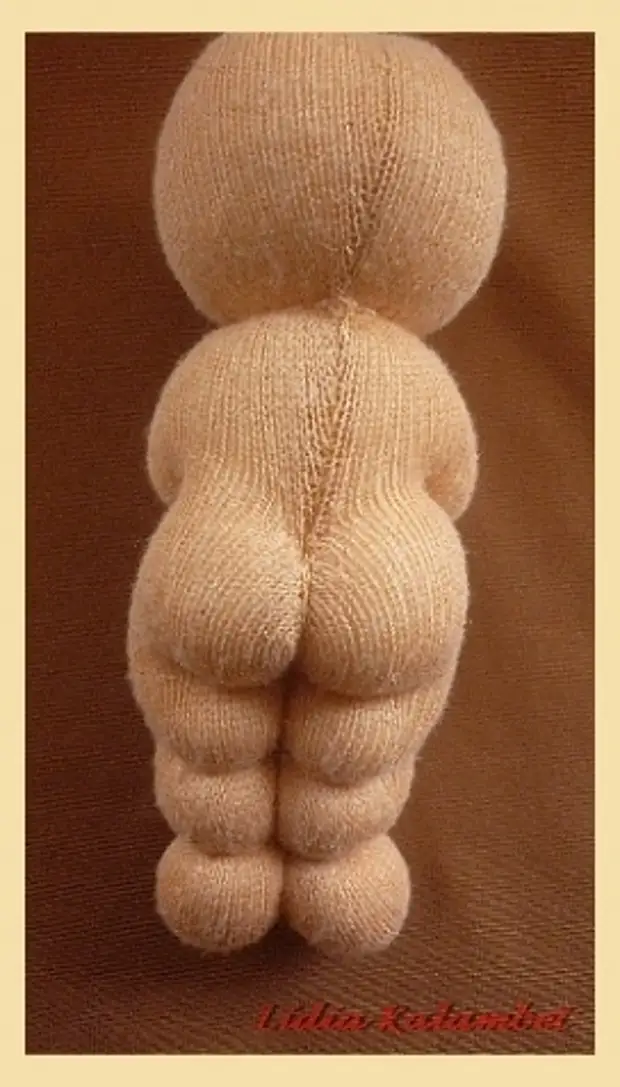
Back view.
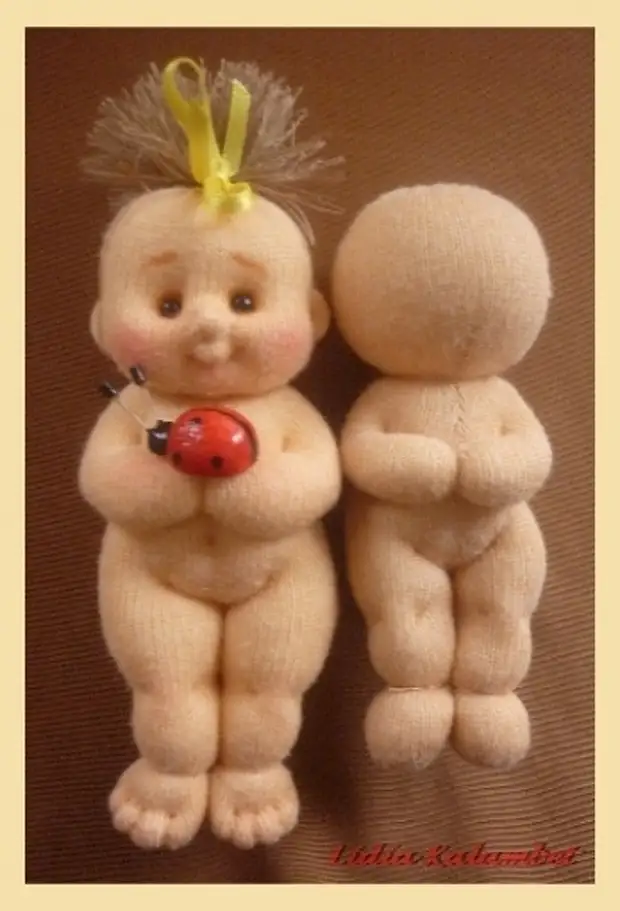
Lico can draw, embroider or sew, like me, beads. This is done on the principle of "socks dolls"
A source: