
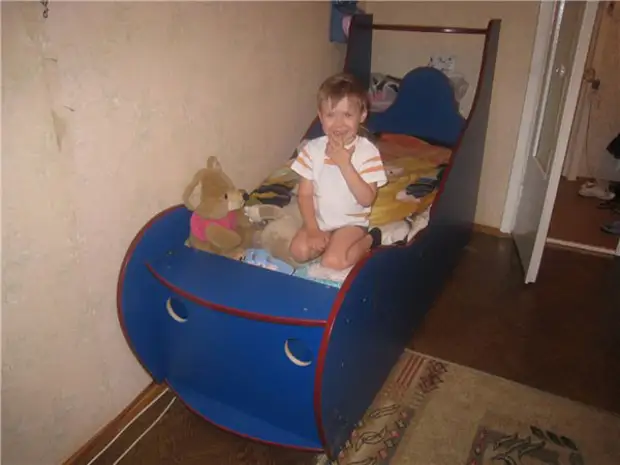
It's time to change the son of the crib, his crib honestly served 4 years and became unusable. Looking for a bed, I saw on sale Bed car ; Super, but expensive, this option is not affordable. With the affairs climbed and postponed the sampling of the bed, but this bed was covered in my head. Heading in Neta I found several models of such beds, a little thoughtfully decided to try a children's bed do it yourself . And so I, the man who in life the board smoothly could not cut off, took up the drawing (the drawing was very funny).
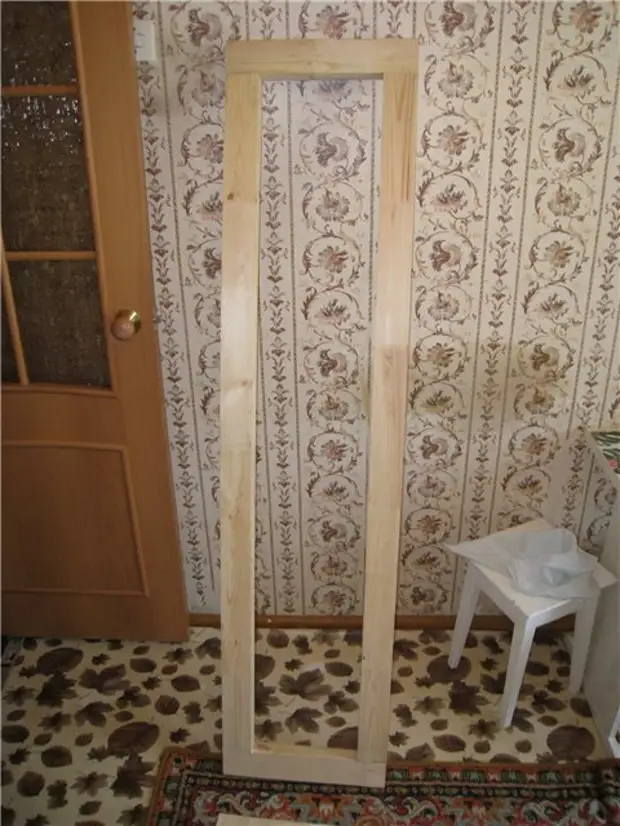
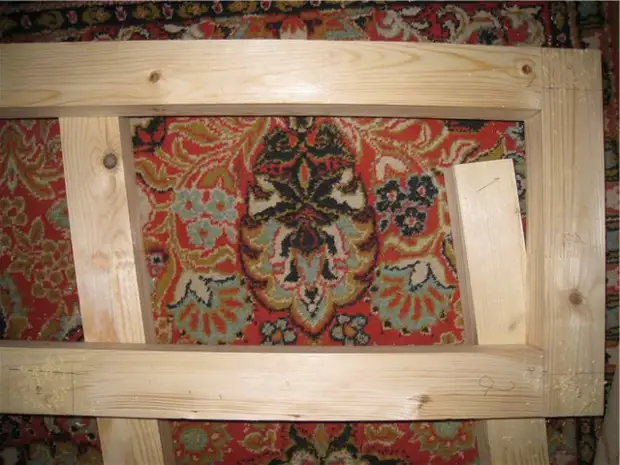
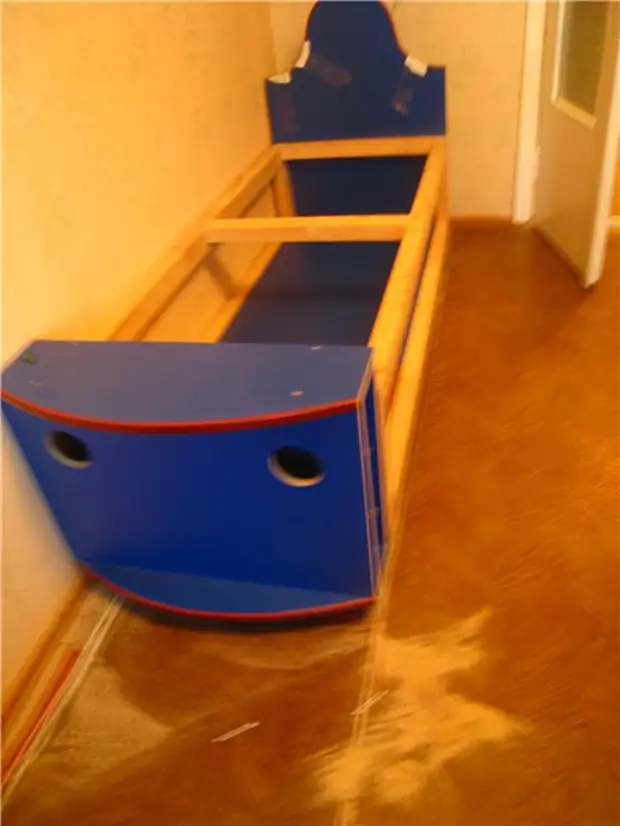
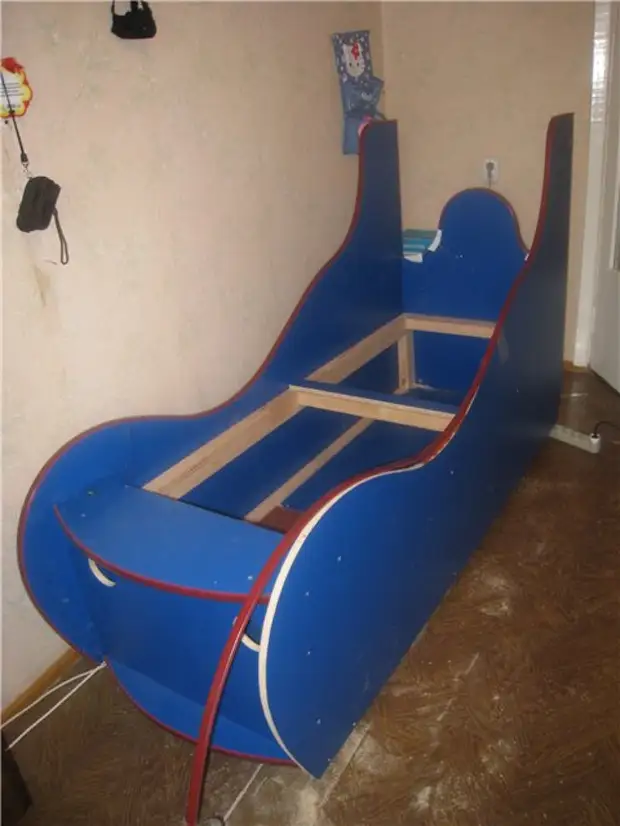
At the base, I decided that there should be a durable frame, in those beds that are sold, there is no frame and it leads the design to rapid wear and loosening, but I wanted to get a bed from his pouring, and I could withstand me.
For beginners, I think it will not be superfluous to familiarize yourself with the training manual for the manufacture of furniture.
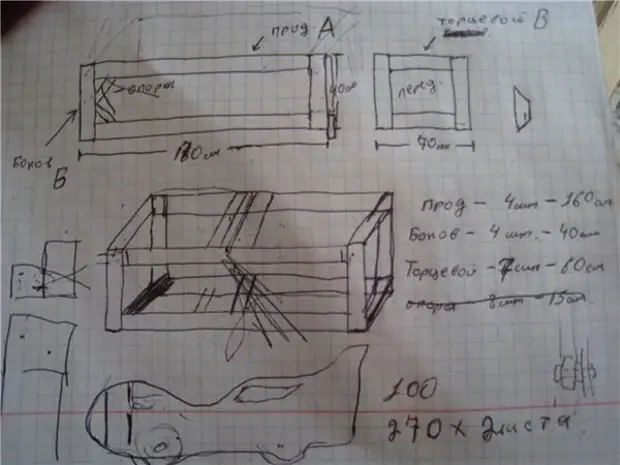
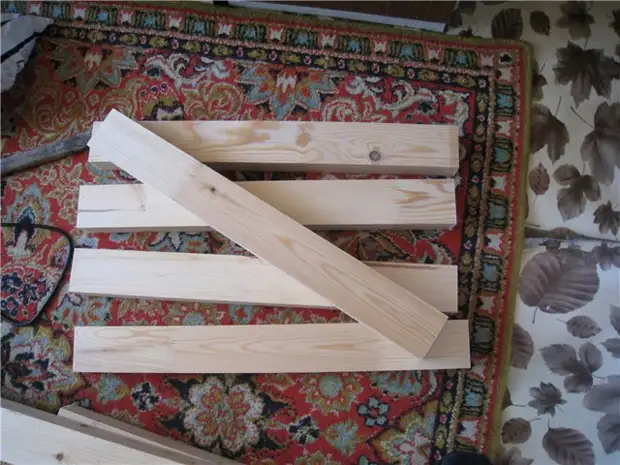
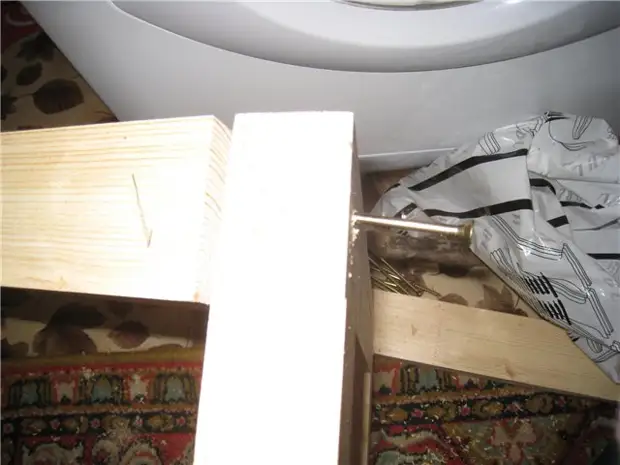
I bought a bar and took it into the joinear. I saw it on my size, bringing home the timber I began to assemble the frame. The details fastened with a screw for 120 each other, in the bar necessarily did holes so as not to burst. The outer part is under the size of the screw, and the part to which will be screwed by a 6mm drill. All the details were twisted at first, I watched exactly - not exactly, and then I spun, lubricated PVA glue and was collected. There are 6 hours of torment and the frame is ready.
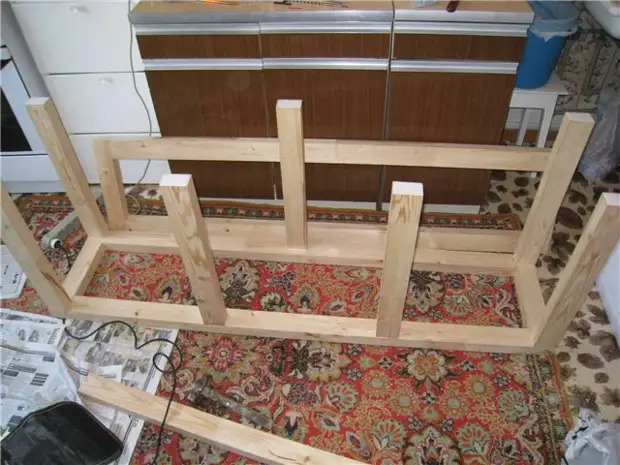
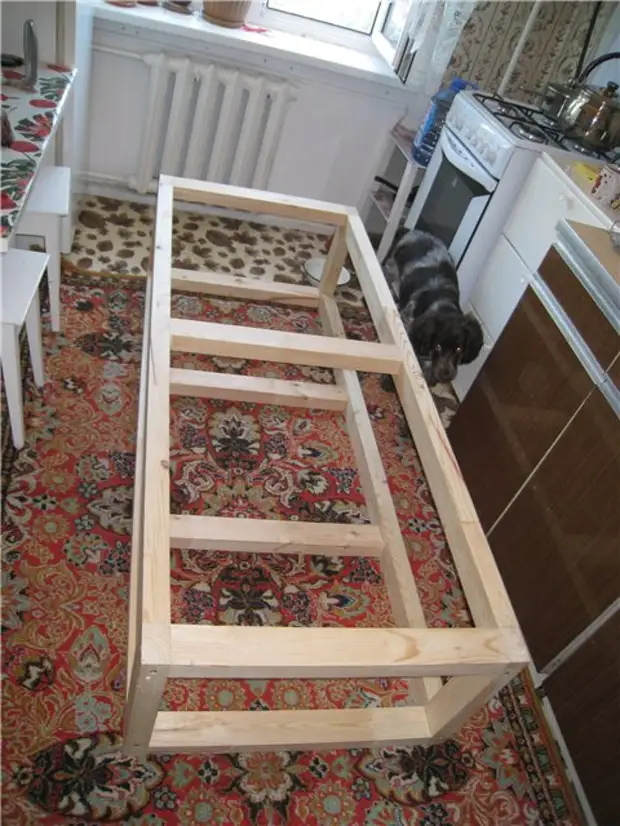
Now part 2 - the bed itself.
Having bought two sheets of LDSP blue in the store, I took the Gazelle and took the sheets to a friend for work because of the sheets without cutting me in the apartment will not go and the garage I do not have where it was possible to calmly cut. Taking into the hands of a meter bent a ruler, I used it to draw sheets, putting a ruler to the LDSP. Having arched as I need, I spent the marker. So it turned out a drawing of one sidewall. With an electric junk, I put the finished side on the second sheet, covered the marker and saw another identical sidewall, as well as with the rest of the items.
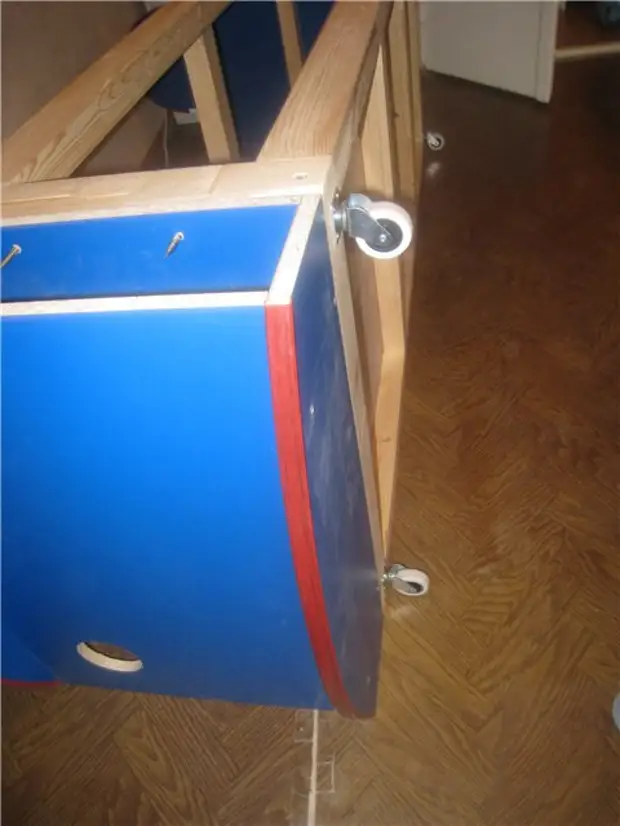
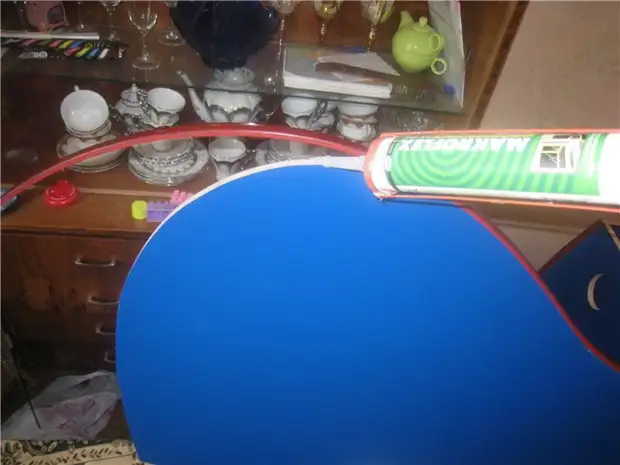
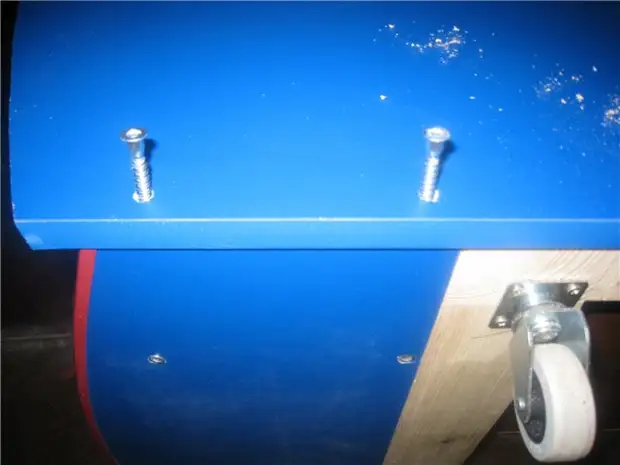
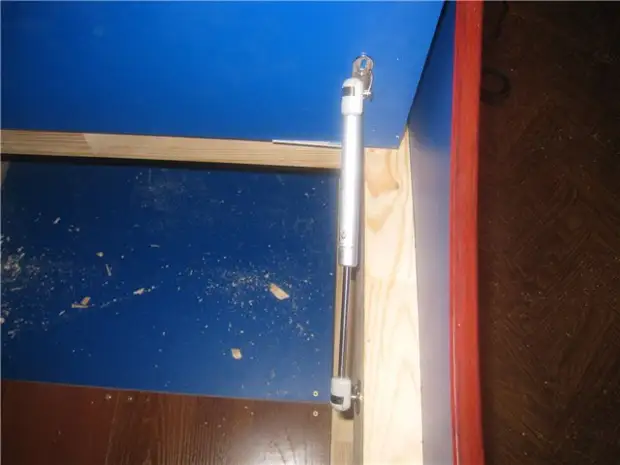
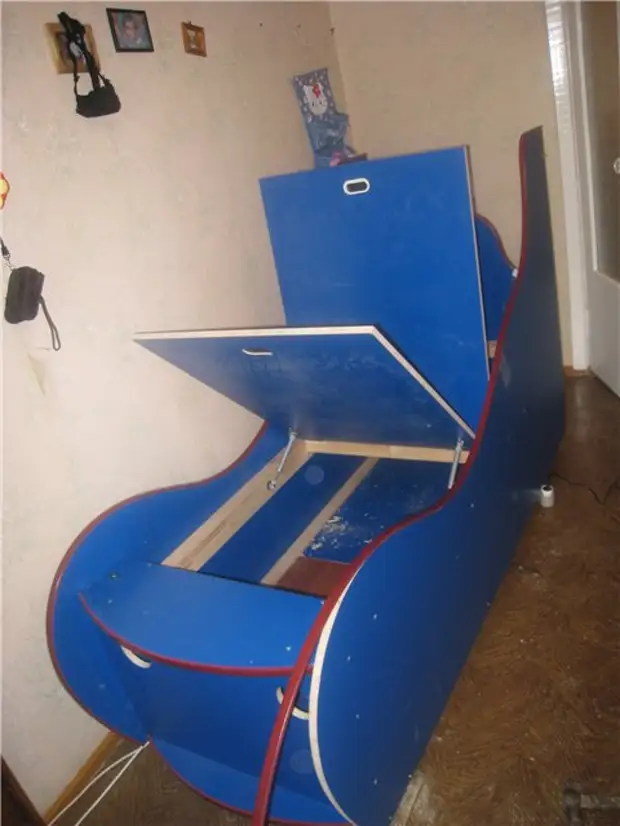
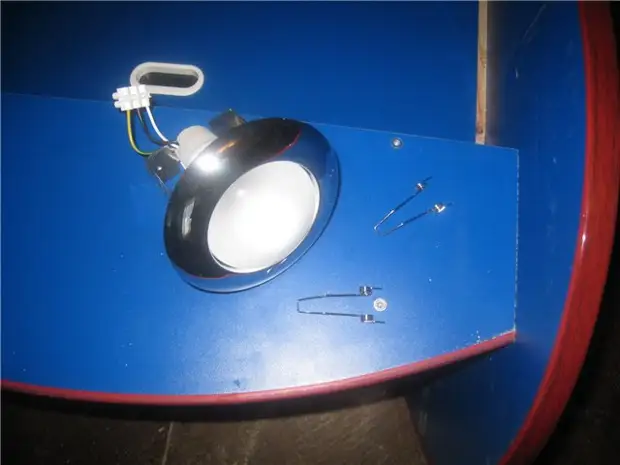
I bring everything home, I took up the assembly. At the edges they let the edge of the P-shaped. She had to plant a silicone, but she did not hold out. Forward sawed two eyes for sofa and button to turn on, type of headlamp. It remains to go to the auto market and purchase auto stickers. There was still a problem with the wheels, I thought to find two ballon on the mounting to cut them along to attach them to the bed and insert into each tire on the cap, so that the type and the tire and the disc, but did not find the tires with the rag court, so while I break my head. In bed, I made two drawers under the mattress - the lids on the racks so that when opening did not fall, it is very convenient for storing things that are not for the season.

By the way, the bar must be taken not whole and glued it is smooth and does not lead it.
Author of work-loving dad.
A source