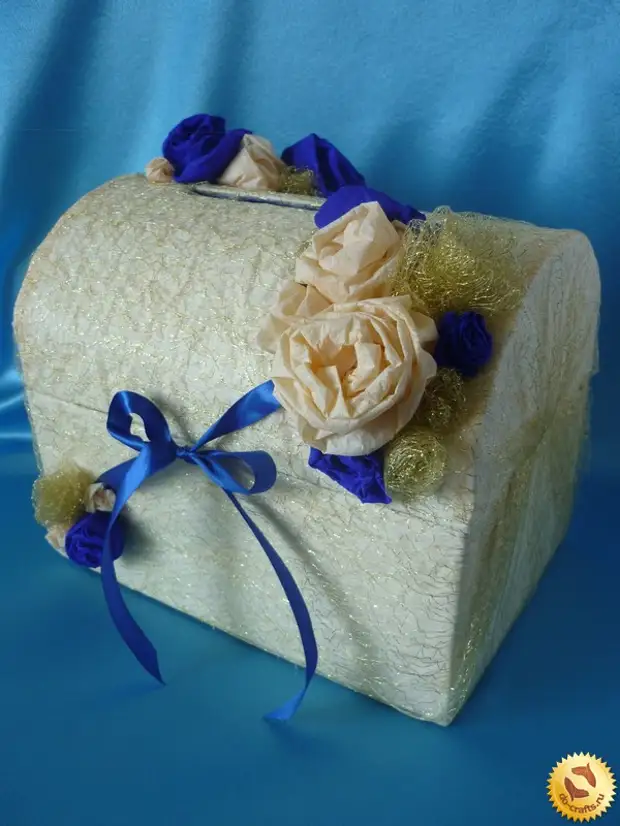
In this master class, I will create and show step by step in the photo, like from a regular box from under the glasses to make a wedding chest for money with your own hands, which at the wedding, guests throw envelopes, postcards and bills. It seems that such an accessory is optional, but on such a day everything should be perfect to the finest things.
So, to create and decorate a wedding chest for money We will need:
• Box;
• Watman;
• PVA glue;
• brush;
• decorative paper;
• Organza;
• corrugated paper;
• satin ribbon;
• adhesive gun;
• Normal and greasy tape;
• scissors;
• line;
• Pencil.
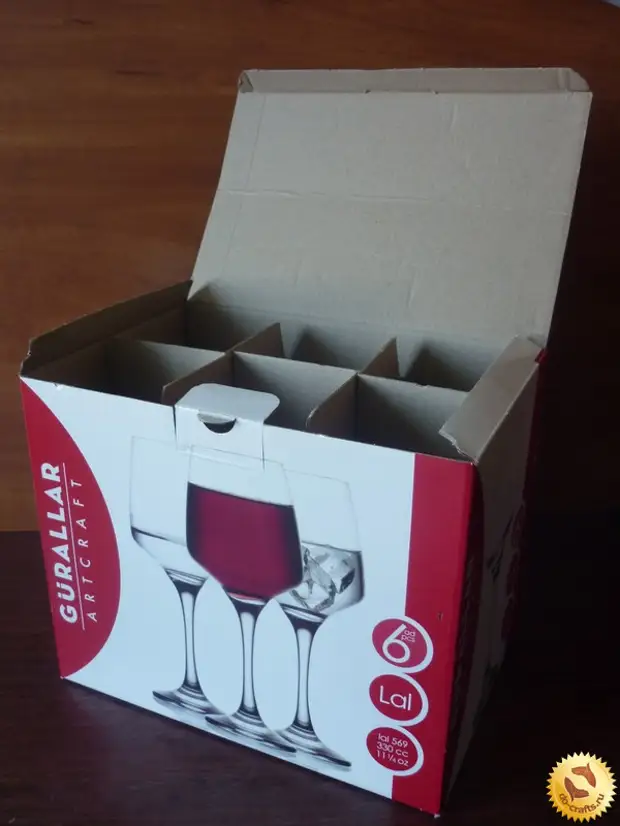
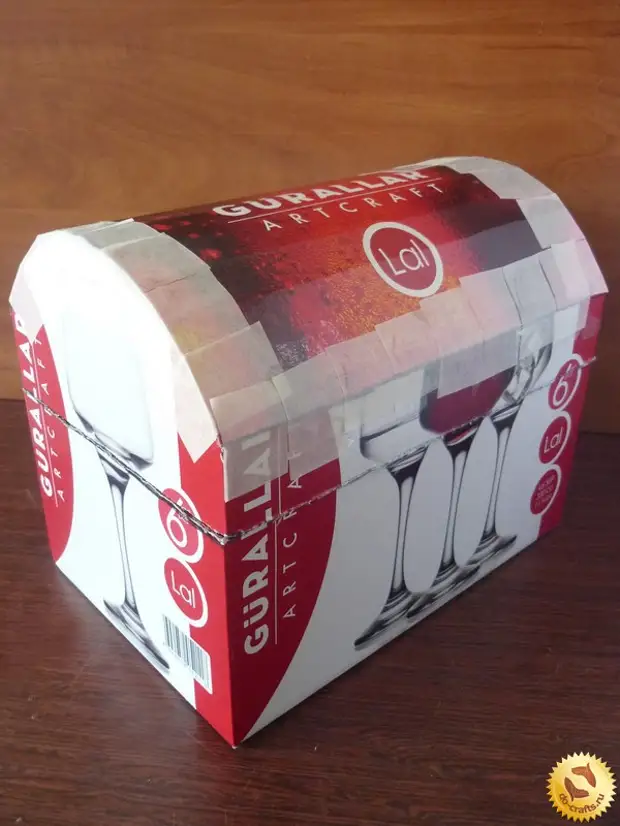
To begin with, get the inner partitions from the box. We will proceed to the formation of the chest cover.
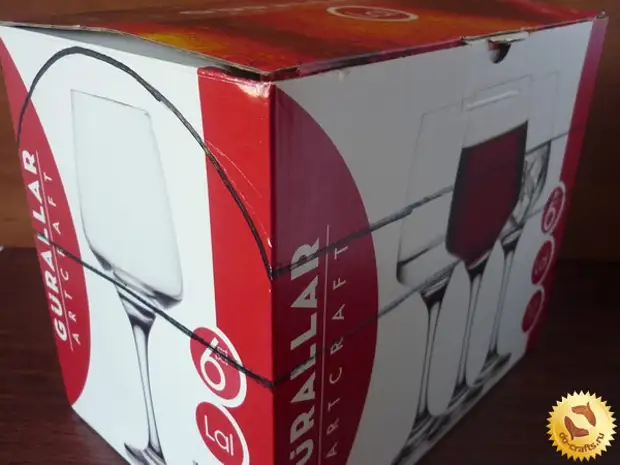
Further on the side of the side of the circle (arc). On both sides we make indents about 5 cm and blacksmith smooth line. We are doing the same on the second side and connect all the lines on the front wall. It is important that all lines are parallel with the basis of the box.
Cut with scissors top.
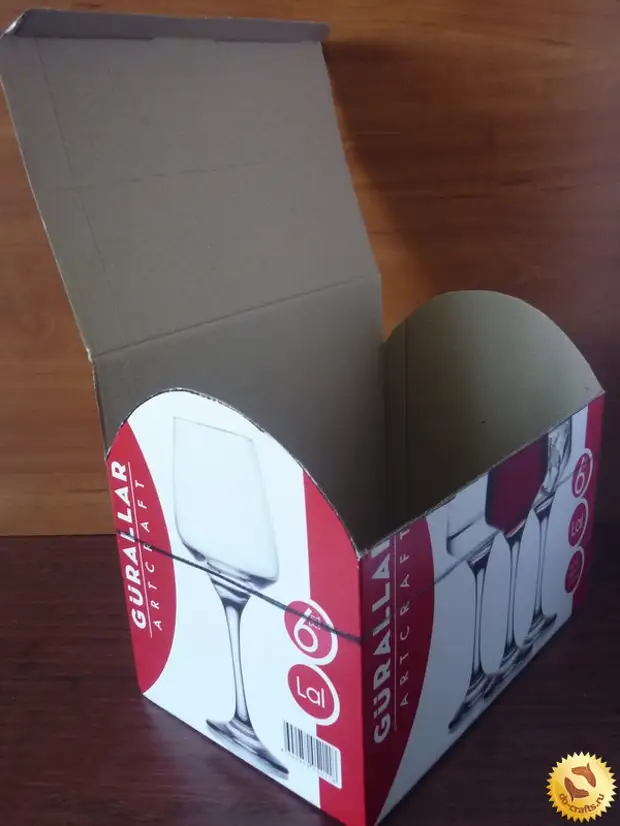
It is necessary to make the chest cover can be bend freely. Otherwise, it will just break and deform. Therefore, we make the big lines (folding) with an interval of about 1.5 cm. It is necessary to be sold under the line of the line to the back side of the scissors on the inside of the cover.
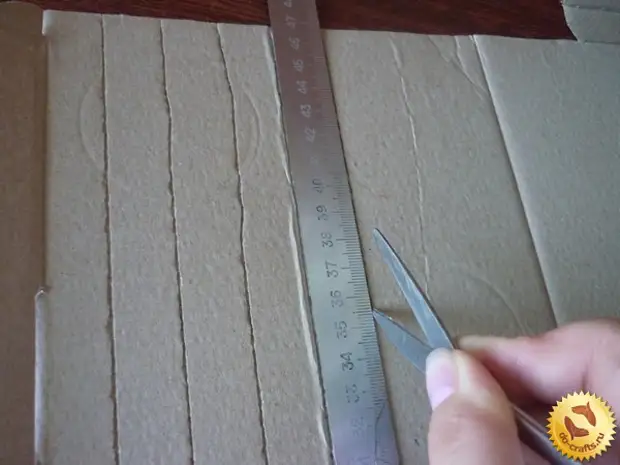
We cut the drawn lines on the front and side walls. On the back wall inside draw the line of the Big (fold).
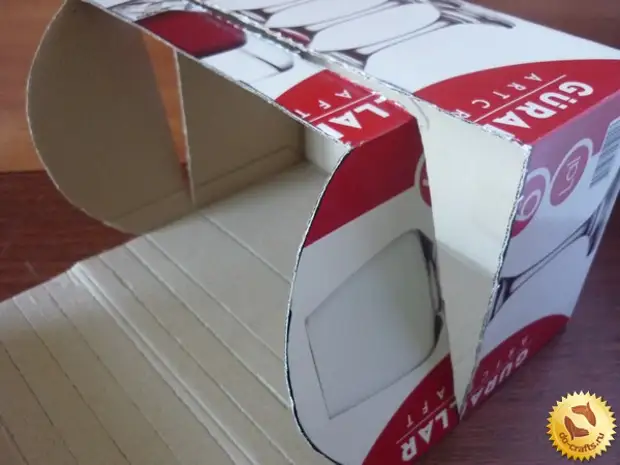
We fasten the upper part with the side walls with the help of ordinary tape. He holds firmly, but on top of it it is better to stick a greater tape, since then we will be covered with paper box, and on the usual tape it is unlikely to do.
Also cut off the extra cardboard so that there are smooth joints. Do not throw off the cut off strip - it is useful for us later.
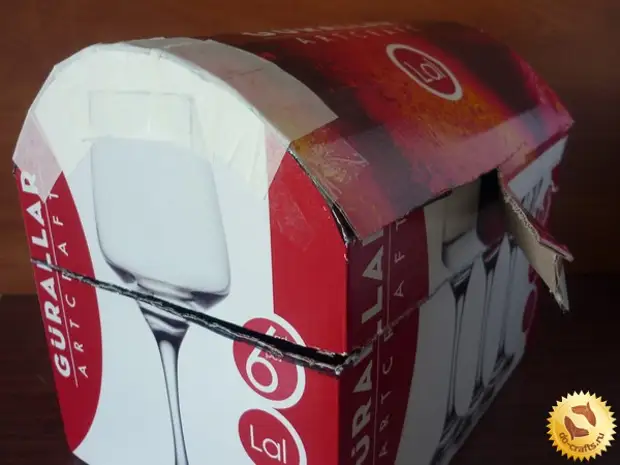
We fasten all sides with the help of Scotch.
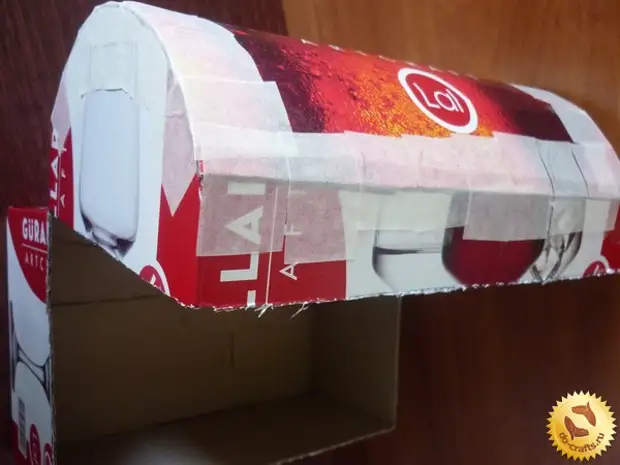
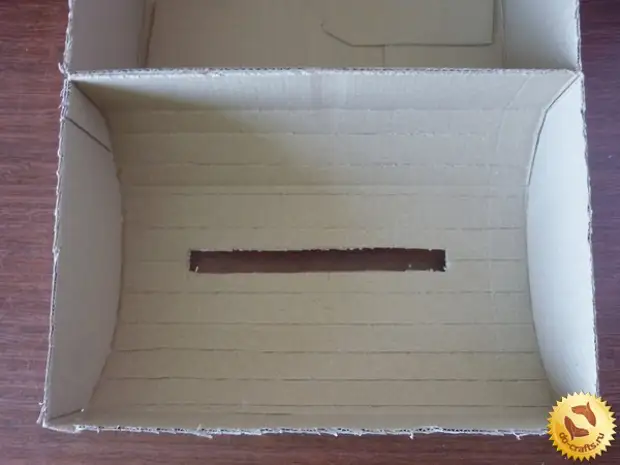
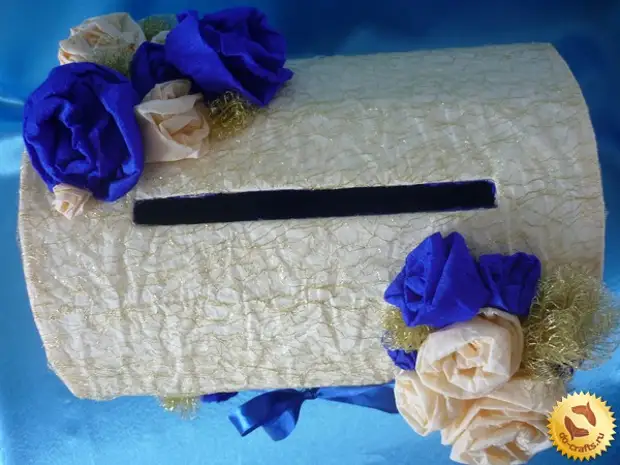
We put the cover with the inside up and cut the hole for envelopes in the center. Thickness 1-1.5 cm, and the length is already at your discretion.
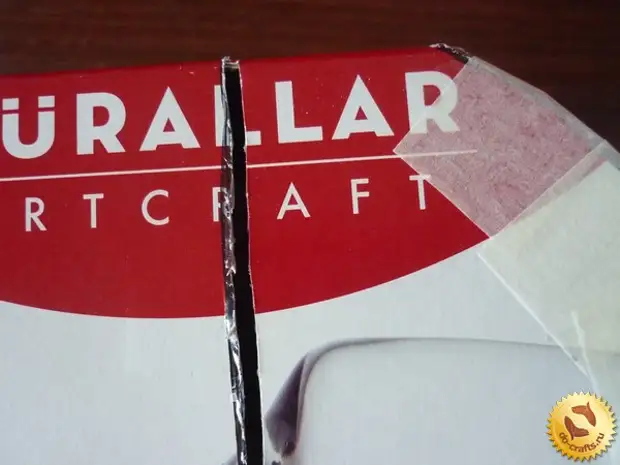
It is necessary to cut down several millimeters of cardboard at the bottom of the cover so that after the cheer of the chest can be closed.
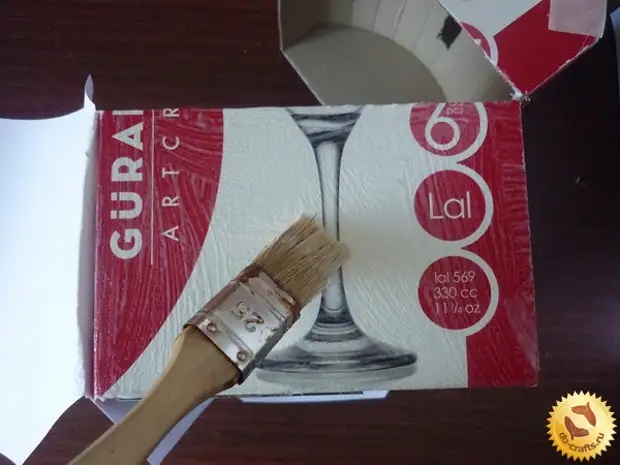
Now it is over the entire chest with white watman. We start from the bottom. Cut the strip with a size equal to two side walls, front and allowances of 1 cm from all sides. First we glue the front wall in the center of the cut paper, and then we rush the side. It is necessary to smooth the surface and put forward for a while that the paper does not dug.
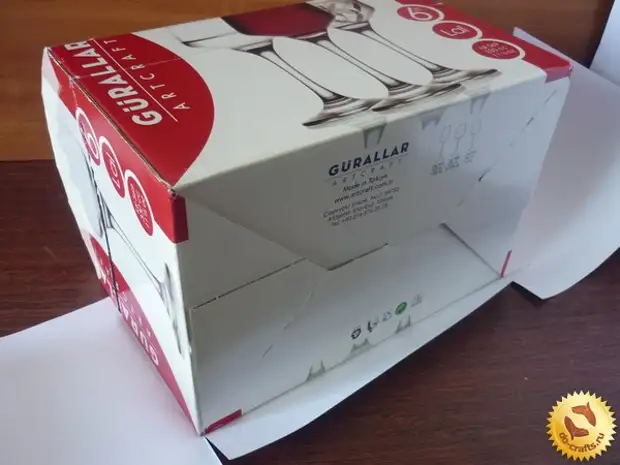
Cut the paper under a sharp corner in the corners and put all the allowances.
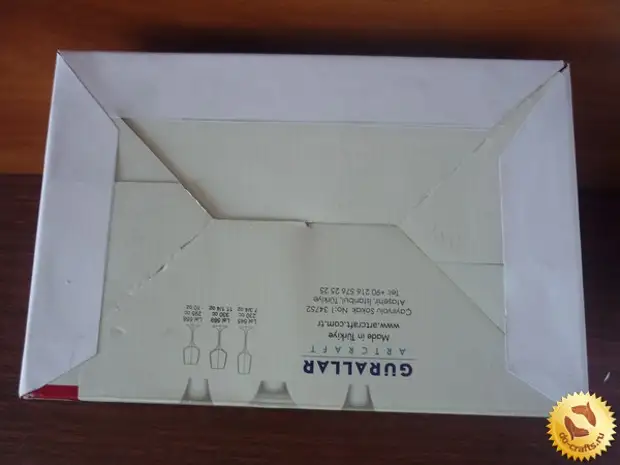
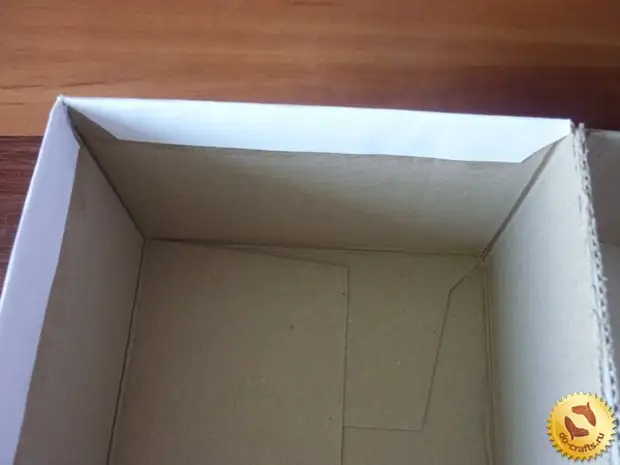
Cut the side walls of the lid. In this case, the allowance of the convex side is to be cut into to repeat the round shape.
Further cut the paper strip with a size equal to the bottom, the back wall, the top of the cover. Items must be left only on both sides: bottom and top. We spend the remaining part of the box.
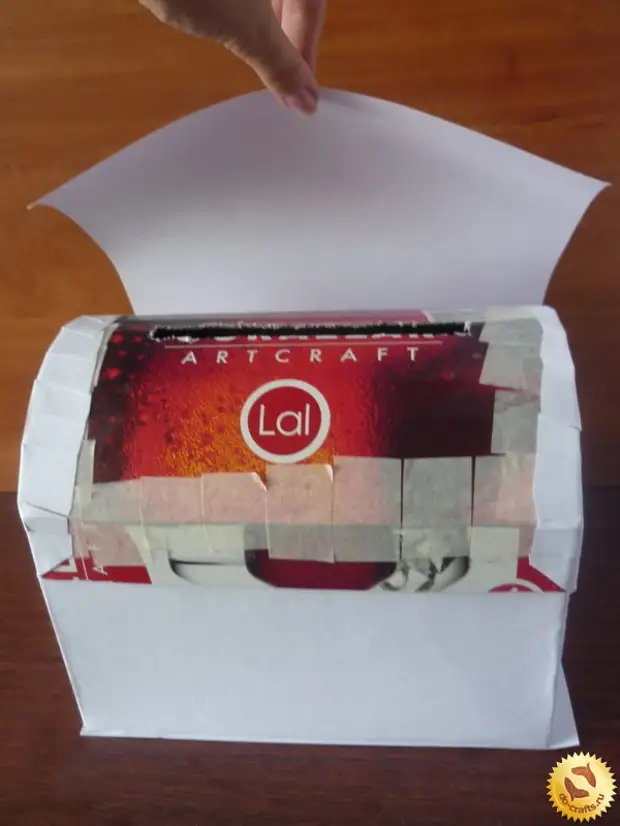
From the reverse side, we make an incision in the hole so that the allowances and we stick them inside.
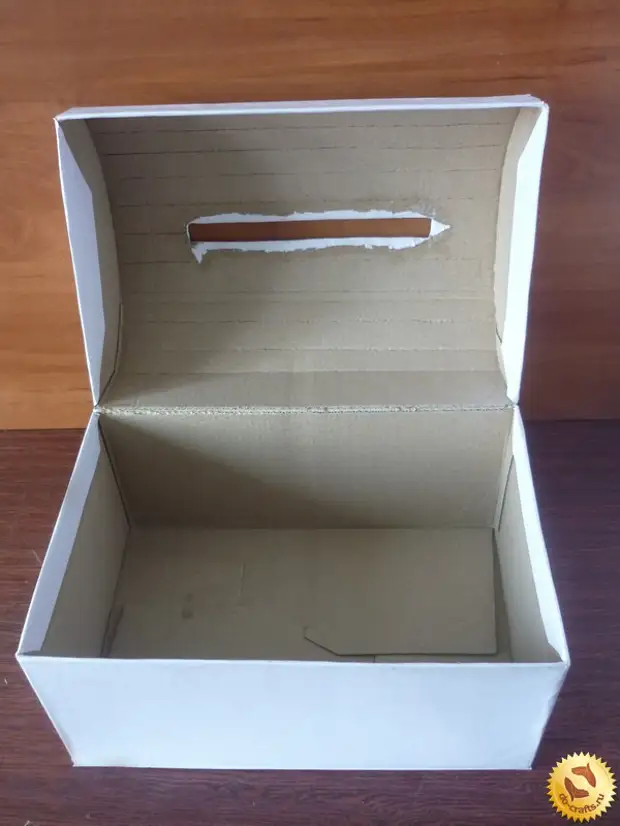
We accumulate some beautiful decorative paper completely the entire chest in the same way as watman was wondered. Only glue is not on PVA glue, but just we glue the edges with an adhesive gun.
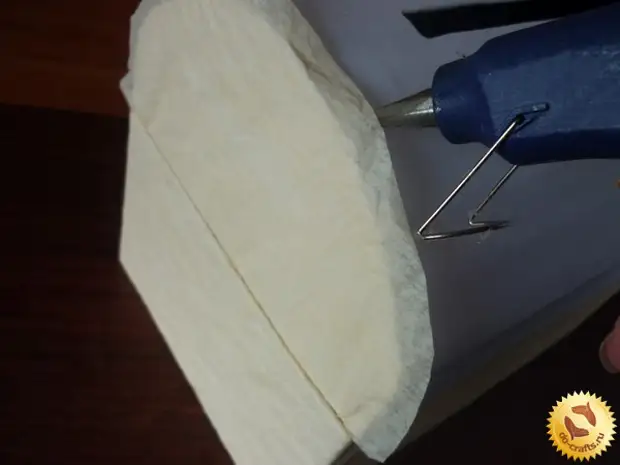
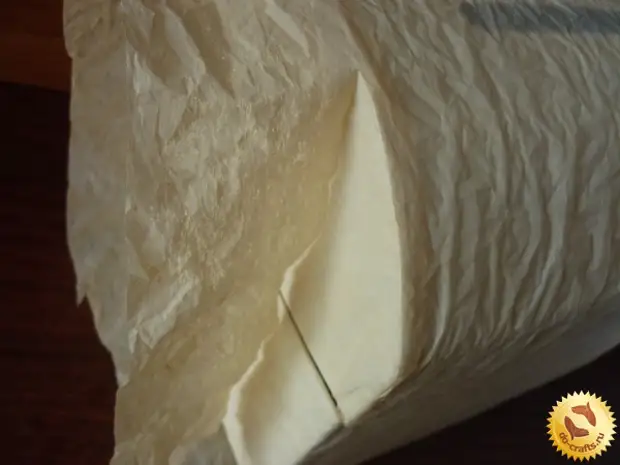
You can bite the chest into the organza or in some similar material for a larger effect. We take the organization of this size so that it completely enveloped the box. We wrap in full length, putting the chest in the middle of the material. Punches are inserted inside.
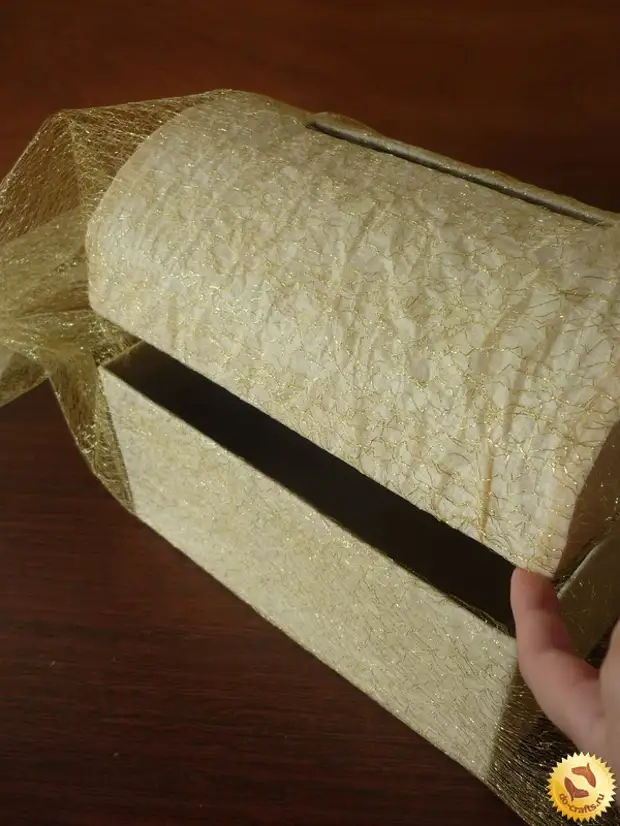
On the sides, we make drapery and glue it to the inner part of the chest with a glue gun.
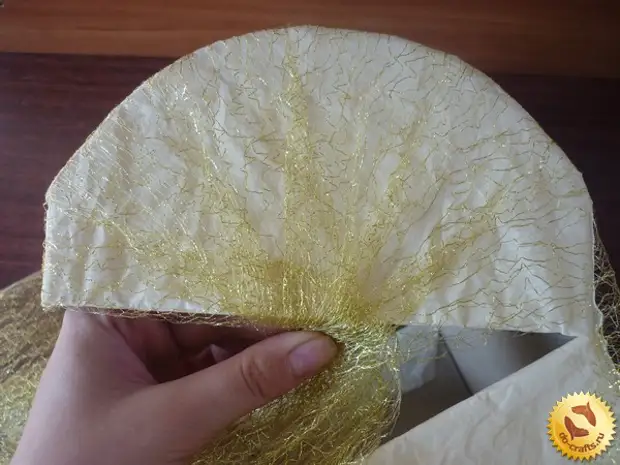
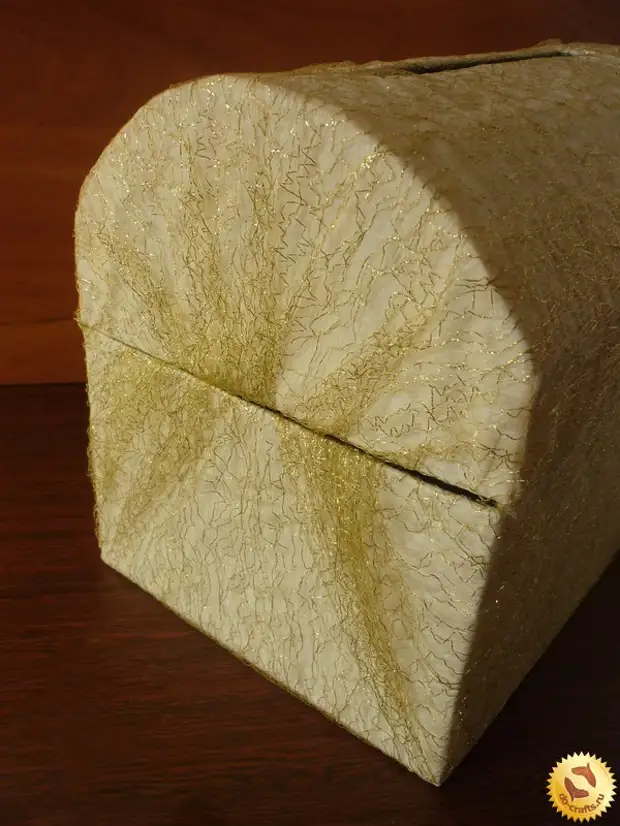
We take a sliced strip from the lid and look at it with decorative paper. Glue to the inside of the front wall. This protrusion will allow the lid to stay in place.
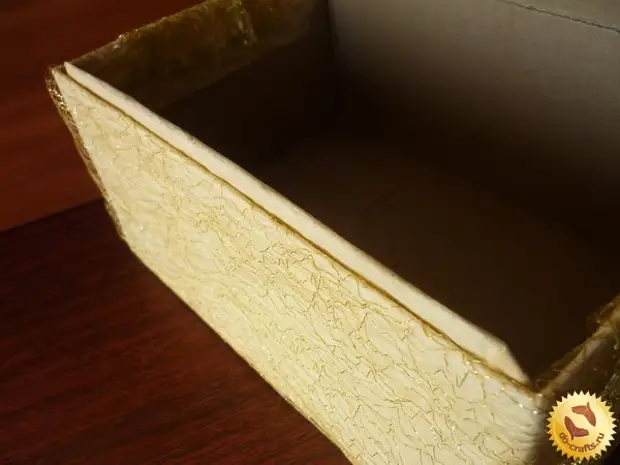
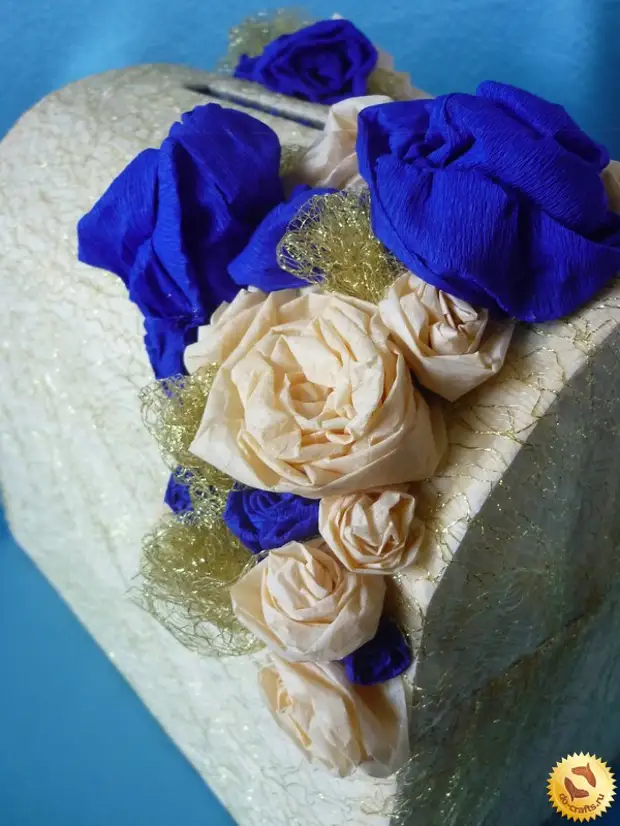
It remains to decorated the chest inside and outside. Outside there will be volumetric flowers from the material that we used in the process of all work. Cut the stripes of different lengths and widths.
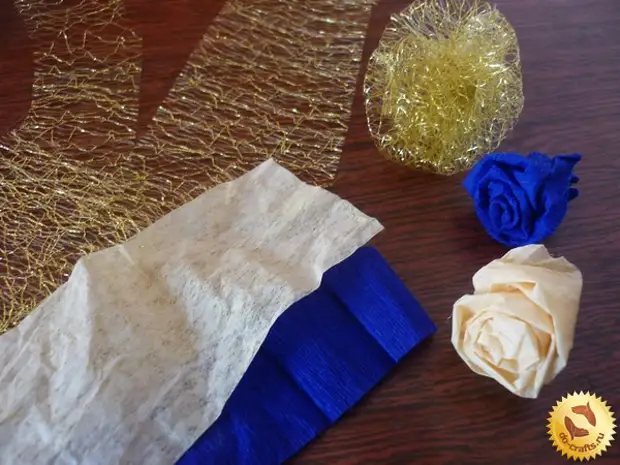
We fold the strip in half.
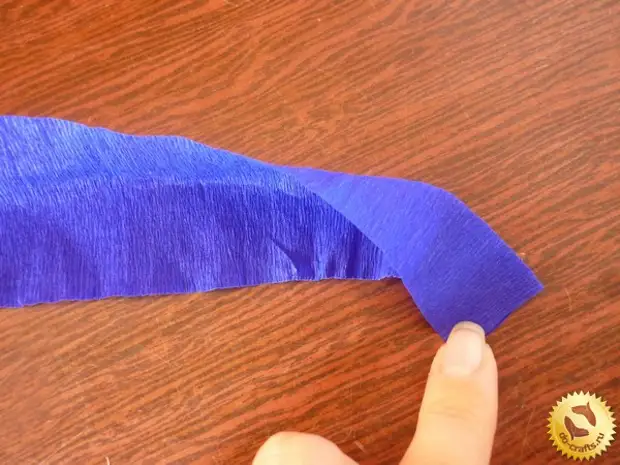
Severe corner at the very beginning.
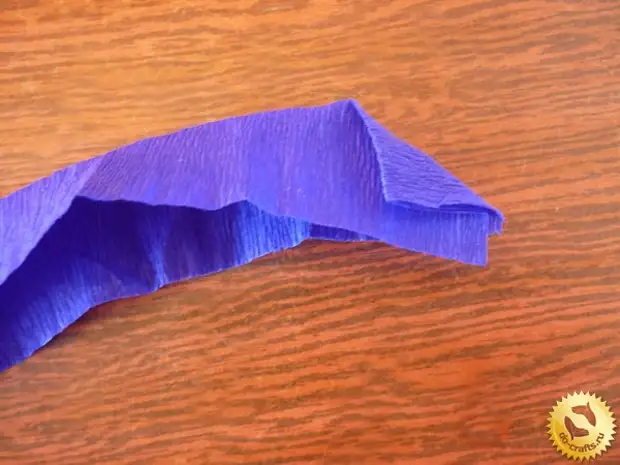
We start twisting to the end of the tape, holding your fingers at the base.
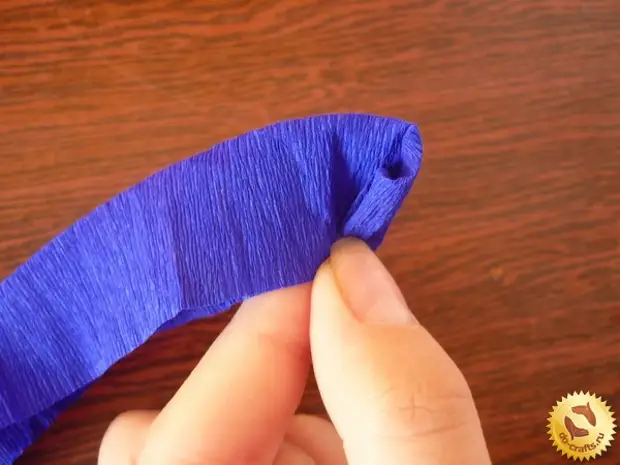
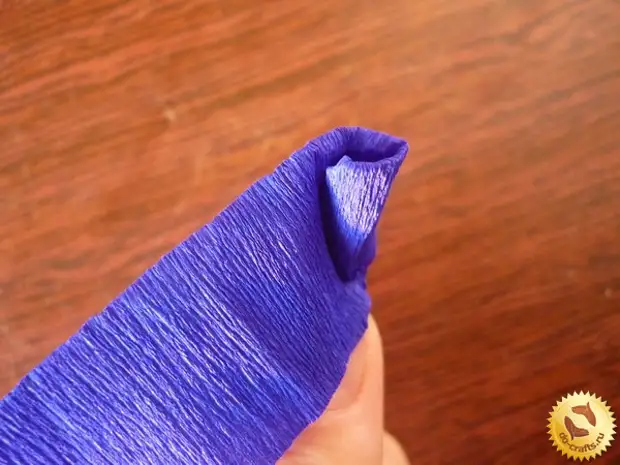
In chaotic order glue flowers on thermoclay.
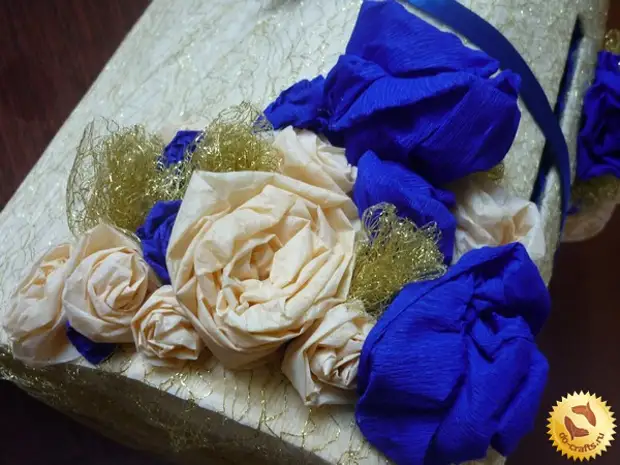
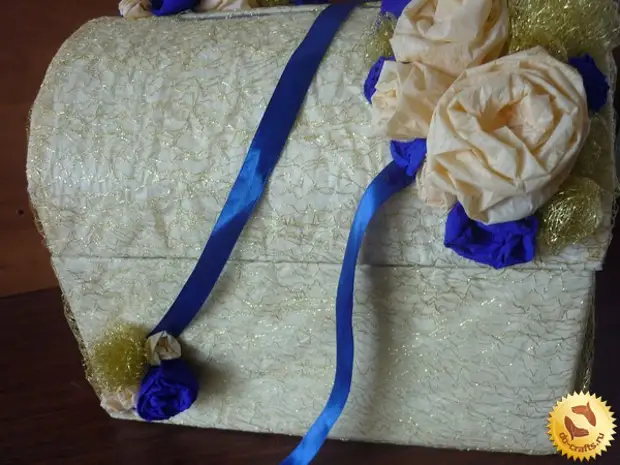
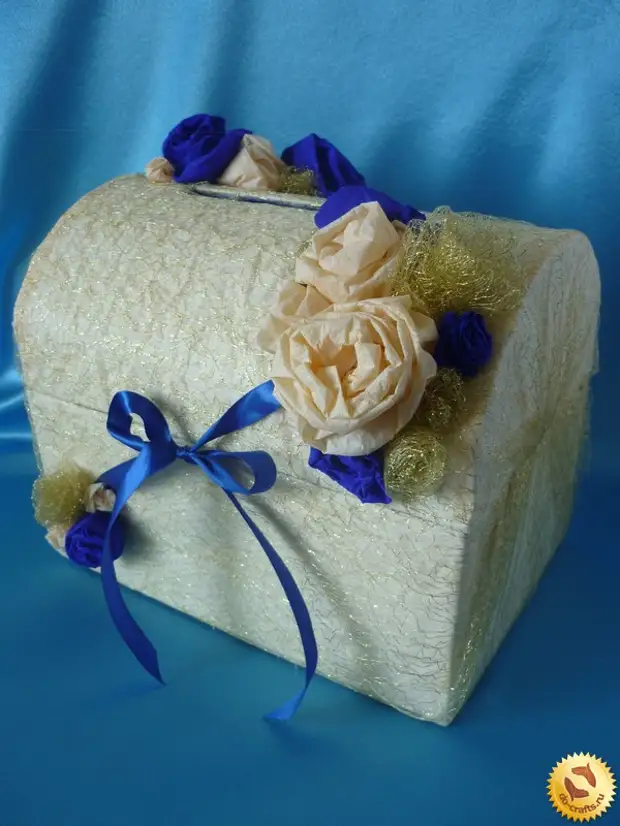
We will make ties for the chest, gluing the tape to the bottom and the lid for flowers.
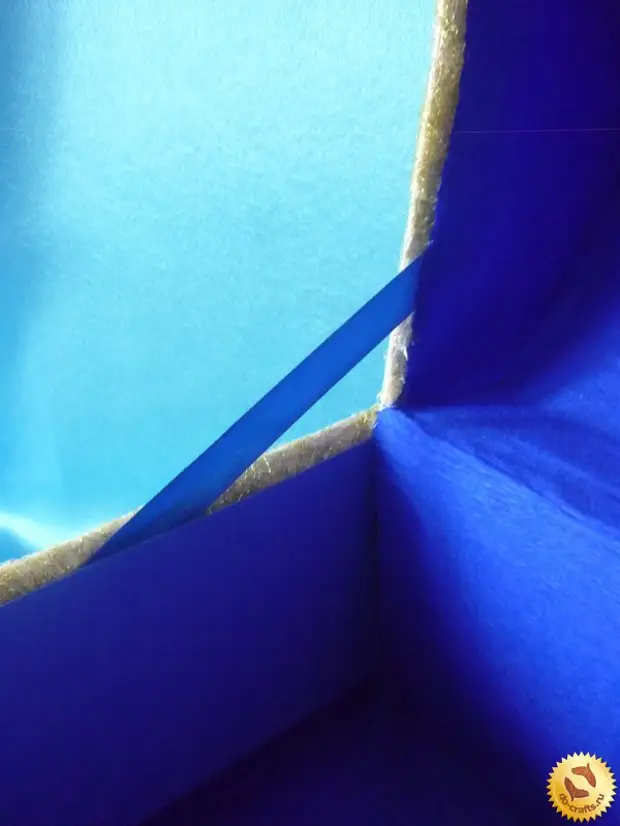
We decorate the inner part. Before placing the entire surface, it is necessary to secure the lid with a ribbon. One of its end is glued to the lid, and the other to the side.
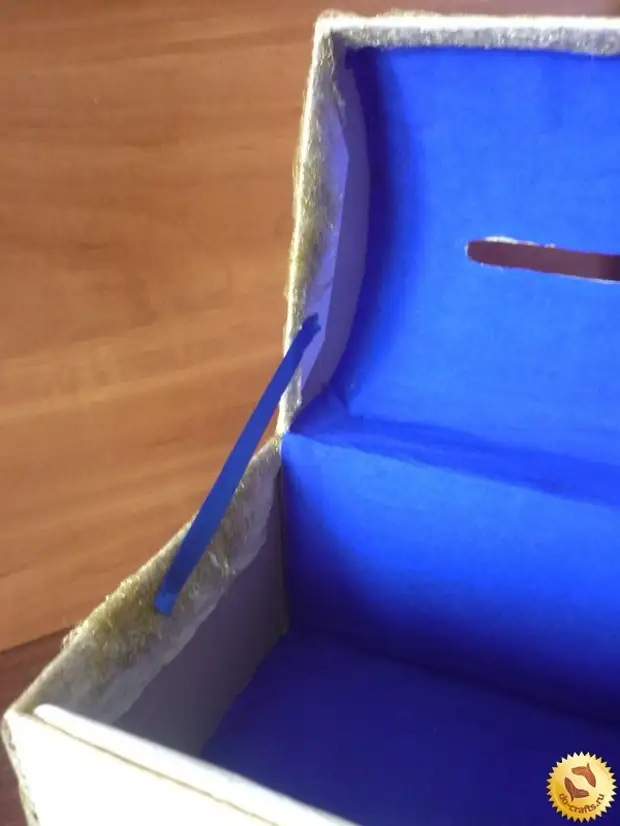
Cut the corrugated paper all the inside of the chest.
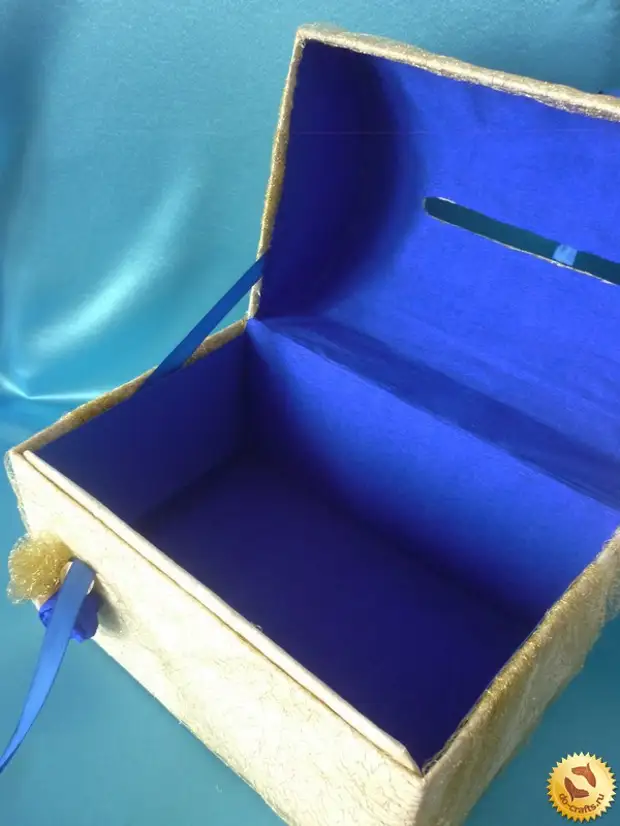
This is such a chest, in which newlyweds will collect their first family budget.
A source
