
And it is completely in vain. After all, the thermos greenhouse is one of the best inventions for growing plants in a closed soil in winter. Its main value is to considerable energy savings and maintaining heat, which, in turn, contributes to a decrease in the charge for heating the greenhouse.
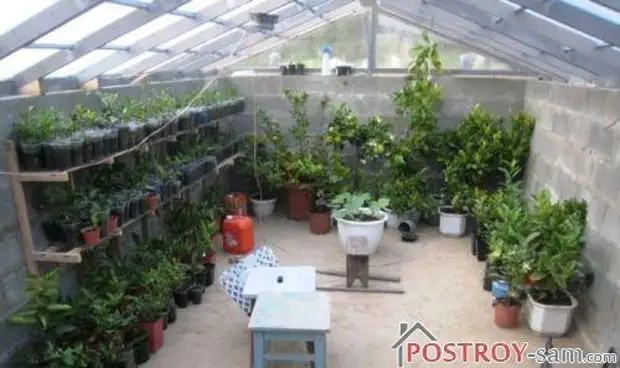
The greenhouse works safely in winter and summer, no frost is afraid. Grown vegetables bring good profits, because they can already sell them by spring. In addition, if the thermos the thermos is properly equipped, then it can grow not only absolutely any vegetable crops, but even citrus.
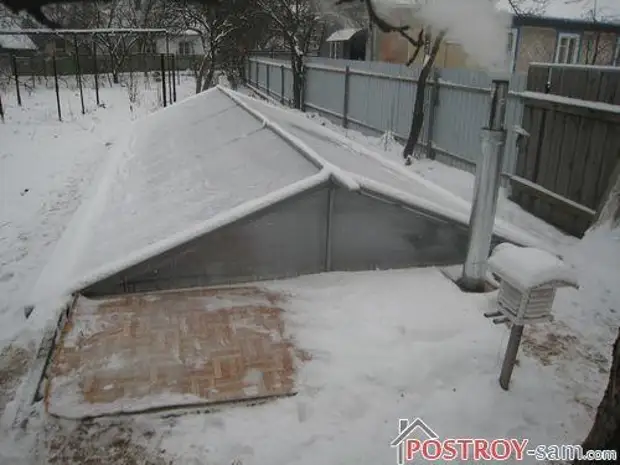
Such universality is provided by the design features and the use of special, proven decades, technologies. Interestingly, in such a greenhouse, the light-free light is not lost, but on the contrary it becomes higher than in ordinary greenhouses. In addition, all weather troubles, including snow drifts, hail and hurricane are not terrible to greenhouse, because it has a strongest foundation that protects it from all these problems.
What is the secret of such universal properties of the greenhouse? The thing is that the greenhouse is in-depth to the ground, and at a depth of 2-2.5m the Earth has a permanent temperature all year round, not counting minor oscillations, which depend mainly from nearly arranged groundwater. For example, you can bring the well, where the water in which the temperature is 7-12 degrees all year round. At the meter's depth of the temperature drops increase: in winter, water has +4 degrees, and in the summer +10 degrees. Such land can be warm up with a "warm floor", but to avoid soil cutting, it is necessary to additionally install a drip irrigation system.
How to build a greenhouse yourself?
You can build a greenhouse-thermos on your own without resorting to particularly extensive costs. For this, it is enough to have the necessary tools and a great desire.Further, we will consider in detail the order of the construction of the thermos greenhouses on their own.
Step 1. Preparation of pit
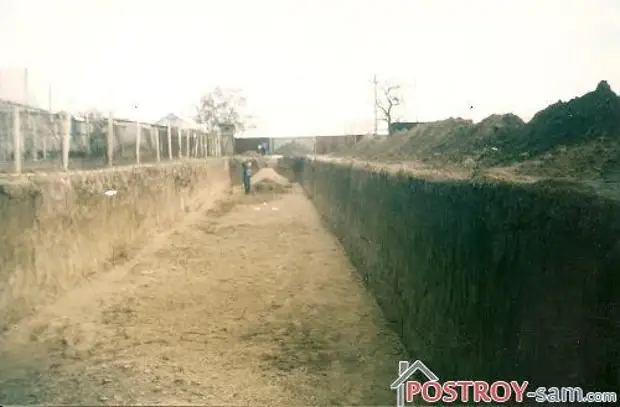
For greenhouse thermos, it is necessary to dug a pitual, because its main part will be underground. The depth of the pit should not be less than 2 meters, because at this depth the earth does not freeze, and even to some extent can give heat.
For proper and rational heating of the greenhouse and sufficient light, the width of the greenhouse should not be more than 5 m. The length can be arbitrary.
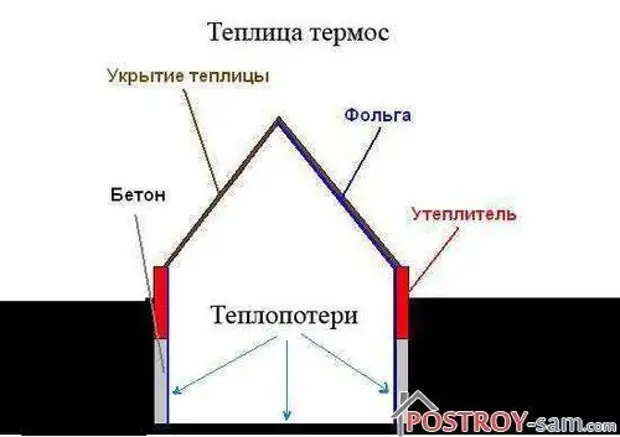
It is advisable to orient the greenhouse to the West or East so that one of its parties is well covered and warmed with sunlight, and the opposite side was reliably insulated with foam or mineral wool.
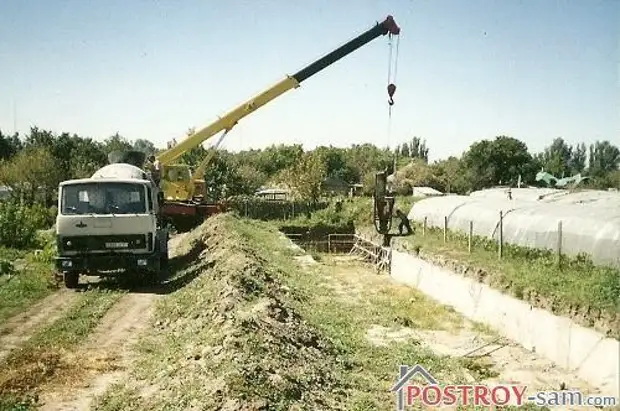
All the edges of the pit for the future greenhouse need to thoroughly align so that it is possible to or pour the foundation or put on the edges of concrete blocks. A greenhouse-thermos will be installed on this basis.
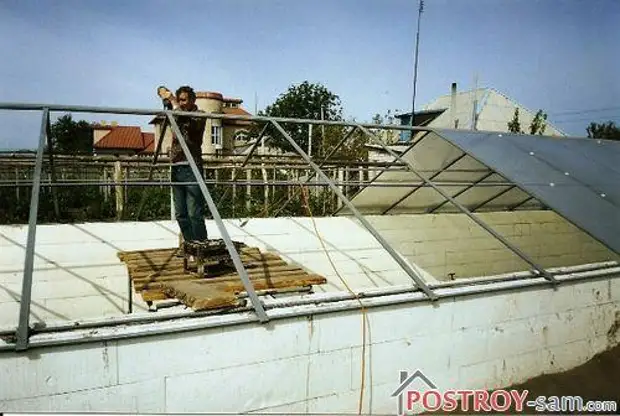
Step 2. Construction of walls
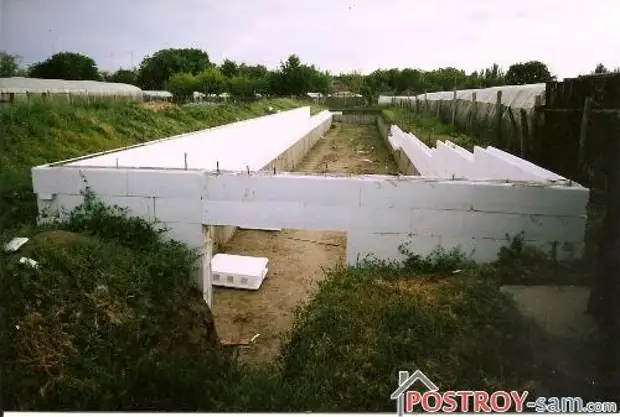
After preparing the foundation, you can start building the upper part of the greenhouse, which will consist of thermoblocks that are installed on a concrete base and are fixed with a metal frame.
By installing the thermoblocks, you need to check how exactly the roof will be lying on them. All this needs to be done in advance, having prepared the upper part of the design for the future roof.
Step 3. Warming and heating system
To preserve heat in the greenhouse, the inner walls are covered with a special thermal insulating film. In very cold regions, Russia can use a special foil thermal film for these purposes, you can even double the layer. The main task of such a reflective film is the maximum holding of moisture, heat and carbon dioxide, which is extremely necessary for normal growth of plants. It is also an additional light source.
You can install additional heat accumulators in the greenhouse, the role of which will greatly play bottles filled with water, which will quickly heat up and slowly cool. You can also use water barrel for this.
Another way of heating the greenhouse is the system of warm floors. For this, the electrical cable is paved under the soil. To protect the cable from accidental damage, it is poured with a layer of concrete, and the soil is poured from above. Also, the warm floor can be carried out under the tile, and the plants are not grown in beds, but in drawers or vases.
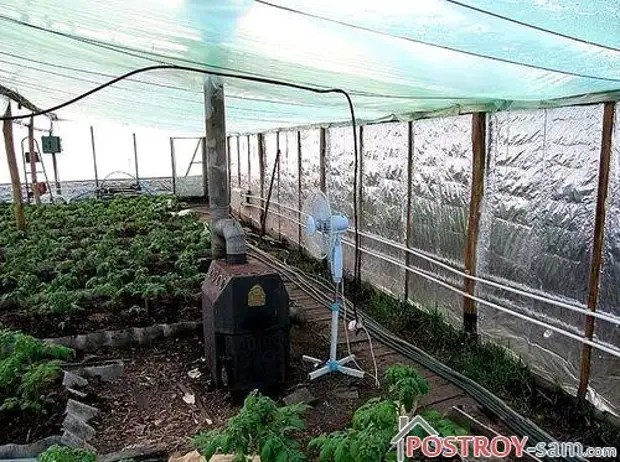
Experienced gardeners advise heating a greenhouse thermos by a combined method: partially warm the soil, partially air. The optimal temperature regime for plants should be within 25 degrees in the ground and 25-35 degrees in the air, when taking into account normal humidity. A good helper to support the temperature regime in the greenhouse has proven itself a buleryan - a device that can operate and as a water circuit and as an air vent. Therefore, the pipes of this device are better to have partially for water, partially for air.
Step 4. Construction of the Roof
When the walls of the greenhouse are fully prepared, you can move to the construction of the roof. For greenhouse thermos, the best coating is polycarbonate. This universal material, resistant to damage, has no joints, so perfectly protects the design from drafts.
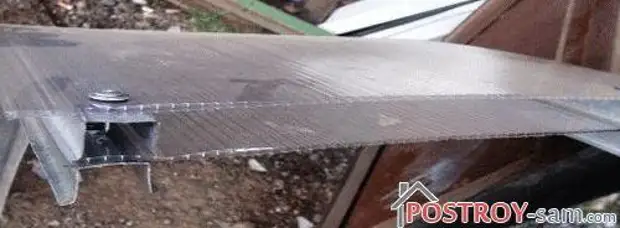
To reduce heat loss through the roof, use a double layer of cellular polycarbonate. This method is recognized as the most effective. For this, cellular polycarbonate sheets with a thickness of 4 mm are connected to each other through a special profile for the manufacture of arcs. The air layer between sheets will additionally protect the greenhouse from the cold.
In order for the falling snow did not accumulate on such a roof, it is necessary to arrange a special heat outline, which will be periodically turning on the timer and turn off, the snow will be lifted and sliding from the roof.
With the help of a double layer of polycarbonate, it is possible to significantly reduce the cost of heating the greenhouse, but at the same time it is necessary to know that the traffic frequency of this will be reduced by 10%. Although it will not affect the result at all.
Details of the rafters for the roof must be prepared in advance, carefully impregnating them with a protective impregnation or painting. The rafters are connected to the polystores together, and the jumpers are nourished so that the distance between them in the lower part is 3-5 cm.
With the prepared rafters, a support is formed, all the jumpers are removed from them, the skiing bar is substituted under them, and under the ram - front supports 88 cm height. The extreme rafters are connected to the skate bar of the nails 20 cm long.
Further on the front support and a timber between rafters and nicknames it is necessary to install jumpers. After that, the roof can be considered collected and you can paint it. When the paint is driving, proceed to the roof coating with polycarbonate sheets. It is fixed using wood screws, after drilling all the necessary holes. Immediately sheets are attached from the inside of the roof, then from the outside.
Along the rank bursa on the roof you can install a roofing corner. At the end of the roof, the polycarbonate screws only after the roof is connected to the angular supports.
Sections of polycarbonate and its joints with roof items and with each other must be sealed with transparent tape.
When the roof is fully prepared, it is possible to become a thermos greenhouse, attaching to the front and rear wall with nails and brackets. After that, the sheets of polycarbonate are sewn over the bracket.
Step 5. Arrangement of the inside of the greenhouse
The inner space of the greenhouse should be completely sealed, the occurrence of drafts is not allowed. Therefore, all the gaps and seams in the foundation and thermoblocks are carefully attached, or marked with mounting foam. In the roof, there should be no gaps either.
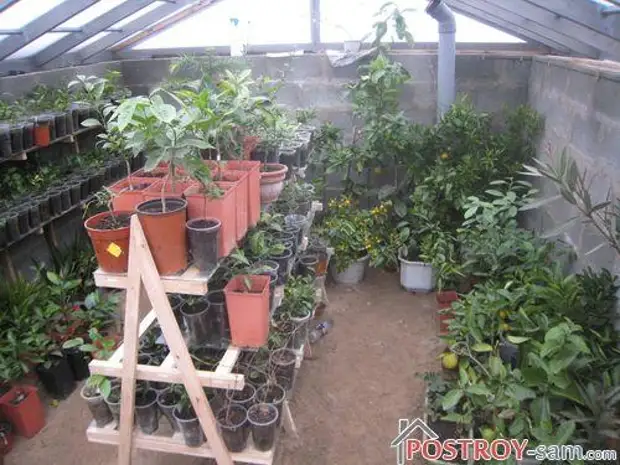
In the greenhouse-thermos, only high beds are equipped, due to the characteristics of the greenhouse design.
After that, electricity is carried out in the greenhouse, they are installed if necessary, heating devices and an automatic irrigation system. Lighting shortage in the harsh Siberian regions will be filled with special LED lamps.
Caring for the greenhouse is a timely discharge of snow from the roof, if a special vibrator has not been installed. Snow must be reset very carefully, so as not to damage the polycarbonate. On the glass roof the snow itself will melt and slide, as the thermal conductivity of the glass is much higher than polycarbonate, as well as heat loss.
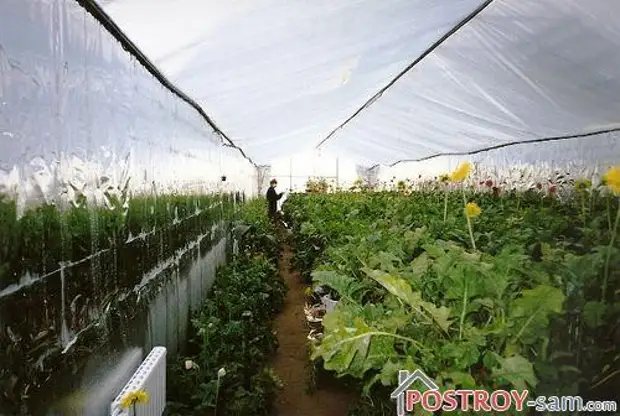
The thermos greenhouse, due to its special design, is ideal for gentle seedlings, because they are completely protected from cold and temperature drops leading to plant stress. Therefore, in such a greenhouse, it is successfully grown fruits, vegetables, berries, mushrooms, and even flowers.
Reflective film provides sufficient lighting of the greenhouse even in the most cloudy day without additional cost sources of light, which also has a positive effect on the future crop.
A source