
I think, not only such wonders happen to me: it is necessary to get involved in any new kind of needlework, so you just want to create something extraordinary.
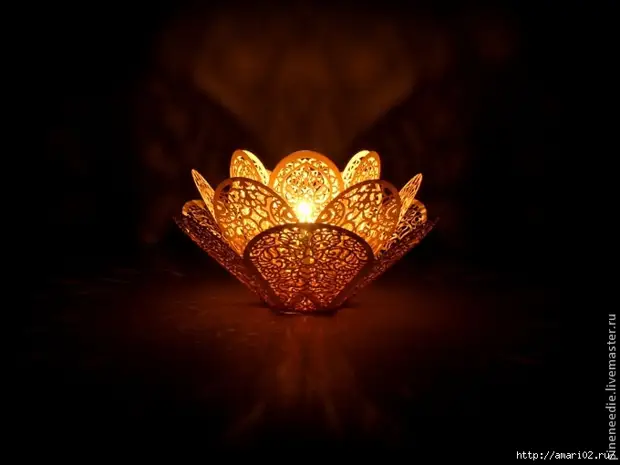
Literally before the new (2013) year, decorating the windows in the audience, where the eldest daughter-first-grader is learned, I literally "got sick" with knot and kirigami. Began to collect drawings and schemes, interested in paper novelties. And somehow among the bears, I have already seen all known photos ... It was an openwork candlestick, made, as it seemed to me, from paper. Neither the author, nor the scheme I failed to find, and somewhere in the depths of the soul there was already a creative idea that awaiting favorable conditions for myself.
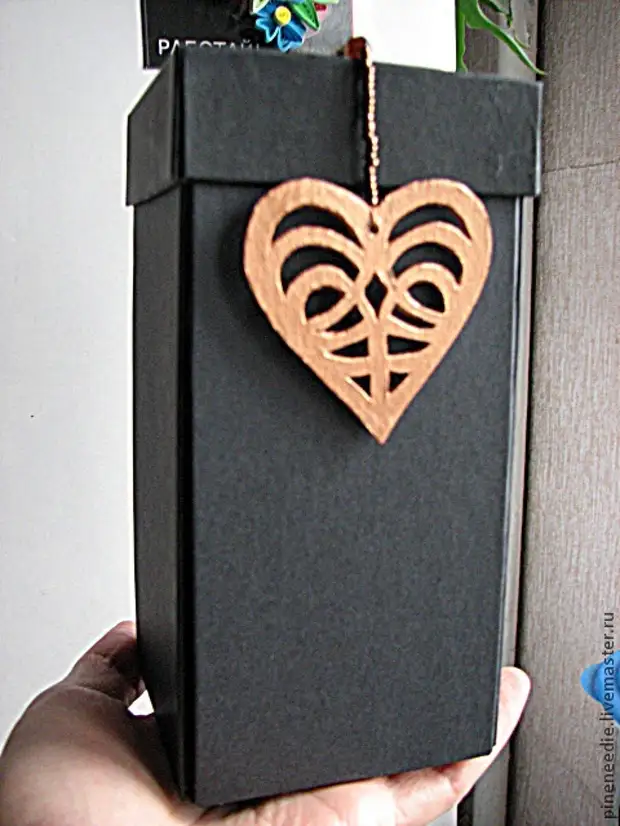
And the conditions did not make it wait. In mid-February, just on the eve of the day of lovers, the godfather of our girls annually celebrates his birthday - a person with a subtle artistic taste, which we present something needlework every year: that interior doll, then textile still life. But this year the needle did not go to his hands, since there was constantly a bug knife. And I decided to cut a candlestick. Ready schemes of openwork petals I, no matter how hard, did not find, so I had to draw, and, several times (through a copy-ache), and every time differently. After the picture, it was necessary to choose a color. To the thing "fitted" to the interior, it was necessary to make it in black and bronze colors. I left the black color box, and the bronze is the very candlestick. Cardboard of suitable color and density in our art stores did not turn out, so it was decided to make 160 g / sq.m density from ordinary white cardboard, and then paint in bronze color.
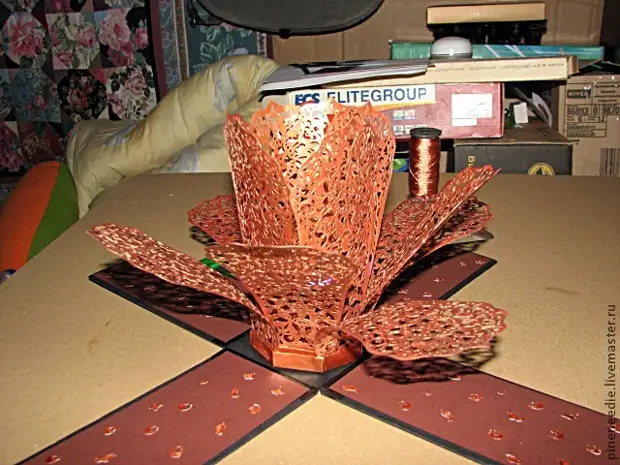
Then everything was inserted, I tried and starred on the go, without solid confidence in the final result. I have previously made some small paper layouts, where the petals were located in three layers of 5, 3 and 3. The last option was defeated, which was embodied in reality. Looking ahead I admit that on the night before the birthday of the godfather, when the last strokes were applied, thanks to the head of Google, I still managed to find the prototype of my candlestick, here it is:
So, for the manufacture of my option it took me:
- the desire to cut a lot and finely;
- Macate knife and a mashing rug;
- 4 sheet white cardboard density 160 g / sq. M. A4 photograph for petals and 1 sheet for bases for fastening them;
- 1 sheet of brown designer cardboard A4 format;
- 4 sheets of ordinary black color paper A4 format;
- Binding cardboard (we are sold by large sheets, somewhere 1 meter x 70 cm);
- line;
- PVA and "moment-crystal" glue, bilateral scotch - thin and porous basis;
- 50 cm. Black dense glue 3 cm wide - for the design of the box bends;
- Acrylic paint "Bronze" (I bought in a construction store);
- Kapron thread, beads;
- Electronic candle (in my case - a small flashlight and crystal Swarovski with a flat base).
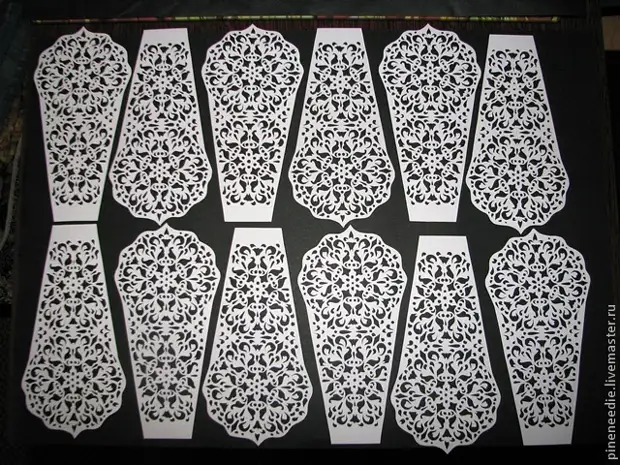
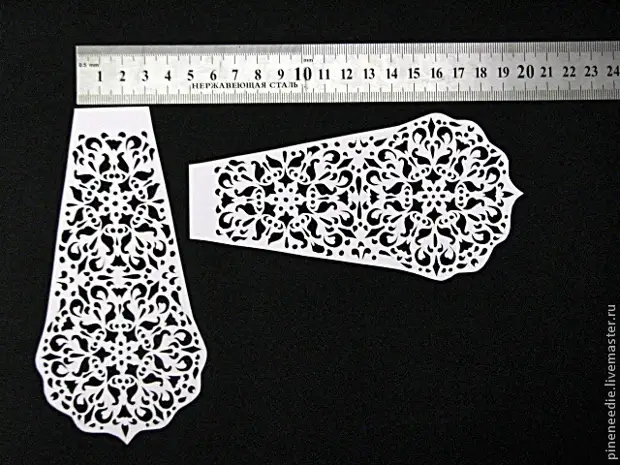
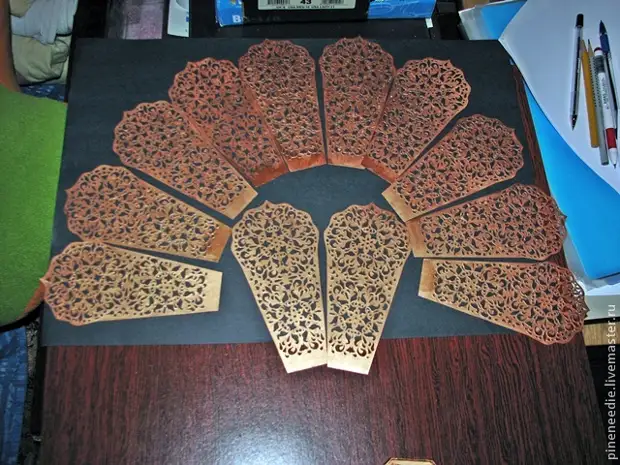
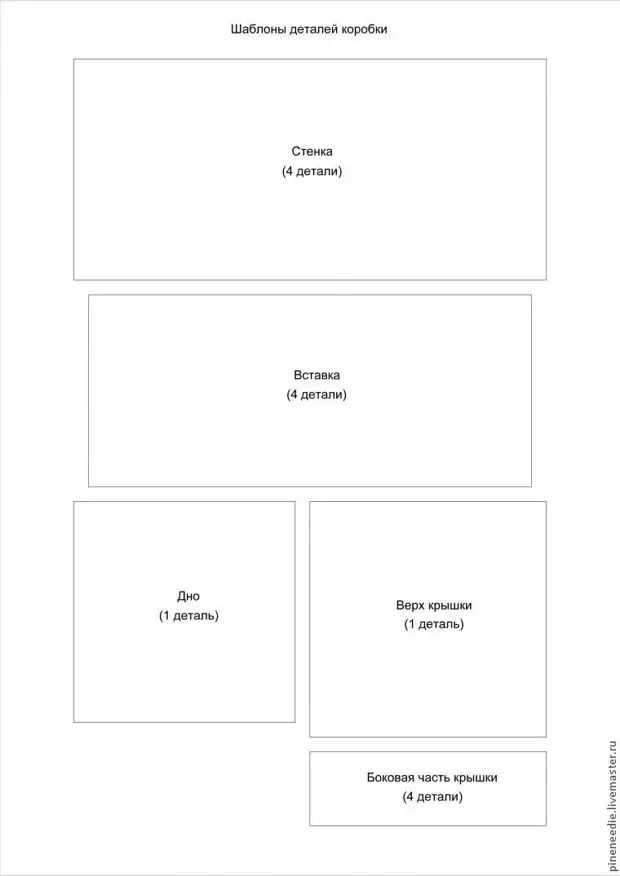
1. First you need to print the template and cut petals.
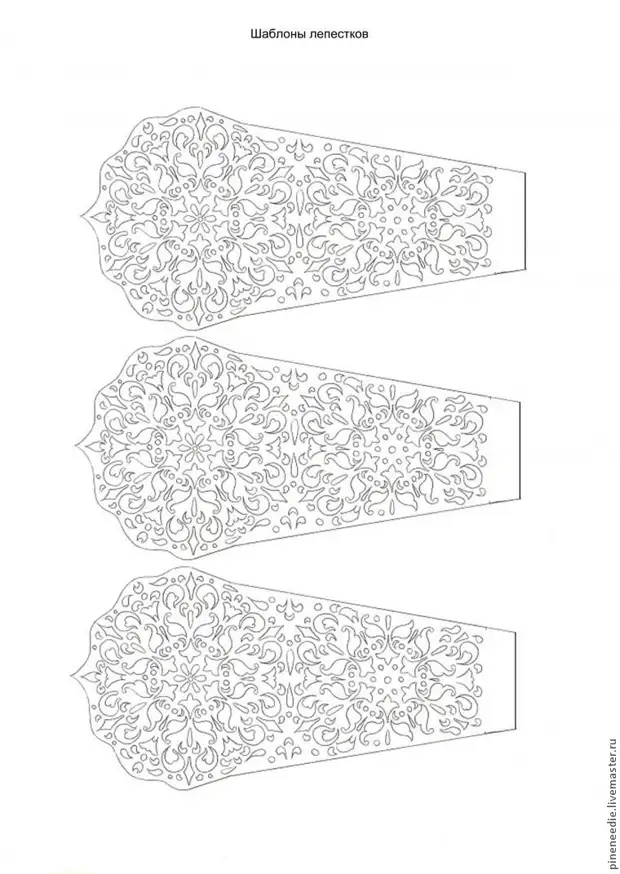
The template is printed without a frame - it will take 4 sheets, on each of which there will be three petals. It turns out 12 petals.
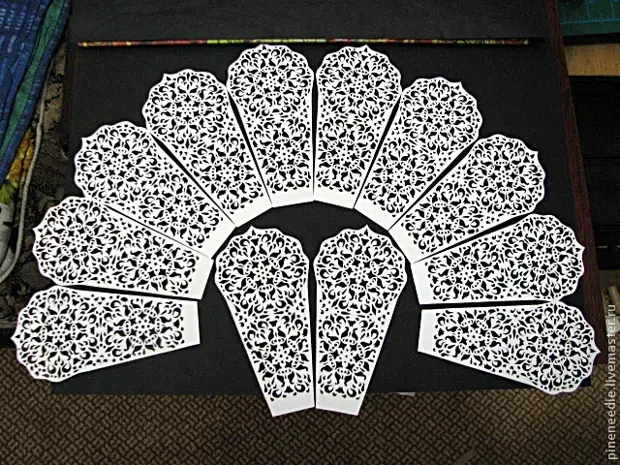
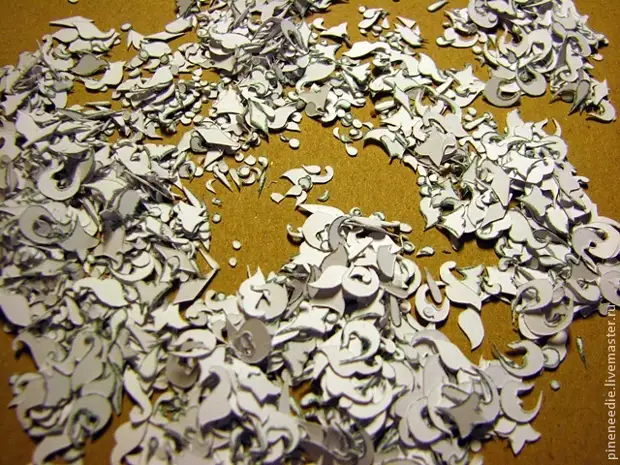
Important: Of course, cardboard is greater density good, but is dangerous for the printer, so I used the cardboard of the middle (160) density. Formed during the work trimming should not be thrown out, they will be useful for the decor.
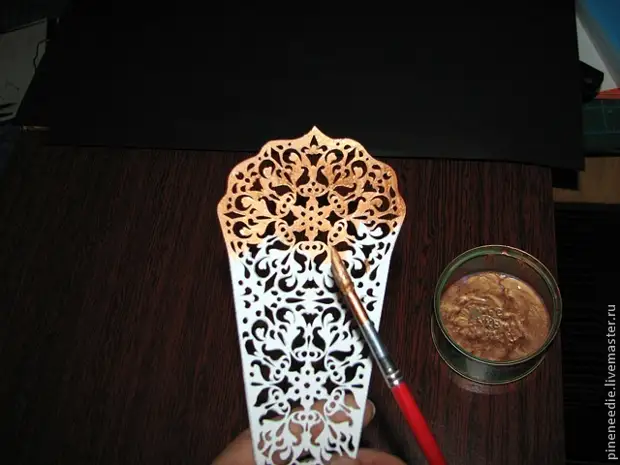
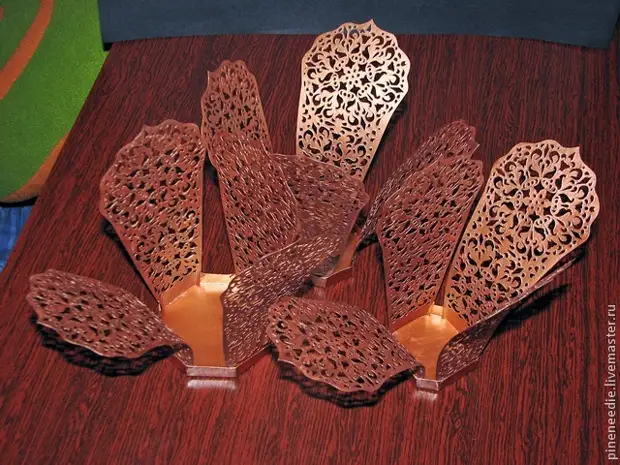
2. Now the carved petals need to paint. It is best to paint the details, holding them in your hand on weight - the paper slightly turns from acrylic (and I still slightly diluted with it) and, in contact with the surface (even if it is glass or film), it may just stick. And it is very difficult to tear off the openwork splash.
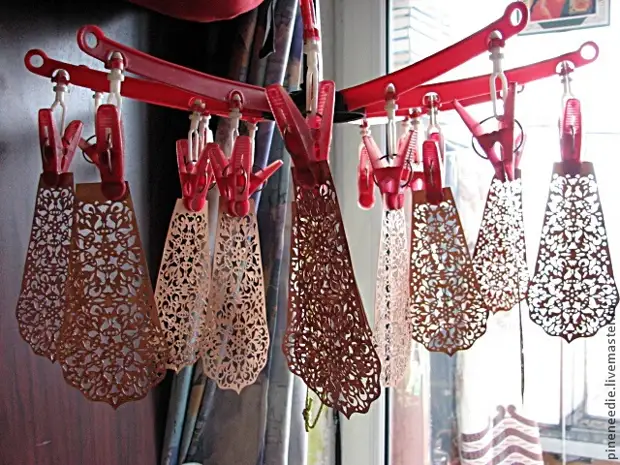
The petals were dried on the dryer for socks - it turned out very convenient:
The raised petals were hurried to curl, and, in thought about how to align them, I remembered that Acrylic loves the iron (we and the older daughter fastened the paint on the painted T-shirt). And I tried to smooth out the blanks with an iron (mode 1, through a sheet of paper) - it turned out! Petals have become smooth and dense. Applied paint again. Dissed. Stroked. Applied acrylic varnish (it is possible without it - no difference). Dissed. Stroked.
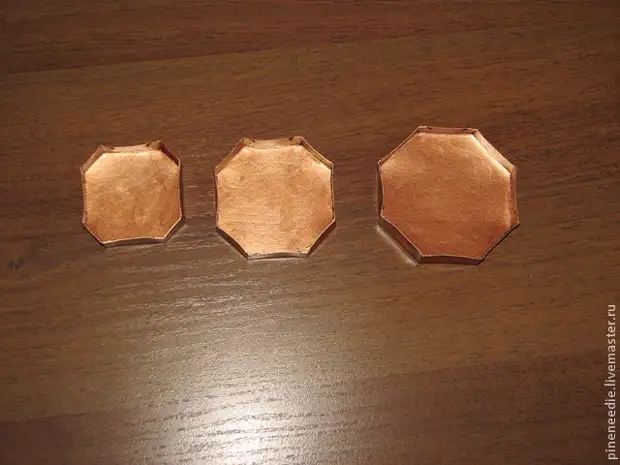
3. I make grounds for fastening petals from ordinary cardboard (160 g / sq.m density)
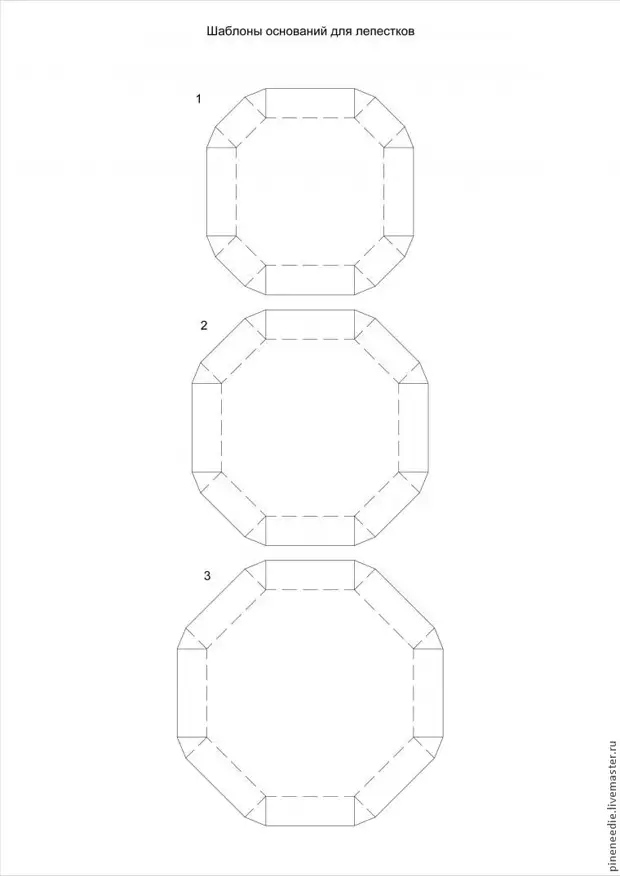
The internal basis is made so that the candle fit in it (I measure on the usual, floating, but electronic in size is the same). The average and external base differ from each other at half acetimeter. Important : This model approached the polygonal bases. If you make round, then the glued petals will be stitching, since their bases will be rigidly fixed and rounded. If you make square - their corners will ugly write between the petals and "will decoke" the space. Painted. Dissed.
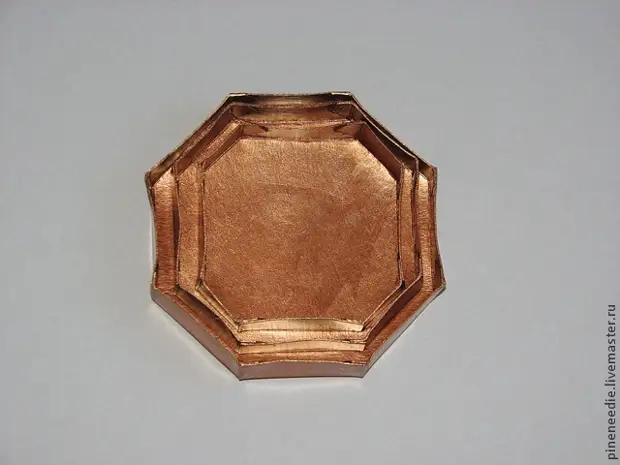
4. I stick the petals to the bases (from the inside, at the "moment-crystal").
5. Collect flower levels - they must enter each other, and the petals should be in a checker order. I fucked the base for double-sided fat tape for creating a small "ladder".
Although it would be better to glue them to each other using the "moment-crystal". Why? Yes, because when with uneven gluing, in the case of glue, the part can be fixed slightly, since it is capable of moving until the clutch. In the case of a scotch, this number will not pass - here you need to be either sniper or .... In general, this operation, to be honest, I managed percent for 80.
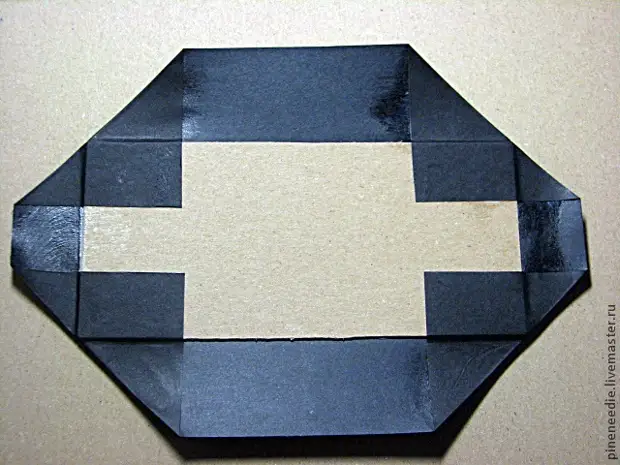
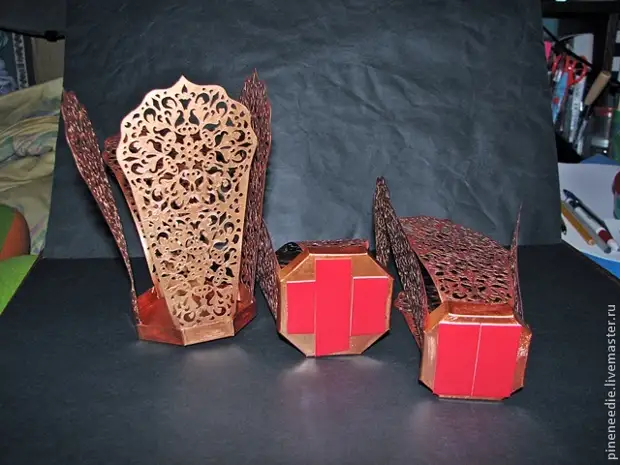
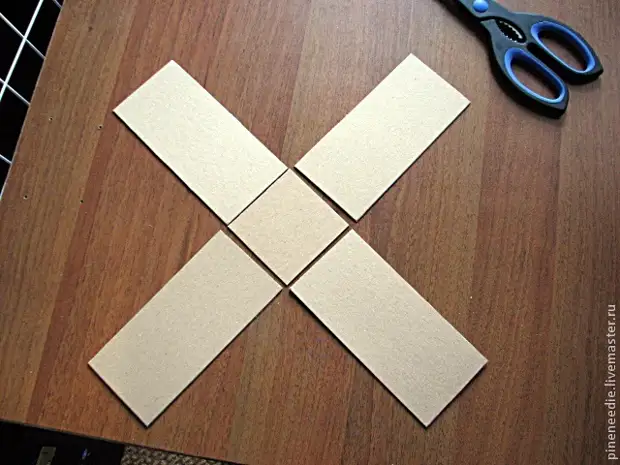
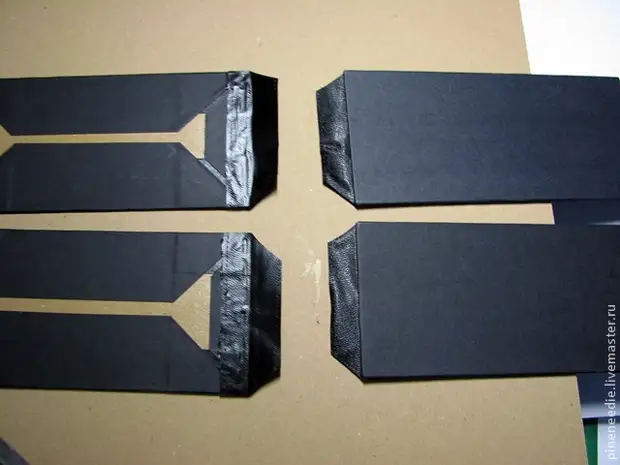
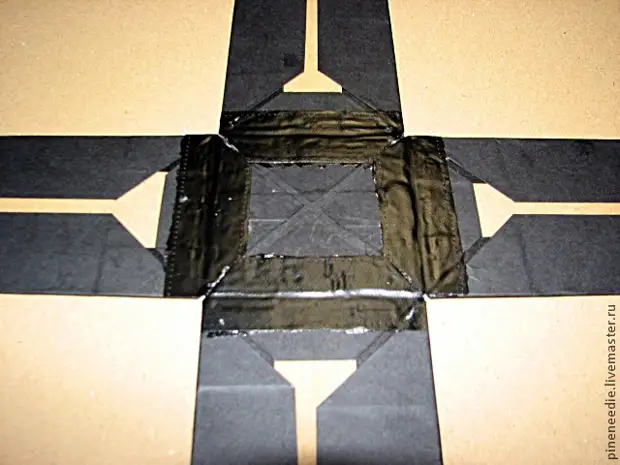
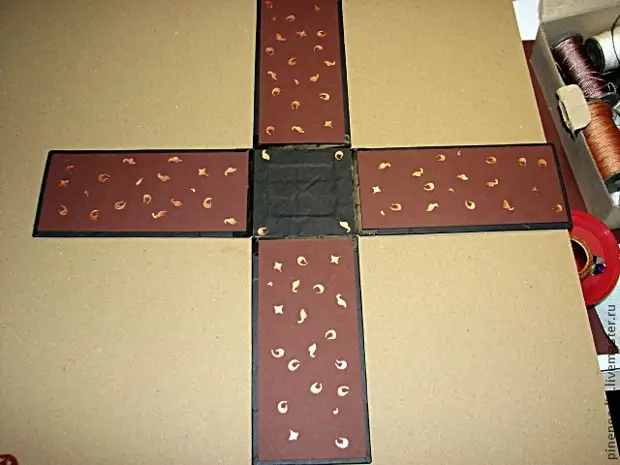
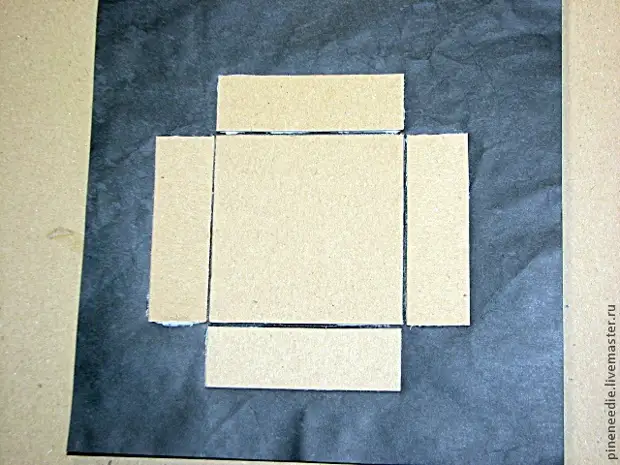
6. Box made according to the "Magic-Box" principle. Used binding cardboard, black colored paper, black oil glue, PVA glue and "moment-clestal". Cut details of the box
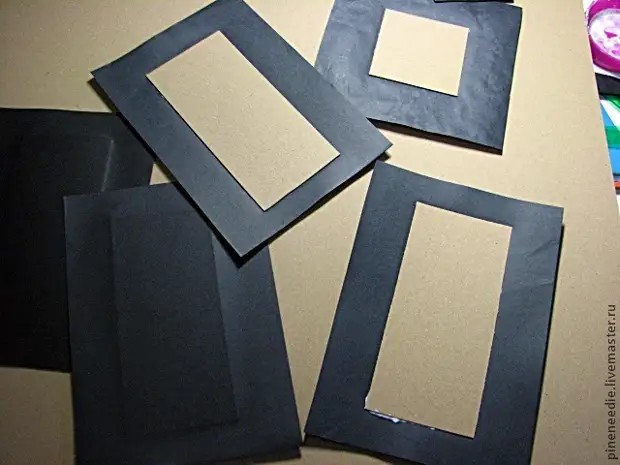
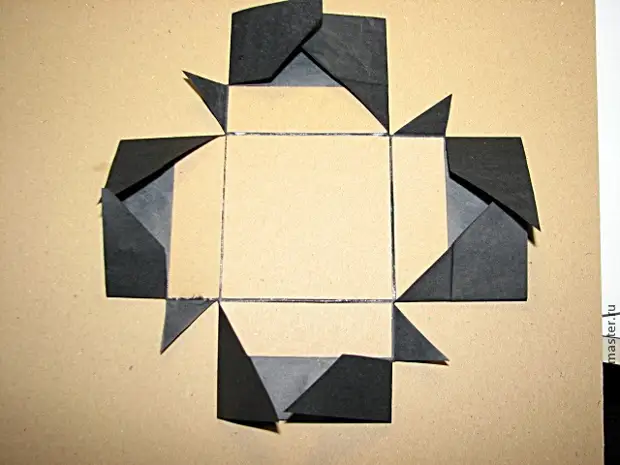
Cut parts glued with black paper:

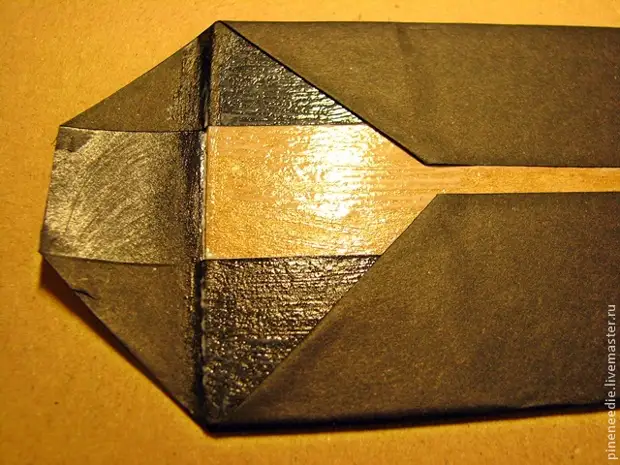
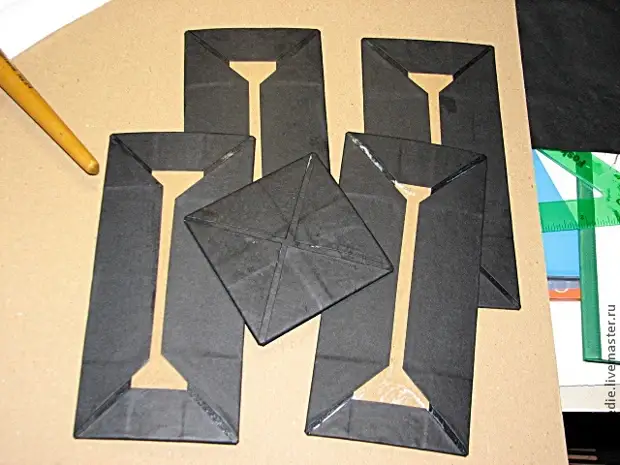
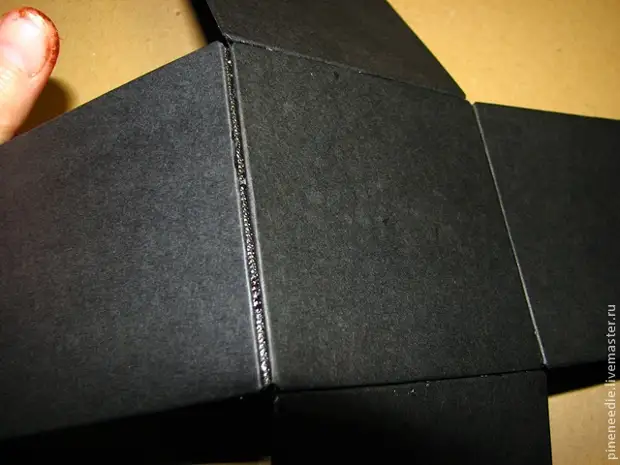
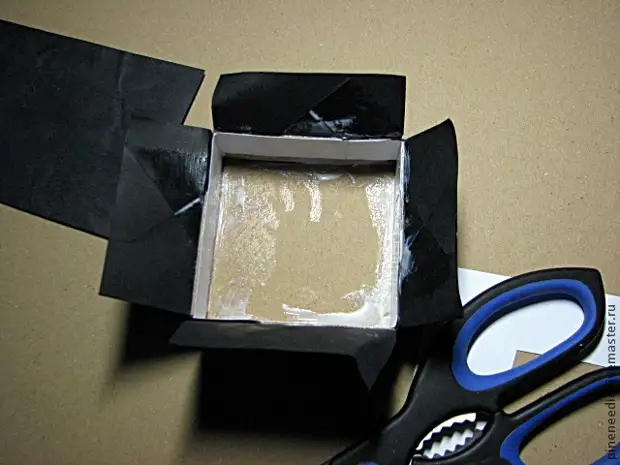
The box bends was decided to do "autonomous" - a dense binding cardboard on bends breaks and strange. For the design of folds, a dense black oilcloth and the glue "moment-crystal"
7. The internal parts of the box of the jacket (with the help of fine two-sided adhesion) brown inserts (4 parts of 15 cm in size by 6.5 cm).
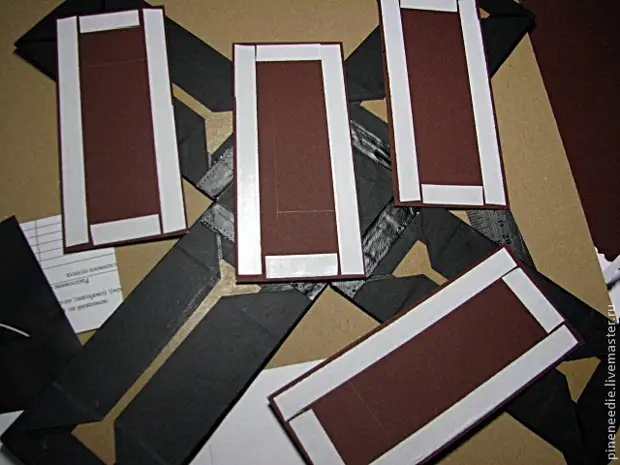
On the brown inserts insertion, we glue "cutting waste", tinted with a candlestick:
8. Cut details of the covers. The plug fixed hard with black colored paper and cardboard stripes that I paved for each of the angles for strength.
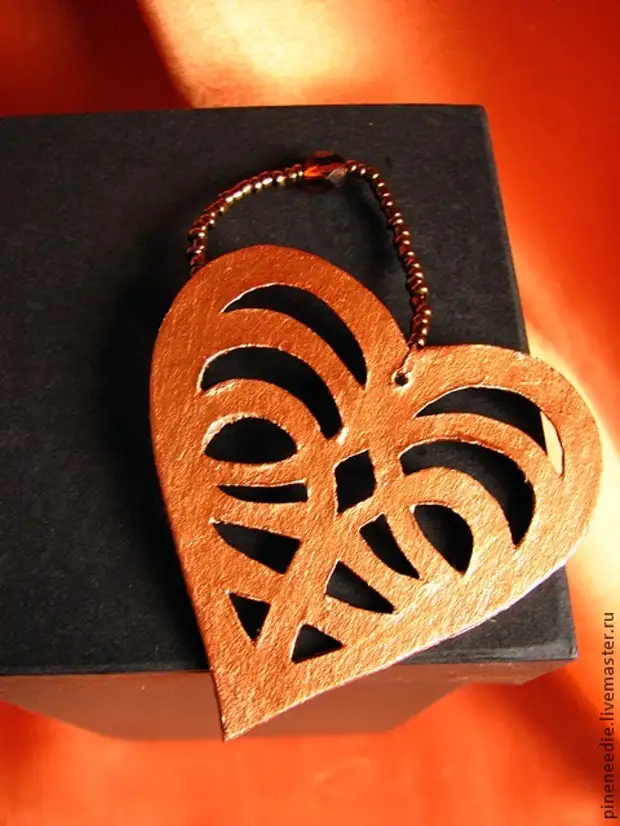
The lid has been reroyed by beads strung out on the kapron thread, the edge of which is decorated with a heart cut from binding remnants:
9. Printed a candlestick-flower to a box. It was possible to make a candlestick removable himself, attaching a piece of metal on the bottom of the box, and the bottom of the candlestick magnet. I think to do this next time.
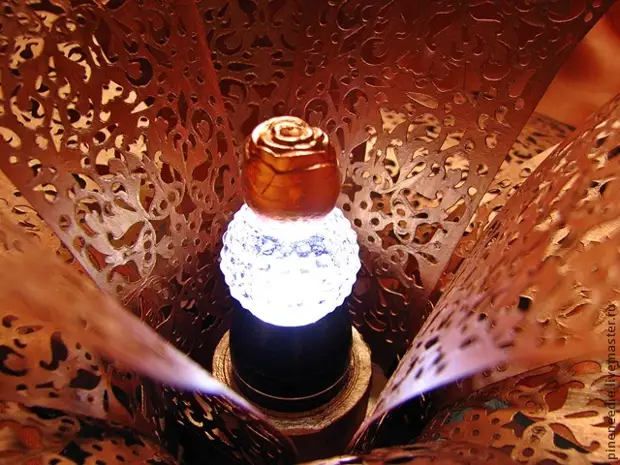
10. Now a few words about the candle. Electronic candles in our country on the information of the Internet are, but in the Crimea, while this is tight. Therefore, I decided to replace the electronic candle on the usual (but powerful) LED flashlight. Selected suitable - just 4 cm. Height, shape resembling keg.
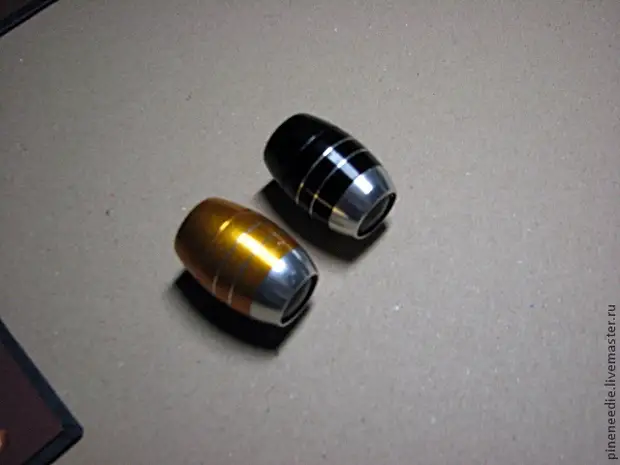
To easily insert it into a candlestick, I made a small cardboard "tube" for him - a flashlight feels steadily on it. Now about the light stream flashlight, unlike the candle, shines straight and up.
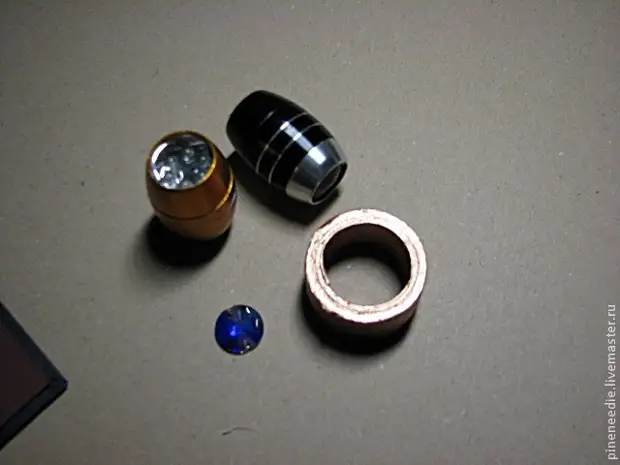
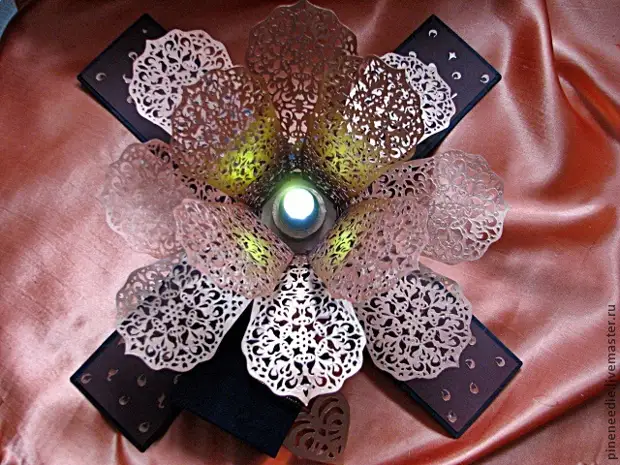
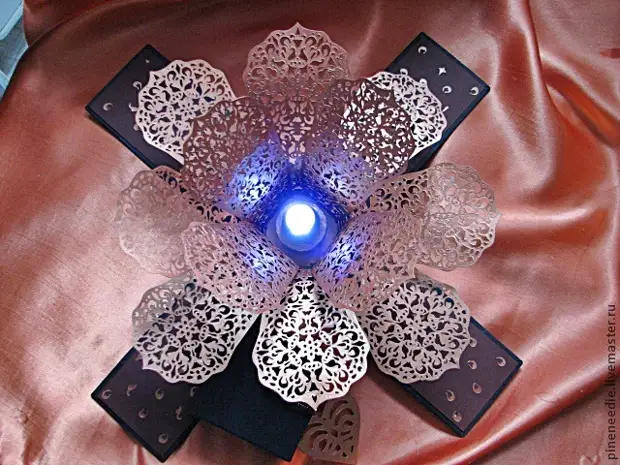
In order for the light to be scattered to the sides, I had to go for a small trick: I bought two faceted beads in a flat base with a diameter of 2 cm. - Ordinary glass yellow and crystal Swarovski. True, their foundations were equipped with a matte coating - it had to be removed by means of a knife, since the solvent did not cope with this work. But it turned out 2 illumination options: yellowish (as a candle) and bluish-green.
Another option is a faceted bottle from under the perfume, which, as it turned out, lightly disperses light:
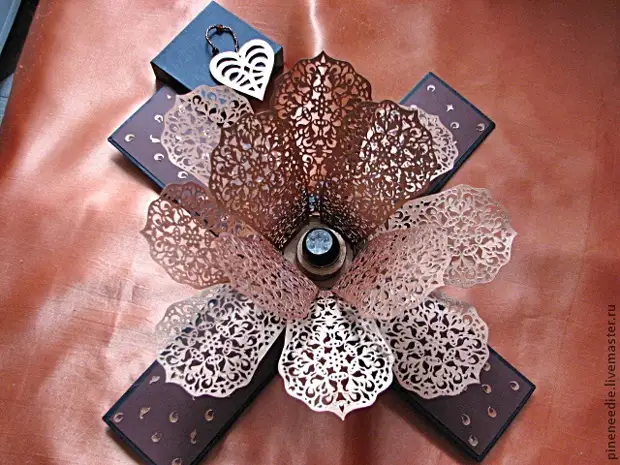
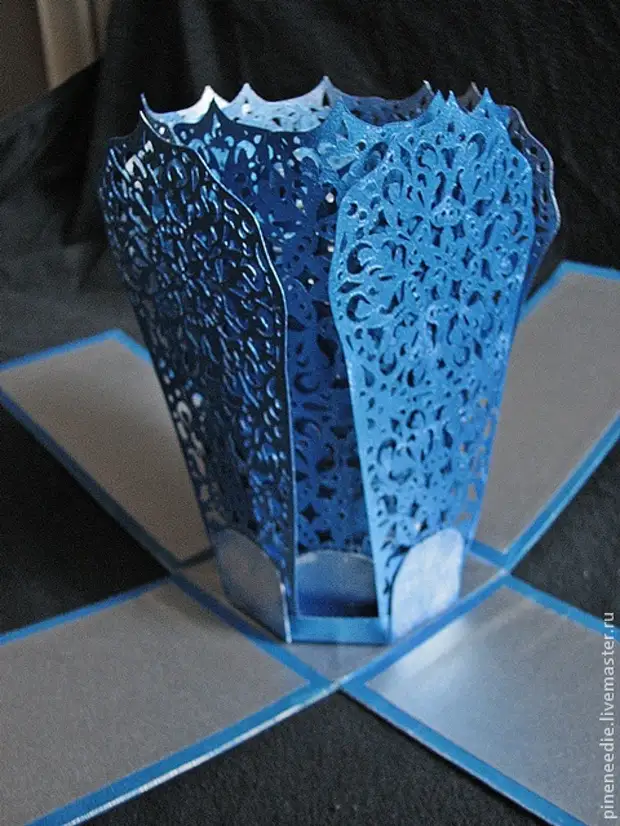
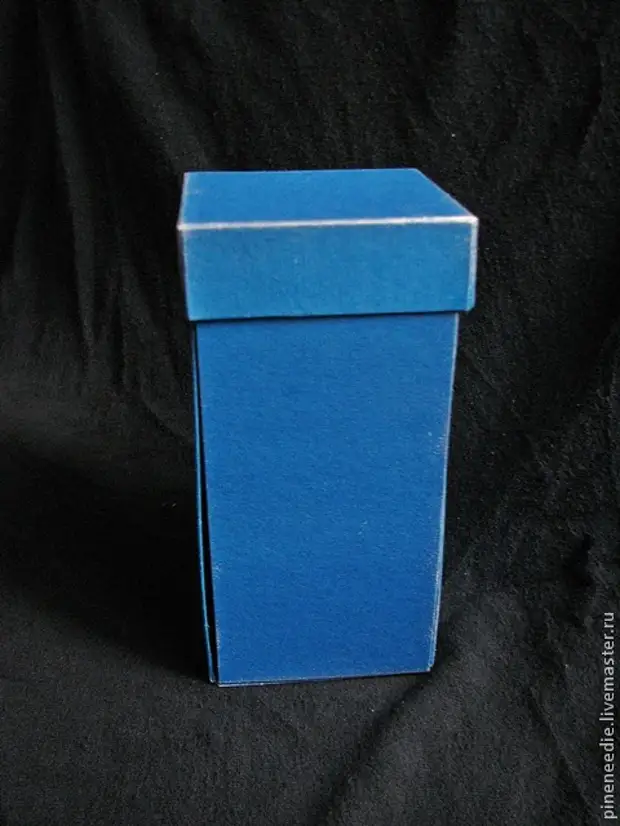
The candlestick is easily going to the box and in the assembled form does not take up much space:
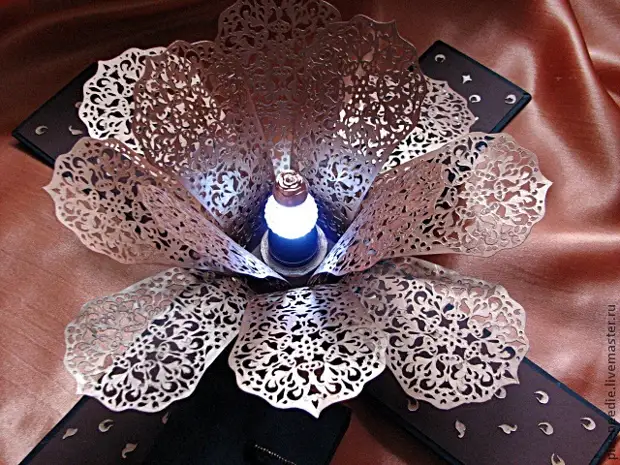
And it is also easy to decline, while revealing the petals of the openwork flower:
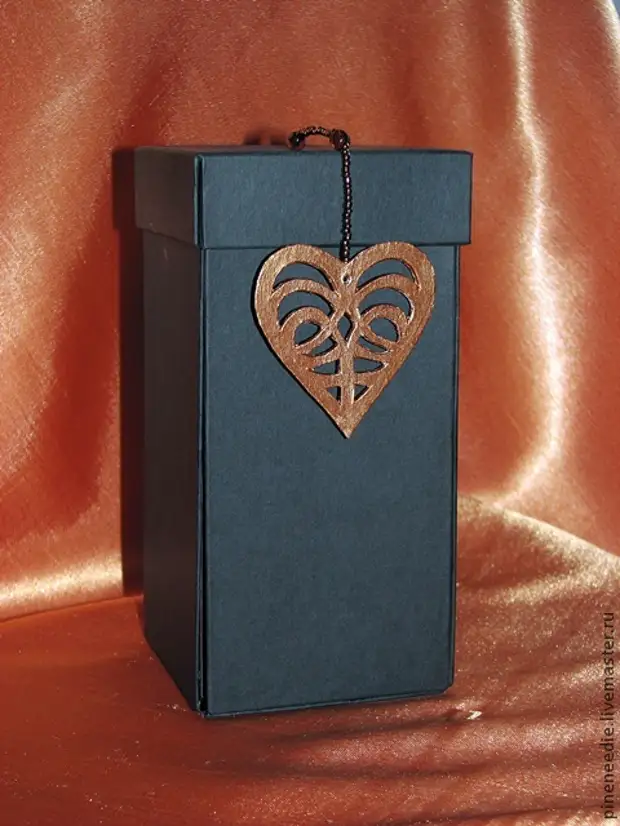
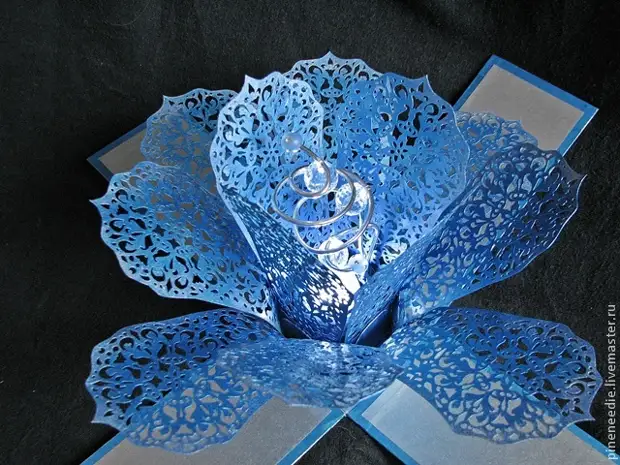
On this MK, I, after time, I made another candlestick, only in blue color. Instead of a candle, a flashlight is also installed, 3 faceted beads fixed at different heights are used to disperse light.
A source