Today, only the lazy did not have a picture of some surface, calling it an acknowledged word "decoupage". Why such a decor became the Hand-Maid's hit, it remains only to guess. Maybe because it does not require special artistic skills, consumption of materials and a large amount of time. The result is sometimes stunning. However, as intelligent people assure, only practice will give answers to all questions. Therefore, not bag, we turn into a universal decoration process. Today we will learn to make the decoupage of the table with your own hands.
List of work tools
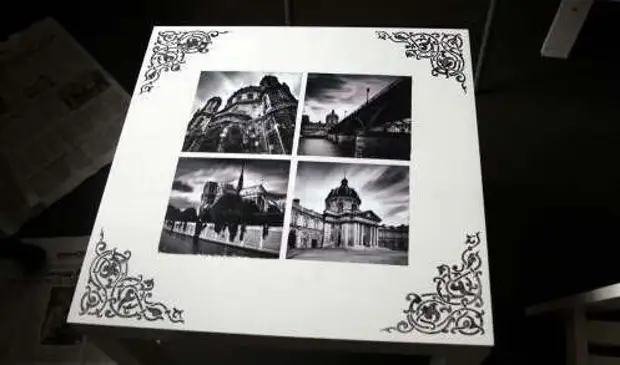
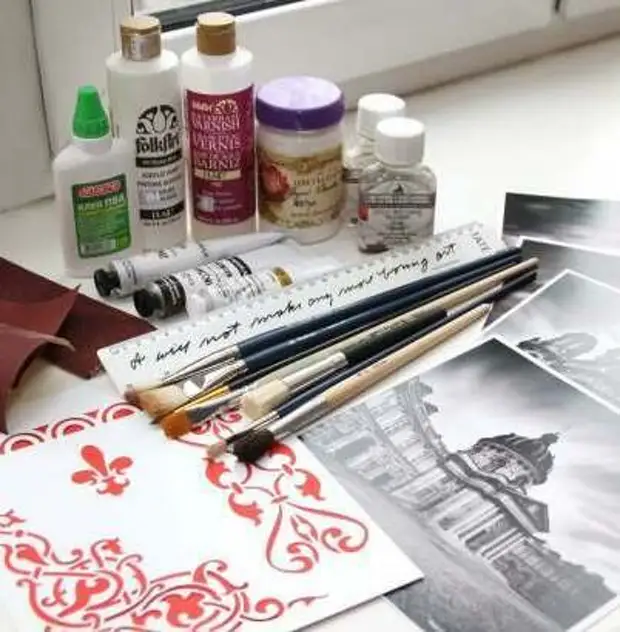
It is assumed that we have the old table. If this is not the case, take the type of stool or bedside table. The main thing here is flat and sufficient on the area of the table top. With the help of black and white photos, we will turn it into a real art object, which even an art experts will appreciate. We will need the following inventory:- Grinding machine or sandpaper.
- Synthetic brush.
- Tassel with rigid bristles.
- Brush for template.
- Scissors, paper cutter.
- Pencil, ruler.
- Stencil for an angular ornament.
- Polyethylene file.
- Small wide water container (basic, bowl).
List of essential materials
- Photos printed on a printer, refilled fine photographic.
- Thick pva glue. The decoupage of the old table can be done with the help of special glue, but also fit the joiner, and casein, and even an ordinary hitch. The only condition - it should be thick.
- Acrylic soil.
- Acrylic paint, black and white.
- Acrylic lacquer.
Decoupage tables, main stages
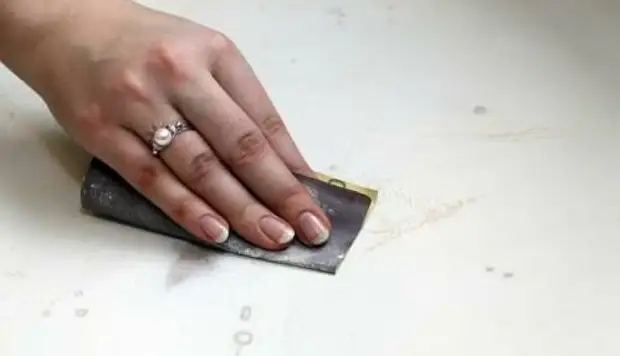
- The old table must be laundered with water with soap. Synthetic detergents try not to apply, it is not known how they affect the acrylic composition. Next, we clean the surface of the furniture emery skirt, removing traces of old paint or varnish. If the table lid has visible defects (deep scratches, chips), fill it with a putty on a tree. When it grabbies, we are filled with a patch flush with a tabletop plane. We should have such a smooth surface.
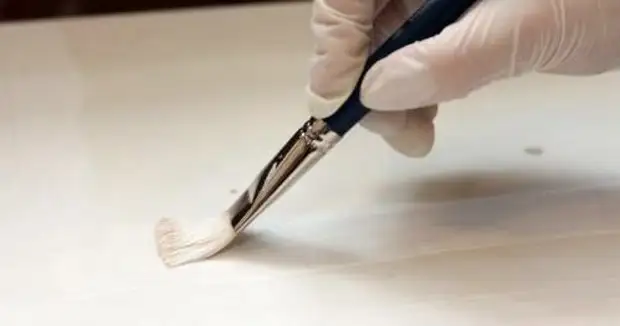
- Now we apply an acrylic soil on the cover, which is necessary for a better clutch of paint with a tree. Despite the composition for 30 minutes.
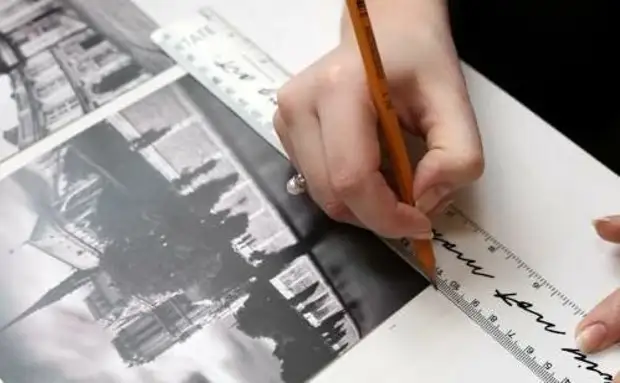
- Unlock selected photos on the table, seeking their optimal location. Using a ruler and pencil, mark the procedure for posting images. The table in the decoupage technique should have a thoughtful and finished look.
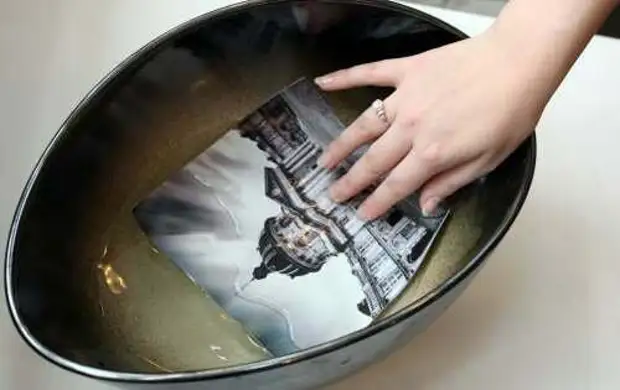
- The responsible moment comes, frightening all newcomers. Do not be killed if the picture will smoke very much and breaks. Well, not a cow, in the end, lost. You can also print. So, we lower the photo in the basin with water, withstand 30 seconds. I pull it out and lay the front side to the file.
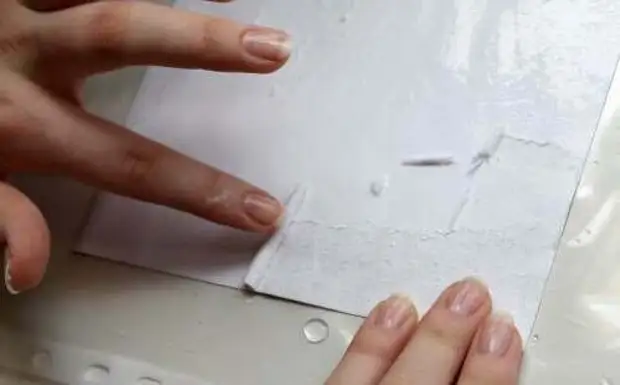
- The paper consists of several layers. I roll these layers with your finger on the back of the picture, leaving the topmost on which the drawing is located. Lossing paper PVA glue.
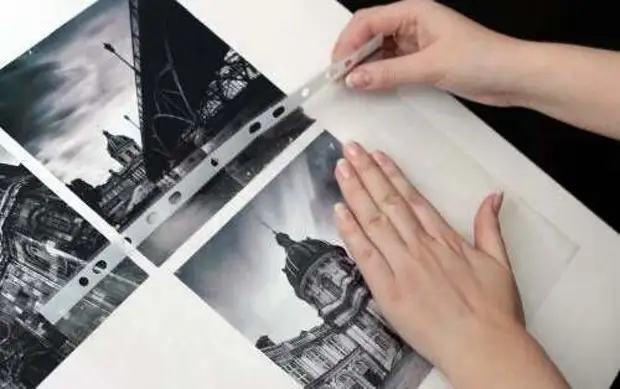
- Now take the file and turn it over it, laying the image exactly to the place for it. I smoothed a picture through polyethylene, drivening out of the paper bubbles. We repeat these operations for all photos.
- We paint the entire background around the images of white acrylic paint. Use for this brush with rigid bristles to achieve the effect of the detachable flax. We dry the surface for an hour.
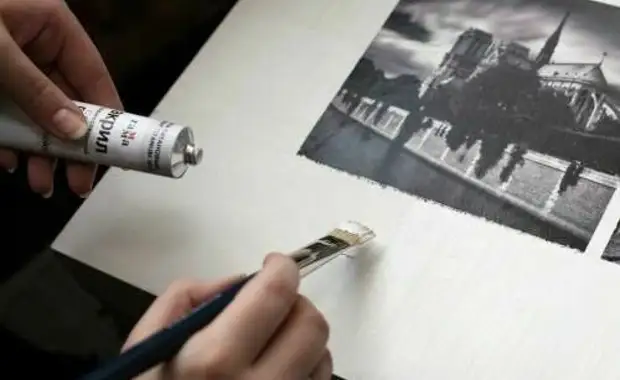
- Solving the task how to make the decoupage of the table with a combined method, we apply an ornament on the corners of the table top. To do this, put the template in the desired place, dry up the brush into the black acrylic paint and paint the contours of the pattern. We try to keep the brush vertically so that the paint does not register under the stencil. Then the pattern will be clearer.
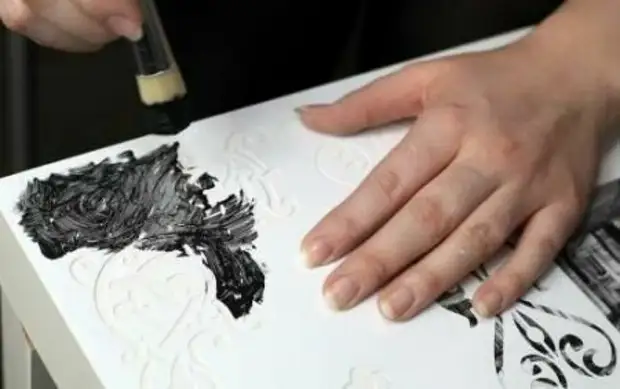
- By giving the paint a little to dry, with all precautions we remove the pattern. Despite the ornament within an hour.
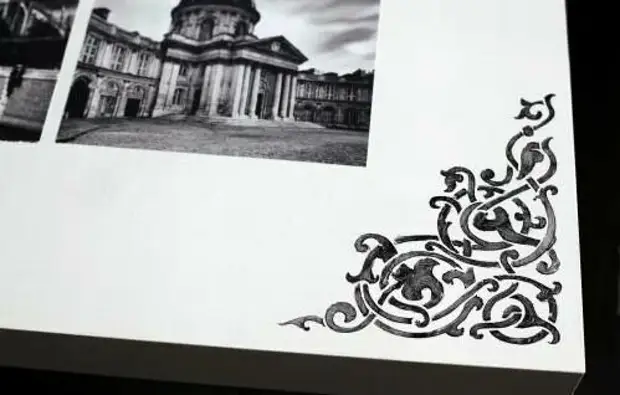
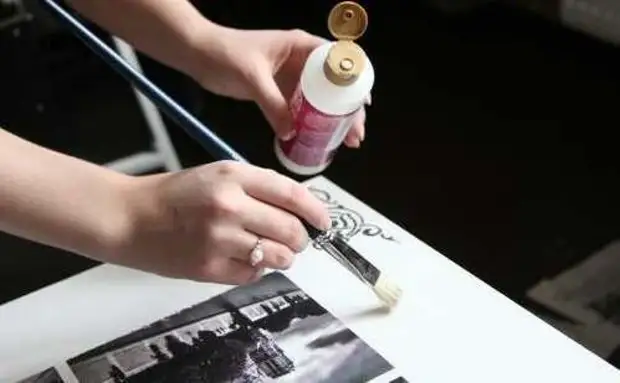
- Fixing the result, cover the surface of the table with acrylic varnish by 2-3 times. During the day, the lacquer will dry, and then you can invite guests and arrange a tea ceremony, modestly taking deserved praise to your address.
Several tips on decoupage
Strict black and white photos should be smooth, otherwise their elegant restraint is lost. Therefore, we also paint the flat background after sticking them. Of course, in most cases, the pictures are attached to a fully painted surface so as not to circle them with danger to stain paint.
Images with the same success can be glued on glass and plastic. Working with a plastic coating, first degrease it (better than alcohol, the solvent can damage plastic). Then, if the countertop slippery, squeak it with sandpaper. We apply on the rough surface of the layer of plastering soil, we succeed, we grind again. After that, you can make a decoupage in the usual way, like on a tree.
With glass Situation is a bit different. Here two types of decoupage are applied - direct and reverse. With the direct picture passes on the outside of the table top, with the opposite, respectively, on the inner. Glass must be degreed. Professionals advise pre-apply special colorless primer on the surface, especially if the countertop will be additionally painted.
Otherwise, acrylic will be damaged at the first touch. It is desirable to glue only decoupage napkins, all other types of paper will look rude and artificially. Pale napkin patterns are tinted with acrylic paints. Laccated product covered after applying all the inscriptions and patterns.
Competently made decoupage gives the impression of not pasted pictures, but a very technique painting on a tree (glass, plastic). So it is possible to effectively update the old furniture, hiding its disadvantages. The new table will play very other paints by entering new notes in the interior.
A source
