You were fascinated with painting and pattern, after which they began to think about the equipment at home the artist's own workplace. Where to begin? Of course with easel! And why not try to make an easel for drawing yourself, saving money?
In this material we will tell you how quickly and easily make an easel for drawing with your own hands.
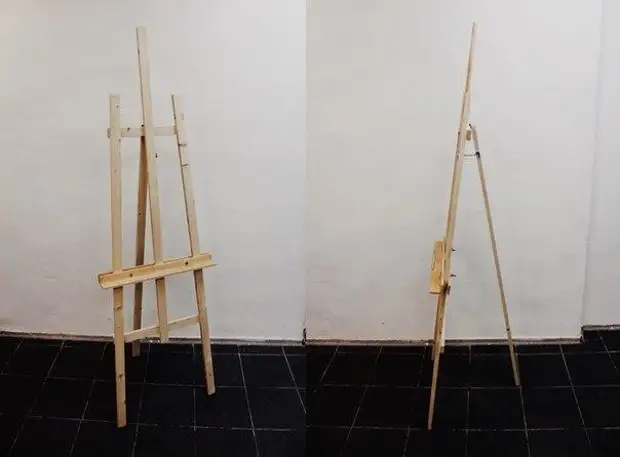
Materials for creating an easel for drawing
- Pine rail 4.5 × 2 cm long 3 m - 3 pcs.
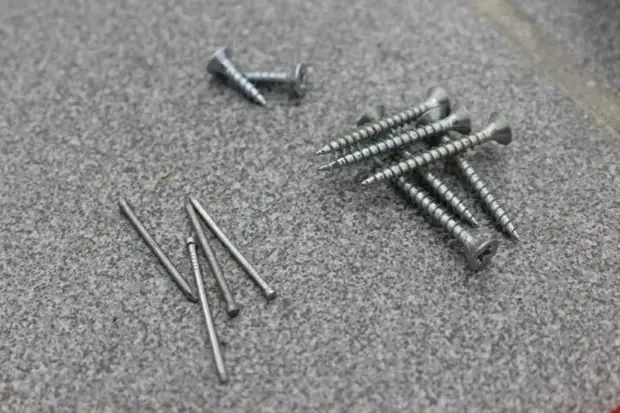
- Self-tapping screw 34 × 2.9 mm - 6 pcs.
- Self-timber 16.5 × 2.7 mm - 4 pcs.
- Nails without hats 2 cm - 4 pcs.
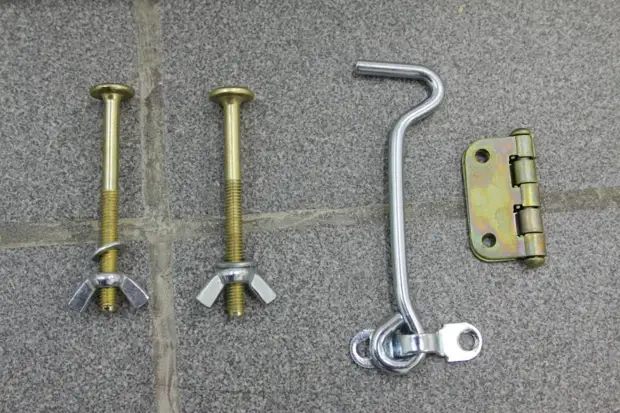
- Furniture screws with washers and lamb nuts 72 × 5.2 mm - 2 pcs.
- Hook mounted, 13 cm - 1 pc.
- Door loop, 2 cm - 1 pc.
- Glue on wood
- Sand Paper (100-120)
- Emery Circle (100-120) - 1 pc.
Maintenance Tools
- Sander
- Electropolitanzik
- Handsman on a tree
- A pair of construction gloves
- meter and ruler
- crosshead screwdriver
- Construction pencil
- a hammer
- Drill with drills 6 and 8 mm
- electric screwdriver
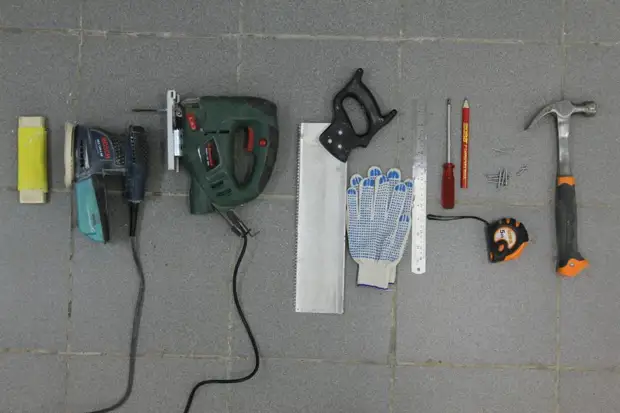
How to make easel do it yourself
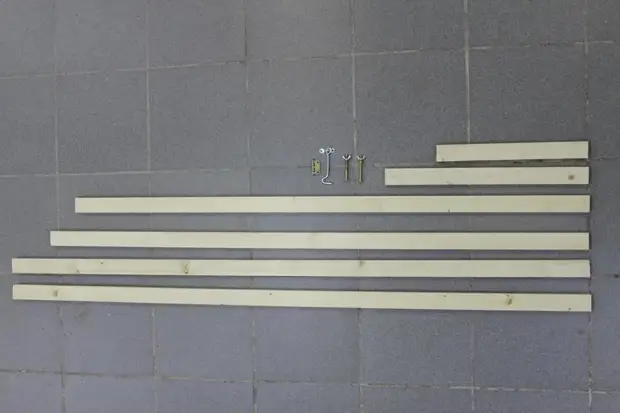
Cut the bars in size:
1 PC. - 146 cm, 1 pc. - 154 cm, 2 pcs. - 168 cm, 1 pc. - 39 cm, 1 pc. - 53 cm.
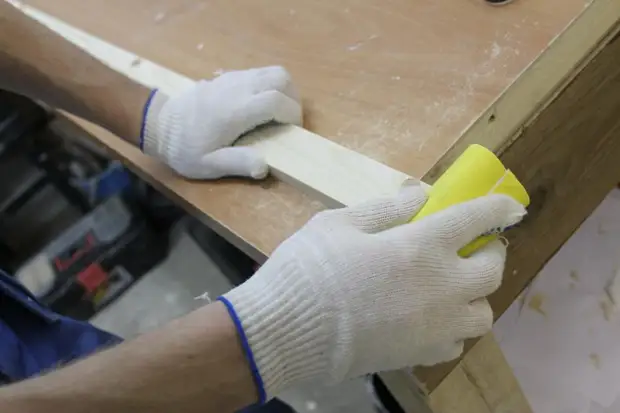
Sand bars with electric grinding machine, handles ends emery paper. I used pine. She has many bitch, so you need to choose suitable rails. Pine "gets lazy" with manual processing, so you need to use the power tool. The main advantage of this type of wood for work is the low cost of the material.
After all the bars are sashbars, we start collecting the frame of our easel. To make it as accurately as possible and smoothly, we use tiled gender: straight corners between tiles serve as a guide to leveling the rail.
The assembly is starting from the central rail - 146 cm, we put it parallel to the seam on the tiled floor. If you do not have the ability to use tiled floors, you can draw a straight line on the usual floor or make a temporary straight line from the tape. It turns out the axis of our future easel, and the assembly will go relatively.
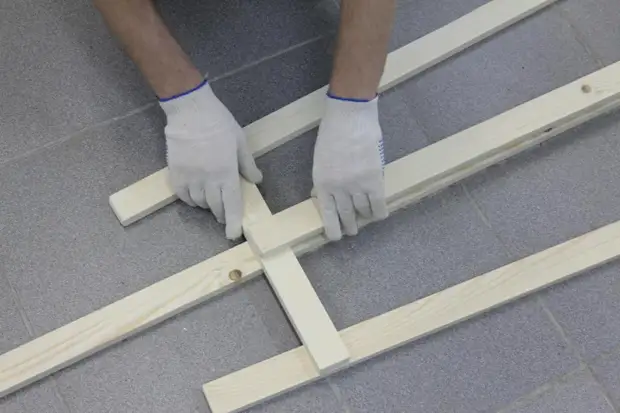
We collect two supports - 168 cm each, we have a rail of 39 and 53 cm. To fasten the plates with each other, the holes are pre-drilled using the drill d = 6mm, we wrap the joints with carpentry glue, fix the rails relative to each other, the joints are fixed with the help of screws.
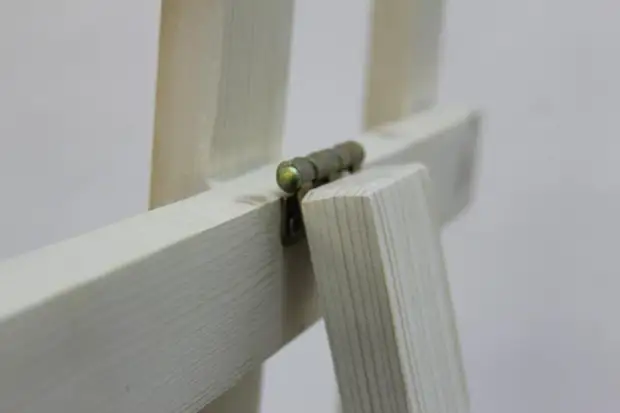
With the help of a loop, we connect to the rear rail 39 cm in the center of the rear support 154 cm. Adjust it in length. For attachment, I also use the drill d = 6 mm.
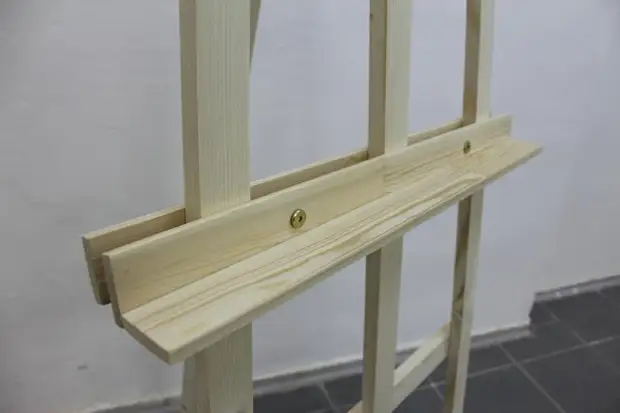
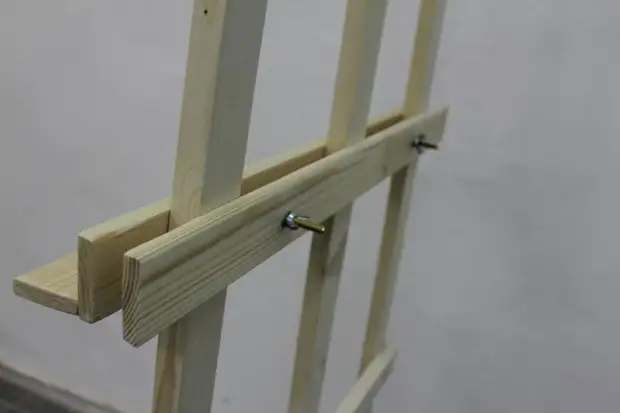
Device shelf for a subframe: We will need a 5 cm wide, a long 60 cm. Total 3 such pieces. Drill d = 8 mm make two holes at a distance of 15 cm from the edge. With the help of hammer and nails, we replete two strips with each other at an angle of 90 degrees, so that they constitute a shelf. The back plank will be the holder of this shelf.
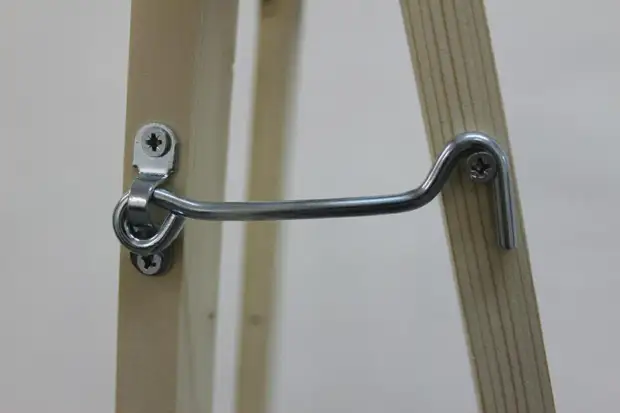
We give glue to dry and the next day we finish the assembly of the easel: put it in a horizontal position, install the shelf for the subframe. Adjust it in height. Fix the mounted hook, fixing the back support. You can choose to choose a colorless varnish, a simile or paint. Now your easel is completely ready!
A source
