
A wonderful master class, which was made by these boxes, was found on the Internet, I do not duplicate it, I just give it with my own developments, and at the same time I share my personal experience, like a thin watman and napkins to make a fairly dense and beautiful packaging material.
So, we take thin Watman - it was just that I stay with me since the time of the Institute. And what to do with it? Glue the napkins onto its top layer using a food film or adhesive cob - it will still remain thin. So I decided to glue the whole napkin.
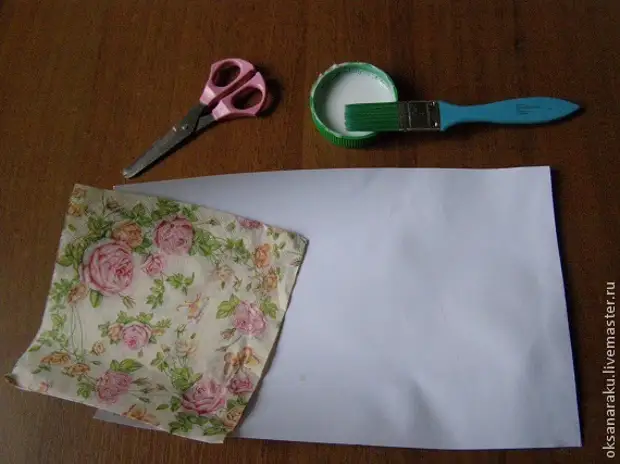
We put the napkin (three-layer) to Watman, PVA-M glue with water 1: 3 and a wide brush, ranging from the middle to edges, applied glue to the napkin. It is not necessary to scare the resulting folds - they will create a decorative texture. The main thing is that they are not formed bubbles - we drive them out with a brush to the edges, and all the layers of napkins are soaked, especially at the edges.
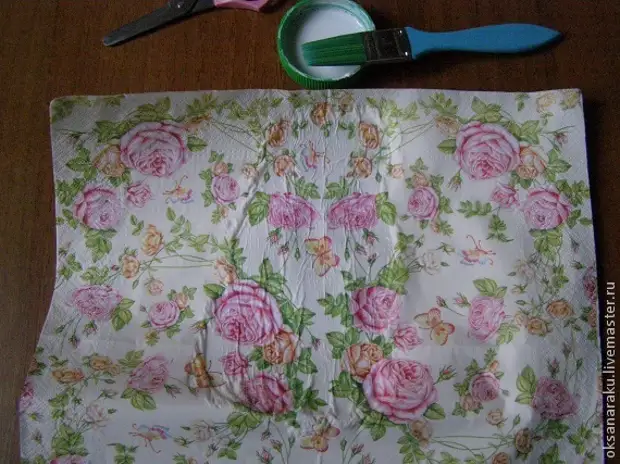
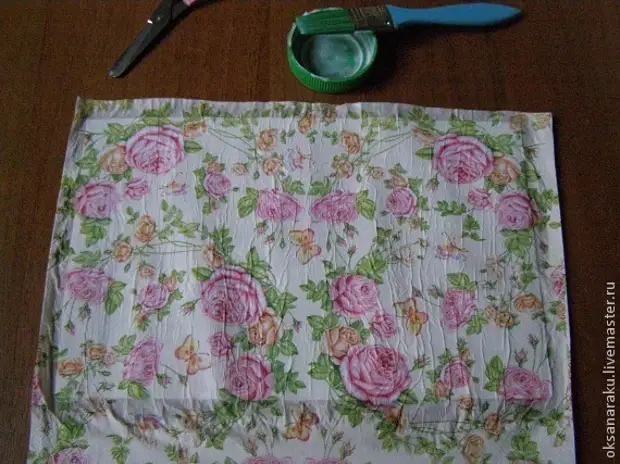
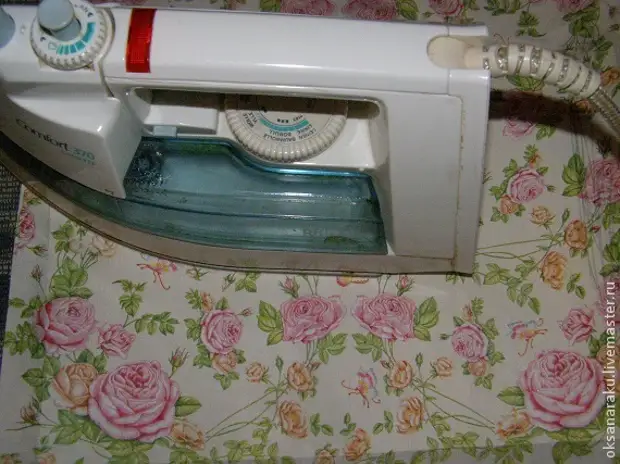
The missing sheet should dry. How? At your discretion. The first sheet, I dried on the battery, the second, for speed, hairdryer, with them - and the first and second, slightly swallowed, so we stroke our sheets with an iron. On a unit, without moisture.
Now go directly to the cutting pads.
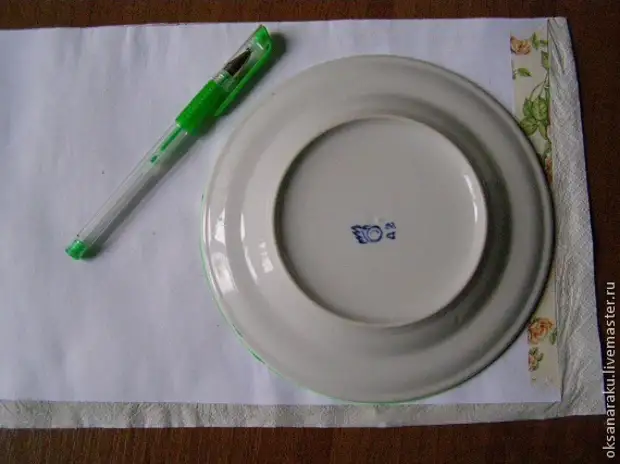
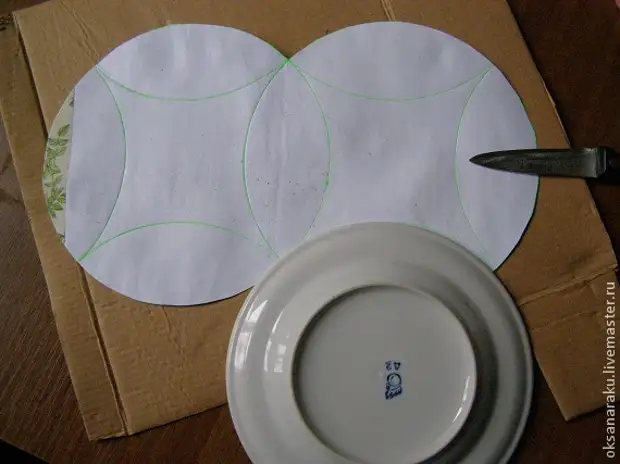
So, we take a plate (saucer, dish - depends on what kind of magnitude is needed, and what kind of size you have) and supply it.
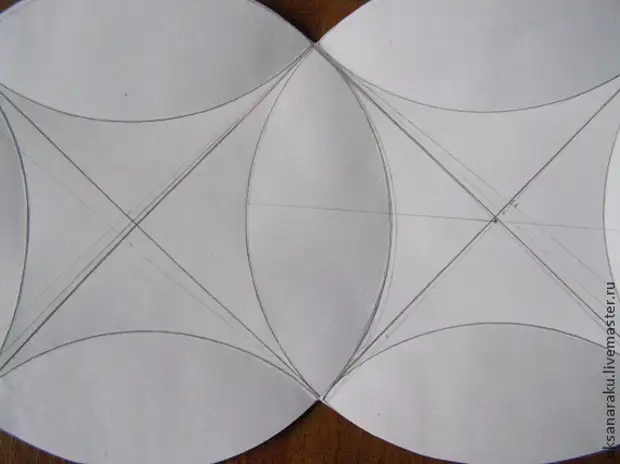
Next, you need to find the center of the circumference and draw two axes at the right angle, so that it is to attach the second circle to them. As I suffered with this, you can see on pencil lines on my first box. And it would have come even more with further fit, if a simple idea did not come to me.
From ordinary office paper (notebook sheet, newspapers ...) cut out the same circle and bend it in half ...
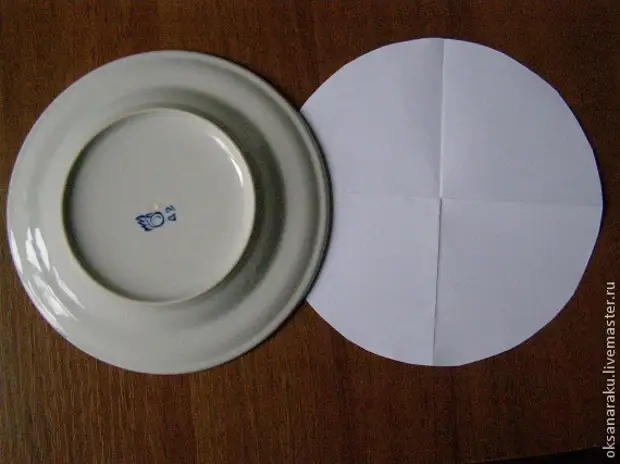
... and once again in half.
This sheet is used to mark up our axes (outlined a circle, unfortunately, salad paste, and it is badly visible).
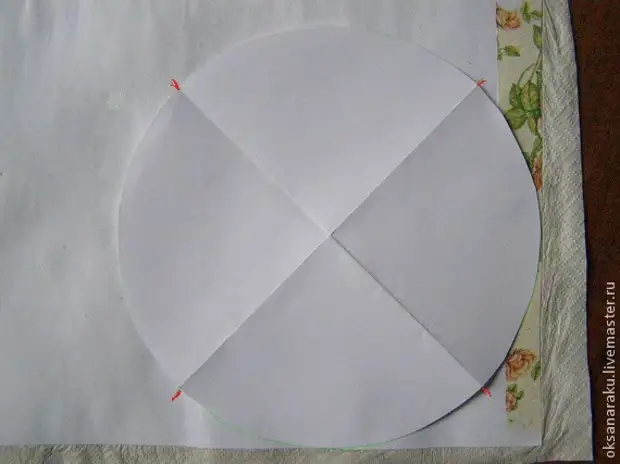
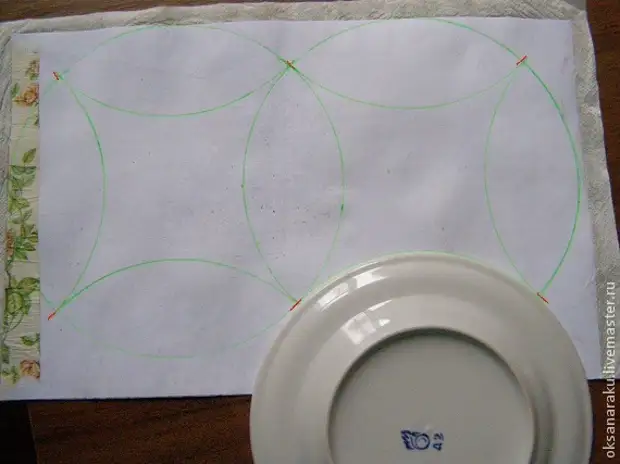
And all, further fit is simplified - just we combine the lines with markup and plan the second round and marking of the axes on it.

Combede in a plate (she tougher) and, in general, you can already cut these two combined circles ...
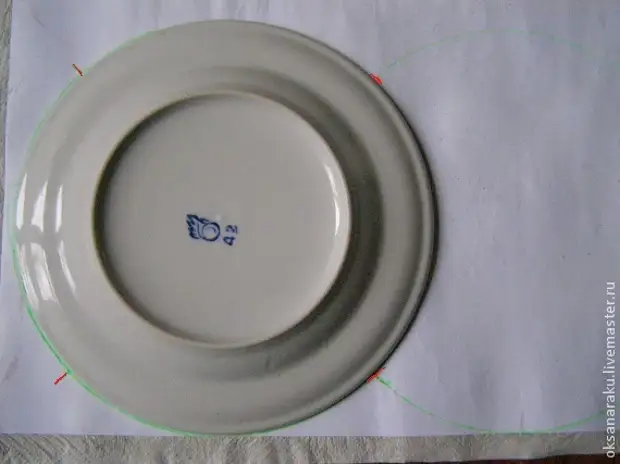
But I broke completely, as was said in the original master class. True, nothing else extinted and did not customize, just put the plate to two labels and drank.
After that, cut out and made a bitter on drawn lines. The markup is so accurate that the ramp could be done without drawing lines, but immediately bother the plate with a stupid side of the knife, and then the box inside would be completely white. Bigovka do on a thick sheet of cardboard, firstly, the table does not spoil; Secondly, the lines are better at mild.
Now bend ...
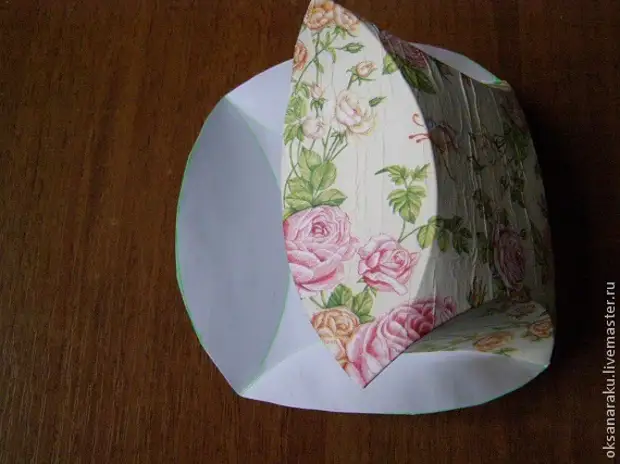
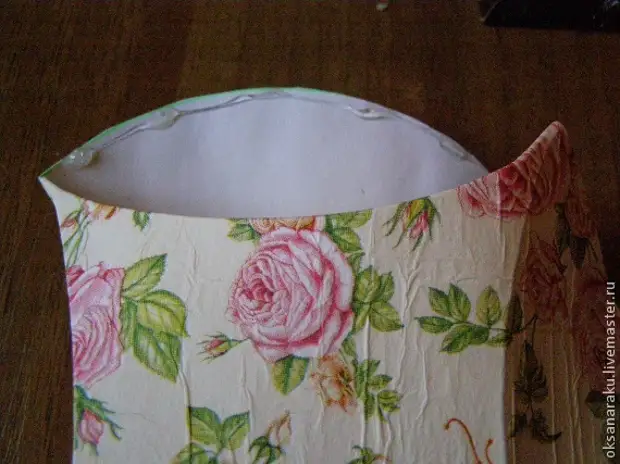
... and glue the sides with hot glue.
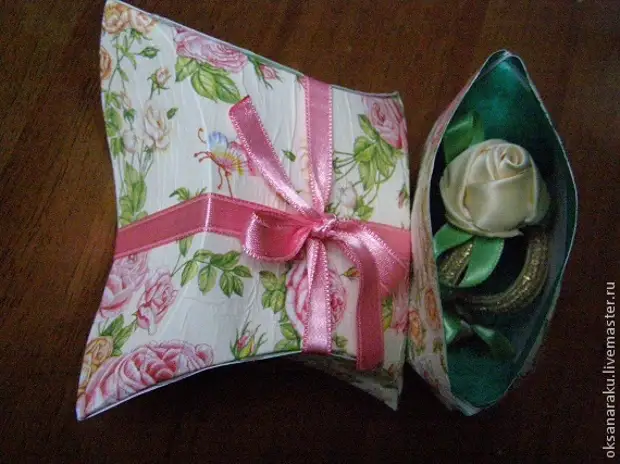
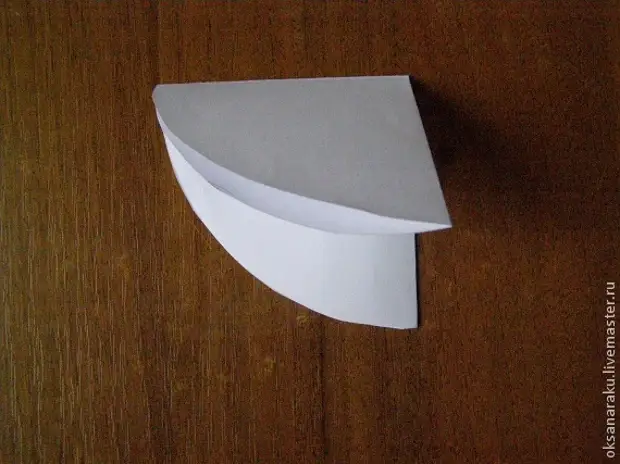
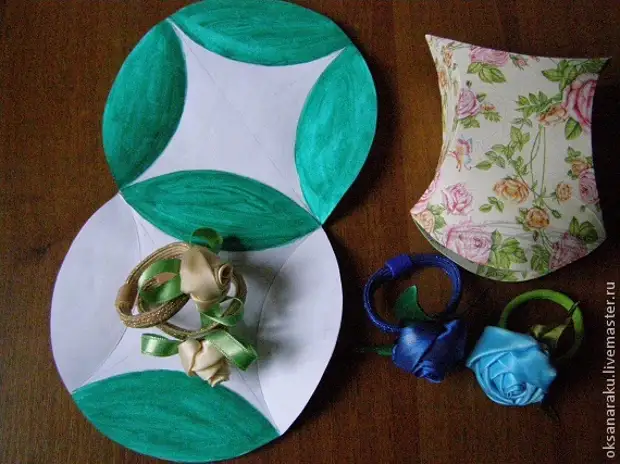
If you tie the box with a ribbon, then it can not be sick. But the cocned it closes so well (it can be seen on the first photo) that it is not necessary to bandage with a ribbon, but you can decorate a box with a silk, paper, out of salt dough, yes anything, it all depends on your imagination!

The box can be painted inside. And these are "gifts" for which, actually, and made the boxes. With a diameter of a plate of 17.5 cm, the box turned out in the "thick" place of 7.5x7.5 width and a thickness of 5 cm.
Yes, I almost forgot - Watman must be clean, because even three layers of the napkins can be seen all that it is drawn.
A source