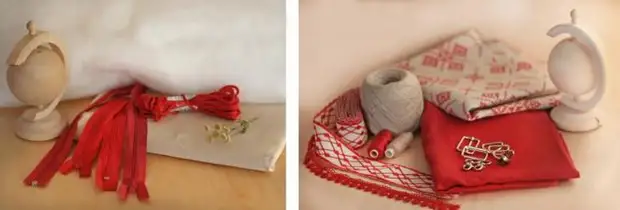
For this we will need:
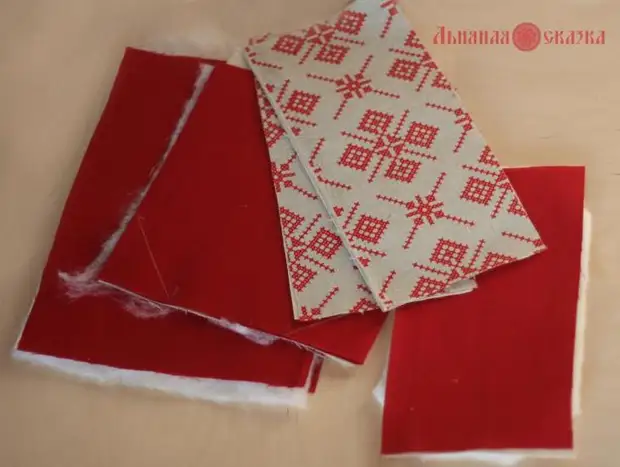
1. Linen fabric of two types (red and gray with ornament).
2. Sewing threads of appropriate colors.
3. Fabric bunk for making density and rigidity backpack.
4. Singry procession (optional) for softness in the back area.
5. Spiral zipper: beige 25-30 cm - 2 pcs., Red 50 cm - 1 pc., 35 cm - 1 pc. For inner pocket.
6. Red cord.
7. Accessories: Magnet for bags, 3 Metal frames 3 cm wide, two metal semiring, two metal carbine, cord lock.
8. For decoration: Linen threads, decorative braid in Russian style, round wooden blank 5-7 cm in diameter, wooden beads.
9. Tools: sewing machine, scissors, knitting hook, sewn, sewing needle, acrylic paint, brush, wood varnish.
Before opening linen fabric, it is necessary to produce wet-thermal processing.
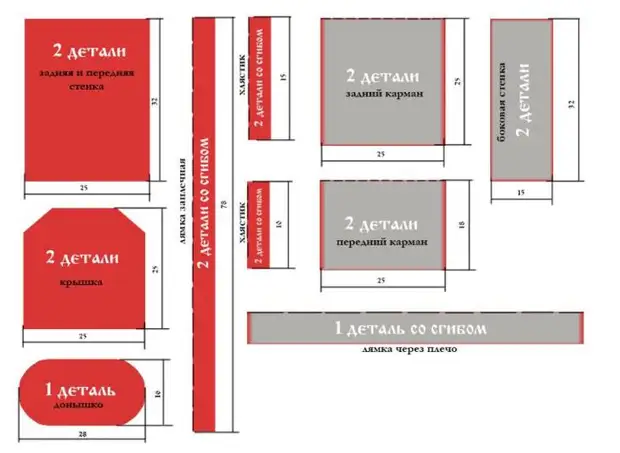
So, we will proceed to work: it is necessary to cut the details for the backpack bag:
1. Rear and front walls of a 25x32 cm backpack - 2 parts made of red flax, dilates, and one item from a synthetic winterizer.
2. Backpack cover 25x25 cm - 2 parts made of red flax, 1 part of two-bit, 1 partition Singry procession (for density) Corner (7 cm 7 cm).
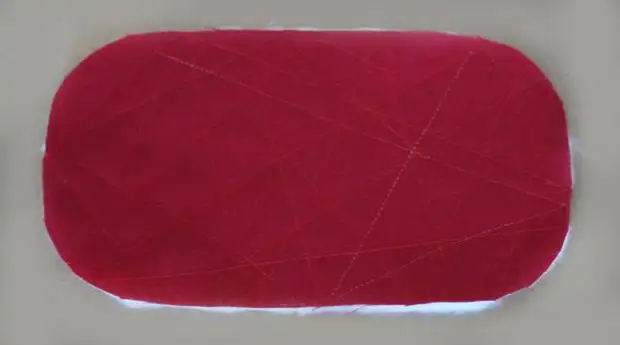
3. Ronyshko 16x28, cut oval.
4. Rear pocket 25x25 cm - 2 details.
5. Front pocket 16x 25 cm - 2 details.
6. Side walls 15x32 cm - 2 parts made of gray flax and bits.
7. Straps Punching 8x80 cm - 2 parts with a fold.
8. Stamp over the shoulder 8x130 cm - 1 part with a fold.
9. Waxes for rebagging 8x15cm - 2 parts with a fold.
10. Waxes for straps over the shoulder 8x10cm - 2 parts with a fold.
11. Strip to sell lace 8x78cm made of gray flax.
12. Lining: Walls - 31x35 cm - 2 parts, Roundyshko - 15x27 made of gray flax.
Walls, bottomsheko, lid, vane and straps strengthen with a dense cloth, such as a bie. And the rear wall for softness can be duplicated by syntheps.
Rodyshko is better to do it tightly: 1 layer - flax, 2 layer - two-bit, 3 layer - syntheps, and rolling in an arbitrary order.
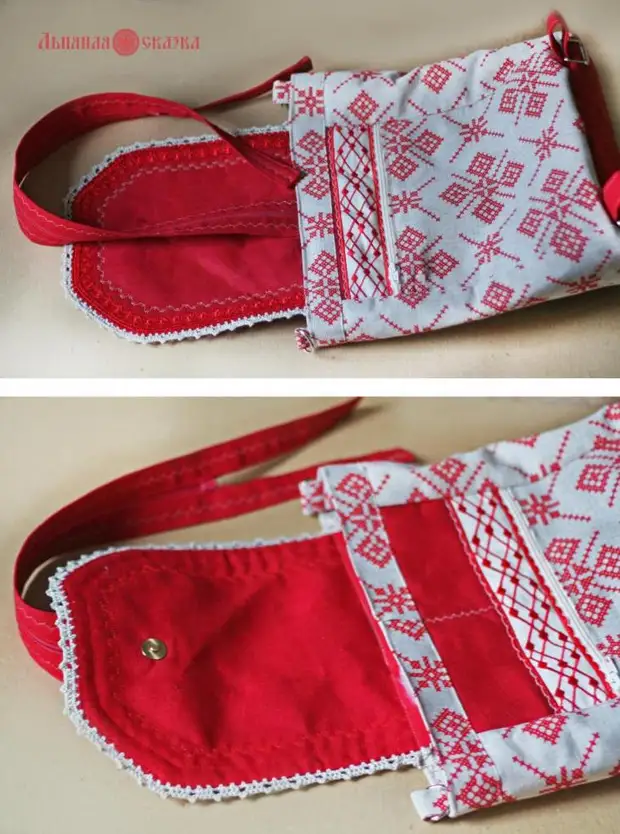
Send to pockets of lightning.
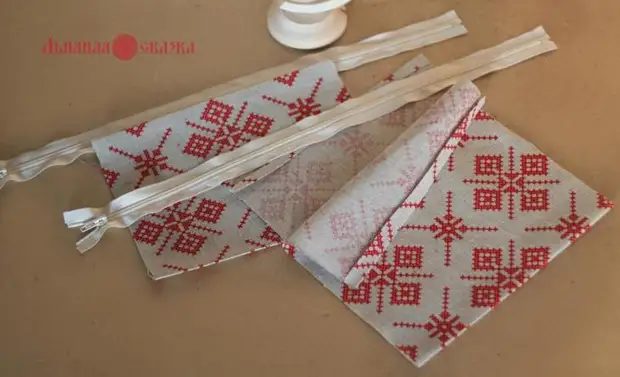
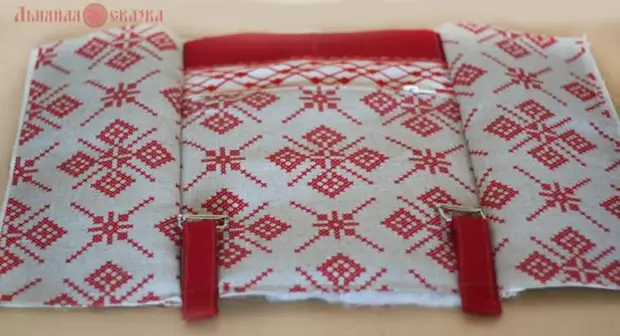
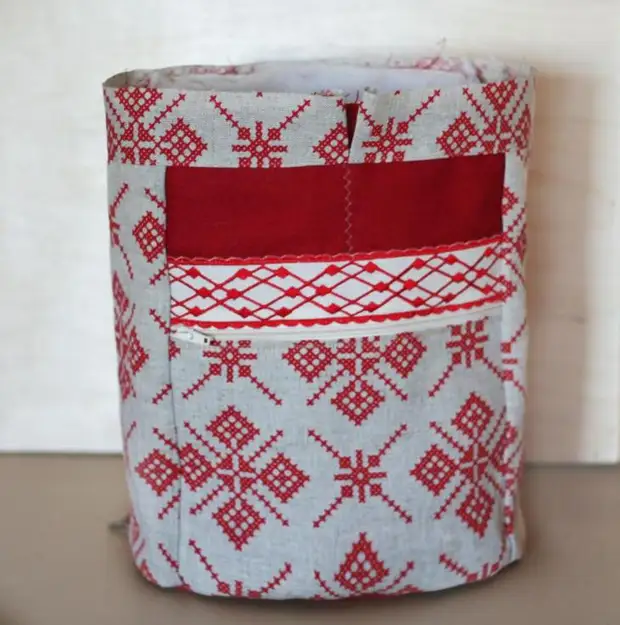
Align the edges and pine pocket pockets to the front wall of the backpack.
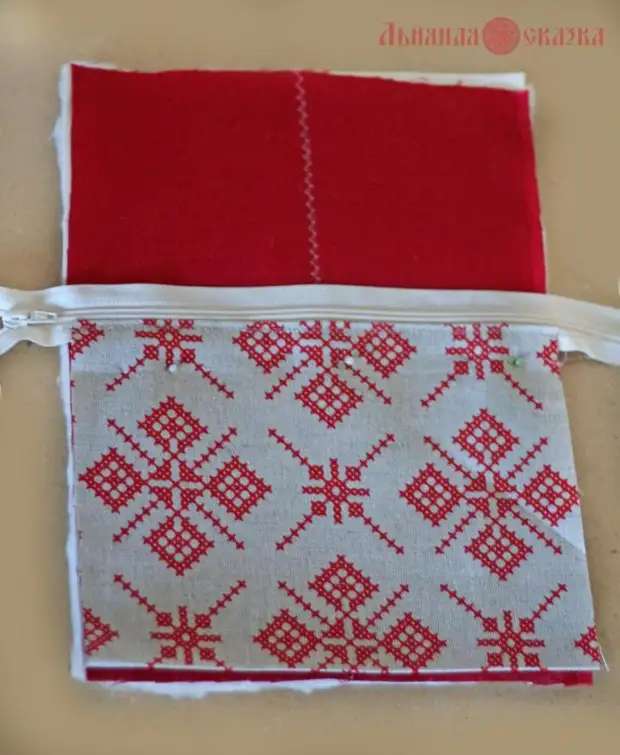
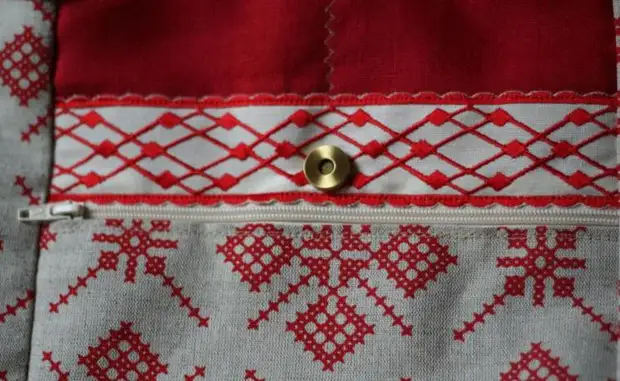
The upper half of the lightning is sewn to the wall of the backpack, and on top decorating the braid. Similarly, sew the rear pockets to the rear wall of the backpack.
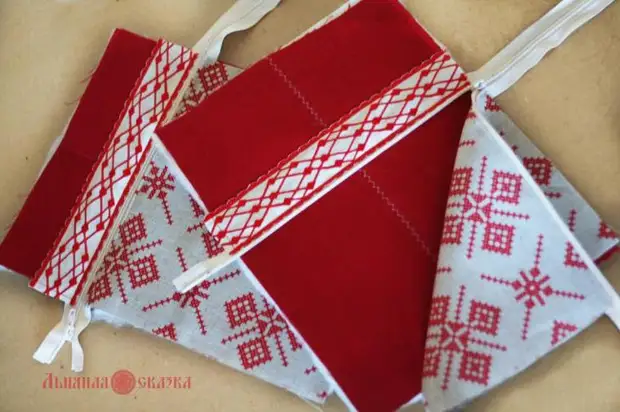
Then the lateral details are reinforced with a binding details. Unfurnished lightning ends. Internal sections process zigzag.
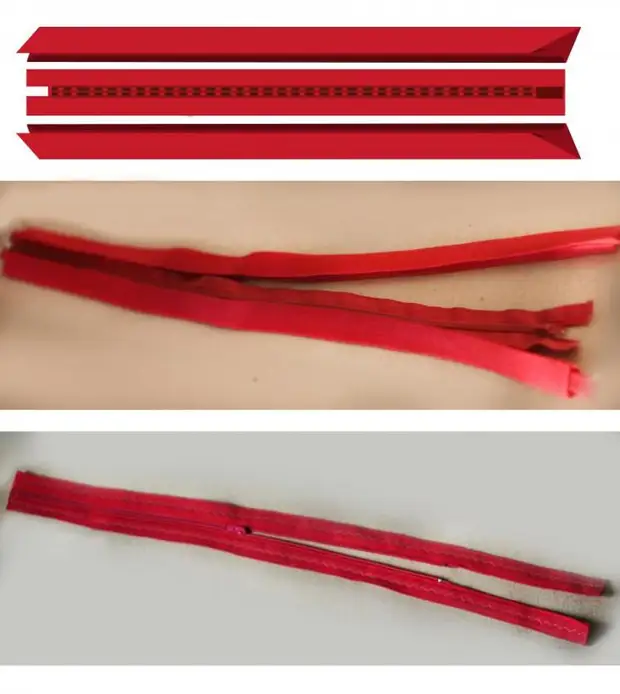
Next, we make vibrations: they start inside 1 cm on both sides, fold in half and stitch along the edge (it is desirable to insert a couple of bands for rigidity). And the blowing straps can be made according to the following scheme: they start it inside from three sides of the straps of 1 cm and bend in half. Inside the straps insert the zipper with the lock down and then stitch on the sewing machine. Below, there are free ends about 20 cm. Along the zipper, a decorative line can be laid. Thus, two cushion straps can be turned into one, fastening the zipper.
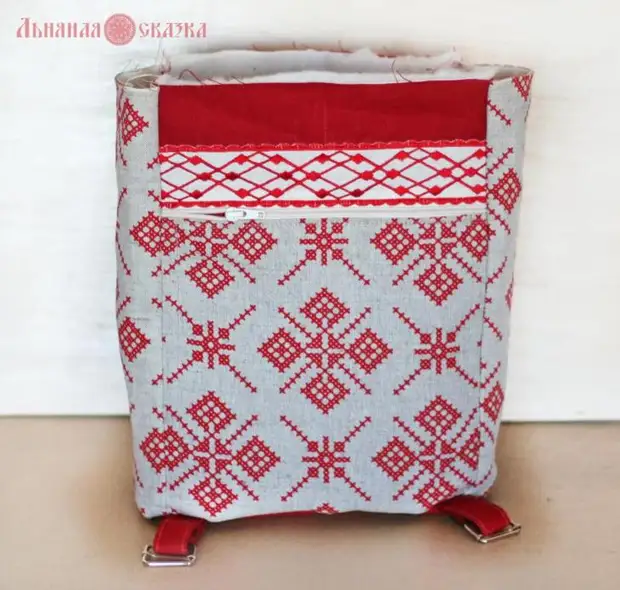
Send of vibrations with frames to adjust the blowing straps to the back of the backpack.
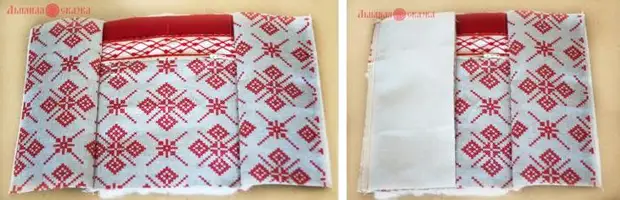
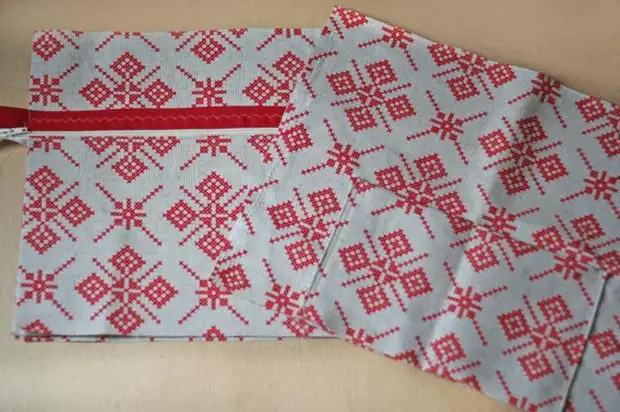
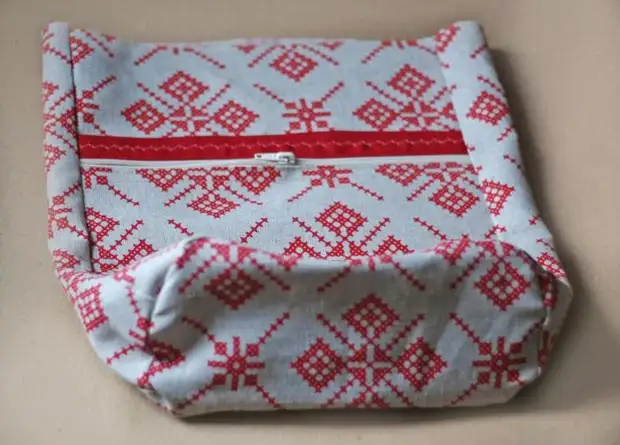
Then we sew the front wall and bottom. Internal sections process zigzag.
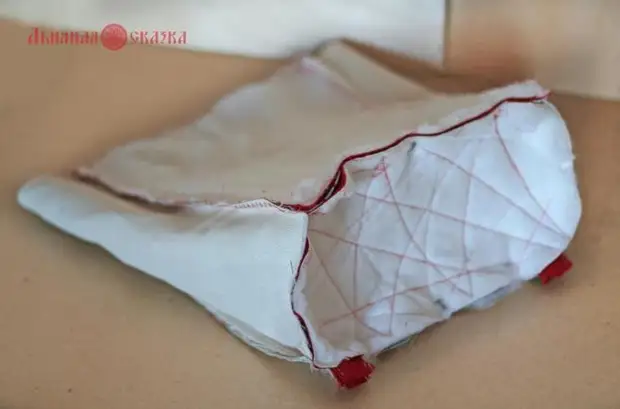
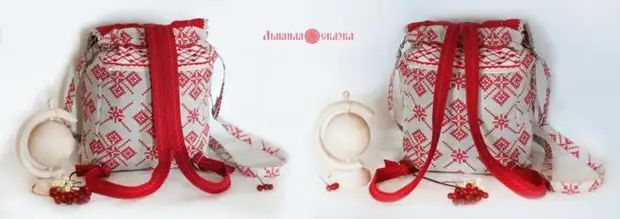
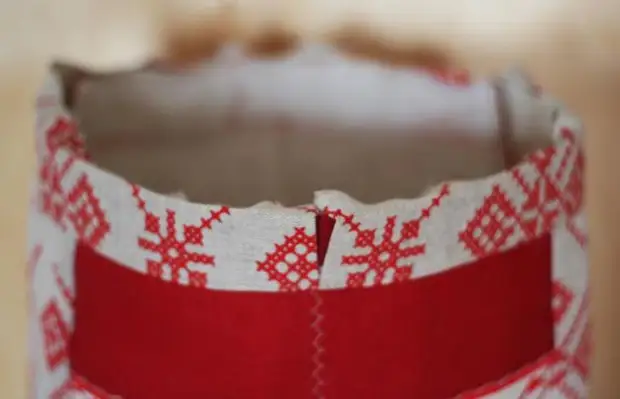
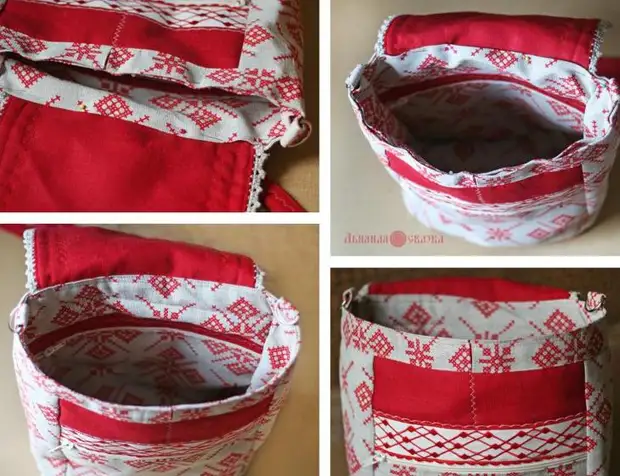
It turns out such a blank (rear view).
Then approximately at a distance of 5 cm from the top edge of the backpack facial side, we admonish a strip of 8 cm wide and a length of 78 cm ends of the strip from the middle of the front wall. Here will be a lace.
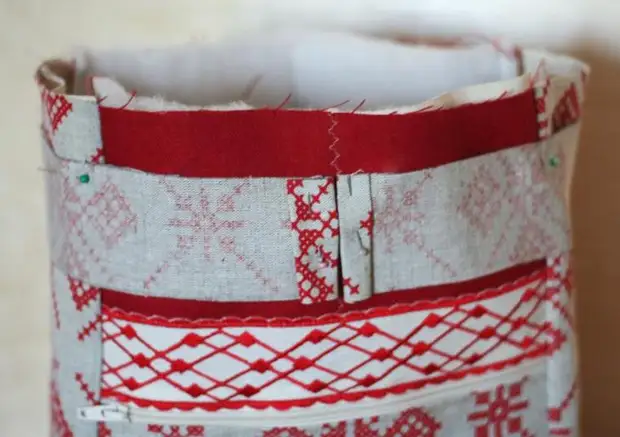
Then we flex a strip.
The upper slice of the strip for the cord is starting inside by 1.5 cm.
And now we proceed to the manufacture of the backpack cover: sew the parts, turn, we separate, and proceed to design.
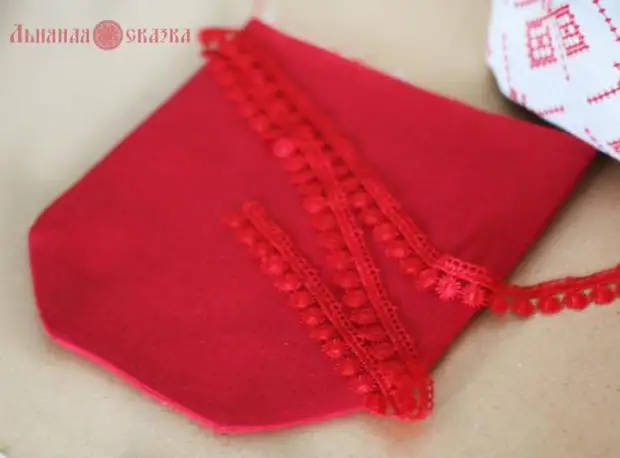
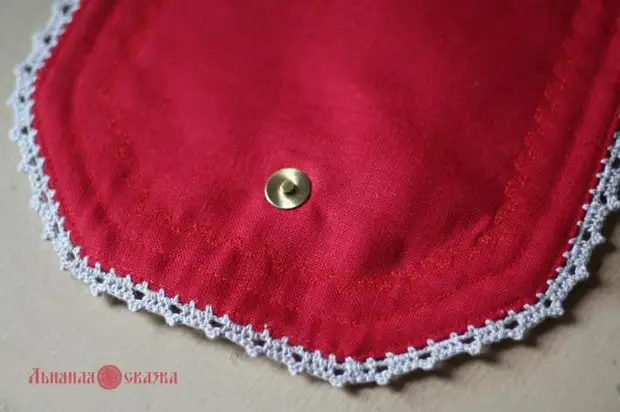
You can decorate with decorative braid, embroidery and lace border from flax.

It is important at this stage of work Do not forget to insert the top half of the magnetic button for bags.
From the side of the rear wall, sew straps and lid, as well as vanes with semirings to the middle of the side walls.
Now, moving a backpack cover, you can define exactly in which the front wall to put the lower half of the magnetic button.
We proceed to the manufacture of lining: Inside, you can make any necessary number of pockets for phone and small things, including on zipper for documents. We sew walls and bottom.
The upper slice of the lining bend inside by 2 cm, we insert inside the backpack and stitch at a distance of 5 mm from the edge. At a distance of 5-7mm, it is stopped along the seam at the bottom of the lace strips.
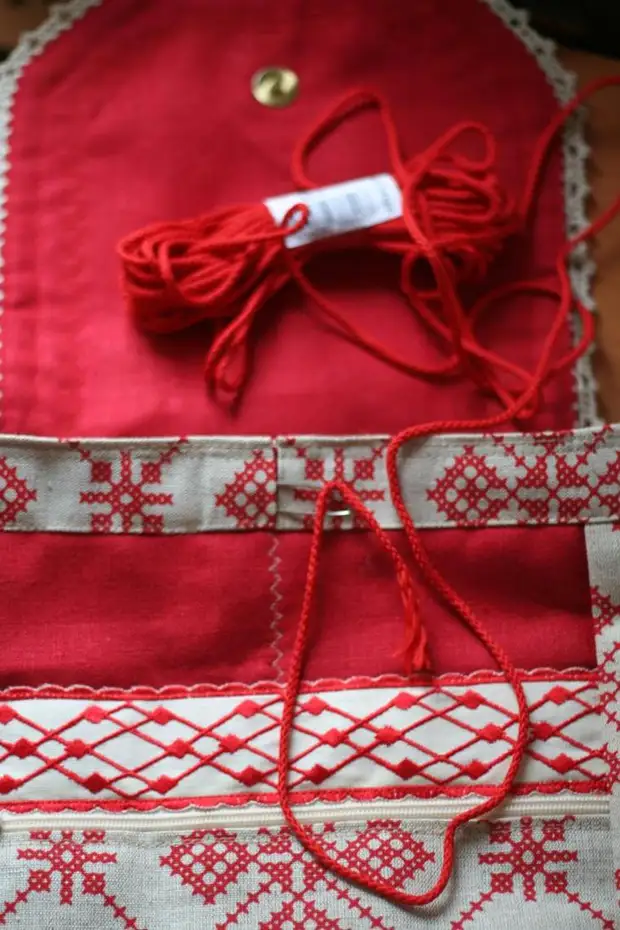
Cord can be pasted with an old good method using a pin.
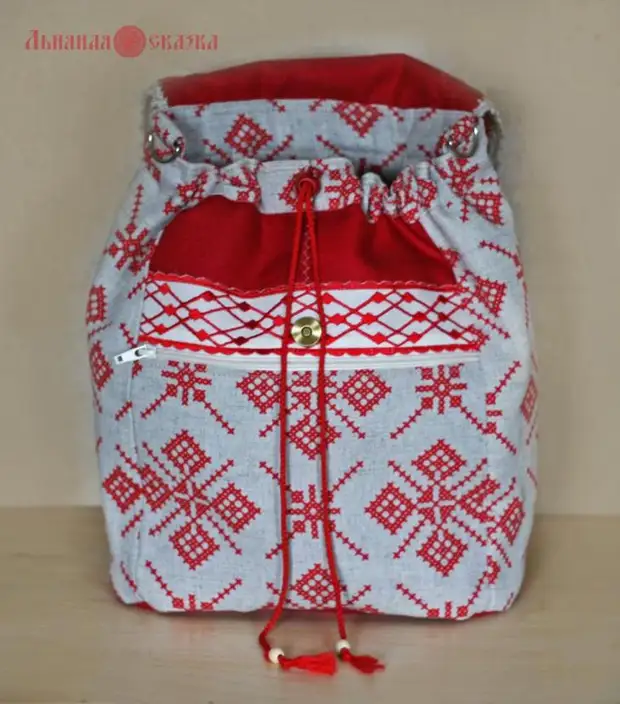
Insert the tips of the cord into the retainer, and make them beads.
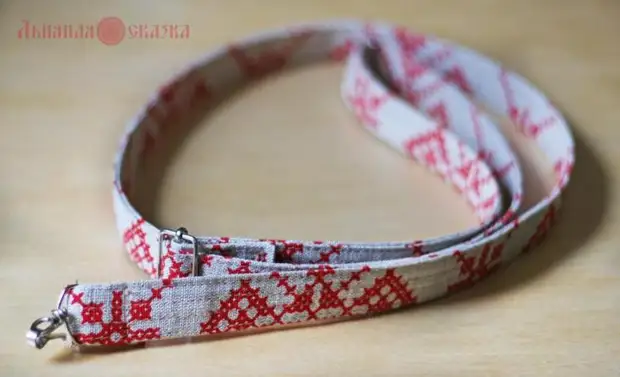
Stamp over the shoulder: I'm starting inside 1 cm from all sides, bend in half and stitched on the front side. We establish a frame for adjusting the length, as well as selling carbines.
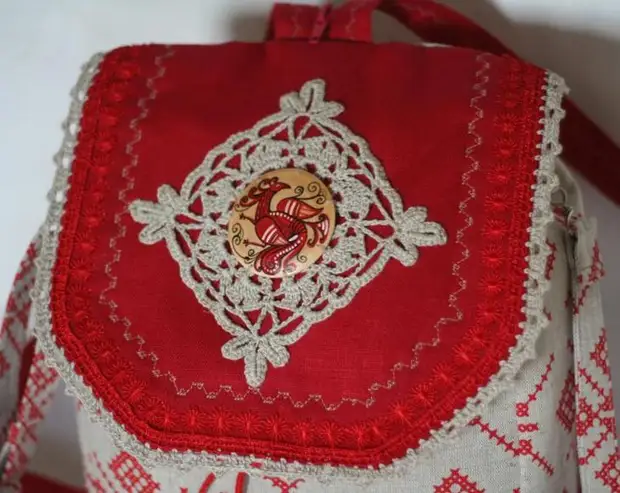
And continue to decorate our backpack! For example, linen lace insertion (a scheme can be found on the Internet or knitting journal). A highlight will be a wooden round medallion with a poultry pattern. For painting, they will need acrylic paints (or gouache with PVA glue) and wood varnish. After the lacquer dries, the medallion circumference neatly with the help of sewing do holes and sew to the lace insert with sewing threads. And then sew the lace insert in hand with linen threads.