
Master class conducted Elena Olennok.
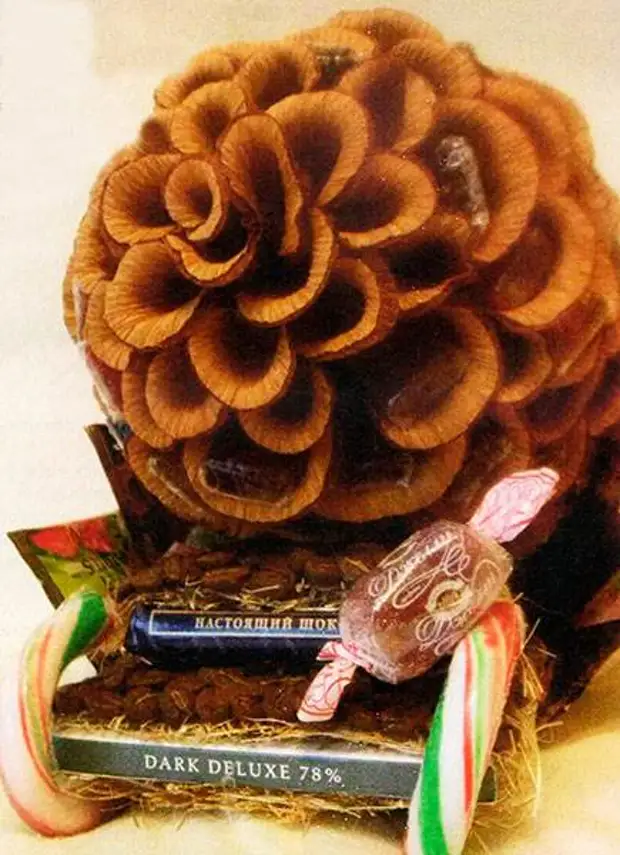
If your dream is the forests of Siberia and the Far East, if you breathe it easily in Belovezhskaya, if you like nature and ready to take her a small corner in your home, then get ready for creating a miracle! This forest beauty will become not only an unusual gift, but also the original candy in the interior.
Materials:
• corrugation;
• Polyfoam (Penoplex);
• toothpicks;
• candy;
• Packaging films.
Instruments:
• thermoclauses;
• scissors;
Master class of crafts do it yourself.
We take one foam ball and still half a smaller diameter. To cenate, glue them. The upper hemisphere give a cone-shaped form.

Cut up four bands from corrugated and salable the basis so that it takes the type of cone into the profile.

We proceed to the preparation of scales. Cut the strip of various widths. Wide blanks should be as much as candy. Cut them in pairs: dark and light - in the form of petals.

We twist the blanks in two layers, pre-easily glued them. So they will take a common and more natural, solid shape. Scales for registration of nose bumps are more twisted on the sides, but for the top - "fringe" upper edge.

Billets glue to toothpicks Thermoclaster. For more convenience, you can use toothpicks with one round edge. Every iris wrap in the film, leaving a small tail.

Candy per tail glue into broad scales so that they lay inside the recess or speakers.

In order to make a tower for a cone, cut off the strip of light corrugations, clamp one edge and stretch it so that, putting on the table, he formed a small cone at the bottom. Then glue the edges and twist in the tail.

We start assembling the cones from below. Since scales for registration of Niza are the most solid and have strongly swirling edges, with further assembly, this part of the bump will not suffer. First, in the center glue the tail, then the scales.

We collect the top. We put the fringe scales so that they formed a dense beautiful outlet. The harder petal (bottom cones), the thinner there should be a tool for twisting. The rest of the petals can be twisted with a wooden needle or a back side of the brush.

Start a "sweet" stage. After the socket, we make a few more rows from narrow scales, placing them in a checker order. Next, begin the ranks with candy. First, we have them in a checker order, then increase the amount in the row.

The final assembly stage is filling all visible voids. Fill out the remaining space by narrow flakes.

By the way.
- The appropriate foundation can also be made of polyplex, in proportion to the increasing layers.
- Iris, marmalade, caramel can be used as a filler.
A source