
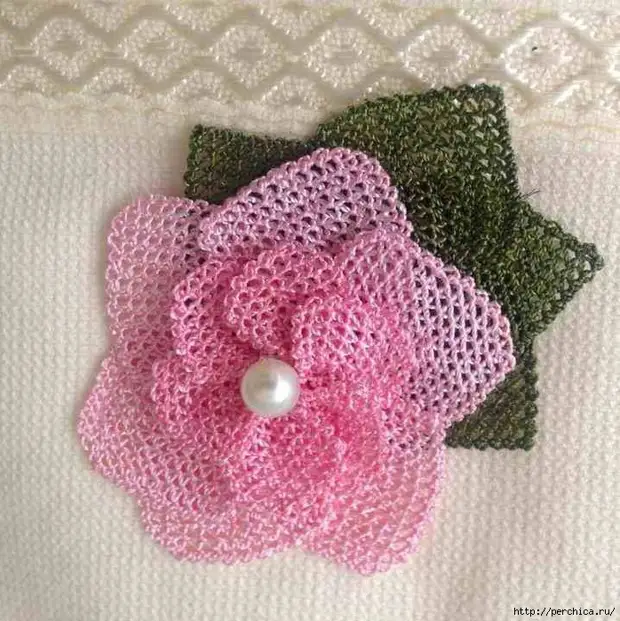
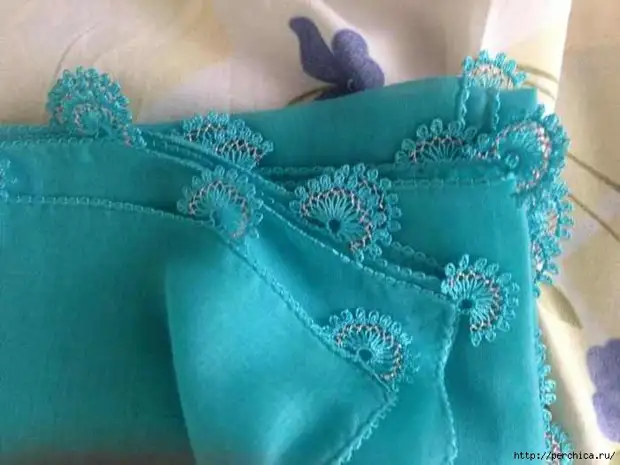
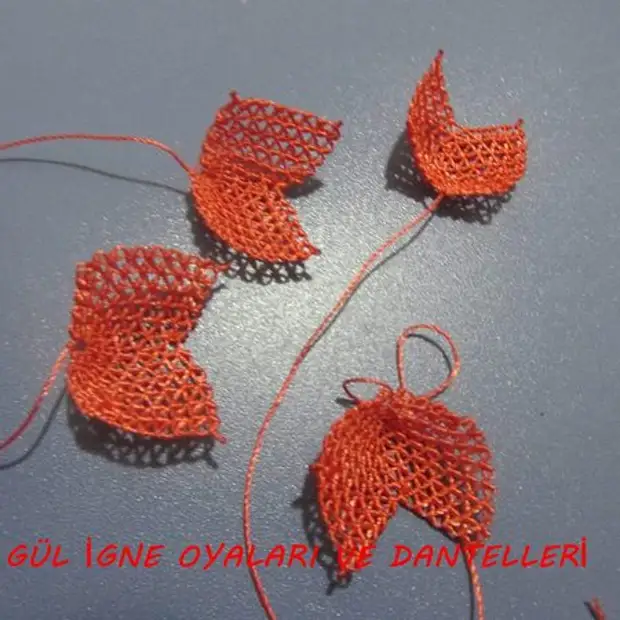
The technique of weaving needle lace.
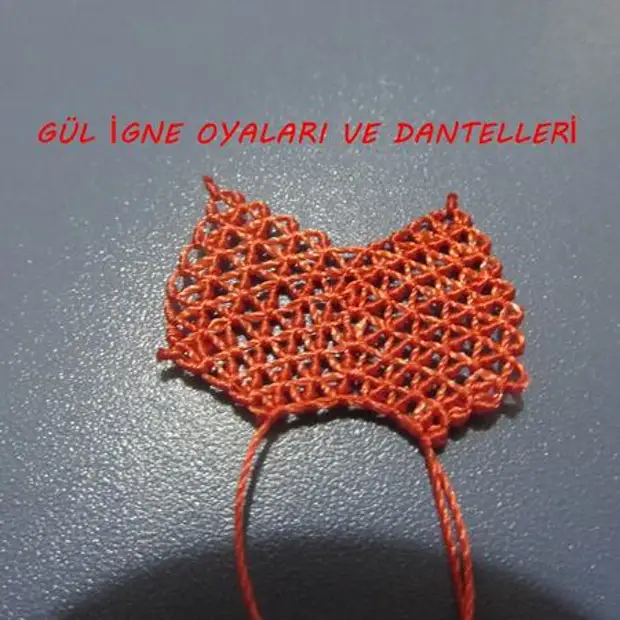
The lace consists of a loop (arches or dense arcs) and nodules made in various combinations. Square cell grid is the main part. It is necessary to constantly ensure that the needle does not split the thread when working. You can use a needle with a blunt end.
Next, we give three options for weaving the needle lace, from the most complex to the simplest. They differ in the appliance of the nodule. All our models are performed in the technique of option 1.
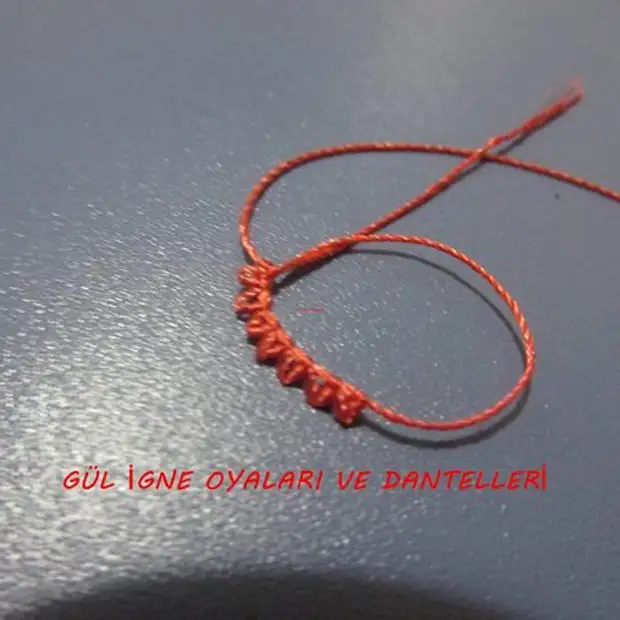
An example of weaving in a circle.

Fold the thread into the ring. Spend the needle under the thread from point A to point V.

Spend a thread under the needle and around it right left.

Secure the thread by tightening the first nodule.

Make another node on the ring by spending a needle under thread.

Drive the thread around the needle, spend the needle under the loop.

Carefully pull the thread.

Secure the thread by tightening the second nodule. The loop is formed between the nodules.

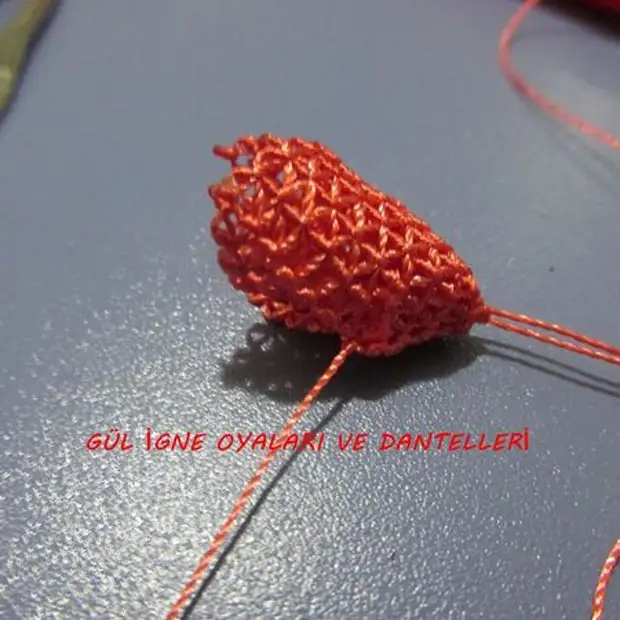
Repeat the previous steps ten times, moving along the ring.

The closure of the first row on the ring, pull in the short end of the thread.

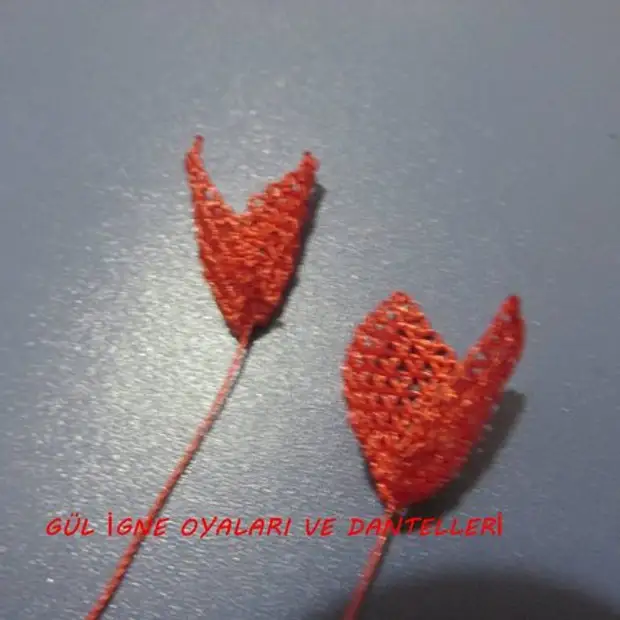
In the second row, we gossip ten loops more than in the first. The middle of the flower is finished. For a whisk, skip one loop, start on the interval between the following nodules, glowing around the middle of 5 large loops.

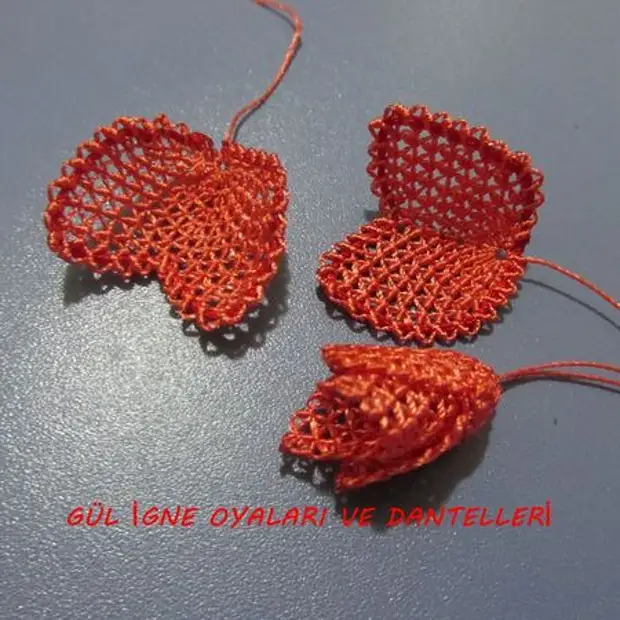
Then, on each big loop, we glow five small loops. Continue to weave the rows of the bunny, in each subsequent reducing the number of loops per one.
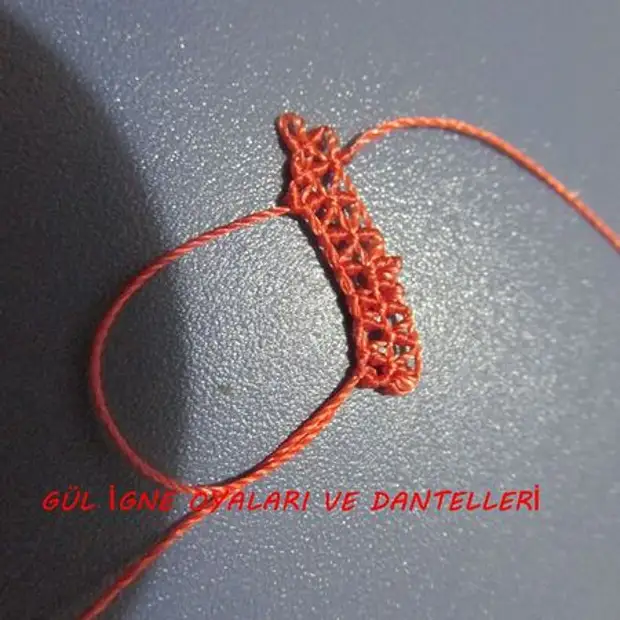
An example of a flat cord of the same width.

Choose the first row of weaving: the edge of the canvas, the arch of the previous row, a native ring or a filament. Keep the needle on the front side.
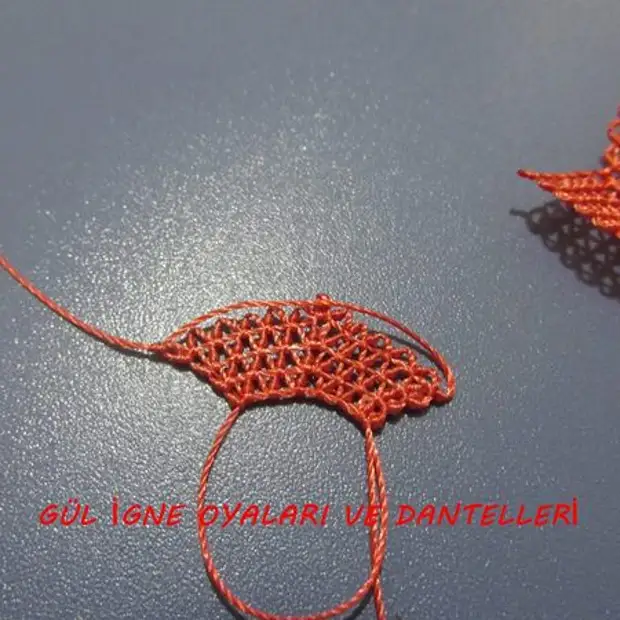
Moving from left to right, perform two single rolling stitch on the first row of weaving. Leave the native loop (arch) and follow the following stitch. Perform the required number of loops and arches. If it is the edge of the canvas, work until the end of the edge.
At the end of the row, form a loop and start performing stitches on the loop of the previous row. Moving to the right left, perform a group of two stitches on each loop, until you reach the end of the row. Swipe the needle for the formation of the side loop to the beginning of the next row. Continue left to right. Pleet to the necessary height. To increase the width of weaving, add revision stitches and loops. To reduce the width of weaving, do not toll them along the edges of the product.
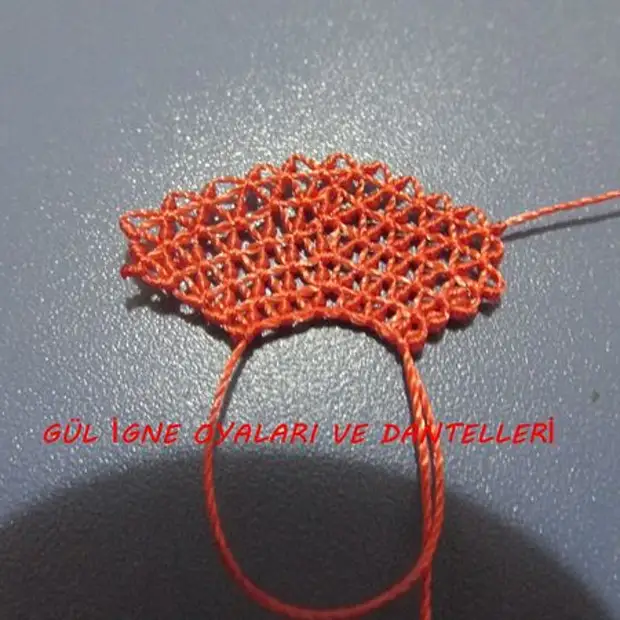
The base of weaving is a single revision stitch. An example of a loop relief.

Choose the first row of weaving: edge of the canvas, the arch of the previous row, a dense ring or just a thread. Keep the needle on the front side. Distance from A to B - the required width of the future part. Point C denotes the beginning of work. Moving from left to right, perform a single revision stitch on the first row of weaving. Leave the native loop (arc) and follow the next stitch. Take the needle under the thread. Perform the required number of loops and arches.

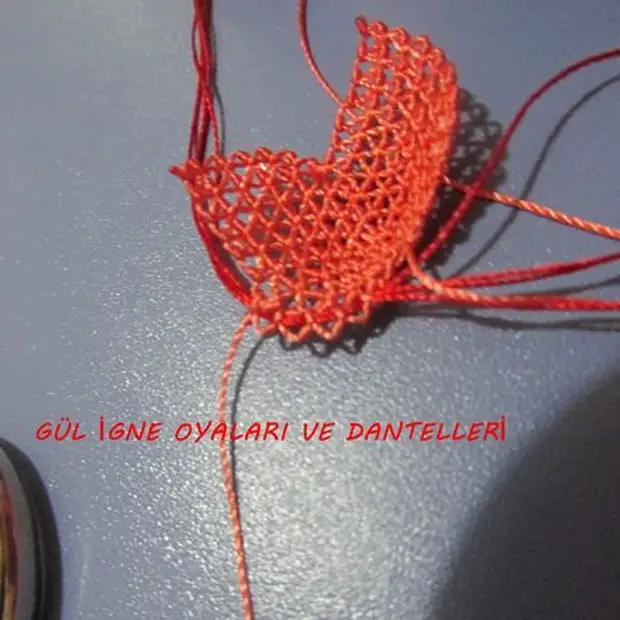
At the end of the row, form a loop and start performing stitches on the loop of the previous row. Moving, right to left, perform the stitch on each loop until you reach the end of the second row.

Swipe the needle for the formation of the side loop to the beginning of the next row. Continue from left to right, having reduced the loops according to the pattern. Pleet to the necessary height.
Tensioning thread or leaving it free, adjust the density of weaving. To increase the width of weaving, add revision stitches and loops. To reduce the width of weaving, do not toll them along the edges of the product.
Master Class:
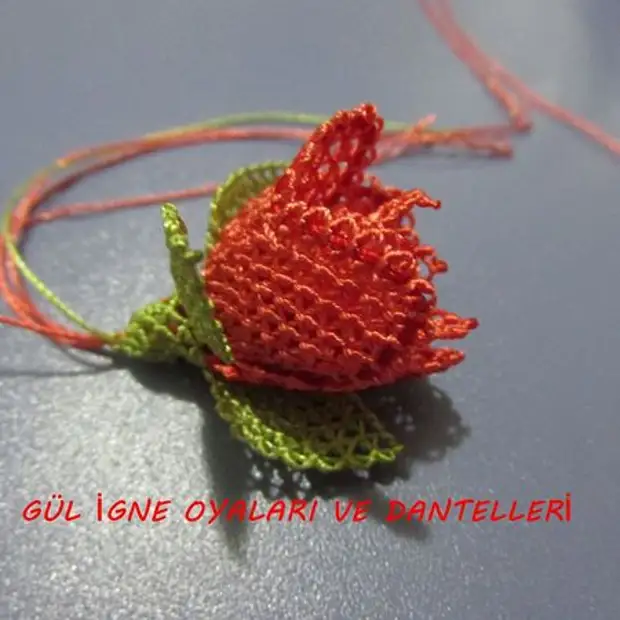
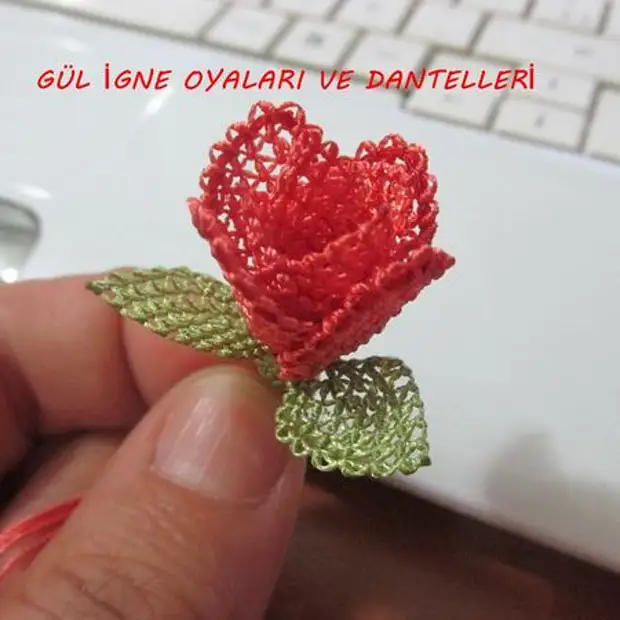
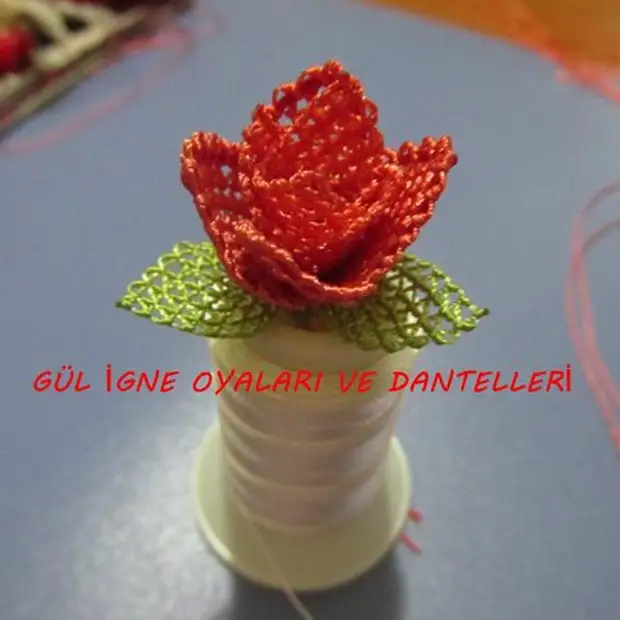
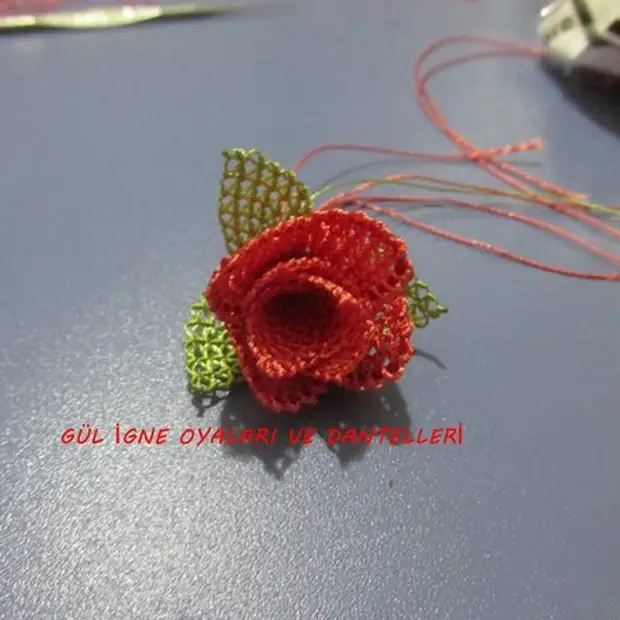
A source