
After repair, pruning, spoiled blanks, just excess materials. They usually wake up from place to place for some time, waiting in the wings, or simply go to the garbage. How to put them in business? Today with tell you how to make the shelf with your own hands.
Homemade shelves for household appliances
Taking into account the fact that in my desktop some things did not have a permanent position of registration, I decided to use waste to make homemade shelves.
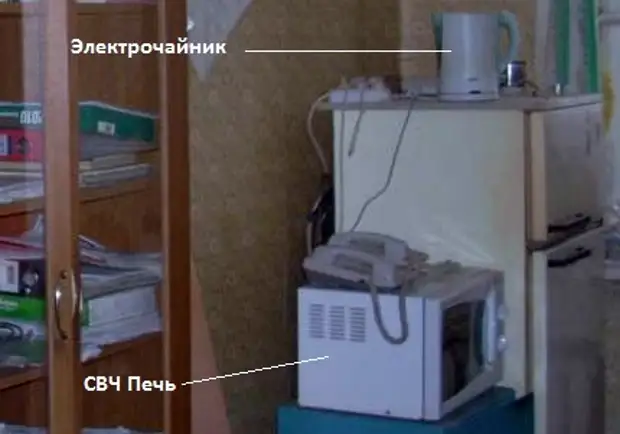
To begin with sketch. What for?
- First, everyday experience has taught: it is better to think over everything in advance before making the shelf with your own hands.
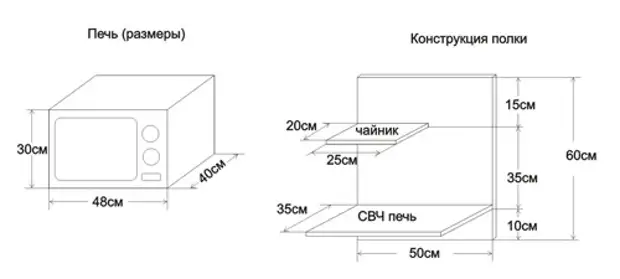
- Secondly, you need to specify the dimensions of the future shelf for these specific objects (kettle and microwave oven).
- Third, since I did everything from the rest, it was necessary to try to choose the desired trimming both in size and by quantity.
The result of creative patients is shown in the figure below. Since the sketch did for myself, then for the readability of his creation, I apologize to the reader. The meaningful essence of the sketch: the sizes of the furnace are indicated, the sizes of the coil under the kettle are indicated, the total shelf sizes are indicated, the necessary materials and parts are indicated, their quantity.
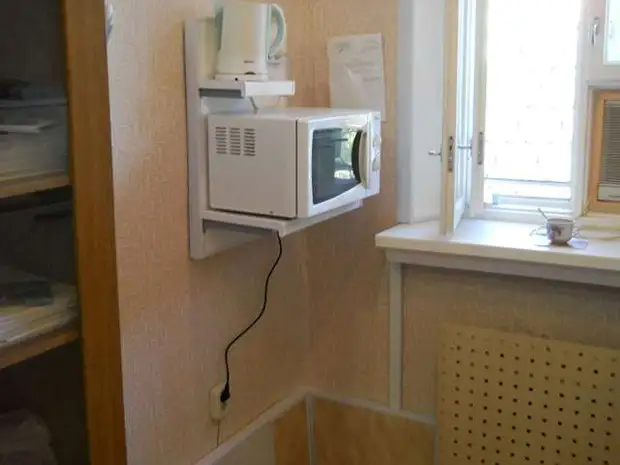
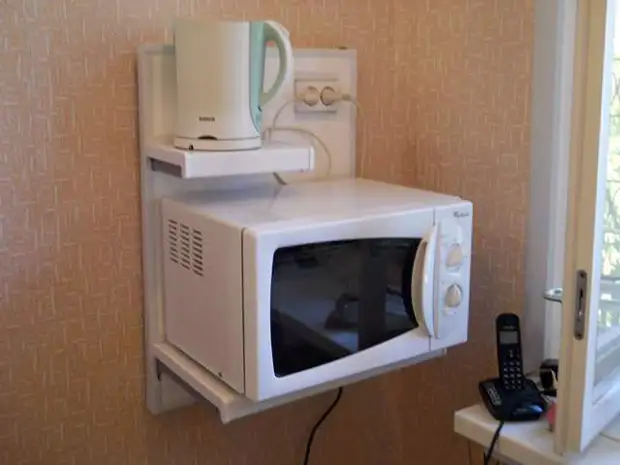
The finished shelf for the kettle and microwave oven - in the photo below. Create how much the actual design is different from the sketch.
The main stages and features of the manufacture of homemade shelves
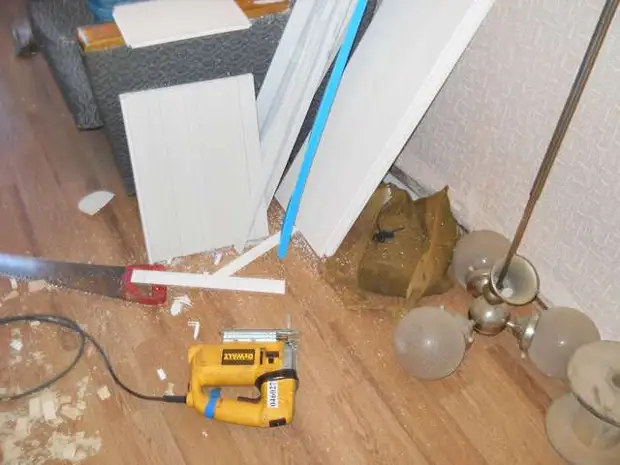
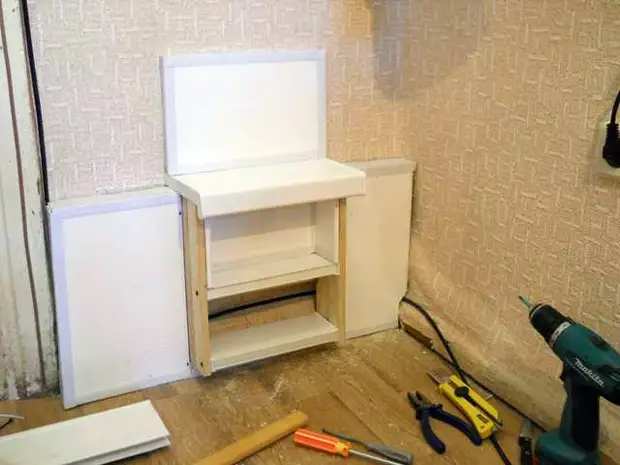
Homemade shelves can be made on the basis of structures from a corner attached to the wall by self-draws. The welded design can be replaced with wooden bars, wall brackets, etc. As carrying shelves (supports) for the kettle and furnace, I used trimming from plastic window sills. There were no other, more durable materials among the existing residues.
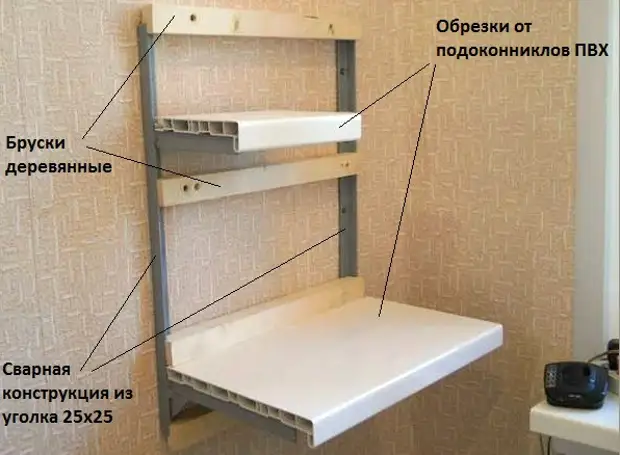
Wooden transverse bars are installed with the sole purpose: hide the metal structure and slightly refine the appearance of the shelf due to the use of cropping plastic wall panels.
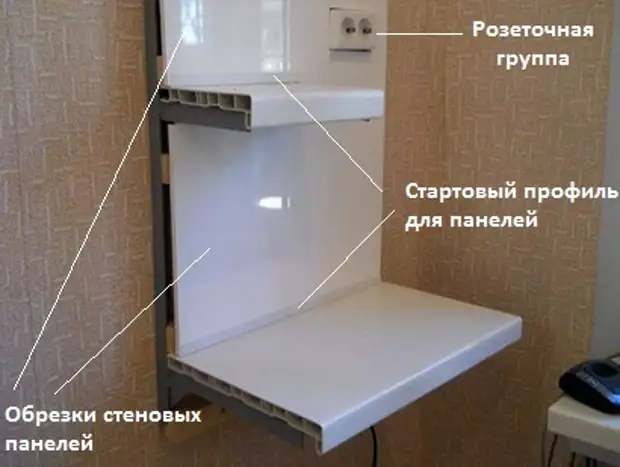
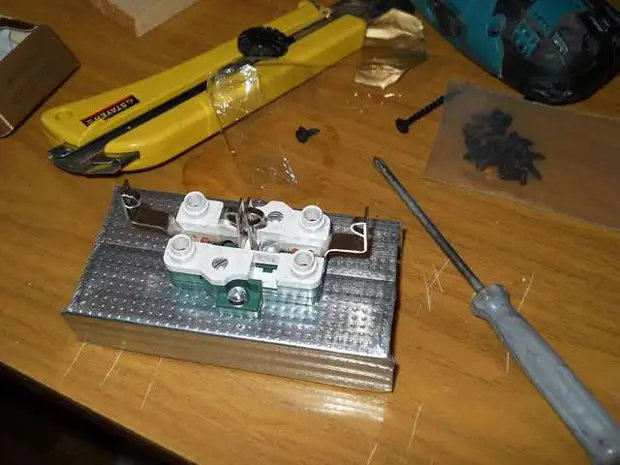
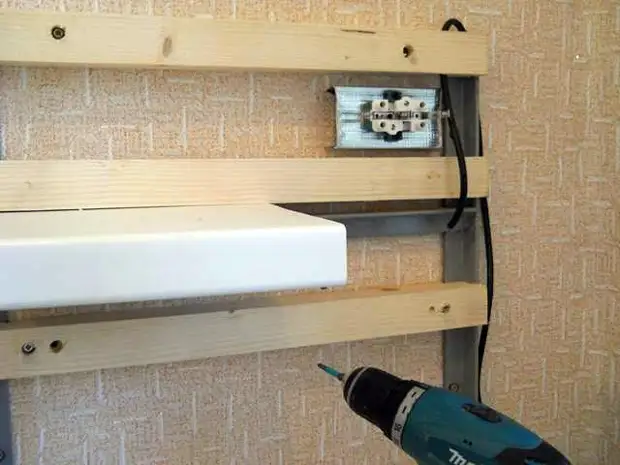
Since both items for which the regiment was intended, vulnerable, I embed my own socket group in the shelf. To establish a socket, I needed a trim of metal products from drywall. The main features of the manufacture of self-made electromete shelf - in the photo below.
The overall appearance of the shelf and its placement in the office:

It is logical to assume that Kohl is a kettle and a furnace, there must be tea (coffee) accessories, somehow tea dishes, the products (tea, coffee, sugar themselves), which also need to store somewhere. Since the place for electrical appliances is defined, the place for storing "accessories" should be located nearby.
So the following idea was born.
Hinged kitchen regiment do it yourself
In the opposite corner of the window, I decided to make a shelf for tea and coffee shops. The essence of the idea: the window sill when installing is shifted to the right from the window, to the wall. As a result, in the right corner of the room, which is hidden by the refrigerator, due to the windows, a small shelf turned out.

The lower additional shelf is made of rampage of plastic window sill in size. Separate parts of the walls along aesthetic and sanitary considerations are separated by trimming wall panels in the color of the window of slopes of the window. It turned out a fairly original design, fit into the overall interior.
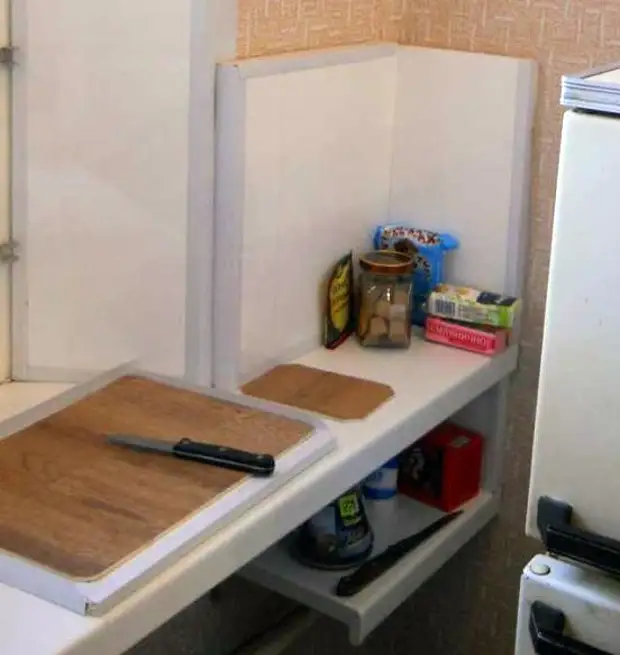
Since the shelf is not noticeable to the first and performed quite compact, the objects stored in it do not clutter the room. Separately, I would like to tell about the tray, because the thing turned out to be quite convenient in use (transfer the cup with tea, to prepare a sandwich, etc.).
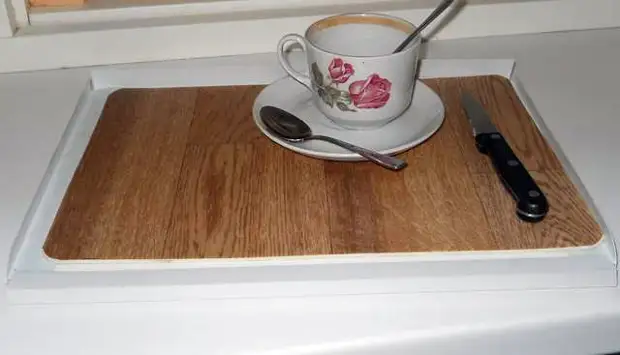
The tray is made of cropping the wall plastic panel, starting profile and plastic corner. From above, for convenience, the plastic panel is covered with a string of linoleum.
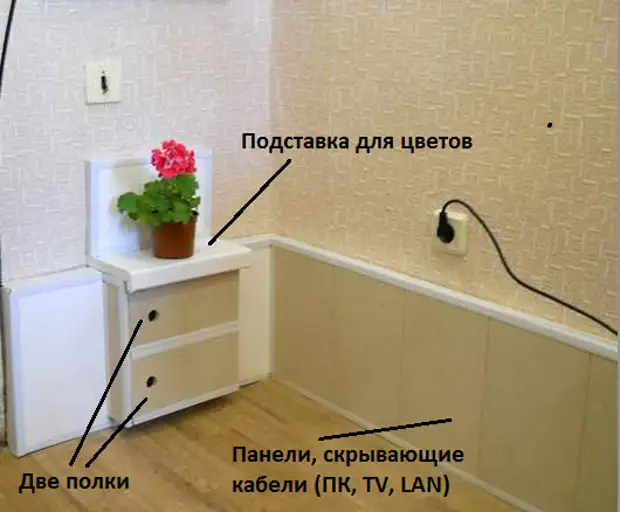
Shoe shelf do it yourself
In my office there are two sets of accessories for cleaning shoes (brush and cream) of different colors. I decided to make auxiliary, where they can be stored. The work algorithm is in the photo below. Of the features, you can note the following.
- Sliding doors for shelves are made of PVC scraps panels and two starting and one T-shaped planks as guides. As the knobs of sliding doors, holes cut off by rugged, with a diameter of 28 mm are used.
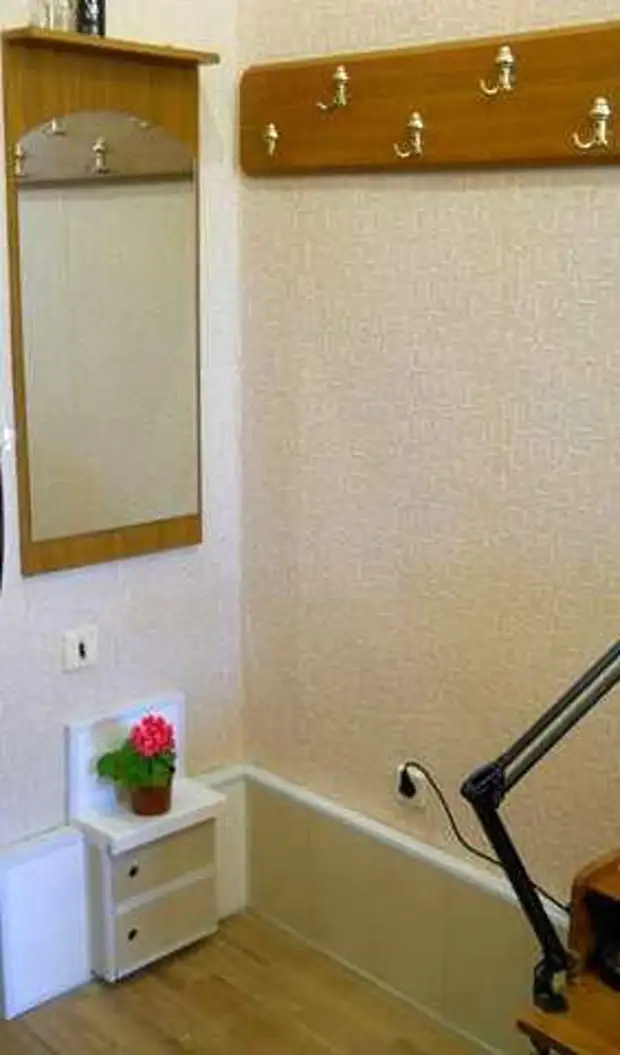
- The upper part of the shoe shelf decided to use as a stand for flowers. To do this, I used trim from plastic window sill. In addition, a little referred to the angle of wall panels itself. The main stages of work - in the photo below.


Finally
- Mounted errors: after completing the work, I was suggested that it was not very reasonable to put flowers in the room. Therefore, it is possible, for example, to put a floristic composition there.
- Design costs: work with remnants, it is difficult to provide a "high" design, pick up the color palette, as much depends on what you really have.
- In addition, the use of such "furniture" is limited. But, for example, for giving, summer kitchen, hay, storage room it can be quite justified.
Moreover, if we consider that this furniture has indisputable advantages:
- It is actually nothing worth
- You make it on an individual project, consistent with your own requirements.
- A source