
A neat assembly of even the most simple things requires knowledge of some tricks. And most of them, it seems such an obvious thing, and it falls far away without immediately ... Only after the N-th delivery of the sewing machine. In any case, I have so. In general, this post about small utilities, which, I hope, will be useful to those who begin to be friends with the sewing.
How to trim points on the seams for perfect turning?
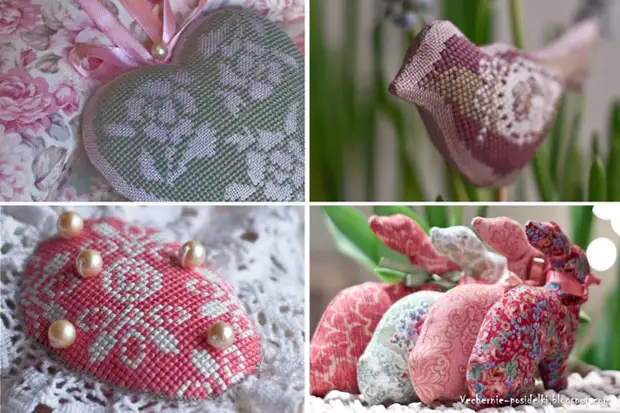
This question arises especially acute when assembling products of complex forms, such as in the photo. What should be done so that after turning the seams, they do not finish and all lines and bends lay smoothly? In fact, there is nothing complicated.
1) After stitching the product, it is necessary to cut the seams to the seams close to the line, leaving no more than 5 mm, and in particularly complex places and on small products to cut more. Bumpups on the seams along the hole left for turning, do not cut off!
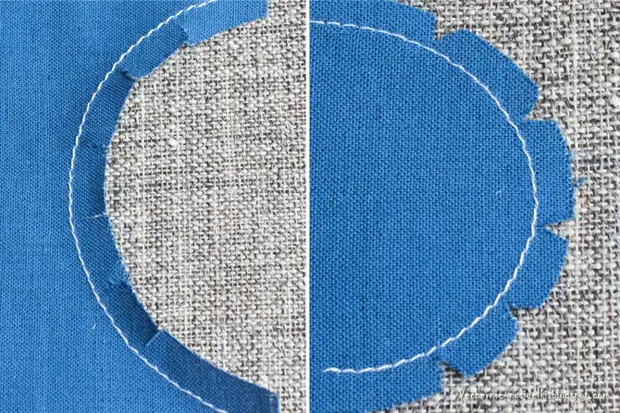
2) on concave seams make perpendicular notches. The cooler bend, the more notes (photo 1). On the curved seams cut small triangles. The stronger the bend, the more triangles need to be cut (photo 2).
3) All available corners cut (for example, corners of pillows, bottom of the heart, etc.).
4) If the fabric is very loose and there is a fear that the edges can crumble, especially in the process of turning, then before cutting the allowances and make notches, you can fly to the details thin glue fliesline. It stabilizes the edges and helps to avoid squeezing.
How to sew a thin braid?
Well, with a wide braid everything is clear: jacked by pins and stupid - no problems. But with a thin braid (and the thinner of the braid, the worse) there are difficulties.
It is impossible to pin it, the braid "runs away" from under the paw of the sewing machine, is thrown out and it is not possible to get a flat line. And if the braid must be postponed, for example, in a circle, then the situation is even more complicated here ...
I suffered with this braid and almost desperate when the way was invented! So, you can solve this problem as follows. Before you admonish your braid, glue it to the fabric with a transparent bilateral sticky tape for textiles (I use the universal tape "Insta-Bond Tape" from Hemline).
Two options are possible: cut a thin strip and glued along the entire length of the braid, then remove the protective layer and glue on the fabric. Or vice versa, striped ribbon stick to the fabric to the place of future sewing braid (if the length is large, then do not suffer, cut off small pieces of tape and stick them with each other), remove the protective layer and glue the braid.
The second way I seemed more convenient to me. Align, straighten (charm the sticky tape is that the braid can be disconnected and glued again) and set up. Voila! It turns out perfectly smoothly.
If you did not calculate the width of the sticky tape and in some places it sticks out from under the brain, then it is necessary to cut it before stroking. This method is great for rigid tape.
Gentle braid (satin or silk ribbon) is better to sew manually. The trick with sticking ribbon will not pass, it makes such a tape with a rigid and inanimate, and the machine line is not very personal. I pick up Moulin as close as possible to the color of the braid and sewing tiny hint stitches in the center of the braid. If the stitches are put exactly parallel to the thips, they are "drown" in them and almost completely merge.
How to pave a flat line?
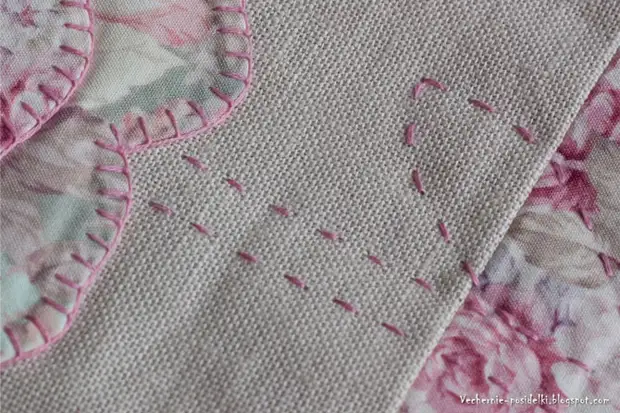
Another use of sticky tape, and not necessarily a special tape for fabric, but the most common tape. If you need to embroider, flash or set to a flat line, it can, of course, draw it, but I am afraid to do it once again, especially on bright fabric, and besides, there is a faster way.
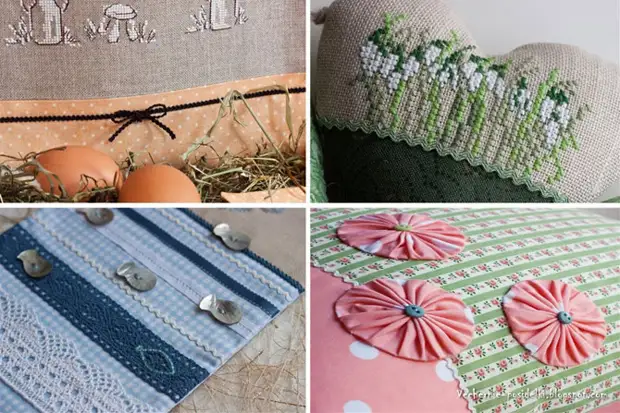
As a reference, you can stick to the cloth sticky tape and sew along its edge. Quickly and accurately. This method is suitable for laying decorative lines, such as in photography or, let's say, when stitching the slices on the bag.
How to accurately combine the items?
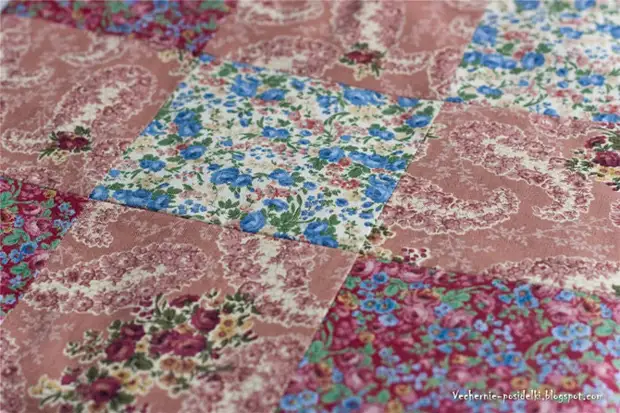
Or rather, how exactly combine the seams? Despite the fact that as an illustration, I put a photo of Patchwork blocks, where, of course, all seams should be perfectly docked, the problem of combination occurs quite often and when sewing other products.
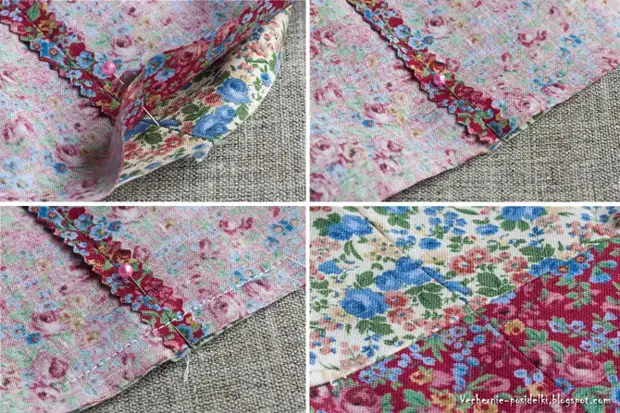
For example, side seams on the bag and on the lining must accurately coincide with the crosslinking of them with each other. I will say honestly, I could not try for a long time why I can't get perfect docking until I finally did not reach. And it turned out that only the seams themselves should be tapered by a pin that should be combined.
Moreover, a pinch pin exactly through both seams (photo 1). And remove the pin outside also exactly through both seams (photo 2). Pour a line for a typewriter without removing (!) Pins (photo 3). The perfect alignment is guaranteed (photo4).
How to sew an applique?
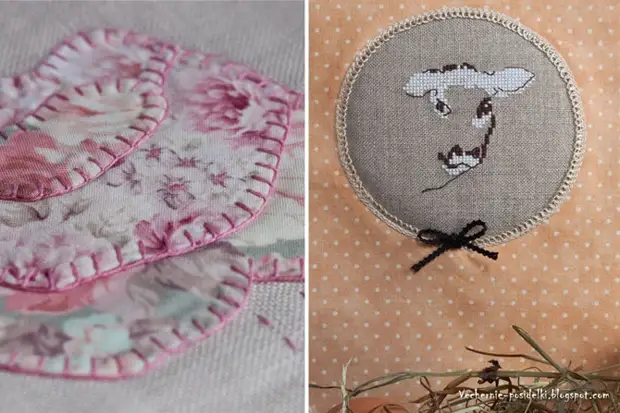
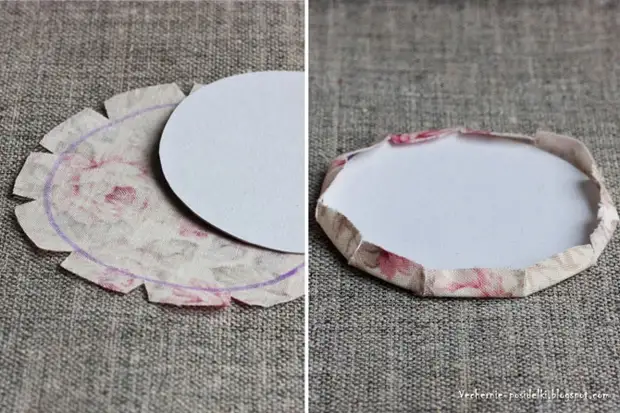
Application can be sewed and not pending the edge of the fabric. Sometimes it is quite acceptable and appropriate. But, if it is required that the sections are not visible, then you need to do the following.
1) Cut out of thick paper or cardboard template exactly the size of the parts without drinks on the bending. Prepare a bending allowance by making notches or cutting triangles depending on which bends is the part (photo 1).
2) attach a template to the parts from the wrong side and fogging on it to it (photo 2). In those places where the fabric is pregnant bad, make additional notches or cut triangles.
3) Take out the template. Application can be sewed.
Well? All about sewing?
A source