
Initially, the technique of cardboard was used to make the packaging, now is an independent kind of needlework. Caskets, Organizers, Pencils, Notepads, Tea Houses, Christmas decorations - Ideas for creativity Many!
Materials:
• Cardboard thick 2 mm;
• Cardboard thin (for example, school) or Watman;
• x / b fabor;
• Wall for work with glue;
• metal or acrylic ruler (for patchwork);
• Malyary Scotch;
• Kraft paper;
• Accessories for decoration;
• PVA glue thick construction;
• Glue "Moment".
Instruments:
• brushes (flat wide, thin);
• pencil, eraser;
• Knife stationery or disc;
• scissors;
• solid flat and plastic press (sand or granulant bag);
• Stationery clothespins;
• clamps.
Attention.
Corrugated cardboard do not use!
All dimensions are given taking into account the thickness of the cardboard - 2 mm. If you have another thickness, the sizes will have to be adjusted. Even 0.5 mm play a role! The box has a top, protruding for the walls of 6 mm. With this structure, we prepare the details.
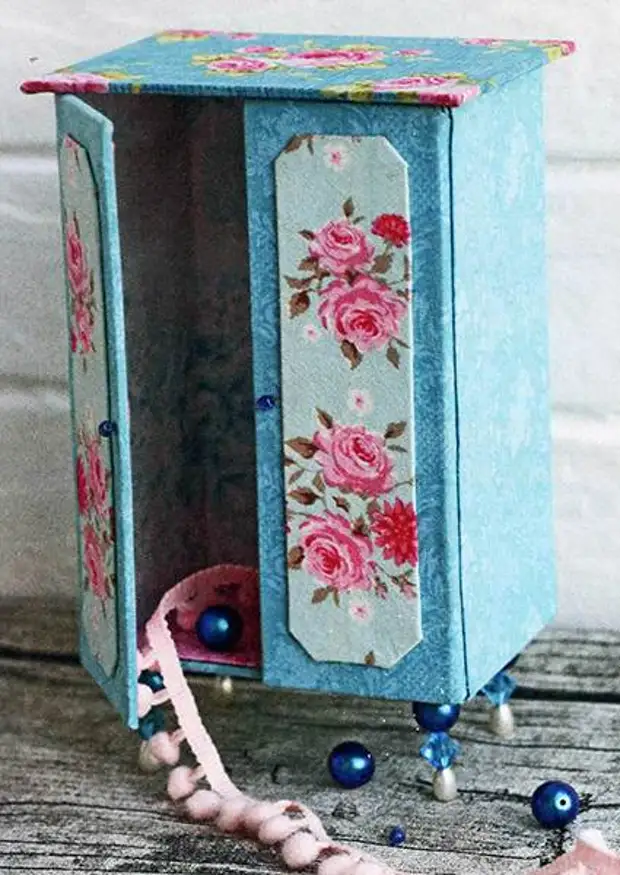
How to make a cabinet from cardboard with your own hands.
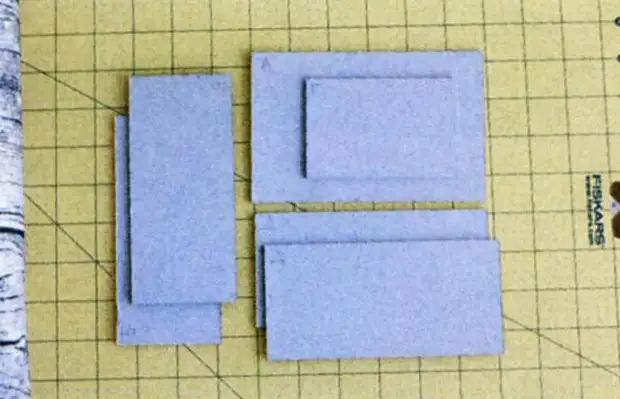
Draw a dense cardboard for the details: 100 x 150 mm - 1 pc. (Rear wall), 66 x 150 mm - 2 pcs. (Side wall), 112 x 82 - 1 pc. (Roof), 96 x 66 mm - bottom, 150 x 100 mm Rear wall, 149 x 49 mm - 2 pcs. (Door).
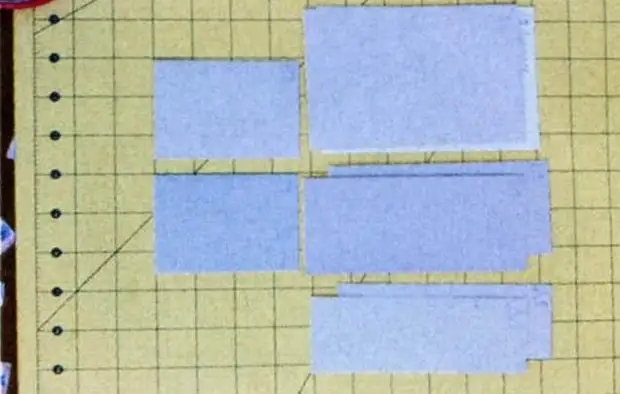
From thin cardboard cutting the details of the finish. 146 x 94 mm - 1 pc. (decoration of the back wall, internal), 148 x 98 mm - (decoration of the rear wall, external), 163 x 145 mm - 2 pcs. (side walls, interior decoration), 148 x 68 mm - 2 pcs. (side walls, outer), 94 x 64 mm - 2 pcs. (Interior bottom), 143 x 43 mm - 2 pcs. (Interior decoration).
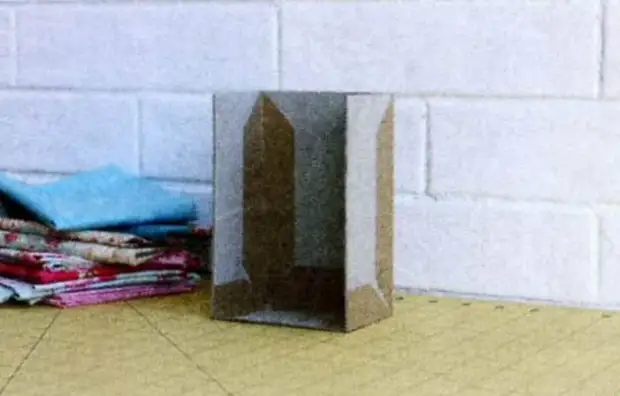
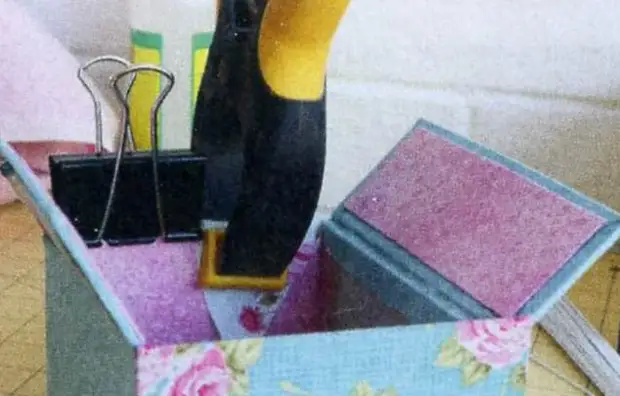
Welting fabric. We do in the bottom of the hole for fastening the legs. Glue the parts of the walls (from dense cardboard) with the bottom. That glue "on the edge" (Cardboard thickness) "Moment". We strengthen the corners with painting tape (pre-adhesive side, we wash the PVA) or kraft paper.
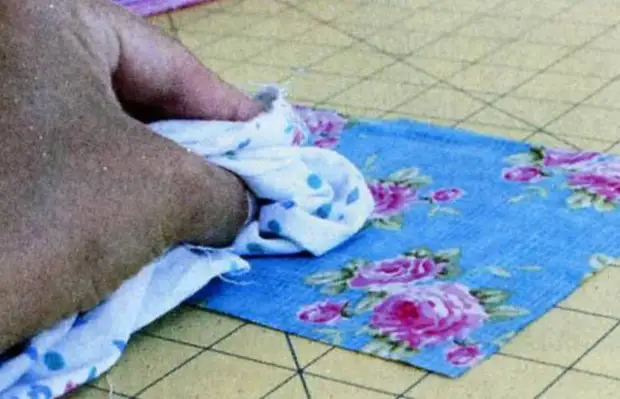
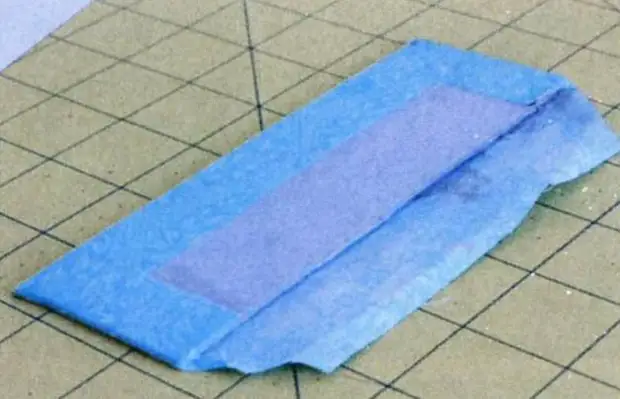
Cut the top of the roof with a cloth. PVA glue is applied to the cardboard quickly and thin layer so as not to stick on the front of the fabric. We apply a brush or plastic card. We smooth out a rag or wand. Put under the press.
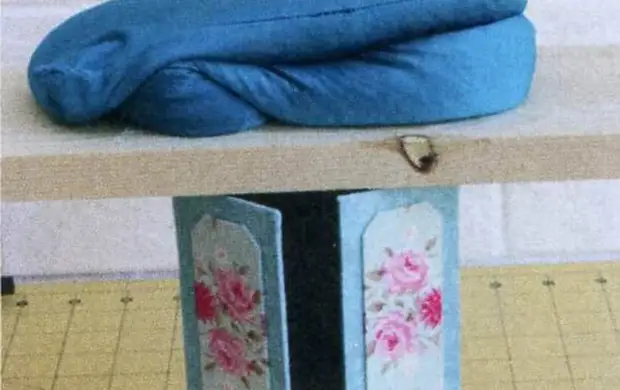
Cut the door parts from the outside. Bumpups 15-20 mm. On one long side, the allowance is left untreated. For three sides, the allowances are glued to the inner side of the part. Corners are very accurate. Put under the press.
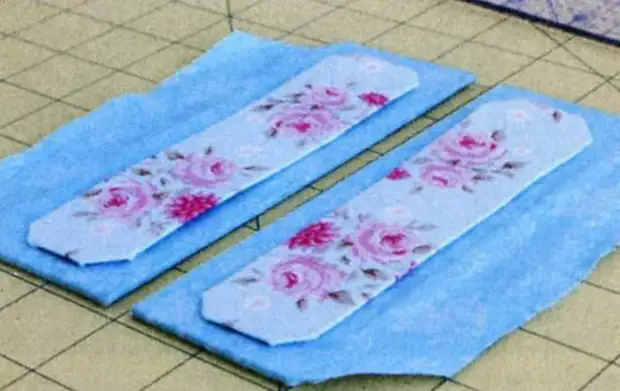
Making holes under the handle. Details of the door decor make out of a thin cardboard. Form and size may be at your discretion. We have a cloth with a cloth with a bunch of 15 mm, the extra layering of the allowances cut off. We glue them to the front of the door. Put under the press.
We have a bottom with a cloth with 15-20 mm allowances. Pushing glue on the sides and inside the locker. Follow the accuracy of corns.
Adhesive doors to the cabinet. We labeled the liner of the allowance (which was left on the doors). We glue on the outer side of the side walls. Glue with a gap, for convenience you can insert a piece of cardboard (3 mm). Then a piece of fabric is covered inside, creating a groove.
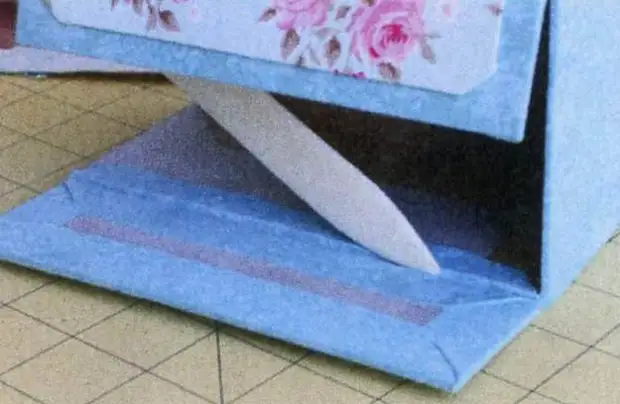
Glue roof. Watch the Kant oppose from all sides to the same distance. Put under the press.
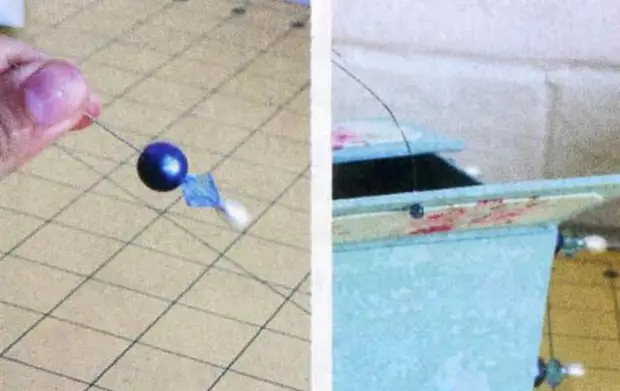
Fresh legs and handles from beads and wires. If the fastener is too thick, from the inside, we make a shill to the groove and additionally we put kraft paper.
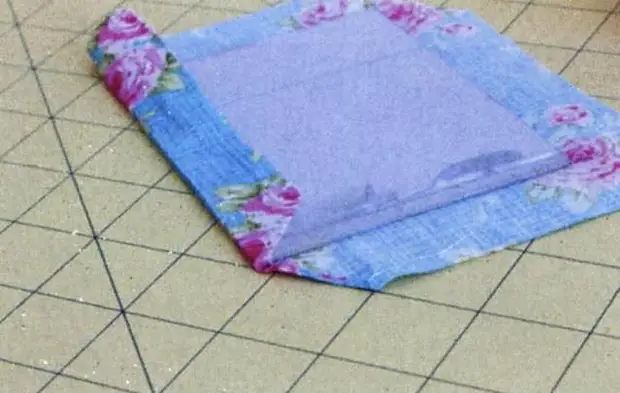
Details of the interior finish of the bottom and roofs are covered with a cloth, the allowance of 15-20 mm. Corners cut under 45 degrees. We rush one long battery, the rest will be attached to the walls. Details glue on the "ceiling" and bottom. Also, they take the details of the internal finishing of the door. Glue them into place.
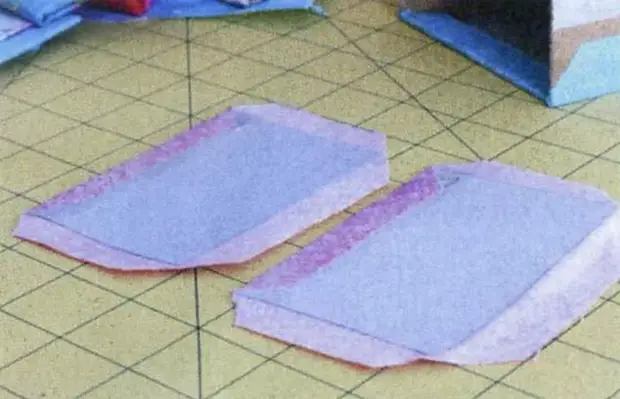
It is desirable to press clamps or clothespins, pre-laying a rag or paper.
On the fabric for finishing walls glue the details from thin cardboard, also with a margin. Between the details, we leave the gap approximately as the thickness of the fine cardboard. Put the details completely. We form a groove. Put under the press.
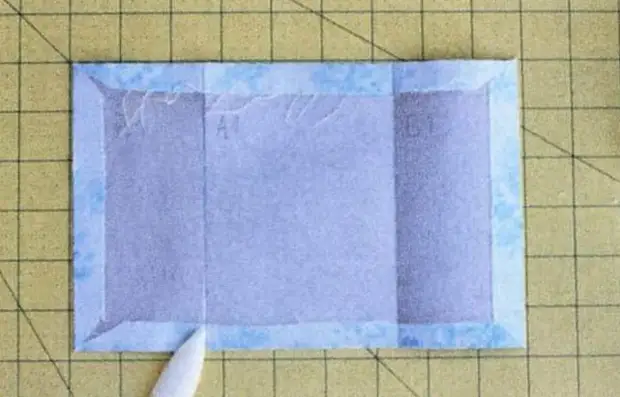
Special attention is paid to the corners. The same workpiece is done for the exterior finish. Glue on the walls. The edges we press the clothespins, put on the bottom of the plastic press, pre-placing the locker so that the protruding kant roof is not deformed.

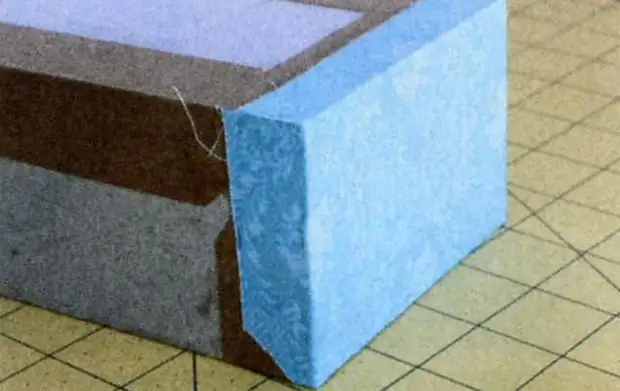
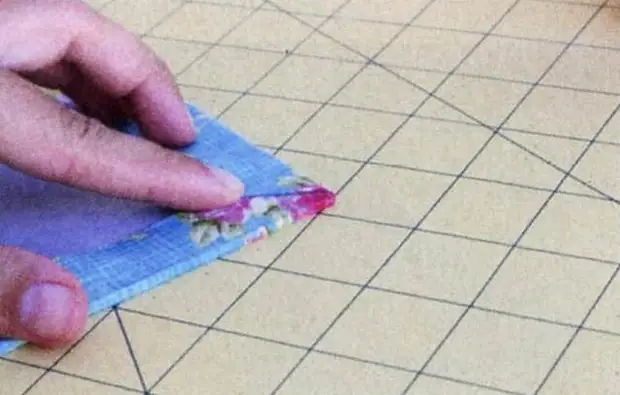
Separately about the corners. They should be very neat! To do this, near the angle, we cut a cloth under 45 degrees close to the cardboard, not reaching 3-4 mm to it. One edge stick to the part, on the other side, the edge of the fabric is clamped by 2-3 mm, we glue the "fabric to the fabric".
Bending over the first edge. Glue. The upper bent edge must overlap the bottom edge. Our locker is ready!
Advice.
For parts to get up smoothly, in some cases it is necessary to reduce the size of the inner walls by 1-2 mm, since the thickness of the fabric is added to the thickness of the cardboard.
Cut the inner walls can be later when the cable is the cooler, and take the sizes already at the place.
A source