
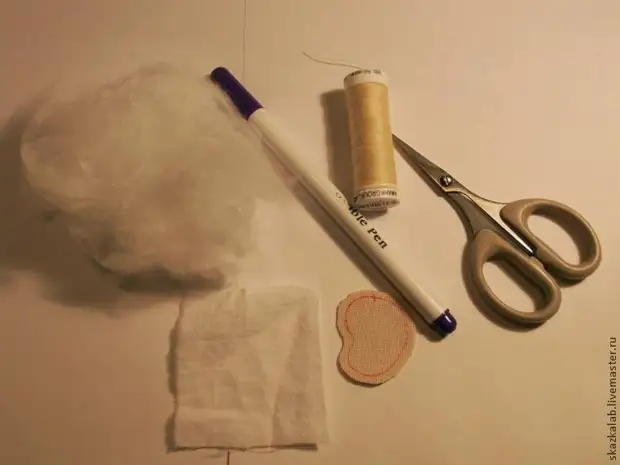
To work, we will need:
- Ministope for anticipants
- Thin cotton or batter
- Filler (I use bamboo fiber, but any other)
- Threads, needle, scissors
- Disappearing marker
So let's get up!
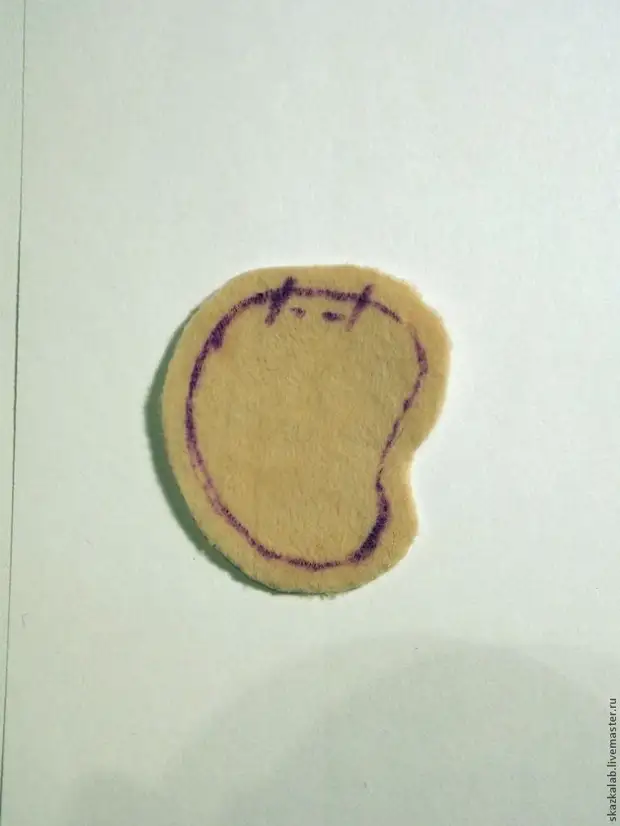
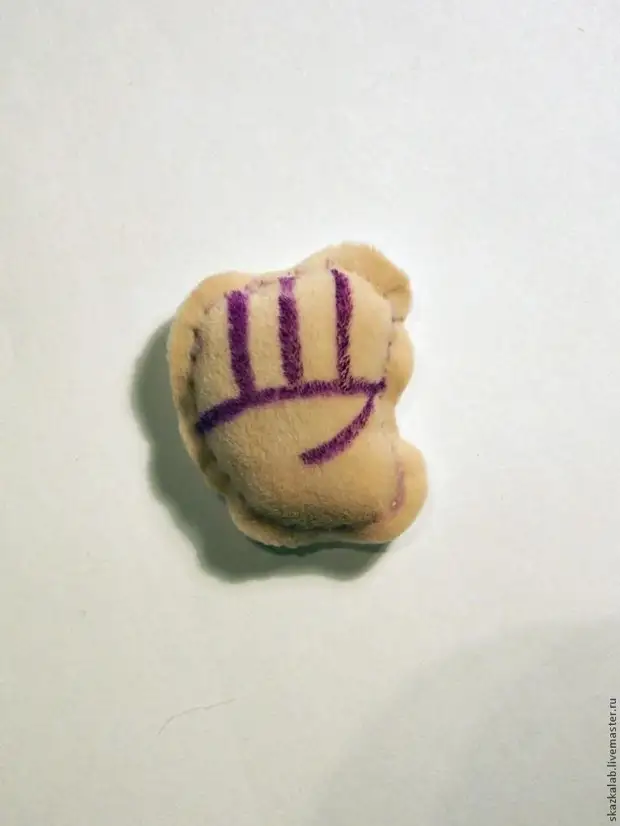
1. I cut out the heel from the miniskof and on the front side, outline the contour of the disappearing marker, make a mark, where it is not necessary to sew (about 1 cm).
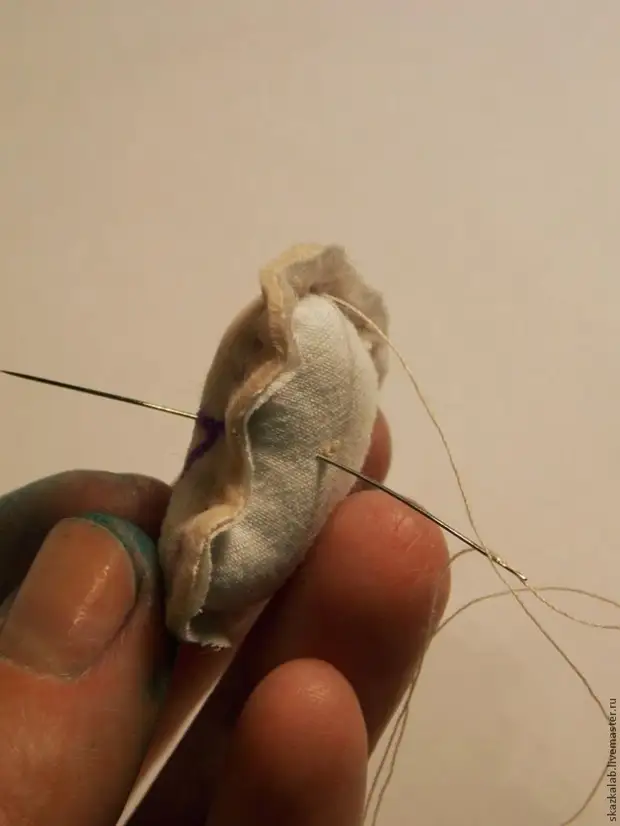
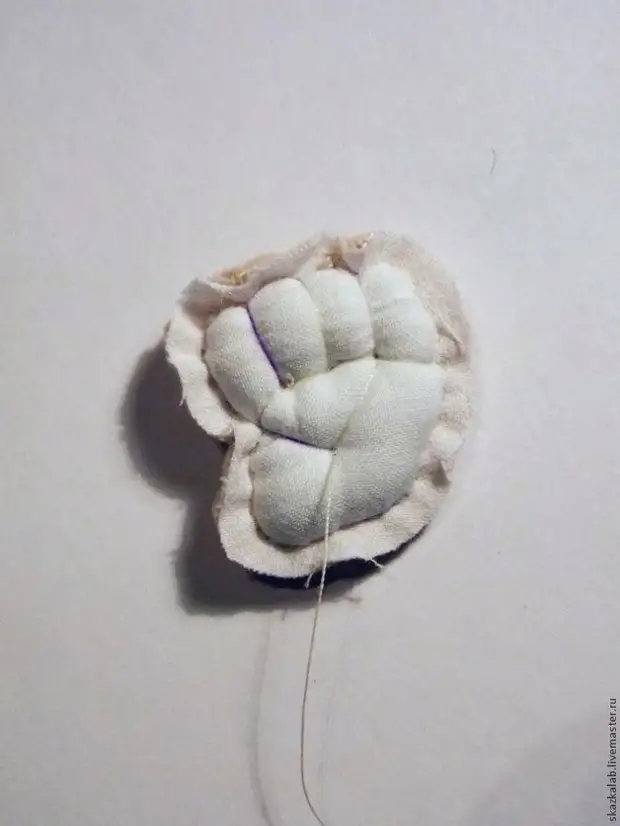
2. We will apply our heel with the involving side to a piece of cotton and sew a small stamping seam.
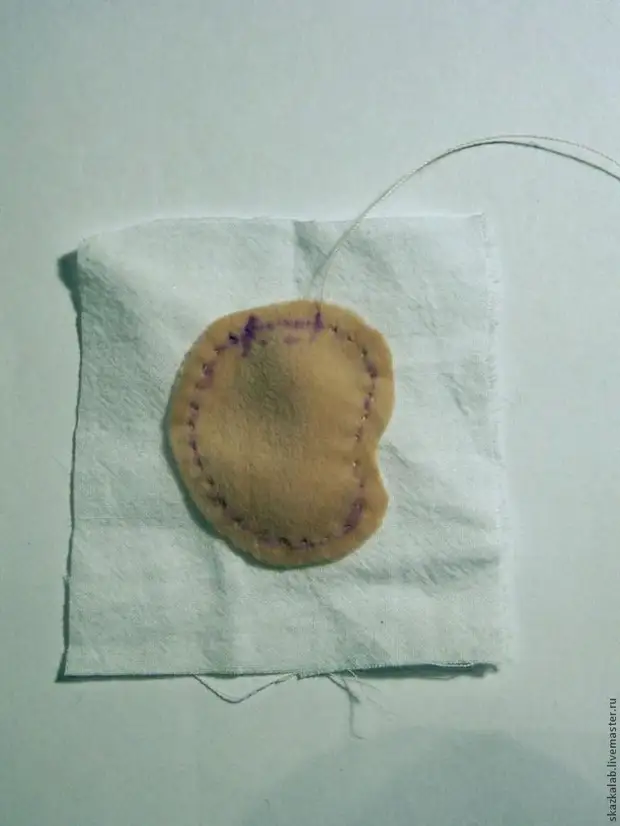
3. Put the pad.
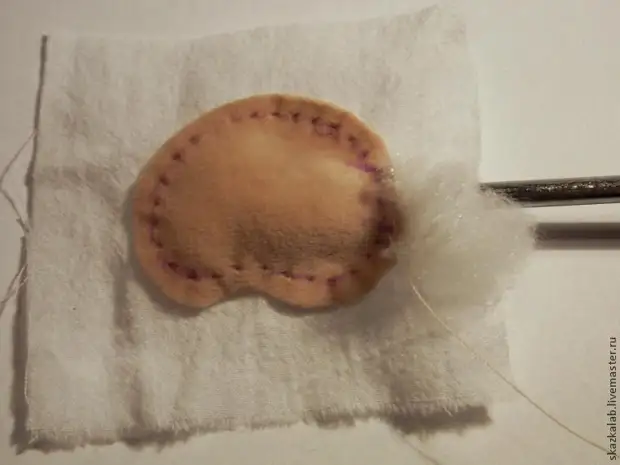
Not too tight, but it should be an elastic to the touch.
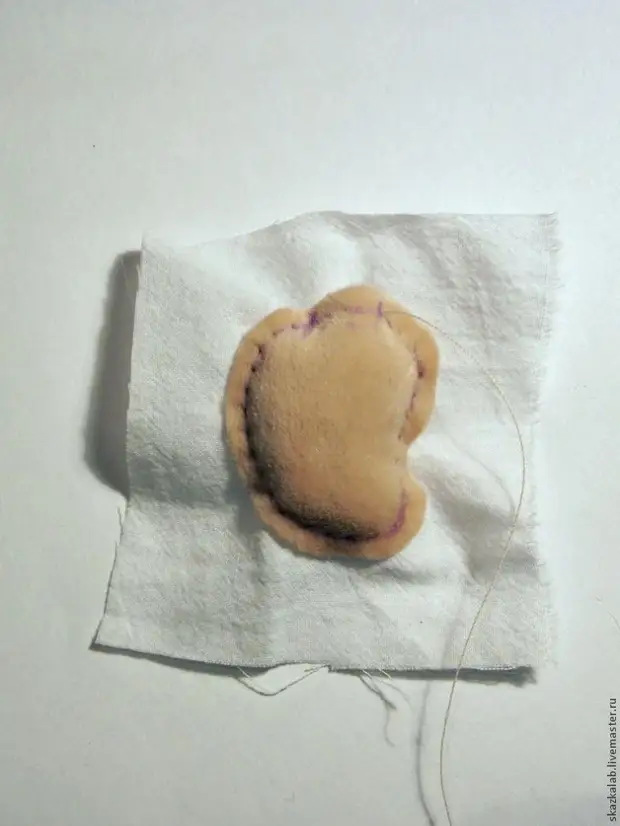
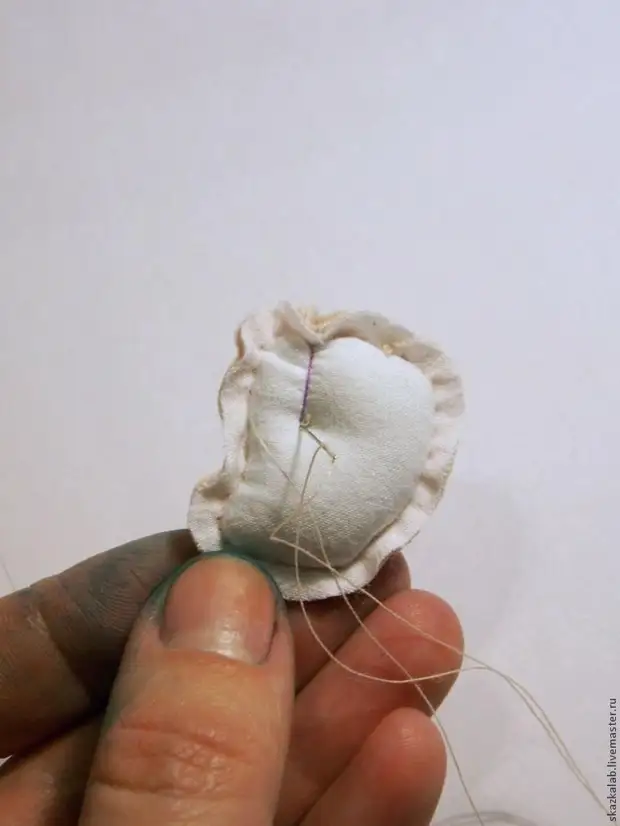
4. Sewing the hole.
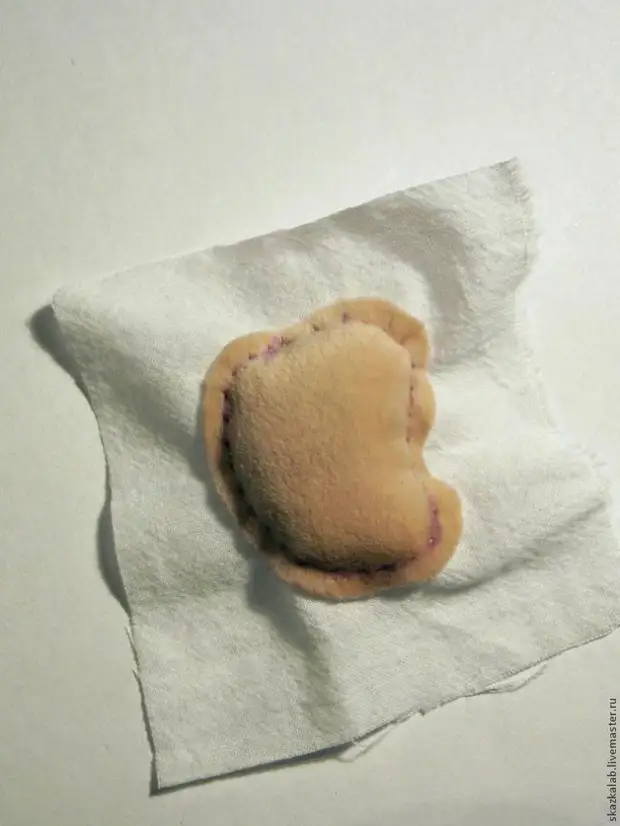
5. Sut off the excess fabric.
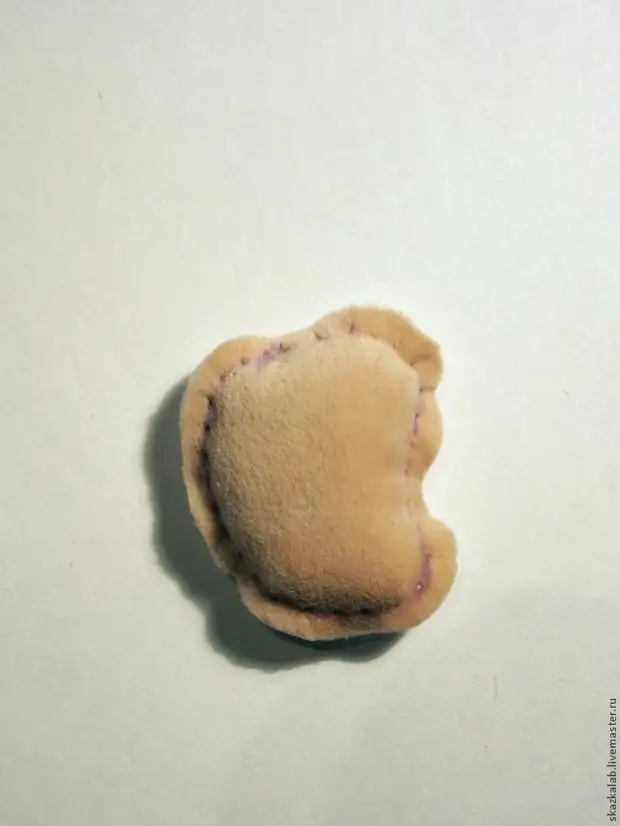
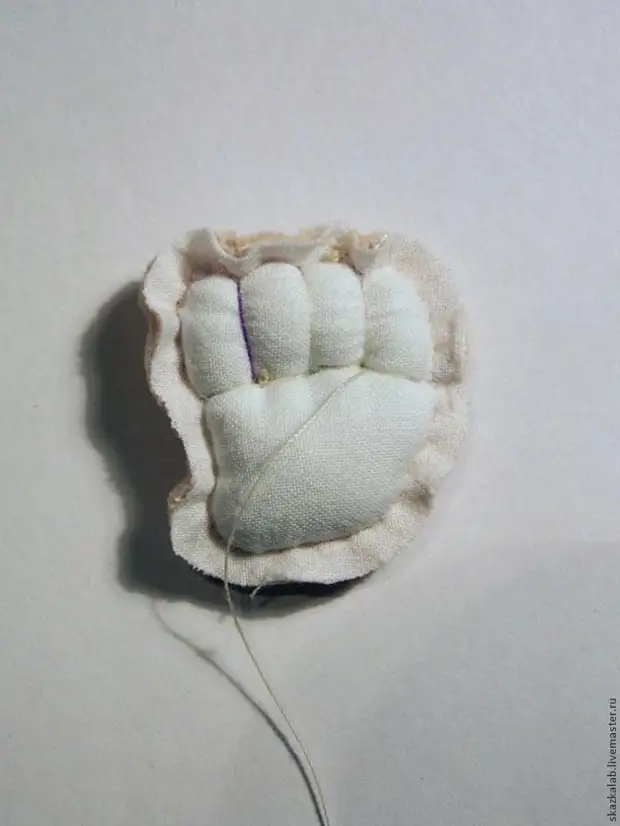
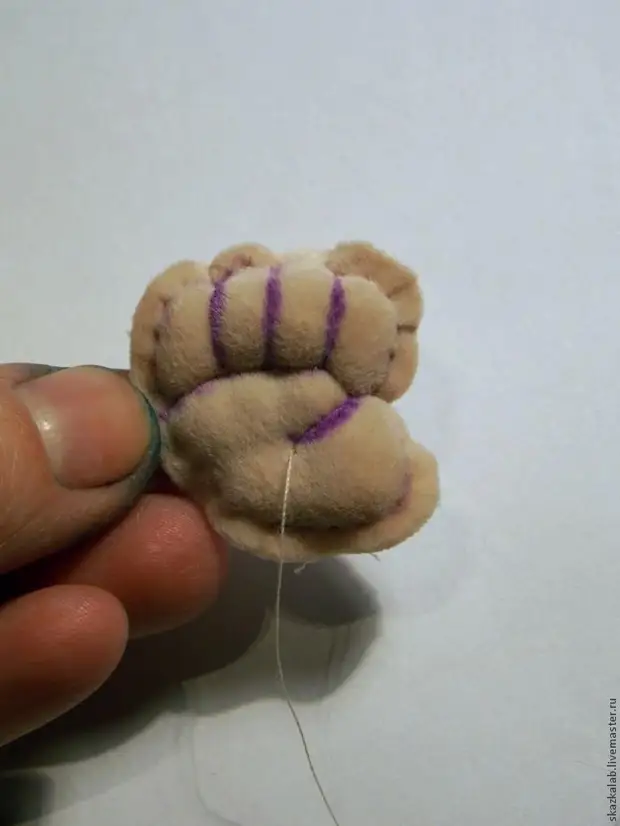
6. We plan future fingers. Visually drawn fingers should be more than those that we plan.
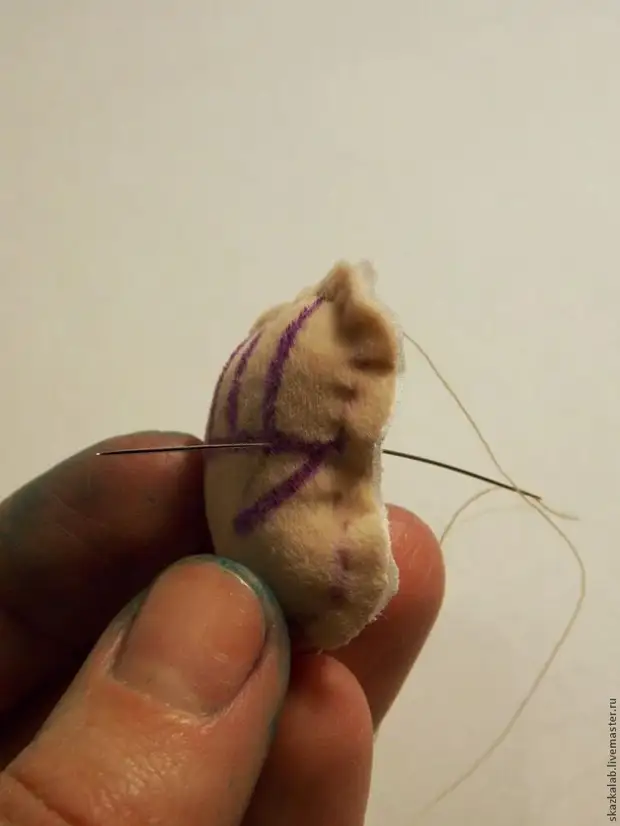
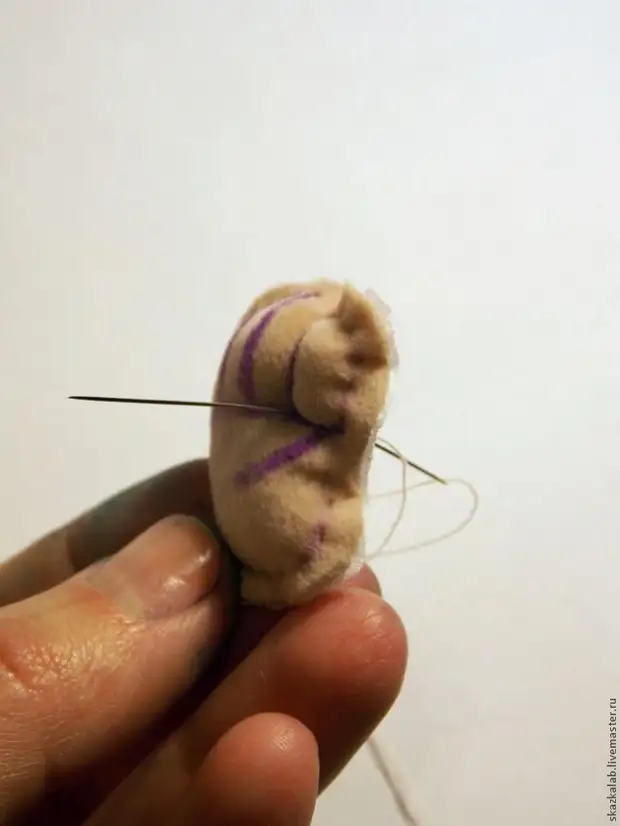
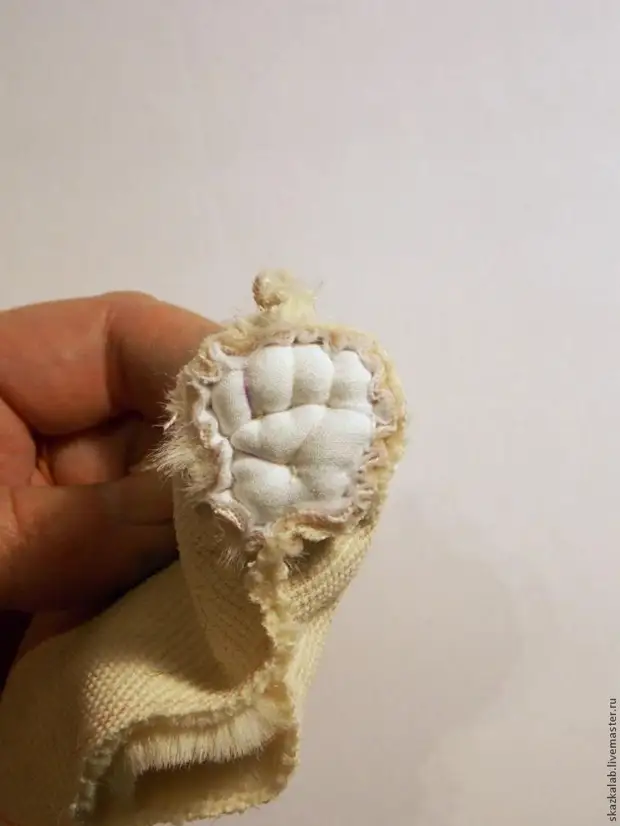
7. We start to drag! (I am very sorry for the appearance of my hands, painted viscose)
We introduce the needle into the pad at the lower joint of the first first fingers.
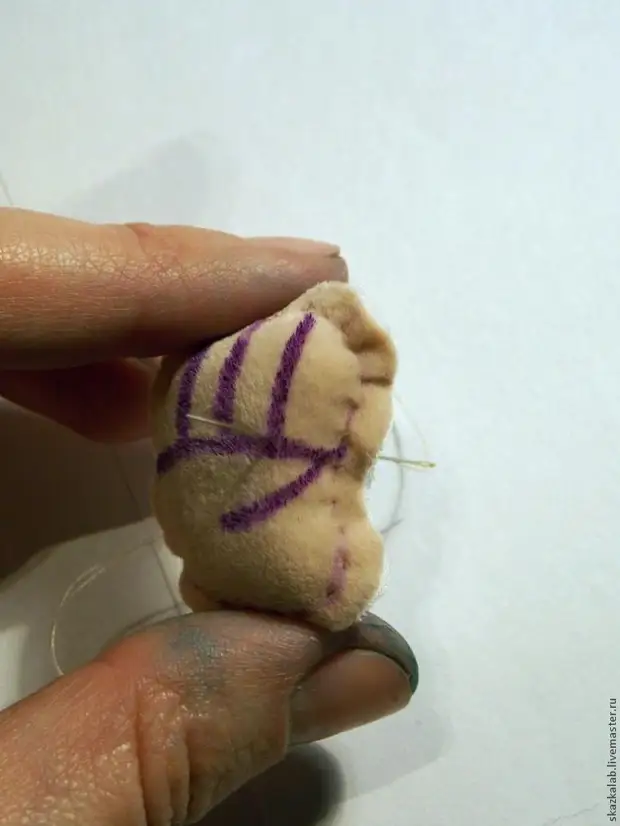
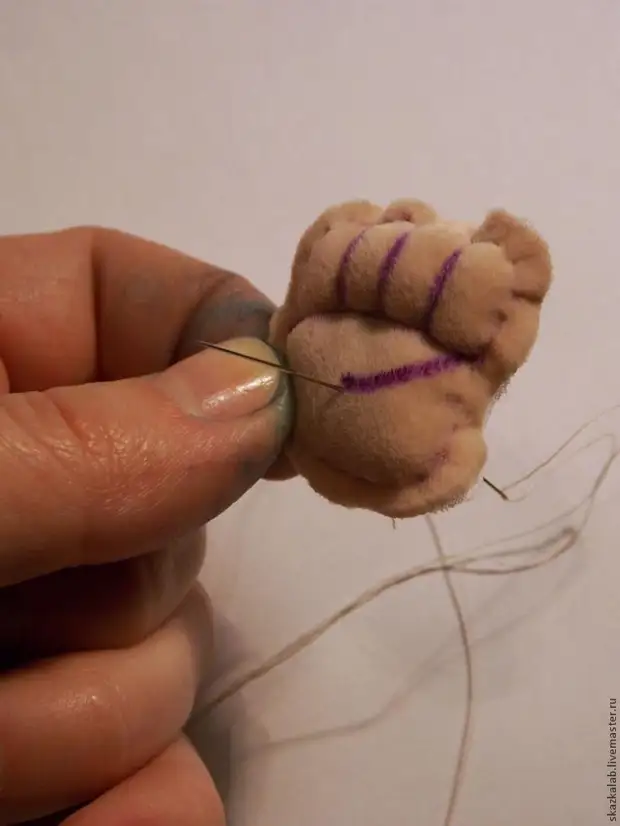
Next, we enter the needle into the upper joint of the same fingers.
We make stitches from the wrong side, withdrawing the needle again to the lower joint (from where they started).
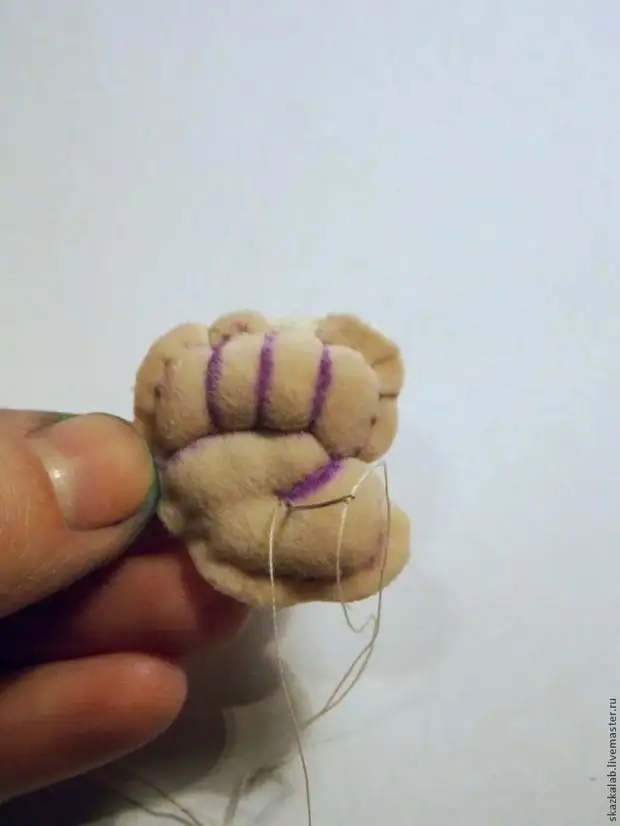
Next, take the needle to the edge of the first finger.
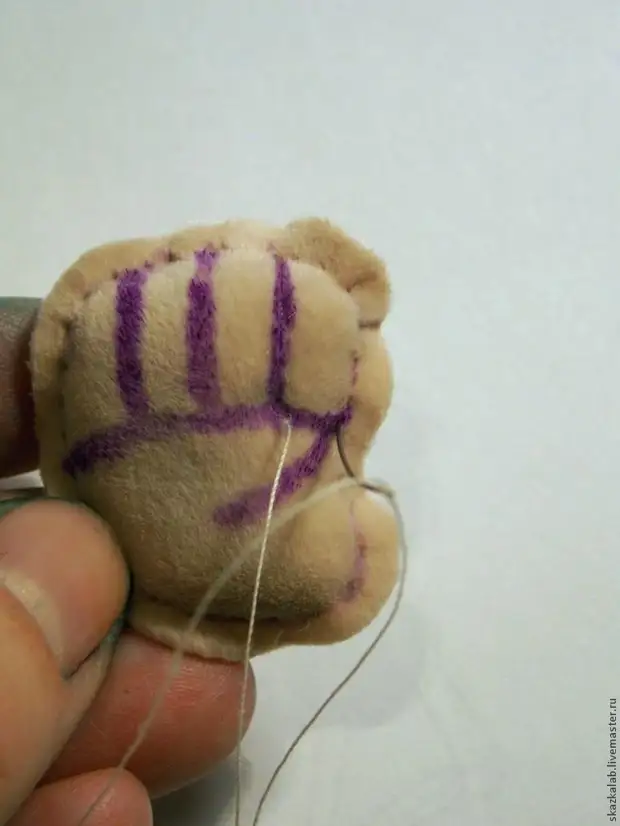
Tighten.
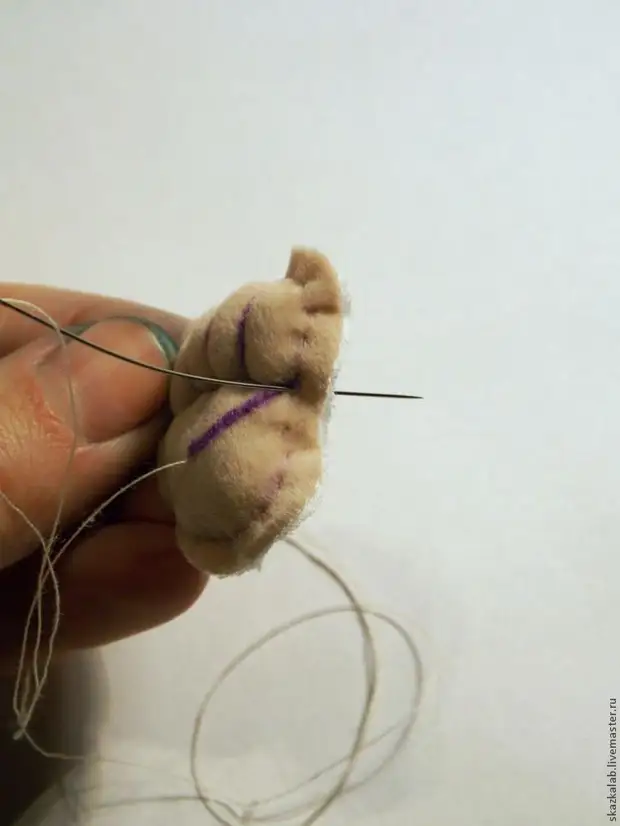
Again, from the wrong side, we draw stitches, withdrawing the needle to the point of start.
Thus, the finger was limited from all sides with threads.
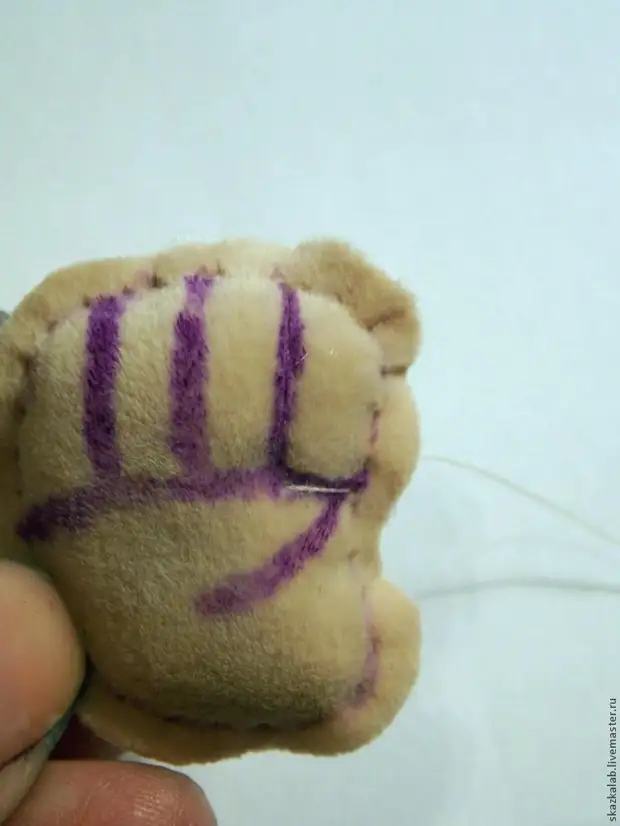
8. We continue to sweep the remaining fingers in the same way.
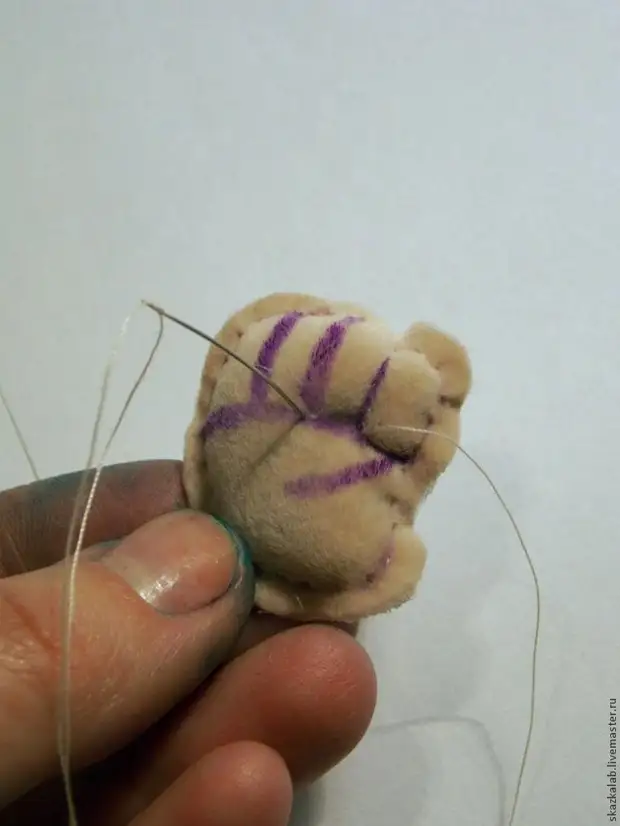
The main thing is to remember that every finger should be limited to threads with both facial and from the wrong side!
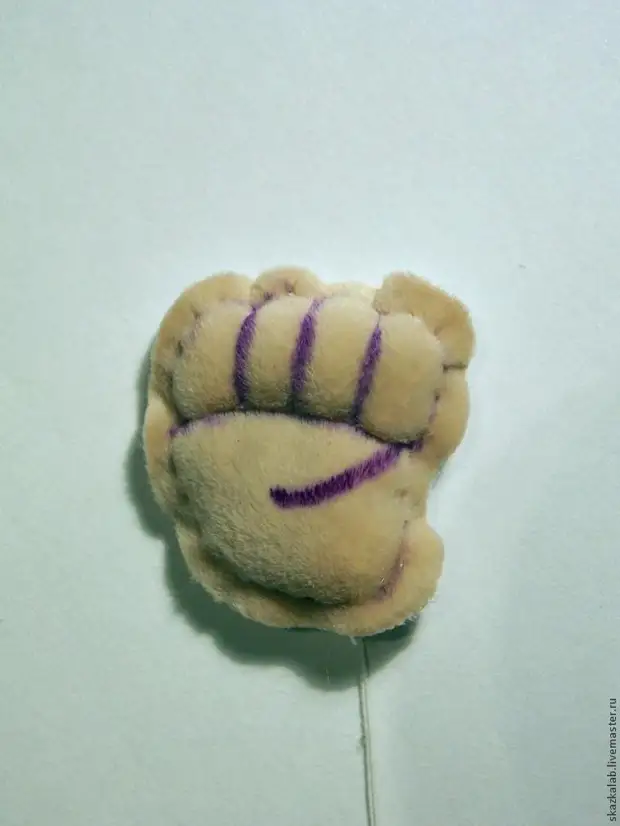
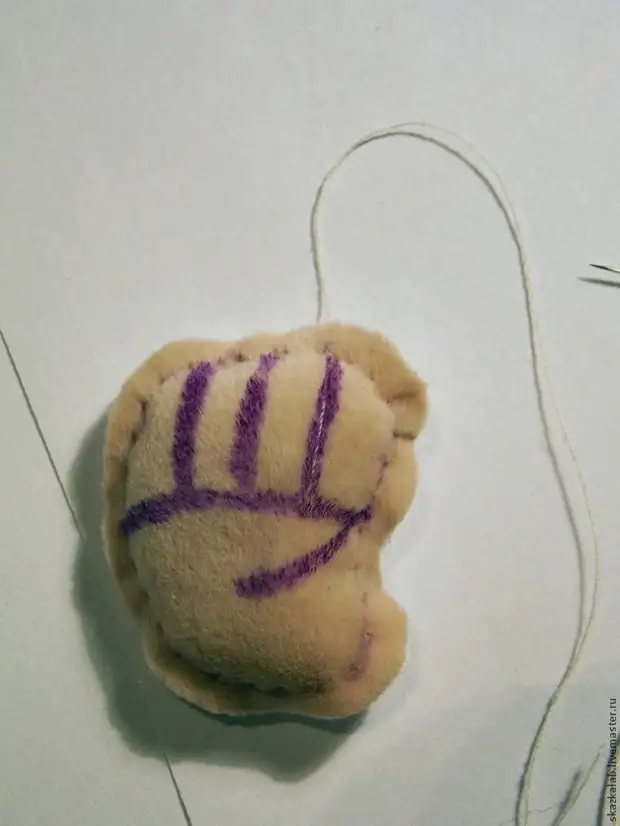
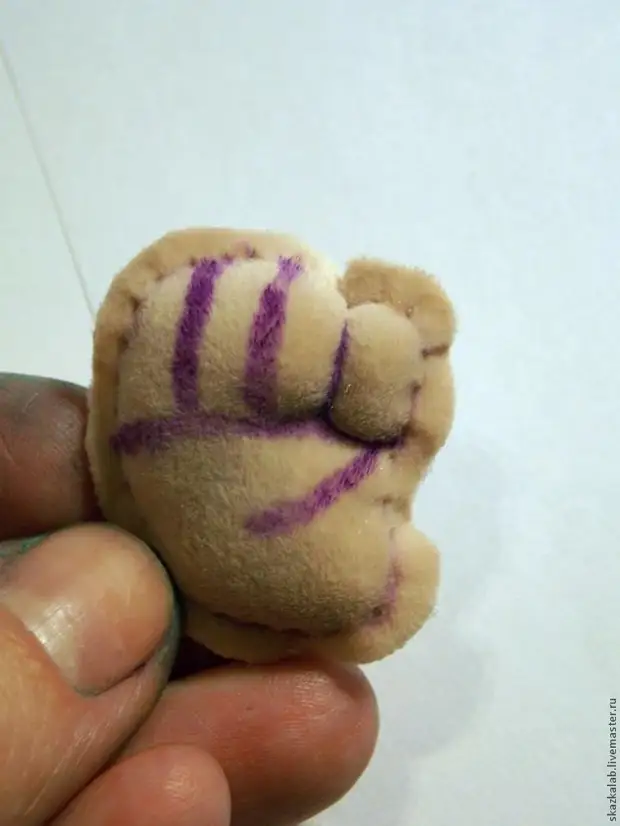
9. We complete the work with the heel and refer to the folding "clubs".
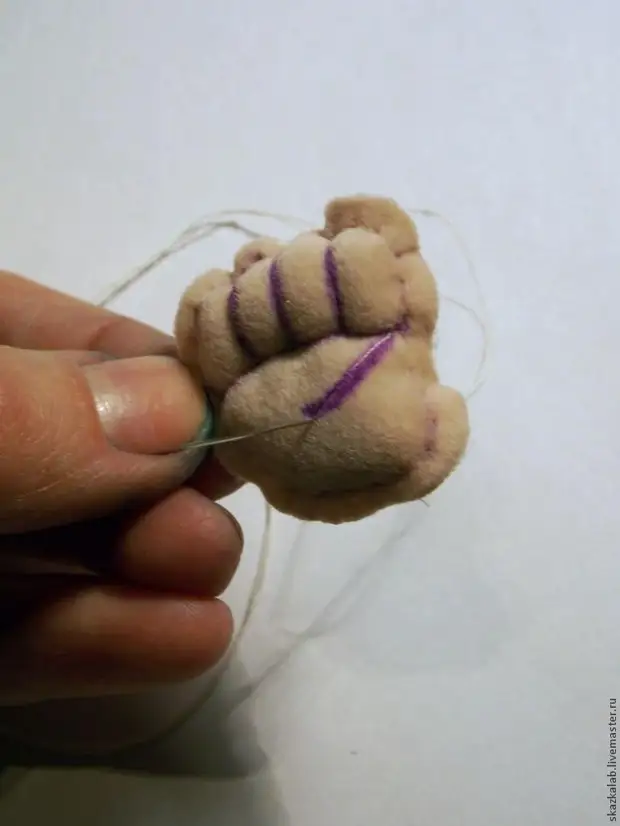
Return the needle on the wrong side, making a small stitch, and fix the thread there.
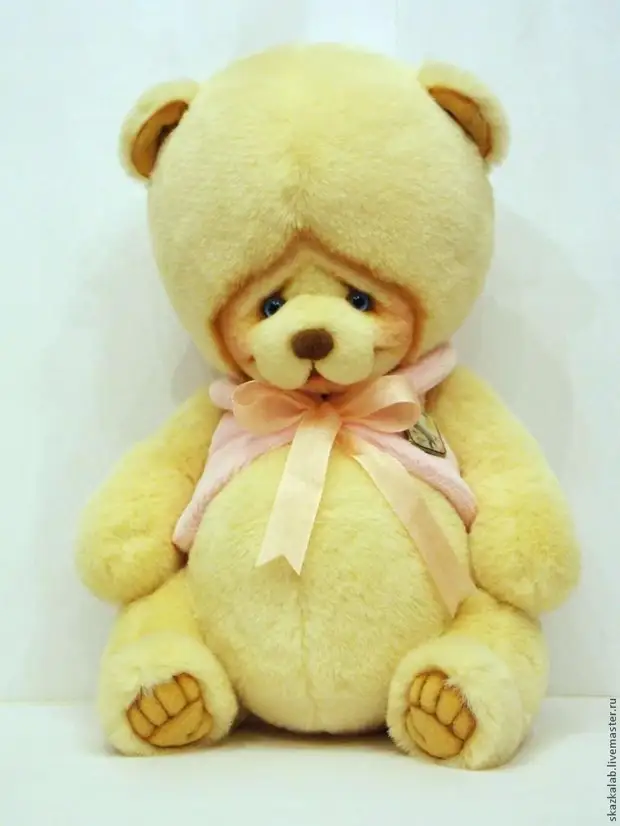
Here is our pillow and ready!
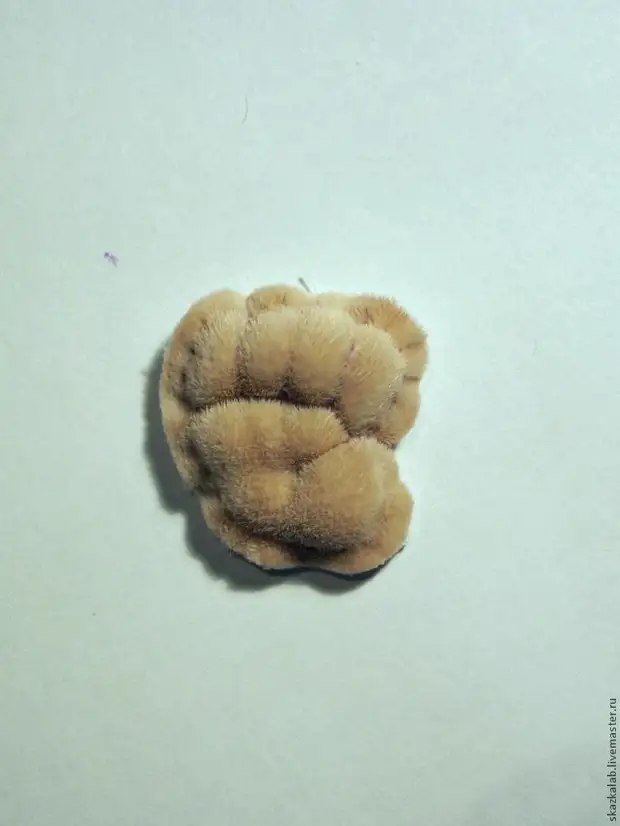
10. We sew the pad into the paw.
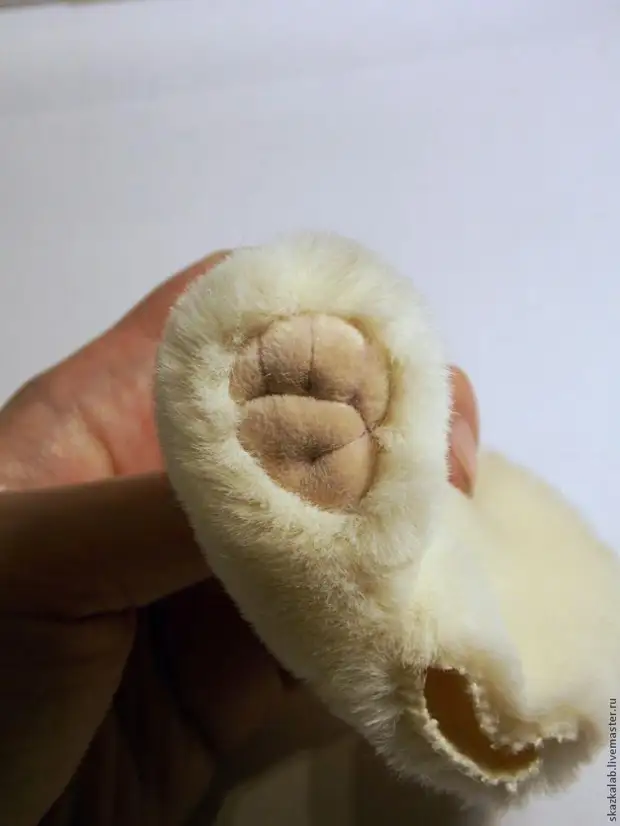
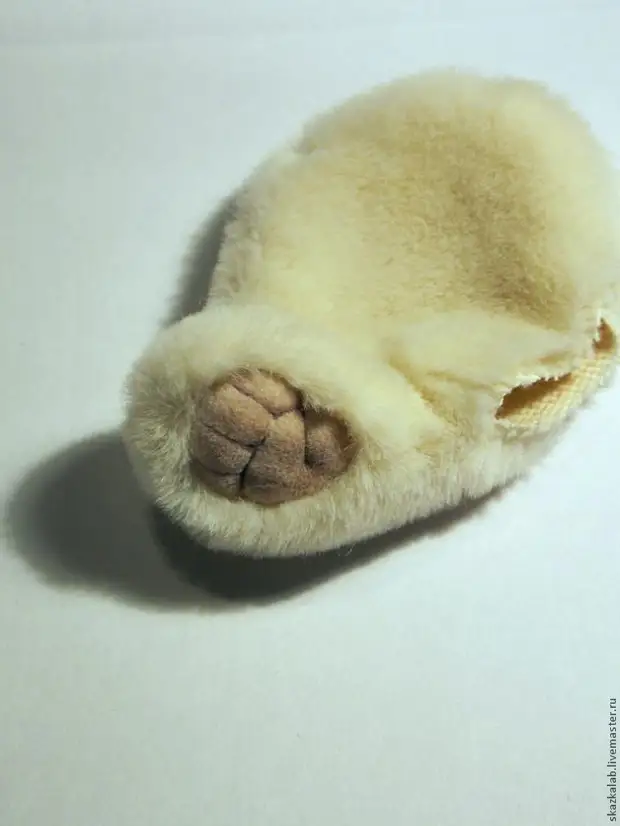
Then it remains only to fill the paw and toned our wonderful fingers.

Share - Victoria Makarova.
A source